https://github.com/facundorocha18/react-app-template
This is a template repository meant for faster config and development of new projects
https://github.com/facundorocha18/react-app-template
eslint jest netlify prettier react react-router tailwindcss template typescript vite
Last synced: 3 months ago
JSON representation
This is a template repository meant for faster config and development of new projects
- Host: GitHub
- URL: https://github.com/facundorocha18/react-app-template
- Owner: FacundoRocha18
- Created: 2022-12-30T07:26:43.000Z (over 3 years ago)
- Default Branch: main
- Last Pushed: 2022-12-31T01:58:38.000Z (over 3 years ago)
- Last Synced: 2025-01-04T02:26:53.919Z (over 1 year ago)
- Topics: eslint, jest, netlify, prettier, react, react-router, tailwindcss, template, typescript, vite
- Language: TypeScript
- Homepage:
- Size: 709 KB
- Stars: 0
- Watchers: 1
- Forks: 0
- Open Issues: 0
-
Metadata Files:
- Readme: README.md
Awesome Lists containing this project
README
# Frontend template by Facundo Rocha
This is a template for Frontend Apps, it comes with multiple technologies from 'factory':
- **Vite** development server:
- **React** JavaScript library:
- **TypeScript** JavaScript superset:
- **TailwindCSS** CSS framework:
- **ReactRouter** for creating SPAs:
- **Prettier** formats the code:
- **ESLint** checks code errors and issues:
- **Jest** testing suite:
- **Netlify CLI** deployments:
## These are the main NPM commands
Run with npm run _command_name_
- "**dev**" : starts the development server
- "**build**" : creates TypeScript and vite build
- "**compile**" : creates TypeScript and vite build
- "**test**" : runs the test suit
- "**lint**" : checks for code errors with ESLint
- "**lint**" : checks for code errors with ESLint and fixes all autofixable issues
- "**format**" : formats the code with Prettier
- "**commit**" : formats the code and then runs a git alias that adds all files, commits and pushes into GitHub
>Example: npm run format
## Netlify CLI deploys
### Authentication
Netlify CLI uses an access token to authenticate with Netlify. You can obtain this token using the command line or in the Netlify UI.
Obtain a token with the command line
To authenticate and obtain an access token using the command line, enter the following command from any directory:
```code
netlify login
```
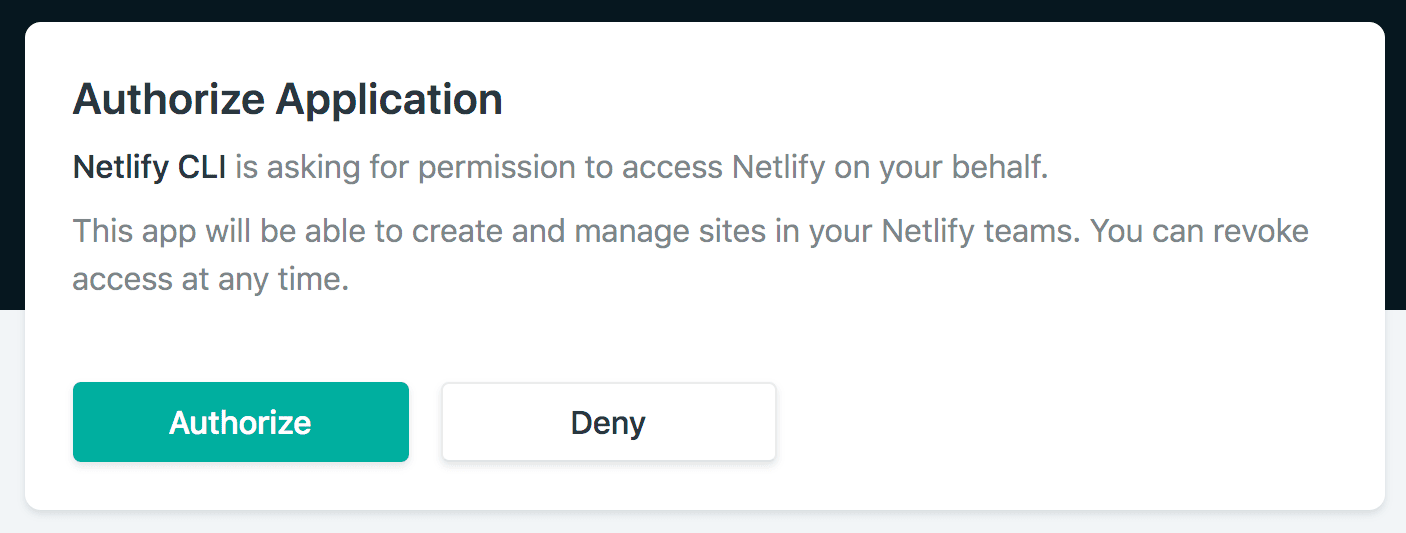
This will open a browser window, asking you to log in with Netlify and grant access to Netlify CLI
Once authorized, Netlify CLI stores your access token in a config.json global configuration file. The Netlify CLI uses the token in this file automatically for all future commands.
### Automated setup
For repositories stored on GitHub.com, you can use Netlify CLI to connect your repository by running the following command from your local repository:
```code
netlify init
```
In order to connect your repository for continuous deployment, Netlify CLI will need access to create a deploy key and a webhook on the repository. When you run the command above, you’ll be prompted to log in to your GitHub account, which will create an account-level access token.
The access token will be stored in the Netlify CLI config.json. Your login password will never be stored. You can revoke the access token at any time from your GitHub account settings; however, this will disable continuous deployment on all sites that were configured with that access token.
## Run builds locally
You can run builds in Netlify CLI to mimic the behavior of running a build on Netlify — including Build Plugins. To execute a build locally, run the following command from the root of your linked repository:
```code
netlify build
```
The default build context is production but you can also use the --context flag to run a build for a different deploy context.
```code
netlify build --context deploy-preview
```
This command will run the build as if it is a Deploy Preview, applying any settings and environment variable values specific to that context
## Manual deploys
It’s also possible to deploy a site manually, without continuous deployment. This method uploads files directly from your local project directory to your site on Netlify. If builds are stopped, manual deploys are the only way you can update your site.
A common use case for this command is when you’re using a separate Continuous Integration (CI) tool, deploying prebuilt files to Netlify at the end of the CI tool tasks.
To get started with manual deploys, run the following command from your project directory:
```code
netlify deploy
```
The first time you run the command, Netlify CLI will prompt you to select an existing site or create a new one, linking the site for all future deploys.
The following sections describe the requirements and options for manual deploys.
## Deploy directories
The deploy command needs to know which folder to publish. If your project includes serverless functions, it needs to know the location of the functions folder as well. Netlify CLI will look for this information in three places, in the following order:
in flags specified in the command itself.
in a netlify.toml file stored at the root of your project directory.
in your site settings in the Netlify UI, if continuous deployment is set up for the site.
Here is an example using command flags to set the publish folder and functions folder:
```code
netlify deploy --dir=_site --functions=functions
```
In both cases, folder paths are relative to the current directory. Note that paths starting with / will begin at the computer’s root directory — not the base of your project directory