https://github.com/felladrin/windows-timelapse-toolkit
Windows toolkit for taking periodic screenshots and creating a time-lapse video from them.
https://github.com/felladrin/windows-timelapse-toolkit
ffmpeg periodic-screenshots screenshots timelapse-videos timelapses
Last synced: over 1 year ago
JSON representation
Windows toolkit for taking periodic screenshots and creating a time-lapse video from them.
- Host: GitHub
- URL: https://github.com/felladrin/windows-timelapse-toolkit
- Owner: felladrin
- License: gpl-3.0
- Created: 2016-11-02T20:56:44.000Z (over 9 years ago)
- Default Branch: latest
- Last Pushed: 2024-04-04T07:49:04.000Z (over 2 years ago)
- Last Synced: 2025-04-05T14:09:49.725Z (over 1 year ago)
- Topics: ffmpeg, periodic-screenshots, screenshots, timelapse-videos, timelapses
- Language: Batchfile
- Homepage:
- Size: 13.3 MB
- Stars: 16
- Watchers: 6
- Forks: 3
- Open Issues: 1
-
Metadata Files:
- Readme: README.md
- License: LICENSE
Awesome Lists containing this project
README
# Windows TimeLapse Toolkit
Windows toolkit for taking periodic screenshots and generating a time-lapse video from them.
It's composed of batch scripts which you can open in a text editor and easily customize.
### How to use
- Download the latest version of `windows-timelapse-toolkit` from here:
https://github.com/felladrin/windows-timelapse-toolkit/archive/refs/heads/latest.zip
- Unzip it and you'll see the these files:
- 
- Optionally edit the `config` file to suit your needs. The default configuration is the following:
- 
- Takes a screenshot every 15 seconds.
- Creates the timelapse videos displaying 10 screenshots per second.
- Uses [FFmpeg 'veryslow' preset](https://trac.ffmpeg.org/wiki/Encode/H.264#a2.Chooseapresetandtune) to create videos with the smallest possible size.
- Hides output messages from FFmpeg while creating the videos.
- Uses RBTray to allow minimizing the window to the system tray.
- Uses a timestamp as the file name by default. Changing `UsePictureCounter` to `true` will make the screenshots to be named with sequential numbers instead.
- Double-click `start-taking-screenshots`.
- Screenshots will be saved in a subfolder named `screenshots`.
- To stop taking screenshots, press Ctrl+C.
- Double-click `create-timelapse-video` after you've taken enough screenshots.
- Note that the more screenshots you have, the longer it'll take to create the video.
- That's it! You'll find your timelapse inside the subfolder `videos`.
### Third-party software used
- [FFmpeg](https://github.com/FFmpeg/FFmpeg) (LGPL License, with optional components licensed under GPL)
- [RBTray](http://rbtray.sourceforge.net/) (GPL License)
- [screenCapture.bat](https://github.com/npocmaka/batch.scripts/blob/master/hybrids/.net/c/screenCapture.bat) (MIT License)
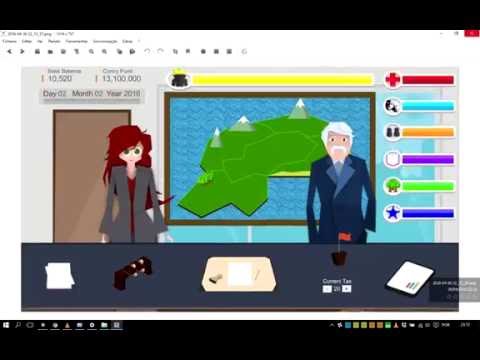
### Timelapse example on Youtube
[](https://www.youtube.com/watch?v=pHccGxY50cU)
### Optional: Setting it to start taking screenshots on Windows Logon
For those who want to keep a video log of their actions on Windows throughout the day, it's easy to make it start taking screenshots automatically as soon as you log in to Windows. For this, do the following:
Right-click `start-taking-screenshots` and select 'Create Shortcut'. A shortcut will be created in the same folder. Then rename it as you wish (Suggestion: 'AutoScreenshoter'), and drag and drop it to `Start Menu >> Programs >> Startup`.
Another way to access the startup folder is through Windows Explorer: Just type on the address bar: `%AppData%\Microsoft\Windows\Start Menu\Programs\Startup` - Then paste the shortcut there.
Done. Next time you restart your computer, the screenshoter will be started automatically.