Ecosyste.ms: Awesome
An open API service indexing awesome lists of open source software.
https://github.com/fnproject/ui
User interface for fn project.
https://github.com/fnproject/ui
Last synced: 2 months ago
JSON representation
User interface for fn project.
- Host: GitHub
- URL: https://github.com/fnproject/ui
- Owner: fnproject
- License: apache-2.0
- Created: 2017-08-15T15:22:21.000Z (over 7 years ago)
- Default Branch: master
- Last Pushed: 2023-10-10T01:01:37.000Z (about 1 year ago)
- Last Synced: 2024-08-01T10:17:39.106Z (5 months ago)
- Language: JavaScript
- Size: 6.34 MB
- Stars: 89
- Watchers: 35
- Forks: 21
- Open Issues: 26
-
Metadata Files:
- Readme: README.md
- License: LICENSE
Awesome Lists containing this project
- awesome - fnproject/ui - User interface for fn project. (others)
README
# UI for [Fn](https://github.com/fnproject/fn) [](https://circleci.com/gh/fnproject/ui)
## Usage
Start an fn server
```sh
fn start
```
Start the UI:
```sh
docker run --rm -it --link fnserver:api -p 4000:4000 -e "FN_API_URL=http://api:8080" fnproject/ui
```
## Screenshots
All apps view:

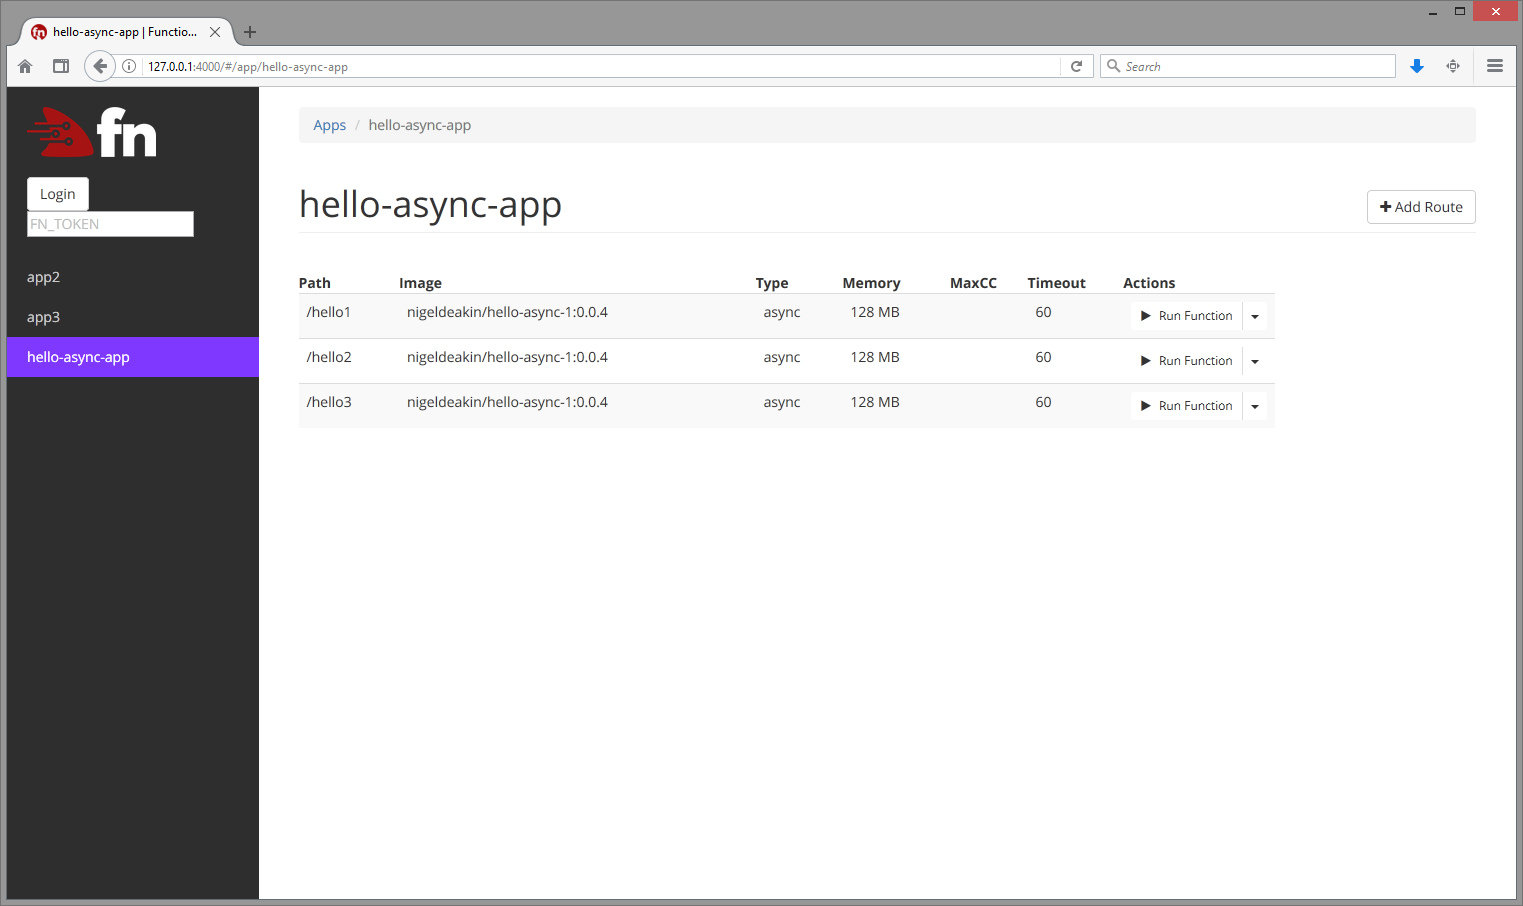
All functions in an app:

## Development
### Setup
#### 1) Install dependencies
```sh
npm install
# if you want webpack globally
sudo npm install -g webpack@^1.14.0
```
#### 2) Start Functions API (see [Fn on GitHub](http://github.com/fnproject/fn))
```sh
fn start
```
#### 3) Compile assets
```sh
# option 1: if global webpack
webpack
# option 2: if local webpack
npx webpack
```
#### 4) Start web server
```sh
PORT=4000 FN_API_URL=http://localhost:8080 npm start
```
* `PORT` - port to run UI on. Optional, 4000 by default
* `FN_API_URL` - Functions API URL. Required
#### 5) View in browser
[http://localhost:4000/](http://localhost:4000/)
#### Configuring log levels
UI uses [console-logging](https://www.npmjs.com/package/config-logger) for server-side logging.
This supports log levels of `debug`, `verbose`, `info`, `warn` and `error`. By default the log level is `info` (this is configured in `config/default.json`). To set a log level of `debug`, use
```
NODE_CONFIG='{"logLevel":"debug"}' PORT=4000 FN_API_URL=http://localhost:8080 npm start
```
### Automated Testing
#### Integration tests
The Fn UI has some basic Selenium integration tests that can be used to automatically test the UI's core functionality. These tests use the `mocha` testing framework as the driver.
To run the tests:
##### 1) Install the Chrome Driver
Download the ChromeDriver from [Google](https://sites.google.com/a/chromium.org/chromedriver/downloads) and put it in a place which is in your path e.g. `/usr/local/bin/chromedriver`.
##### 2) Install the Node dev dependencies
Ensure you have the Node dev dependencies installed with:
```
npm install [--only dev]
```
##### 3) Run the Fn interface
See the instructions above for how to start the Node webserver.
##### 4) Configure your tests
Edit [test_integration/etc/config.yaml](test_integration/etc/config.yaml) accordingly e.g. point `fn_url` to your Fn UI if you're not running it at its default location.
##### 5) Run the tests
```
npm run test-integration
```