https://github.com/frameworkcomputer/dri_prime1-detection
A simple application to verify if desired applications are running with discrete graphics
https://github.com/frameworkcomputer/dri_prime1-detection
Last synced: 12 months ago
JSON representation
A simple application to verify if desired applications are running with discrete graphics
- Host: GitHub
- URL: https://github.com/frameworkcomputer/dri_prime1-detection
- Owner: FrameworkComputer
- License: gpl-2.0
- Created: 2023-12-29T03:08:49.000Z (over 2 years ago)
- Default Branch: main
- Last Pushed: 2025-01-23T14:36:01.000Z (over 1 year ago)
- Last Synced: 2025-07-02T16:17:49.076Z (about 1 year ago)
- Language: Python
- Homepage:
- Size: 12 MB
- Stars: 21
- Watchers: 4
- Forks: 3
- Open Issues: 3
-
Metadata Files:
- Readme: README.md
- License: LICENSE
Awesome Lists containing this project
README
# Discrete graphics usage detection
A simple application to verify if desired applications are running with discrete graphics
## Indicates which processes are using discrete graphics, provides process name and ID.
Step 1: Open a terminal window and download the AppImage to your desired directory.
- Ubuntu, Activities, search terminal. Fedora, horizontal line in the upper right, search terminal.
- Copy and paste in the following depending on your specific distro listed below, followed by the enter key.
*Ubuntu LTS users*:
```
sudo apt install libfuse2 python3-pyqt5 && wget https://github.com/FrameworkComputer/dri_prime1-detection/releases/download/AppImage/dGPU-detect.AppImage
```
*Fedora users*:
```
sudo dnf install python3-qt5 && wget https://github.com/FrameworkComputer/dri_prime1-detection/releases/download/AppImage/dGPU-detect.AppImage
```
Step 2: Make it executable.
```
chmod +x dGPU-detect.AppImage
```
Step 4: Run this to detect if the discrete card is used for that application.
>TIP: Alt and Tab keys to move you off of an actively launched game. Thus, allowing you to launch the AppImage. Then Alt Tab back to the game.
`./dGPU-detect.AppImage` or simply double click the downloaded AppImage file.
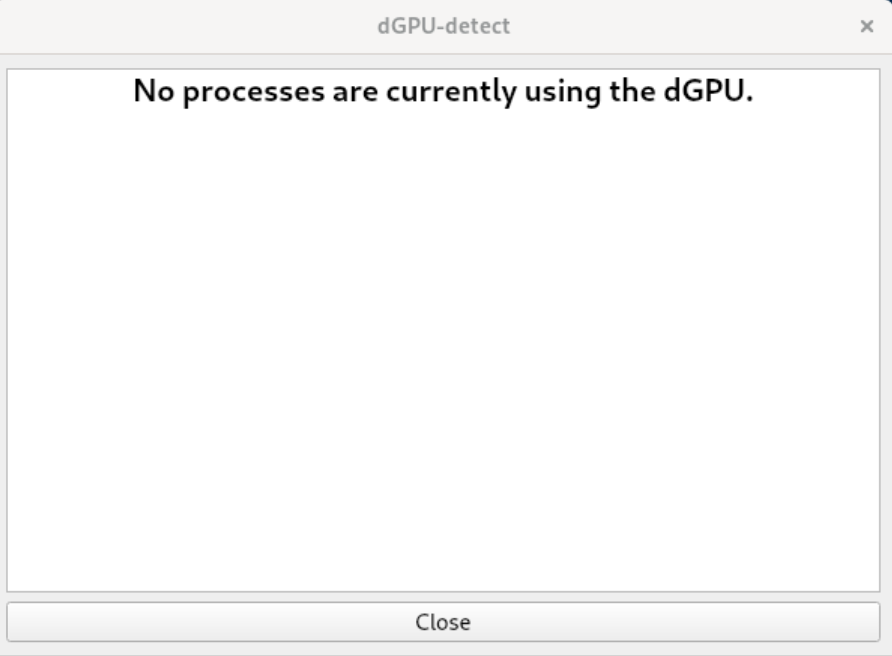
**If the dGPU is not running applications:**
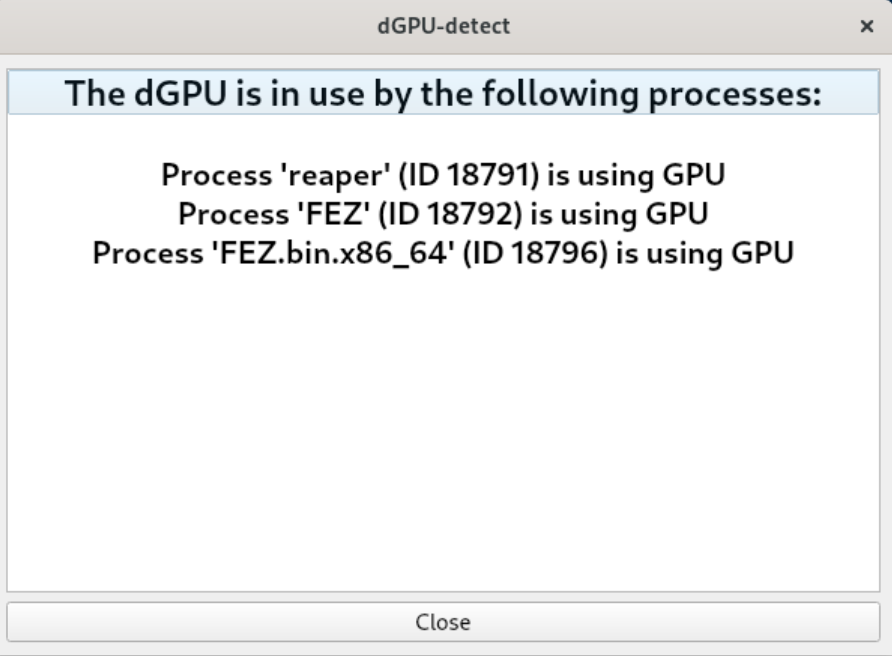
**If the dGPU is running applications:**
-------------------------------------------------------
## Steam game setup instructions for Ubuntu LTS (Long Term Support) - One NVMe drive
### Configure Steam:
- Download Steam from https://store.steampowered.com/about/
- Once the Deb package is downloaded, right click in, install via Software Center.
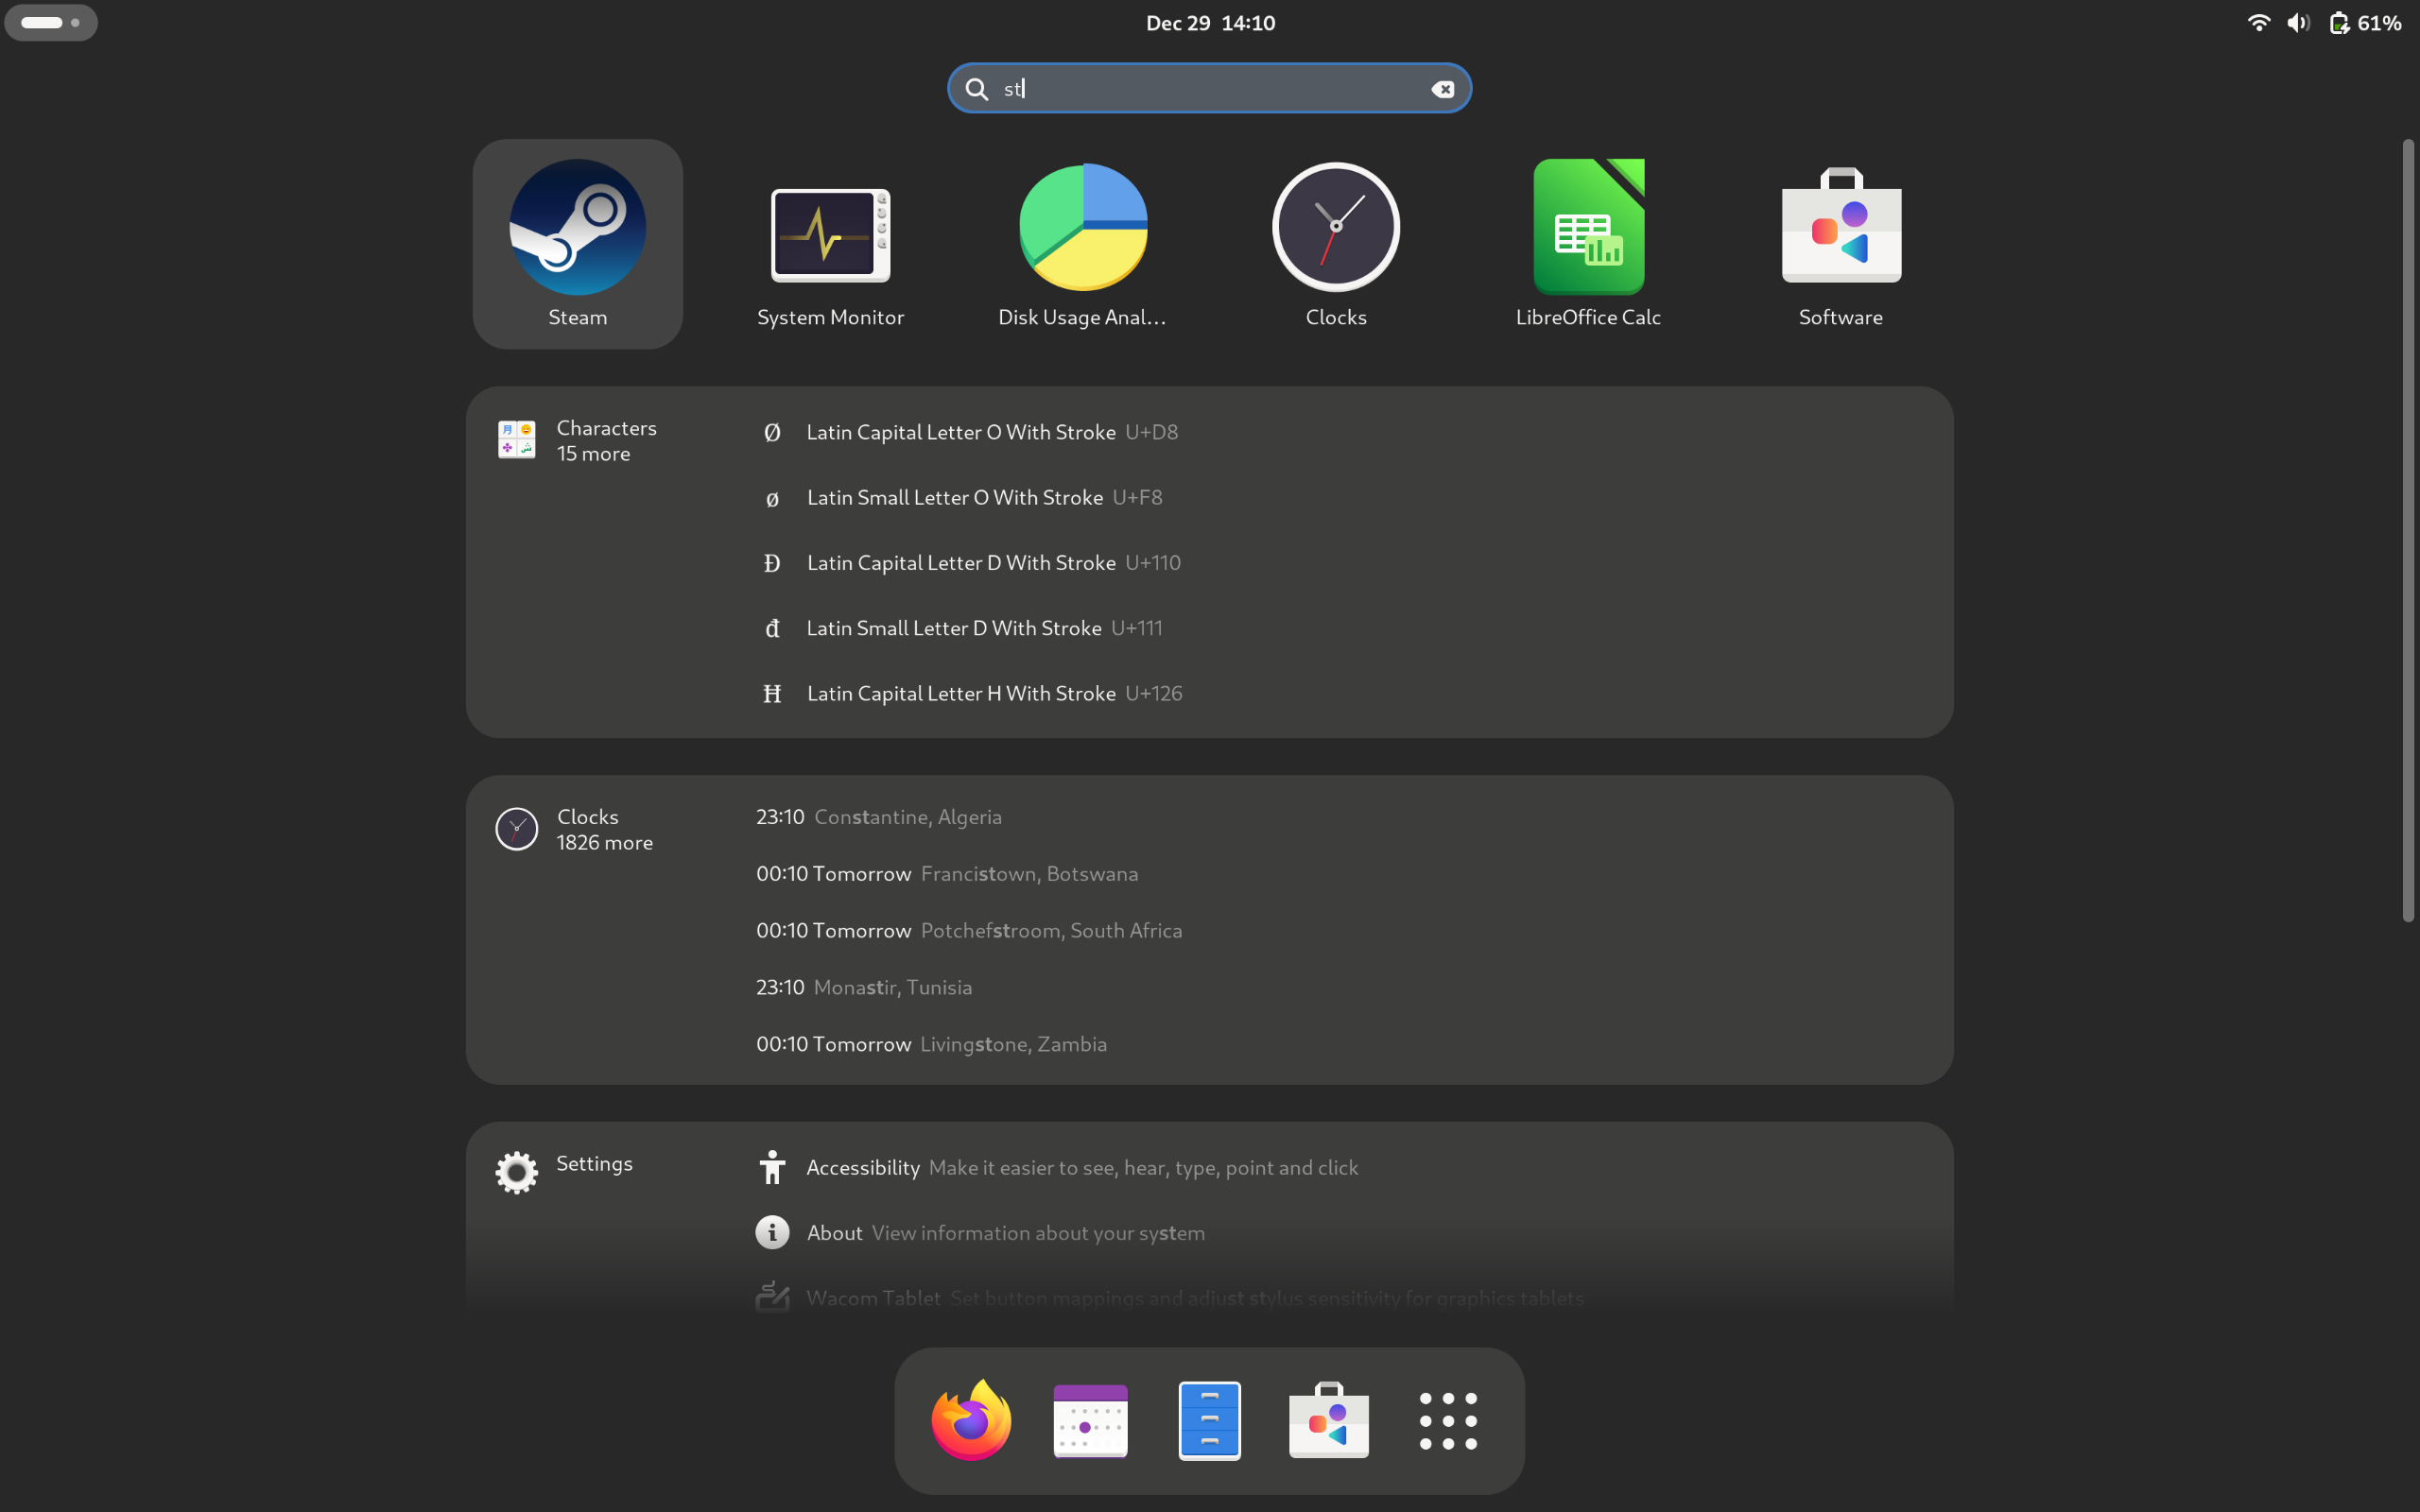
- Once installed, browse to Activities in the upper left corner, search for Steam, **right** click to open it selecting "Launch using integrated graphics."
**(Linux Mint users, just run Steam, no special right clicking needed)**

**With Steam open.**
- Setup compatibility mode as shown below.

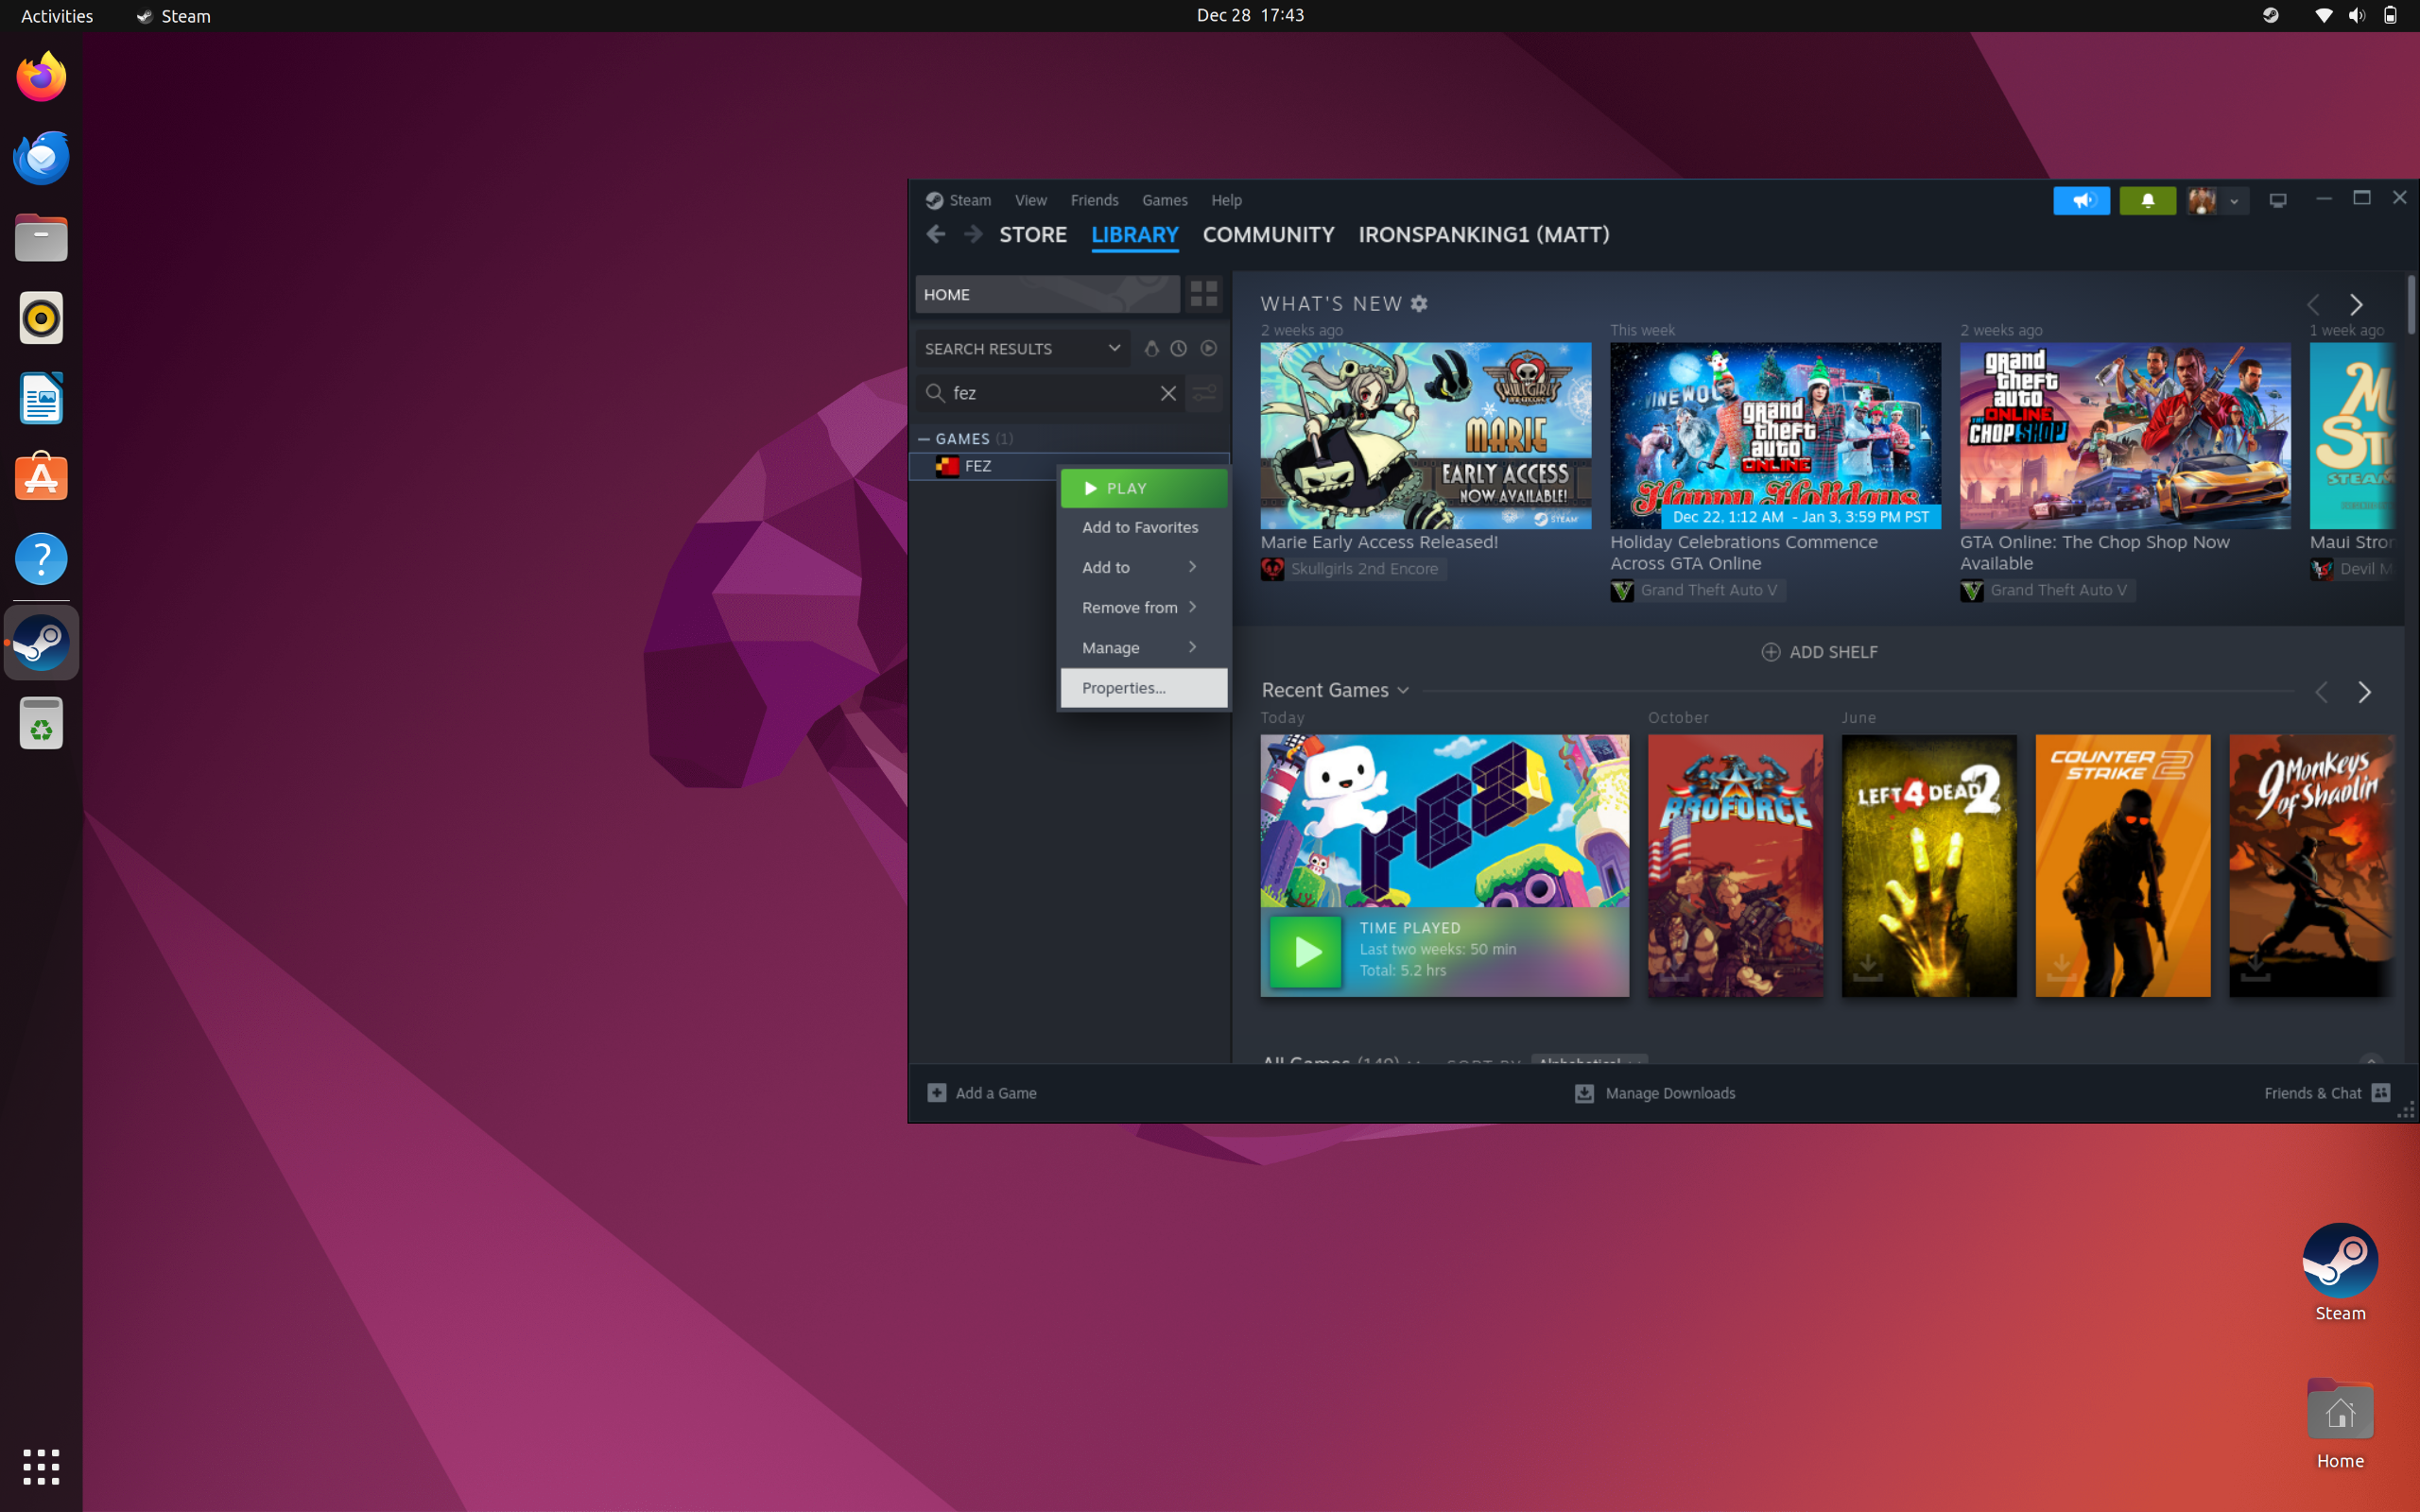
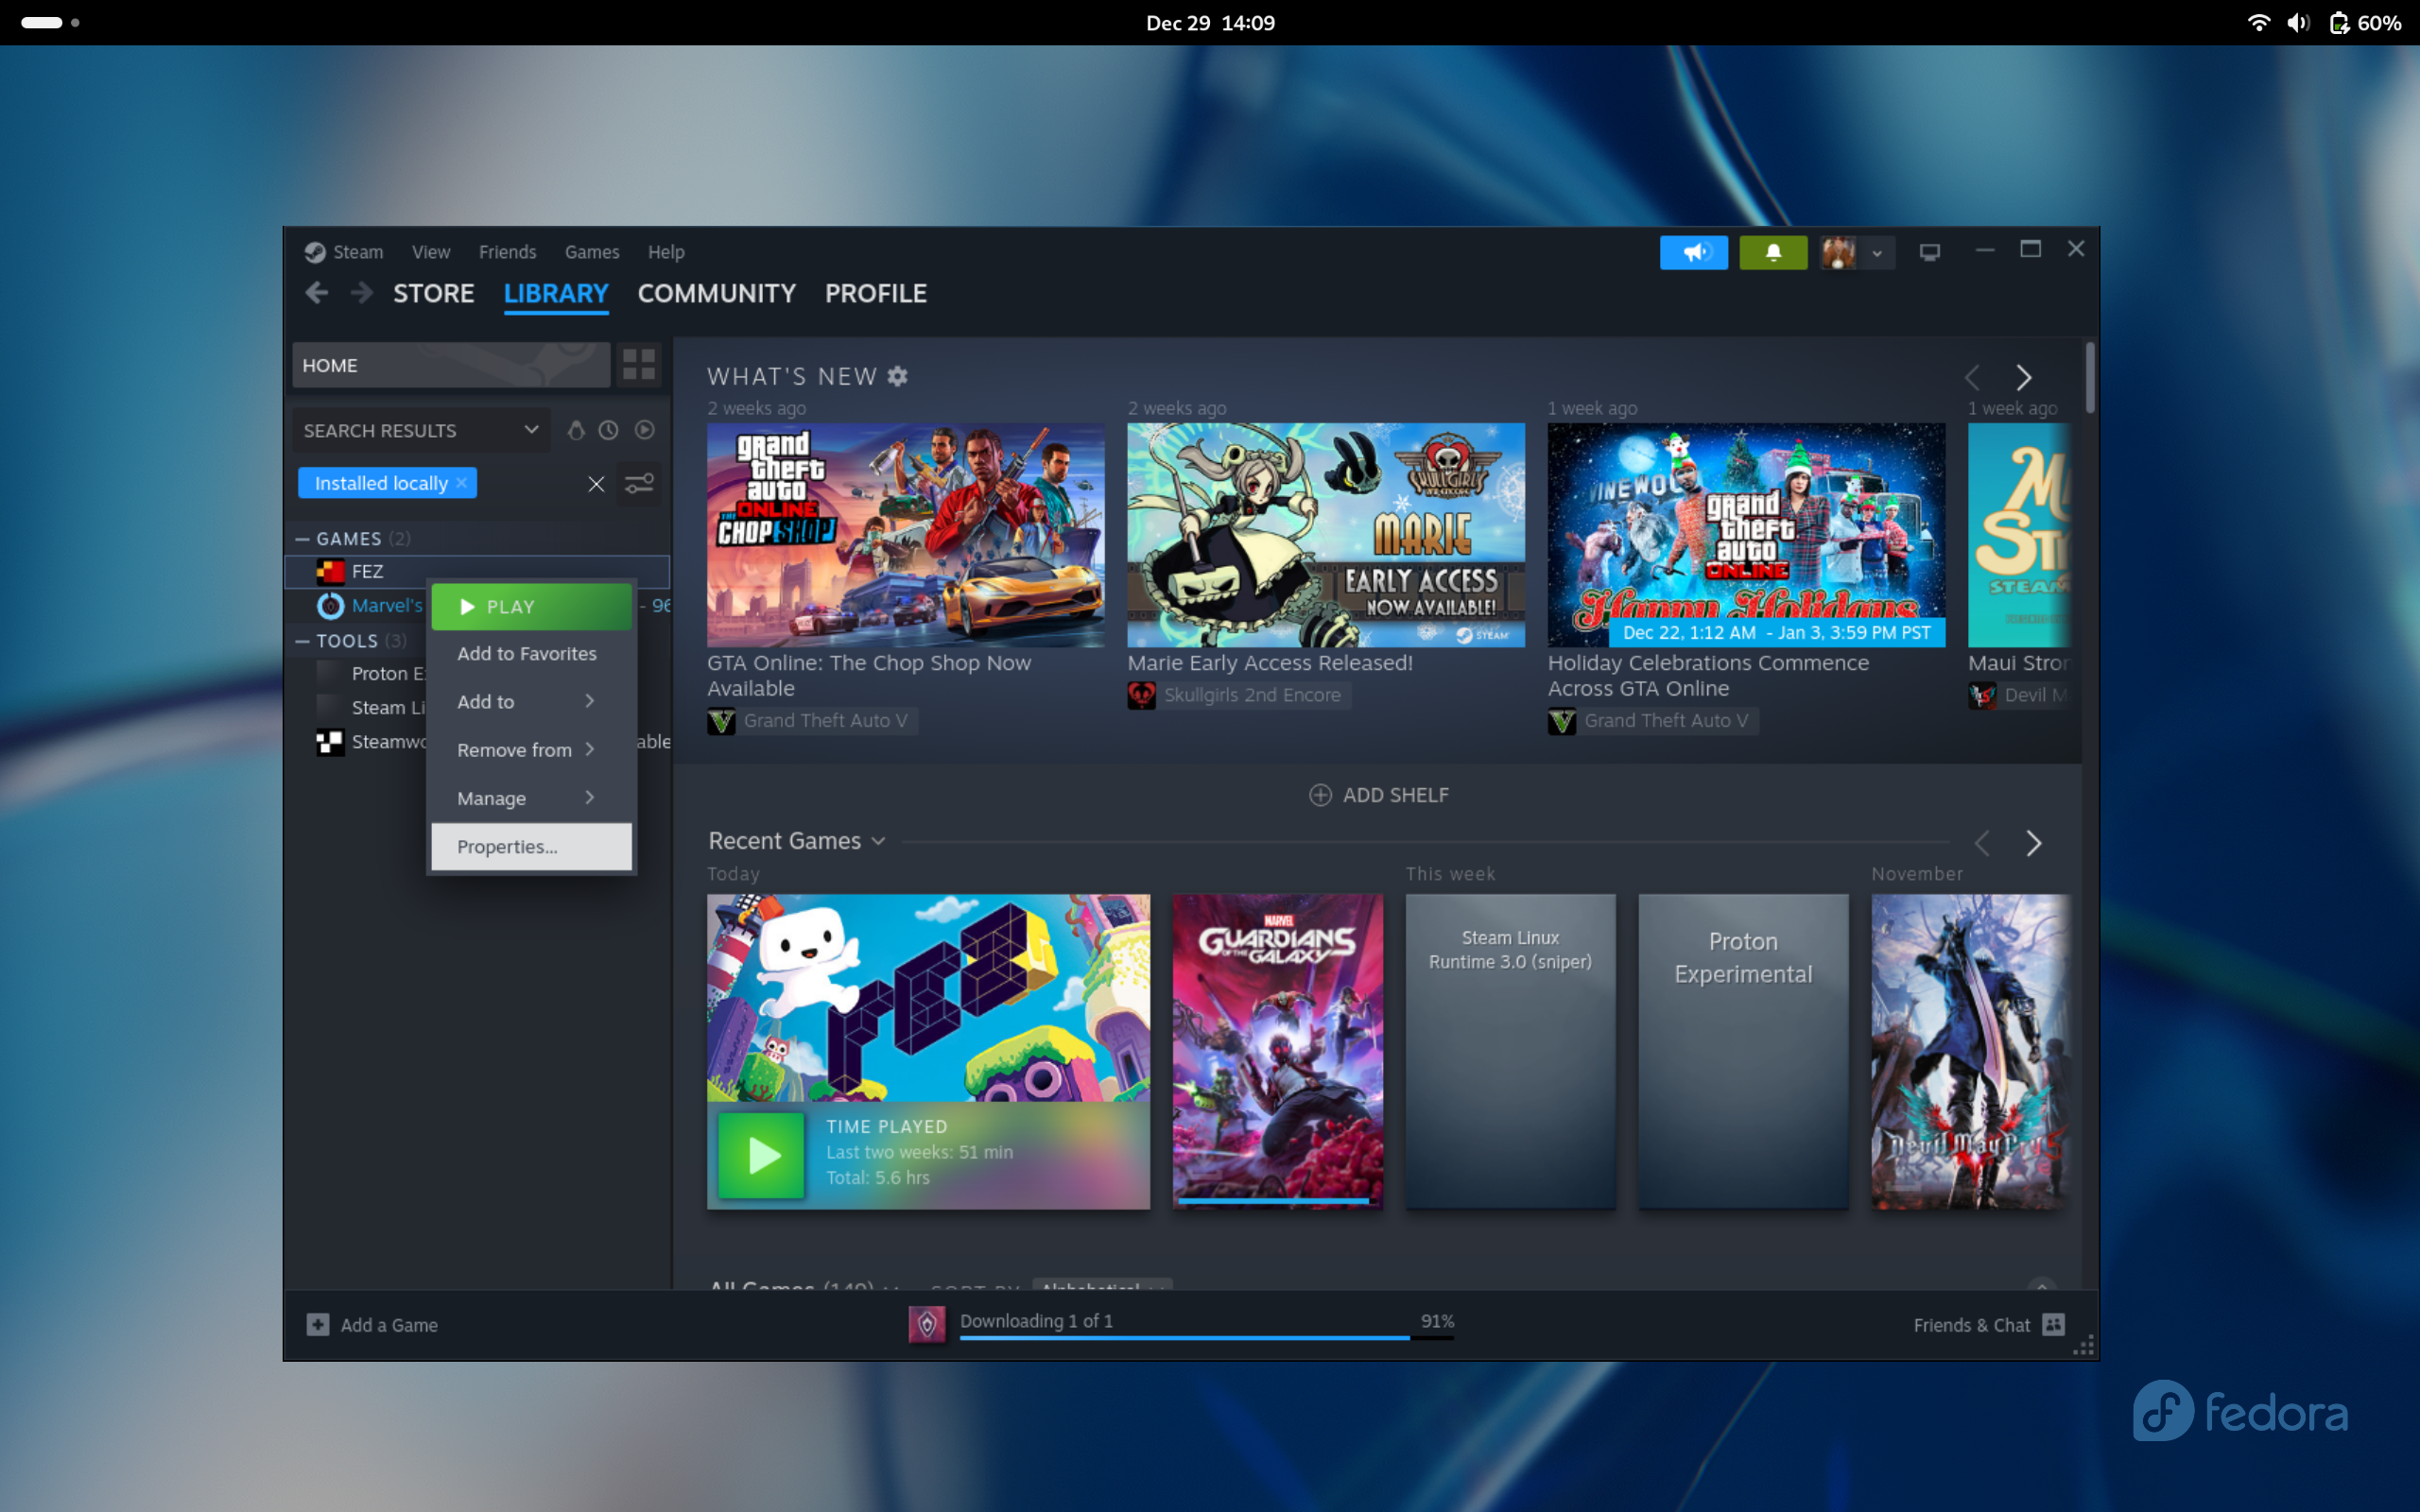
- Locate your game installed already or install it.
- Right click on the game, goto properties.
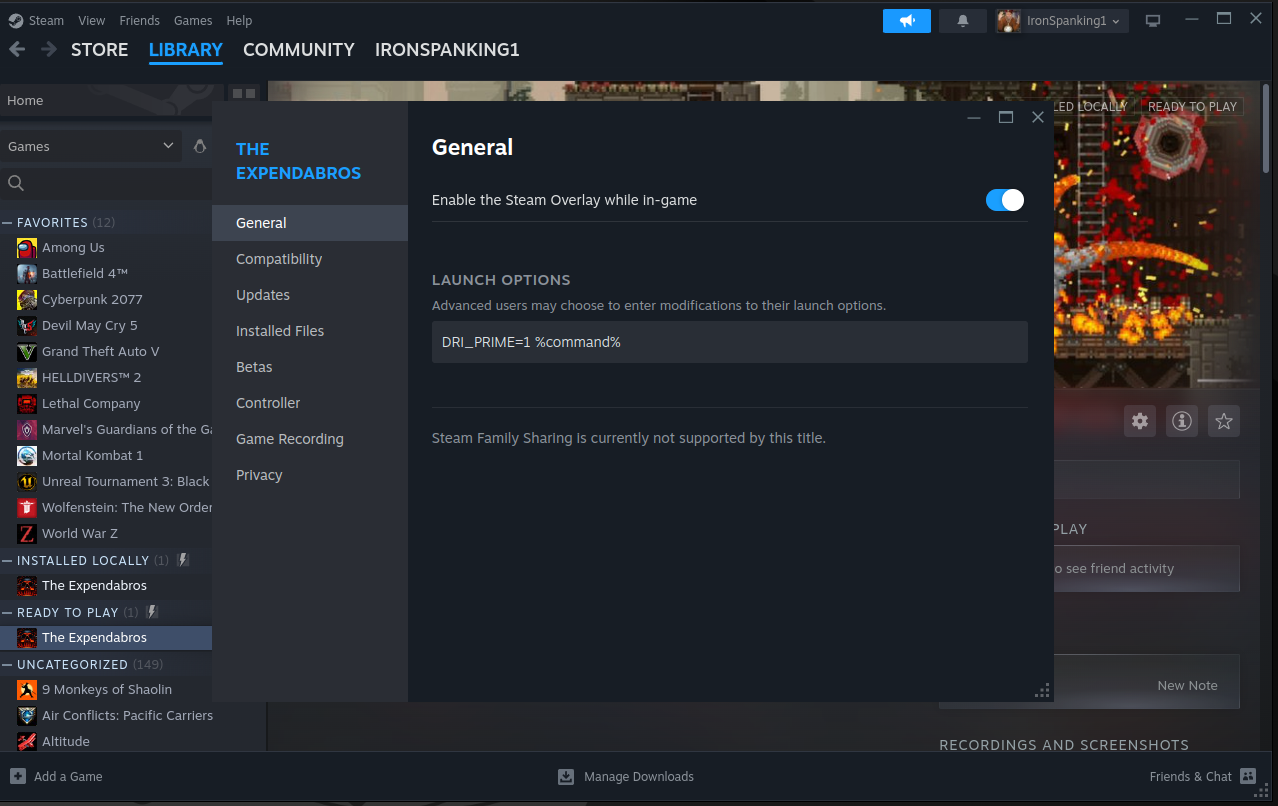
**Launch options section for dGPU users**
- Place the following into your launch options, to ensure you are using the discrete GPU and not the integrated GPU for your game.
```
DRI_PRIME=1 %command%
```
- Close the General box at the X, there is no save button or anything like that.
**NOTE:** Some games may need addtional GPU details
In this case, we'd replace DRI_PRIME=1 %command% and test against:
```
sudo apt update && sudo apt install vulkan-tools -y && vulkaninfo | grep "GPU[0123]" -A 10
```
Verify GPU1 is indeed, AMD Radeon RX 7700S (RADV NAVI33).
Now in the launch options:
```
DRI_PRIME=1 DXVK_FILTER_DEVICE_NAME="AMD Radeon RX 7700S (RADV NAVI33)" %command%
```
-------------------------------------------------------
## Steam game setup instructions for Ubuntu LTS (Long Term Support) - Two NVMe drives, installing games to secondary drive
### Get your secondary drive ready
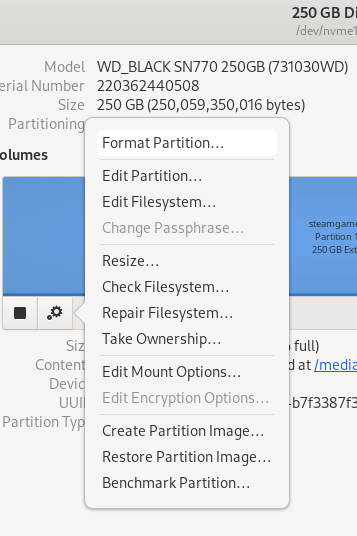
- Open Disks program, label as steamgames,format to Ext4. Close Disks.
### Beginner method for Ubuntu LTS:
[Auto-mount second drive script.](https://github.com/FrameworkComputer/steam-drive-mounter/blob/main/README.md#steam-drive-mounter)
### Advanced method for Ubuntu LTS:
- Open a terminal from the horizontal line in the upper left, search Terminal and open it.
```
cd /media && sudo mkdir steamgames
```
- Let's get the ownership and permissions sorted correctly.
```
sudo chown $USER:$USER steamgames/ && sudo chmod 700 steamgames/
```
Let's check our work:
```
ls -ld steamgames/
```
- You should see something like: drwx------. 1 youruser youruser 0 Month day 00:00 steamgames/
- Now, we need to get this directory to a place where it identifies as the secondary NVMe drive.
```
sudo blkid | grep 'steamgames' | awk '{print $0}'
```
- As we labeled the drive as steamgames, we were able use awk to easily locate it and see something like this:
```
/dev/nvme1n1p1: LABEL="steamgames" UUID="xxxxxxxxxxxxxxxxxxxxxxxxxxxxxxxxxxxx" BLOCK_SIZE="4096" TYPE="ext4" PARTUUID="xxxxxxxxxxxxxxxxxxxxxxxxxxxxxxxxxxxx"
```
- We want the section (and yours will differ) UUID="b767cc57-0262-4ba5-be9d-b7f3387f3d59"
- Now that we have this, we need to get this mounted by default and, make sure it plays nicely with Steam.
- First, let's backup our fstab so if something goes horribly wrong, you can tell support you broke fstab, but you have a backup we can restore from. We'll open open the file from here as well.
```
sudo cp /etc/fstab /etc/fstab.bak && sudo nano /etc/fstab
```
- Append the following to the bottom of your file, remember, we are using YOUR UUID found in your blkid results:
```
UUID=xxxxxxxxxxxxxxxxxxxxxxxxxxxxxxxxxxxx /media/steamgames ext4 rw,users,exec,auto 0 0
```
- Save the file with Ctrl X. Y key when asked.
- Now reboot.
### Configure Steam:
- Download Steam from https://store.steampowered.com/about/
- Once the Deb package is downloaded, right click in, install via Software Center.
- Once installed, browse to Activities in the upper left corner, search for Steam, **right** click to open it selecting "Launch using integrated graphics."
**(Linux Mint users, just run Steam, no special right clicking needed)**

**With Steam open.**
- Setup compatibility mode as shown below.

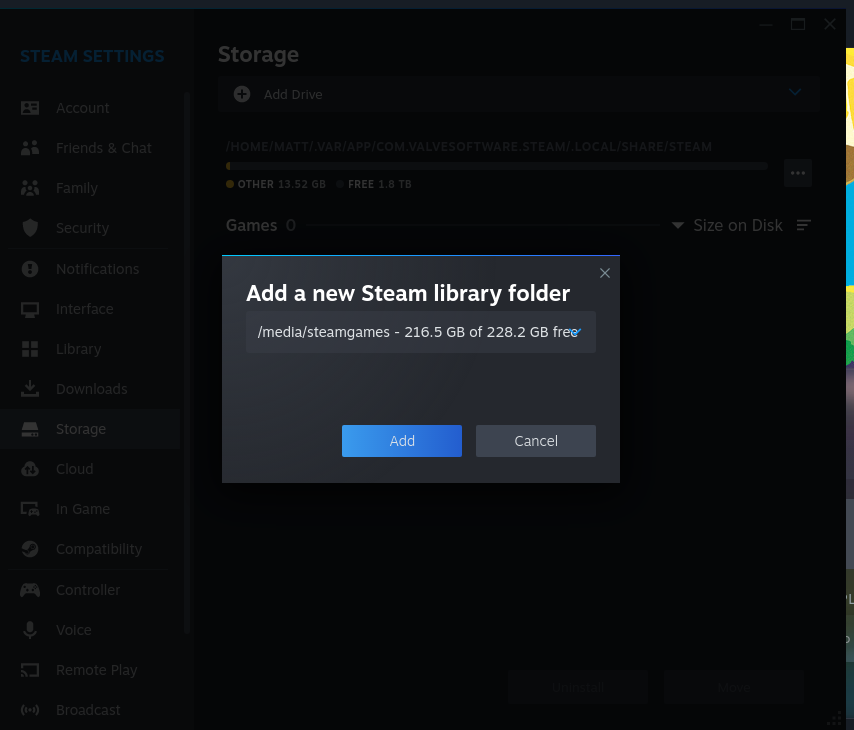
- Upper left menu option called "Steam", pull down, select "Settings", go down to "Storage".
- Click Add Drive, choose Add a new Steam library folder - the option will appear like it does here. Close the settings dialog.
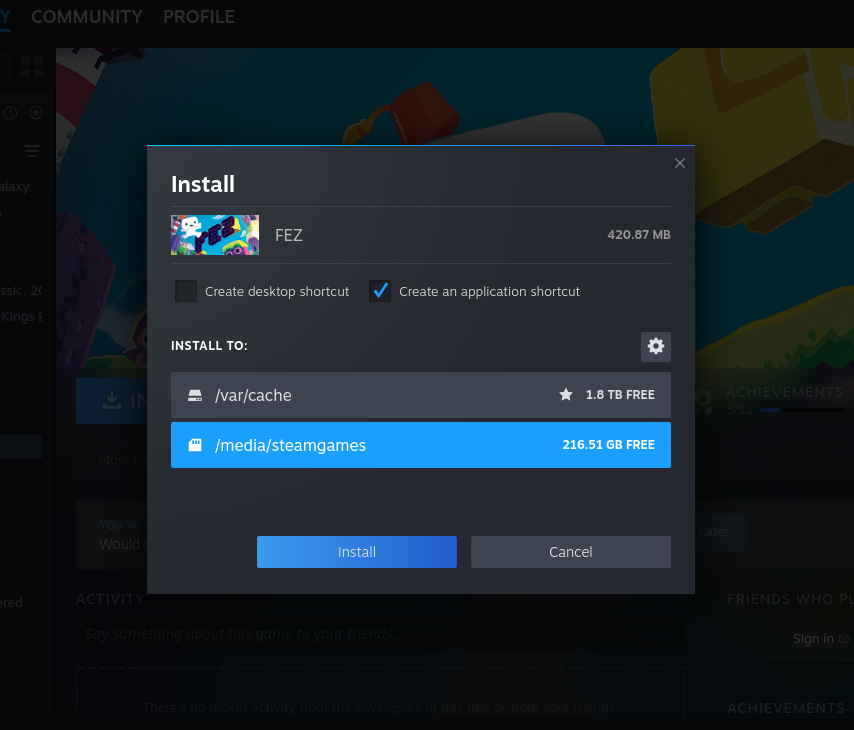
- Locate your game, install it to steamgames drive.
- Right click on the game, goto properties.

**Launch options section for dGPU users**
- Place the following into your launch options, to ensure you are using the discrete GPU and not the integrated GPU for your game.
```
DRI_PRIME=1 %command%
```

- Close the General box at the X, there is no save button or anything like that.
**NOTE:** Some games may need addtional GPU details
In this case, we'd replace DRI_PRIME=1 %command% and test against:
```
sudo apt update && sudo apt install vulkan-tools -y && vulkaninfo | grep "GPU[0123]" -A 10
```
Verify GPU1 is indeed, AMD Radeon RX 7700S (RADV NAVI33).
Now in the launch options:
```
DRI_PRIME=1 DXVK_FILTER_DEVICE_NAME="AMD Radeon RX 7700S (RADV NAVI33)" %command%
```
-------------------------------------------------------
## Steam game setup instructions for Fedora - One NVMe drive
### Configure Steam:
- Install Steam from the Software application in the dock. Search for Steam install the **Flatpak**.
- Once installed, browse to the horizontal line in the upper left corner, click to open it, search for Steam.
**With Steam open.**
- Setup compatibility mode as shown below.

- Locate your game installed already or install it.
- Right click on the game, goto properties.
**Launch options section for dGPU users**
- Place the following into your launch options, to ensure you are using the discrete GPU and not the integrated GPU for your game.
```
DRI_PRIME=1 %command%
```

- Close the General box at the X, there is no save button or anything like that.
**NOTE:** Some games may need addtional GPU details
In this case, we'd replace DRI_PRIME=1 %command% and test against:
```
sudo dnf install vulkan-tools -y && vulkaninfo | grep "GPU[0123]" -A 10
```
Verify GPU1 is indeed, AMD Radeon RX 7700S (RADV NAVI33).
Now in the launch options:
```
DRI_PRIME=1 DXVK_FILTER_DEVICE_NAME="AMD Radeon RX 7700S (RADV NAVI33)" %command%
```
-------------------------------------------------------
## Steam game setup instructions for Fedora - Two NVMe drives, installing games to secondary drive
### Get your secondary drive ready

### Beginner method:
[Auto-mount second drive script.](https://github.com/FrameworkComputer/steam-drive-mounter/blob/main/README.md#steam-drive-mounter)
### Advanced method:
- Open Disks program, label as steamgames,format to Ext4. Close Disks.
- Open a terminal from the horizontal line in the upper left, search Terminal and open it.
```
cd /media && sudo mkdir steamgames
```
- Let's get the ownership and permissions sorted correctly.
```
sudo chown $USER:$USER steamgames/ && sudo chmod 700 steamgames/
```
Let's check our work:
```
ls -ld steamgames/
```
- You should see something like: drwx------. 1 youruser youruser 0 Month day 00:00 steamgames/
- Now, we need to get this directory to a place where it identifies as the secondary NVMe drive.
```
sudo blkid | grep 'steamgames' | awk '{print $0}'
```
- As we labeled the drive as steamgames, we were able use awk to easily locate it and see something like this:
```
/dev/nvme1n1p1: LABEL="steamgames" UUID="xxxxxxxxxxxxxxxxxxxxxxxxxxxxxxxxxxxx" BLOCK_SIZE="4096" TYPE="ext4" PARTUUID="xxxxxxxxxxxxxxxxxxxxxxxxxxxxxxxxxxxx"
```
- We want the section (and yours will differ) UUID="b767cc57-0262-4ba5-be9d-b7f3387f3d59"
- Now that we have this, we need to get this mounted by default and, make sure it plays nicely with Steam.
- First, let's backup our fstab so if something goes horribly wrong, you can tell support you broke fstab, but you have a backup we can restore from. We'll open open the file from here as well.
```
sudo cp /etc/fstab /etc/fstab.bak && sudo nano /etc/fstab
```
- Append the following to the bottom of your file, remember, we are using YOUR UUID found in your blkid results:
```
UUID=xxxxxxxxxxxxxxxxxxxxxxxxxxxxxxxxxxxx /media/steamgames ext4 rw,users,exec,auto 0 0
```
- Save the file with Ctrl X. Y key when asked.
- Now reboot.
### Configure Steam:
- Install Steam from the Software application in the dock. Search for Steam install the **Flatpak**.
- Do the same by installing an application called Flatseal - this is what will bridge together your Steam flatpak and your games drive.
- Once installed, browse to the horizontal line in the upper left corner, click to open it, search for Steam.
**Setup Flatseal**
- Open Flatseal.
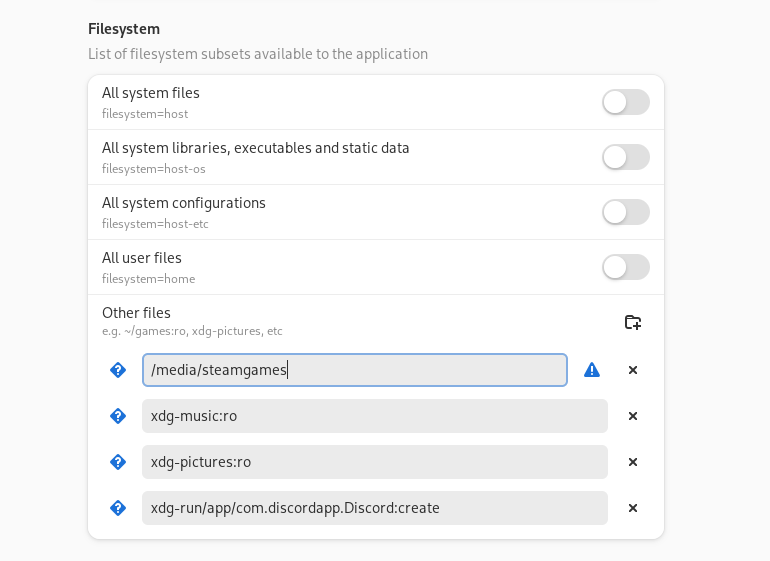
- In Flatseal, for **Steam**, set **Filesystem**, Other files as **/media/steamgames**
- Close Flatseal, just x out of it. Nothing to save.
- Open Steam, *launch Steam normally with a single left click*.

**With Steam open.**
- Setup compatibility mode as shown below.

- Upper left menu option called "Steam", pull down, select "Settings", go down to "Storage".
- Click Add Drive, choose Add a new Steam library folder - the option will appear like it does here. Close the settings dialog.

- Locate your game, install it to steamgames drive.

- Right click on the game, goto properties.

**Launch options section for dGPU users**
- Place the following into your launch options, to ensure you are using the discrete GPU and not the integrated GPU for your game.
```
DRI_PRIME=1 %command%
```

- Close the General box at the X, there is no save button or anything like that.
**NOTE:** Some games may need addtional GPU details
In this case, we'd replace DRI_PRIME=1 %command% and test against:
```
sudo dnf install vulkan-tools -y && vulkaninfo | grep "GPU[0123]" -A 10
```
Verify GPU1 is indeed, AMD Radeon RX 7700S (RADV NAVI33).
Now in the launch options:
```
DRI_PRIME=1 DXVK_FILTER_DEVICE_NAME="AMD Radeon RX 7700S (RADV NAVI33)" %command%
```
-------------------------------------------------------