https://github.com/functionland/rpi-image
This repository holds hte images for rpi CM4 version of fulatower
https://github.com/functionland/rpi-image
Last synced: 3 months ago
JSON representation
This repository holds hte images for rpi CM4 version of fulatower
- Host: GitHub
- URL: https://github.com/functionland/rpi-image
- Owner: functionland
- License: mit
- Created: 2024-04-10T03:27:42.000Z (about 2 years ago)
- Default Branch: main
- Last Pushed: 2024-04-13T20:14:42.000Z (about 2 years ago)
- Last Synced: 2025-10-28T09:44:16.107Z (8 months ago)
- Size: 9.77 KB
- Stars: 0
- Watchers: 2
- Forks: 2
- Open Issues: 0
-
Metadata Files:
- Readme: README.md
- License: LICENSE
Awesome Lists containing this project
README
---
title: Re-imaging CM4
---
## Re-imaging CM4
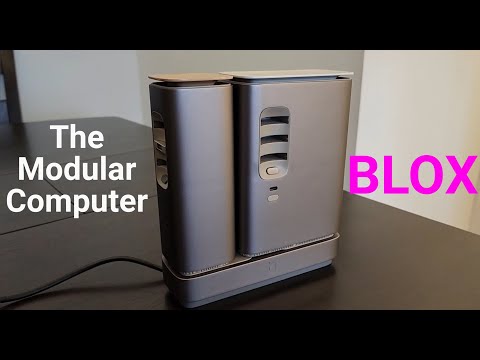
If for any reason the CM4 fulatower gets stuck in a blue/white light without going through the whole boot process, or it is not connected to the Wi-Fi or propagating the FxBlox hotspot, you need to perform a full re-image. This process requires you to first open the tower, which involves unscrewing parts of it. The process of opening the tower is shown in the video below:
[](https://youtu.be/feBov6U_kJs?t=246)
### Steps for Re-imaging
1. **Unplug the Tower from Power**
Ensure the tower is not connected to any power source before proceeding.
2. **Opening the Tower**
Follow the instructions in the video linked above to open the tower safely.
3. **Connect the USB-C Port**
Connect the USB-C port on the side of the tower to your laptop or PC.

4. **Short Circuit the Two Pins**
Short circuit the two pins located on the bottom left side of the Raspberry Pi module. You can use anything to short circuit them, like putting hte head of a USC-C cable between them. but make sure hte material you are using is conductive nad not Aluminum for example (key rings for example are usually aluminum)

5. **Power On the Tower**
Plug the tower back into power. It should display a blue/white light and remain like that, indicating it is in image mode. You can remove the short circuit from step 4 at this stage.
6. **Installing and Running rpiboot**
- **For Windows:**
- Download and install rpiboot from [here](https://github.com/raspberrypi/usbboot/raw/master/win32/rpiboot_setup.exe).
- Type `rpiboot` in your search bar and run it. After a few seconds it starts printing some stuff and automatically closes after 15 seconds or so. Wait for the terminal to close before proceeding.
- **For Mac:**
```
git clone --recurse-submodules --shallow-submodules --depth=1 https://github.com/raspberrypi/usbboot
cd usbboot
brew install libusb
brew install pkg-config
make
sudo ./rpiboot
```
After a few seconds it starts printing some stuff and automatically closes after 15 seconds or so. Wait for the terminal to close before proceeding.
7. **Download the Latest Image**
Download the latest image for your CM4, from [the official GitHub repository](https://github.com/functionland/rpi-image/releases/latest). Download all the files that start with `rpi_cm4_fulimage` into one folder on your computer.
8. **Unzip the Image Content**
Right click on the one that ends with `.zip.001` and use [7zip application](https://www.7-zip.org/download.html) to extract. Extract the contents of the downloaded image to a known location on your computer.
9. **Install and Run Raspberry Pi Imager**
- **For Windows:** Download from [here](https://downloads.raspberrypi.org/imager/imager_latest.exe).
- **For Mac:** Download from [here](https://downloads.raspberrypi.org/imager/imager_latest.dmg).
10. **Configure Raspberry Pi Imager**
Open Raspberry Pi Imager and select the following:
- **Raspberry Pi Device:** RASPBERRY PI 4
- **Operating System:** Scroll down and choose "custom image," then select the `.img` file inside the folder you unzipped in the previous step.
- **Storage:** Click on "Choose storage" and select the newly added storage, which should be around 30GB and named RPi-Msd.

11. **Start the Imaging Process**
Click "Next." Choose "No" for the first popup asking if you want custom configs, and "Yes" for the second one asking for confirmation.
12. **Wait for Completion**
The imaging process might take about 3 hours. Please be patient.
13. **Final Steps**
After completion, remove the short circuit from the pins, disconnect the USB-C cable connecting the tower to the computer, and then unplug and re-plug the tower to power.
14. **Set Up Using FxBlox App**
Now that you have the updated fulatower, use the FxBlox app to set it up. There's no need for any other manual updates.
15. **Closing the Tower**
Once you've confirmed a successful setup through the FxBlox app, close up the tower again to protect it from damage.
- If at the end of setup, you see a message that the app could not connect to Blox, Close the app, unplug and re-plug the blox and wait for 1 minute and open the app.