https://github.com/heritageholdings/passkey-example
An example repository showcasing end-to-end passkey registration and authentication on a mobile app using Node.js and React Native
https://github.com/heritageholdings/passkey-example
effect-ts nodejs passkey passkeys-demo passwordless react-native simplewebauthn webauthn
Last synced: over 1 year ago
JSON representation
An example repository showcasing end-to-end passkey registration and authentication on a mobile app using Node.js and React Native
- Host: GitHub
- URL: https://github.com/heritageholdings/passkey-example
- Owner: heritageholdings
- License: mit
- Created: 2023-11-29T23:16:20.000Z (over 2 years ago)
- Default Branch: main
- Last Pushed: 2024-11-29T19:14:47.000Z (over 1 year ago)
- Last Synced: 2024-11-29T20:22:30.896Z (over 1 year ago)
- Topics: effect-ts, nodejs, passkey, passkeys-demo, passwordless, react-native, simplewebauthn, webauthn
- Language: TypeScript
- Homepage:
- Size: 5.53 MB
- Stars: 15
- Watchers: 3
- Forks: 2
- Open Issues: 8
-
Metadata Files:
- Readme: README.md
- License: LICENSE
Awesome Lists containing this project
README
# React Native and Node.js Passwordless Authentication with Passkey
This is an example repository showcasing end-to-end passkey registration and authentication on a mobile app. It uses Node.js with [SimpleWebAuthn]() and React Native with [react-native-passkey](). For more information about the implementation, architecture, and technologies used, please refer to the related articles:
1. [Passwordless Authentication With Passkey: How It Works and Why It Matters](https://medium.com/@heritage.tech/passwordless-authentication-with-passkey-how-it-works-and-why-it-matters-part-1-dcae2a004988)
2. [How to Implement Passwordless Authentication with Passkey using React Native and Node.js - Part 1](https://medium.com/@heritage.tech/how-to-implement-passwordless-authentication-with-passkey-using-react-native-and-node-js-part-1-51e64d1577e6)
3. [How to Implement Passwordless Authentication with Passkey using React Native and Node.js - Part 2](https://medium.com/@heritage.tech/how-to-implement-passwordless-authentication-with-passkey-using-react-native-and-node-js-part-2-3efae8538b5c)
Please remember that this repository serves as a showcase, offering a demonstration of both backend and frontend code essential for implementing passkey authentication. It is important to note that certain simplifications have been incorporated into the code to enhance readability and understanding and is not intended for production use as would be needed to adapt and enhance the code for production environments according to best practices and security standards.
## Prerequisites
- [Node.js](https://nodejs.org/en/) (v18.8.0)
- [Yarn](https://yarnpkg.com/) (v1.22.19)
- [Ruby](https://www.ruby-lang.org/en/) (v3.0.0)
in addition to these, this repository provides a practical demonstration leveraging [Ngrok](https://ngrok.com/) to acquire a complimentary static subdomain and expose your local server to the internet, in order to simplify the configuration required by the Apple associated domains.
For step-by-step guidance on installation, please visit the [Ngrok website](https://ngrok.com/download). Once the installation and registration processes are completed, users can easily procure a free static endpoint through the [Ngrok dashboard](https://dashboard.ngrok.com) under Cloud Edge > Endpoints.
## Setup
- Run `yarn install` to install all dependencies
- Run `cp .env.example .env` to create the `.env` file and fill it with the required values:
| Variable | Description |
| --- |------------------------------------------------------------------------------------------------------------------------------------------------------------------------------------------------------|
| `WEBAUTHN_RPID` | The Relying Party ID (RP ID) is a unique identifier for the Relying Party entity, which is the application that is using WebAuthn to authenticate users. Insert here the Ngrok free static subdomain. |
| `WEBAUTHN_RPORIGIN` | The origin of the Relying Party, automatically valued via `WEBAUTHN_RPID`. |
| `WEBAUTHN_RPNAME` | The name of the Relying Party, you can use whatever name you prefer. |
| `WEBAUTHN_ANDROID_CERT_FINGERPRINTS` | The SHA-256 hashes of the Android key pairs used to sign the app. You can obtain this running `keytool -list -v -keystore app/debug.keystore`, pointing to the app keystore. |
| `WEBAUTHN_IOS_TEAM_ID` | The Team ID of the Apple Developer account used to sign the app. |
- Run `yarn nx run backend:serve:development` to start the backend server
- Run `ngrok http --domain=your-ngrok-domain.ngrok-free.app 3000` to start ngrok and expose the backend server to the internet
- Run `yarn nx prebuild mobile-app` to generate the native iOS and Android projects using Expo Prebuild
- Run `yarn nx run mobile-app:run-ios` to start the iOS app or `yarn nx run mobile-app:run-android` to start the Android app
# Repository organization
The mono-repo is organized following the `nx` monorepo structure, with the following main folders:
- `apps/backend`: contains the backend server, a simple fastify server that exposes the WebAuthn endpoints
- `apps/mobile-app`: contains the mobile app, a simple react-native & expo project that implements the passkey registration and authentication ceremonies
- `libs/api-schema`: contains the shared api schema, used by the backend and the mobile app to define the request and response types and validate the exchanged data
# How to run
If you have followed the setup steps, you should have the backend server running on your local machine and the mobile app running on your device/emulator.
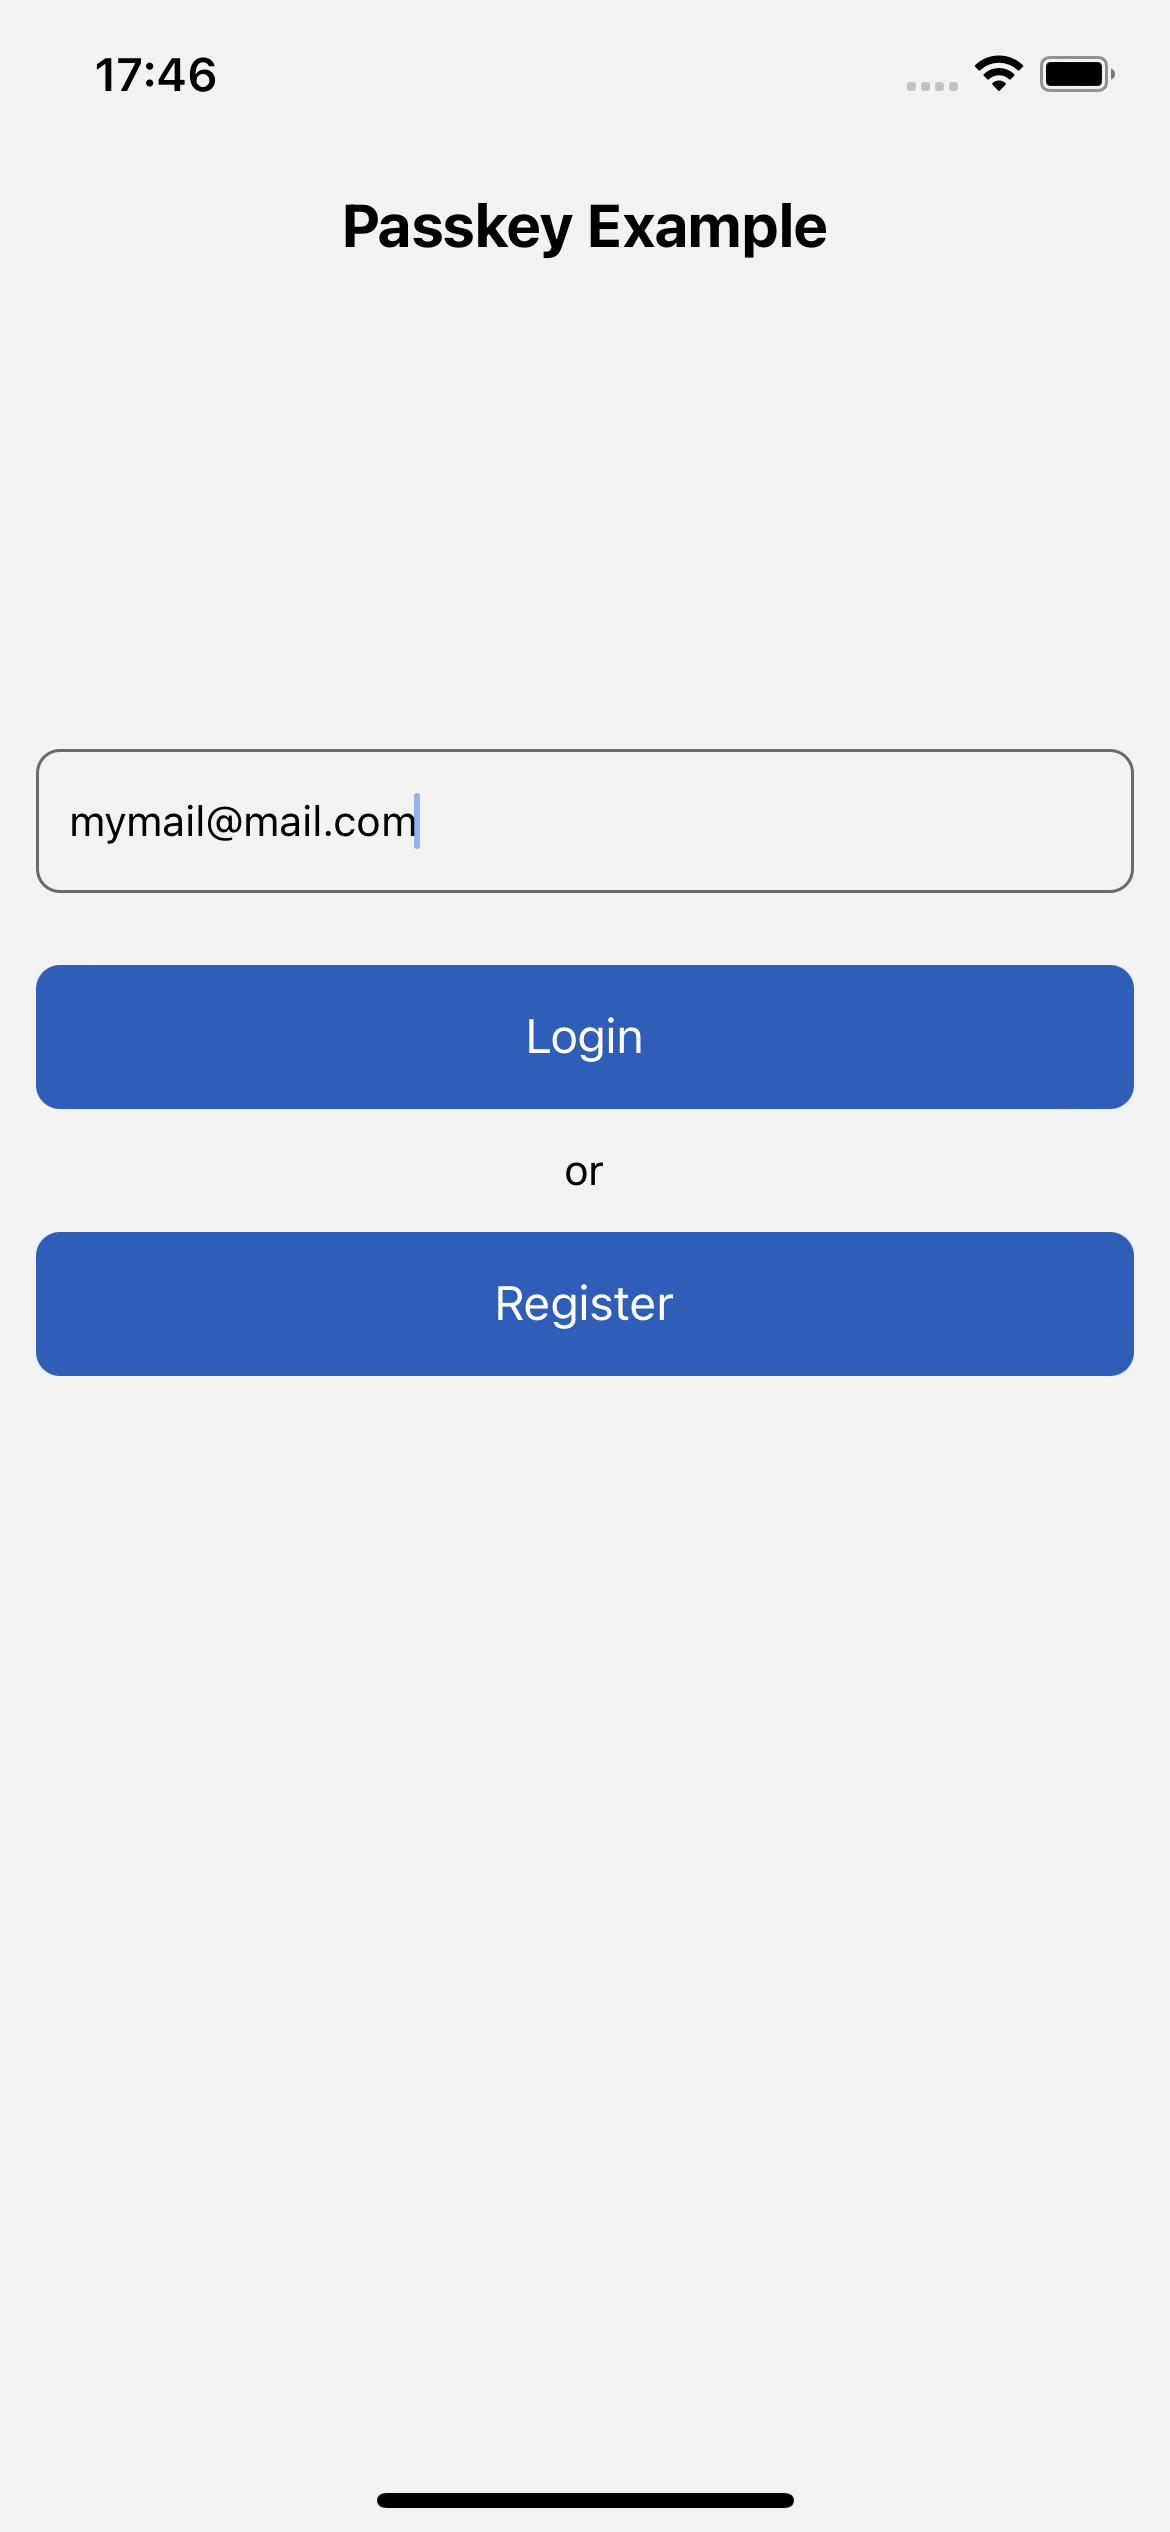
The mobile app will allow you to register a new credential, inserting an email and pressing the `Register` button.
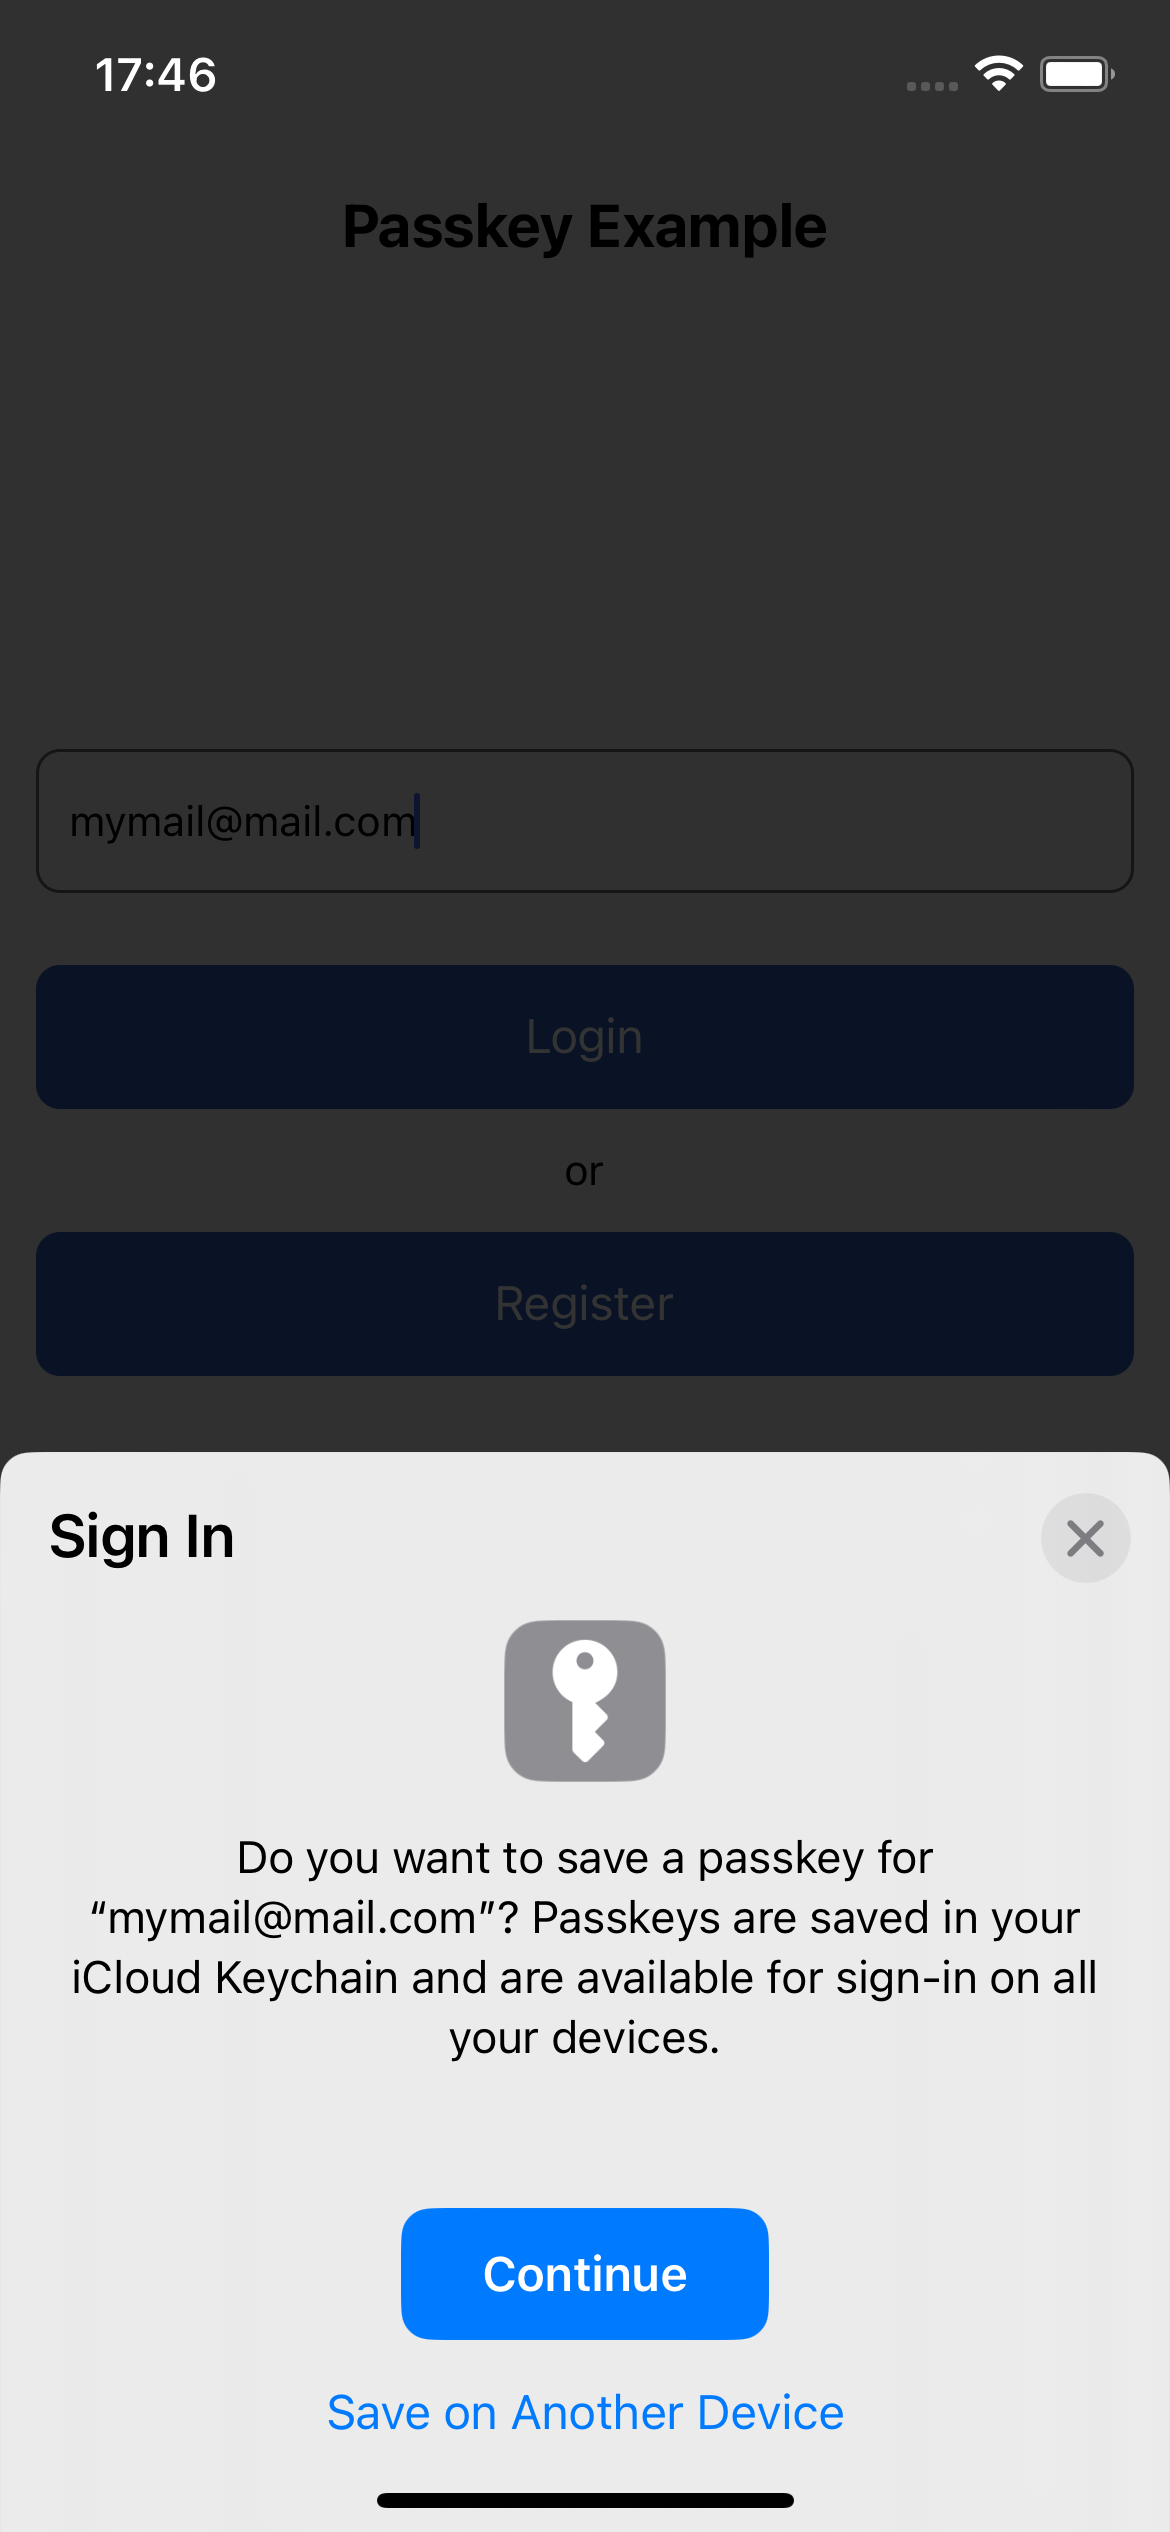
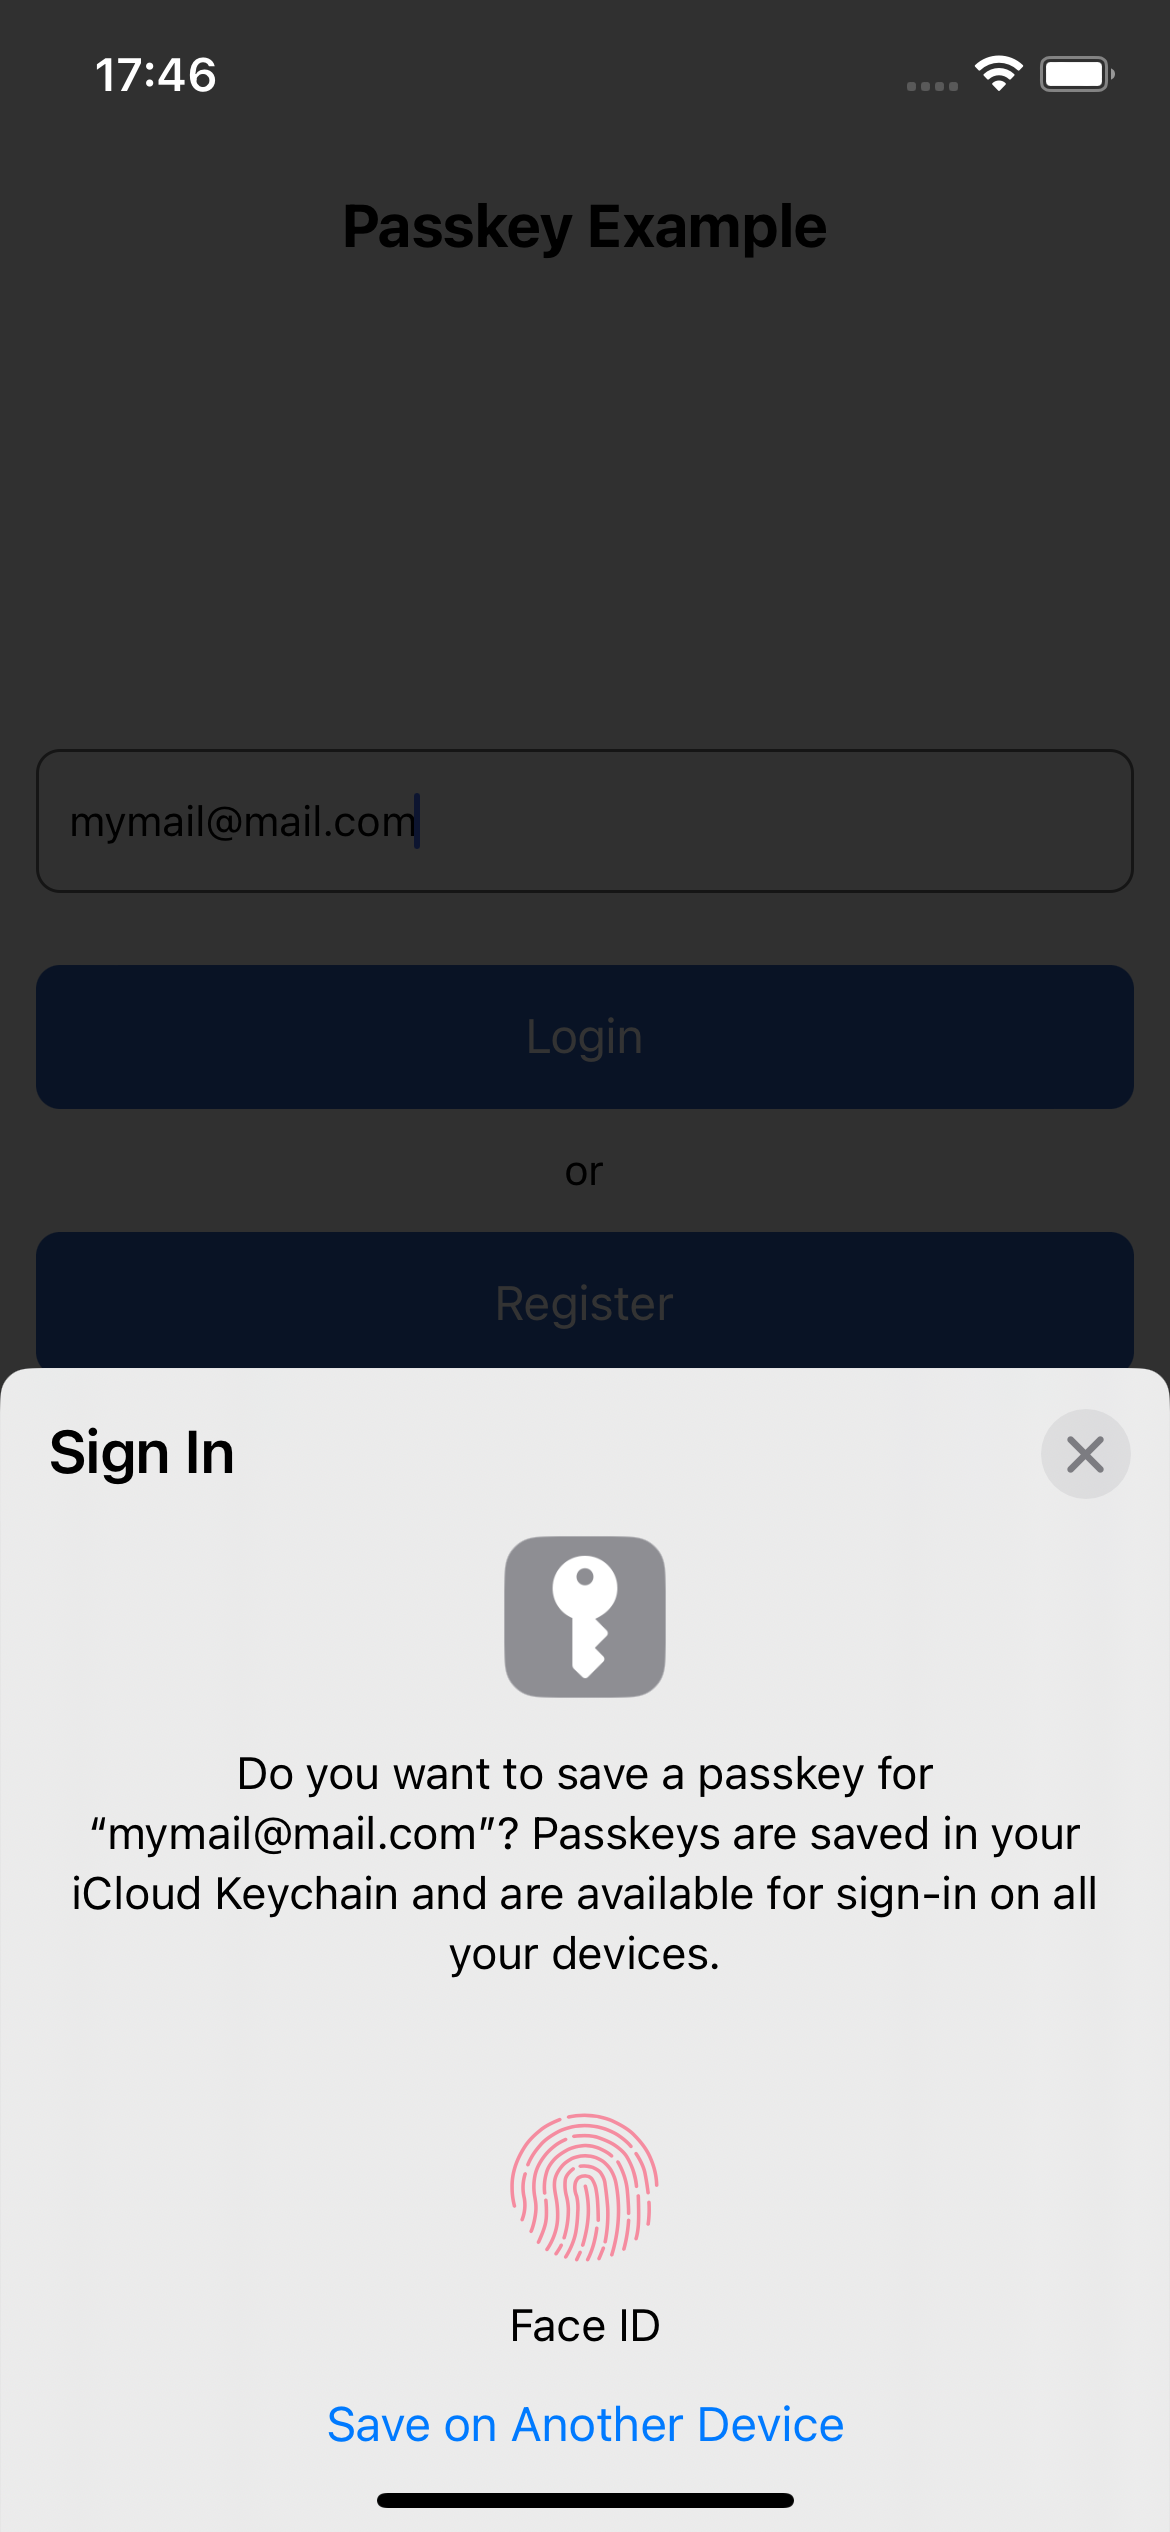
If everything is configured correctly, the new passkey registration ceremony should begin and the user is prompted to register a new passkey by authenticating via biometric
| Login / Registration | Passkey Registration | Passkey Registration with Face ID |
|----------------------------------------------------------------------------------------------------------------------------------------------------------------------------|----------------------------------------------------------------------------------------------------------------------------------------------------------------------------|---------------------------------------------------------------------------------------------------------------------------------------------------------------------------|
|  |
|  |
|  |
|
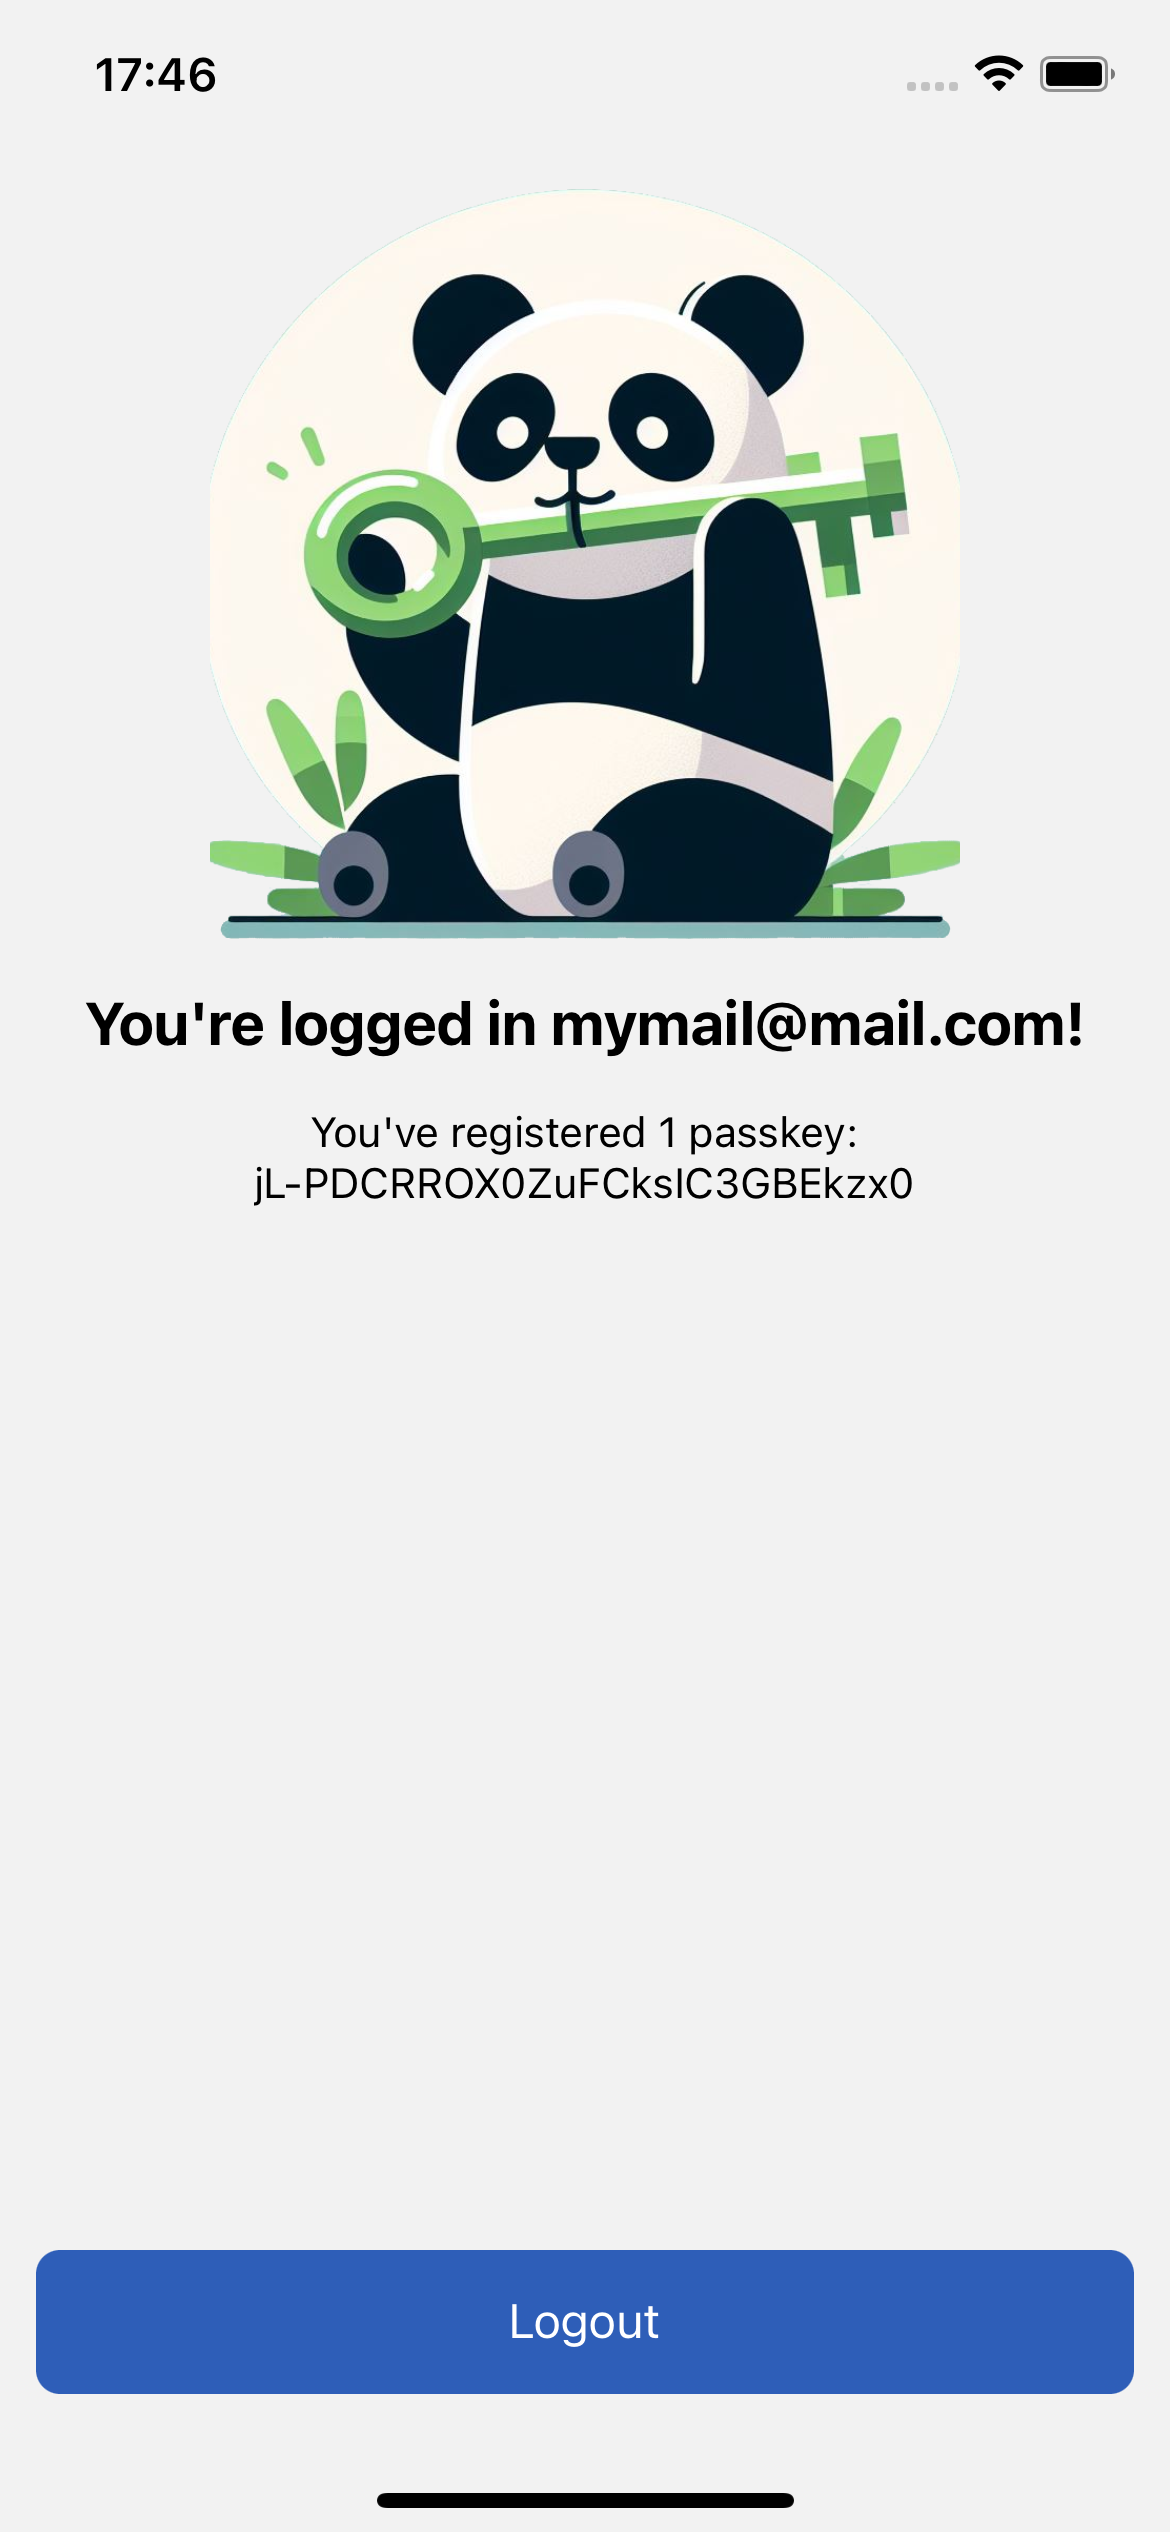
If the passkey registration is successful, the user is directed to the home screen, where the user will be able to see his email, the IDs of the authenticators registered by him (and a panda holding a bamboo passkey!). From here you can log out to test logging in with the passkey you just registered
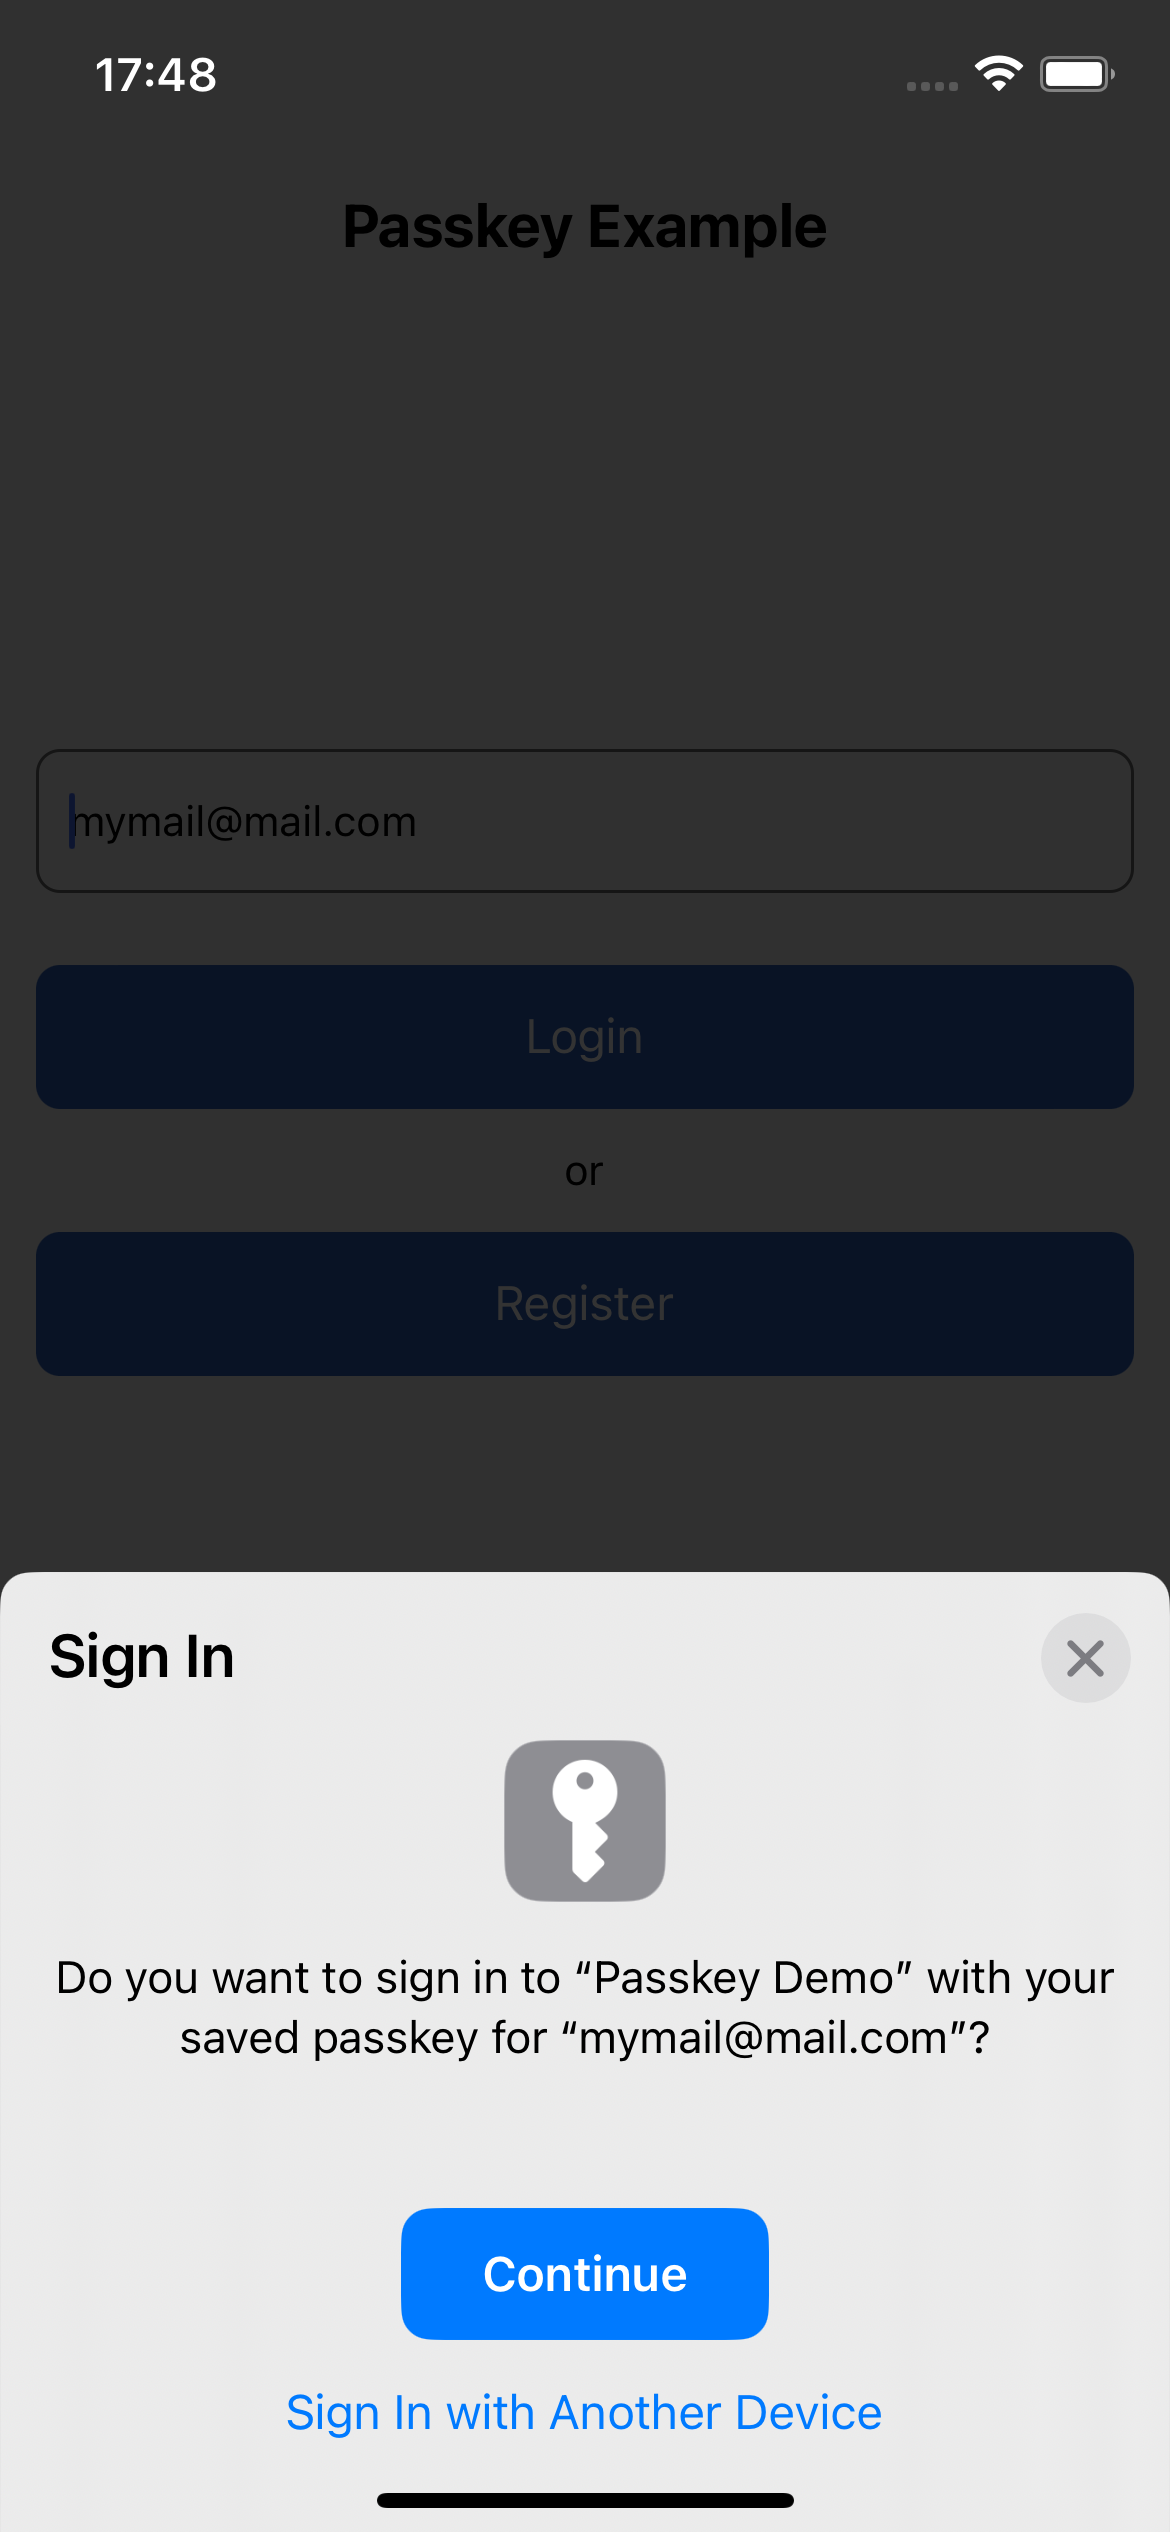
Once you return to the first authentication screen, you can press "Login". At this point the authentication ceremony will begin which will allow you to re-access the application using the previously registered passkey.
If any error occurs during execution, registration or authentication, check the logs of either the mobile app or the backend.
Please remember that in this simple demo, the backend server is not persistent, so if you restart it, all the registered credentials will be lost!