https://github.com/hilch/mapp-view-getting-started
Getting started with B&R mapp view
https://github.com/hilch/mapp-view-getting-started
Last synced: 3 months ago
JSON representation
Getting started with B&R mapp view
- Host: GitHub
- URL: https://github.com/hilch/mapp-view-getting-started
- Owner: hilch
- Created: 2019-02-26T09:38:07.000Z (over 6 years ago)
- Default Branch: master
- Last Pushed: 2022-10-04T11:35:09.000Z (almost 3 years ago)
- Last Synced: 2024-11-05T01:34:19.627Z (8 months ago)
- Language: Standard ML
- Size: 26.4 MB
- Stars: 3
- Watchers: 3
- Forks: 0
- Open Issues: 0
-
Metadata Files:
- Readme: README.md
Awesome Lists containing this project
README
[](http://creativecommons.org/publicdomain/zero/1.0/)
[](https://www.br-automation.com)
# Getting started with B&R mapp view
This tutorial shows how to use B&R "Mapp View" Technology Package to implement a simple visualization project as described in Automation Studio online help:

Follow the steps below (some pics link to YouTube) or just download the complete release with Automation Studio
project included.
* To run Mapp View on a real PLC a license '1TGMPVIEW.00-01' is required !
* A '1TGMPBRCLNT.10-01' is required for a B&R- Client
* A '1TGMPCLIENT.10-01' is required for a 3rd party client.
We will use a B&R "ArSim" simulated plc so there is no license required.
## 1. Install Technology Package Mapp Motion 5.5

## 2. Create a new project with 'ArSim'
[](http://www.youtube.com/watch?v=AiyE6XDUEtA)
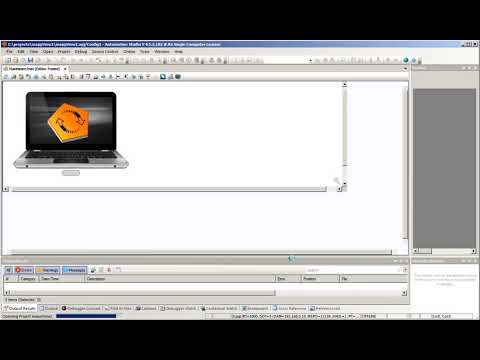
## 3. Insert a Mapp View Visualization into Logical View
[](http://www.youtube.com/watch?v=RZ38lSVSR6E)
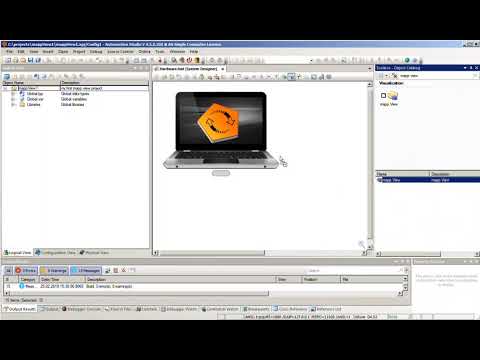
## 4. Create a Layout
we will use the following layout:

1. insert a layout file and give an id to it
2. add an area 'AreaMain', heigth=600px, width=700px
3. add an area 'AreaNavigation', heigth=600px, width=100px, left=700
[](http://www.youtube.com/watch?v=NXKHmO_vA74)
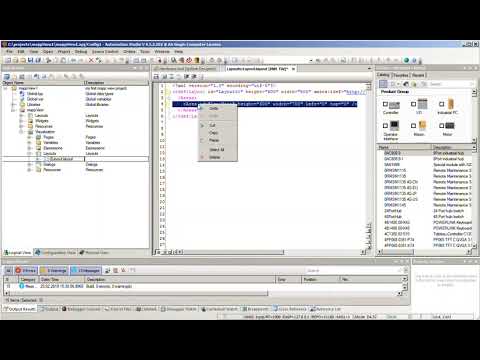
## 5. insert pages and contents
1. insert 'Navigation.content" into 'AreaContents'
2. insert 'Page1' and add 'Page1Content' to it
3. insert 'Page2' and add 'Page2Content' to it
[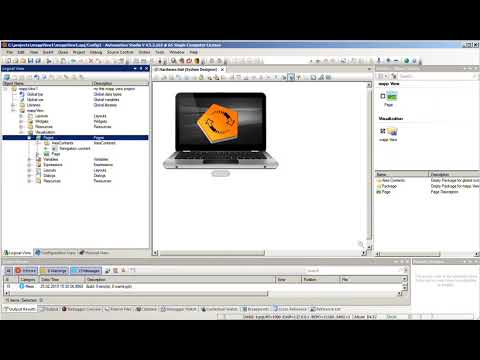](http://www.youtube.com/watch?v=3RwLSz6mHcA)
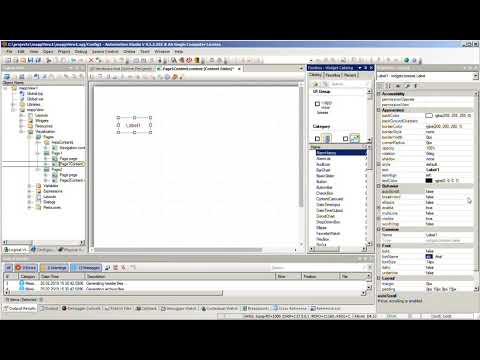
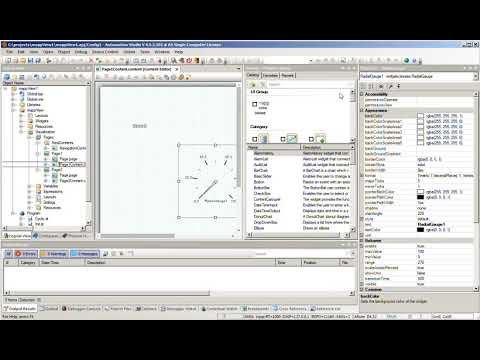
## 6. config 'Page1Content'
1. give content a 'Name'
2. config contents heigth and width (600px x 700px)
3. insert a 'Label' widget with text 'Speed'
4. insert a 'Radial Gauge' widget
[](http://www.youtube.com/watch?v=k3JbJhhjnn0)
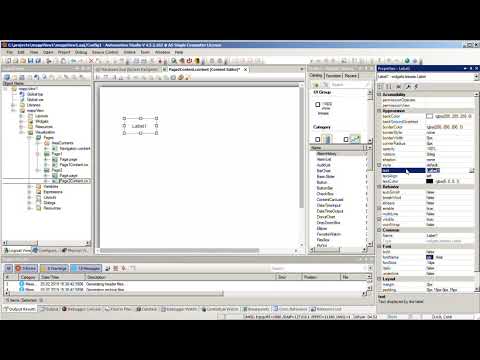
## 7. config 'Page2Content'
1. give content a 'Name'
2. config contents heigth and width (600px x 700px)
3. insert a 'Label' widget with text 'Temperature'
4. insert a 'Numeric Output' widget
[](http://www.youtube.com/watch?v=5TJZtMvdz-Y)
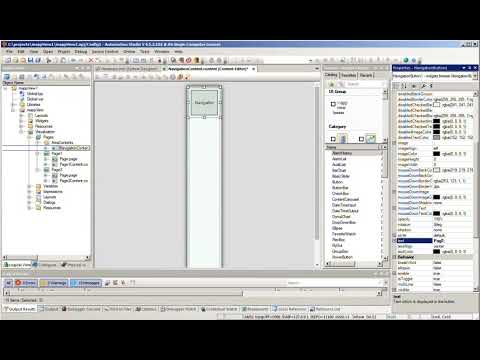
## 8. config 'NavigationContent'
1. give content a 'Name'
2. config contents heigth and width (600px x 100px)
3. insert a 'Navigation Bar' widget which will be a container for buttons
4. insert two 'Navigation Button' widgets.
[](http://www.youtube.com/watch?v=FrqzgM4ykXc)
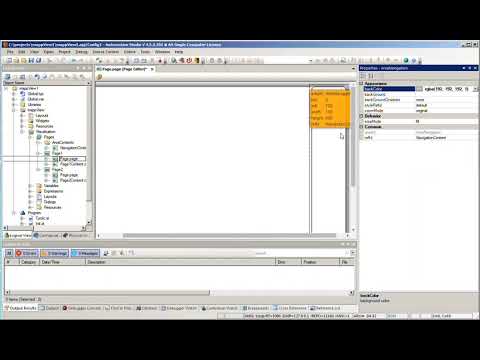
## 9. config pages
1. set 'layoutId' and 'pageId'
2. set page contents 'refId' to 'AreaMain' and navigation content to 'AreaNavigation'
3. set background colours to Areas
[](http://www.youtube.com/watch?v=RtvG8ZdDPpk)
4. config Navigation Buttons e.g. set text and 'pageId'
[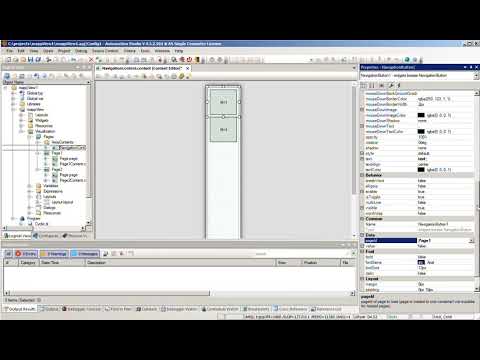](http://www.youtube.com/watch?v=sTdqS5BWHj4)
## 10. insert visualization into Configuration View
1. insert visualisation to folder 'mappView'
2. set 'Visualisation id' to 'FirstVisu'
3. set 'StartPage' ('Page1')
4. add 'Page1' and 'Page2' to ''
[](http://www.youtube.com/watch?v=MR8PW3gr4m8)
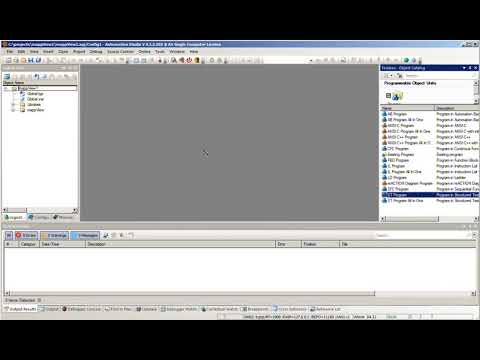
## 11. insert program
1. insert program and initialize two variables 'Speed' and 'Temperature'
2. declare variables
[](http://www.youtube.com/watch?v=mk94ezcm95g)
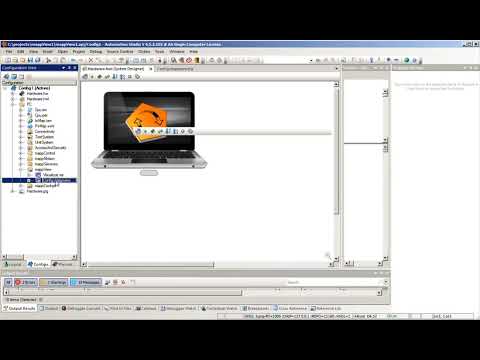
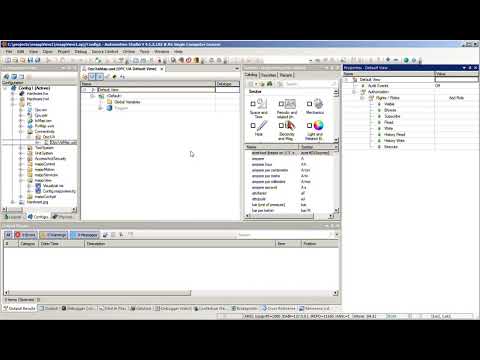
## 12. activate OPC UA server
1. active OPC UA server in CPU configuration
2. insert OPC UA 'Default View'
3. enable PLC variables visible as OPC UA variables
[](http://www.youtube.com/watch?v=fBoYfqBxXYo)
## 13. connect variables and widgets
1. insert binding to folder 'mappView' in Configuration View
2. give binding an id and use this id in Visualization's configuration
3. connect variables and widgets ( = binding )
[](http://www.youtube.com/watch?v=ap58UPmMq-M)
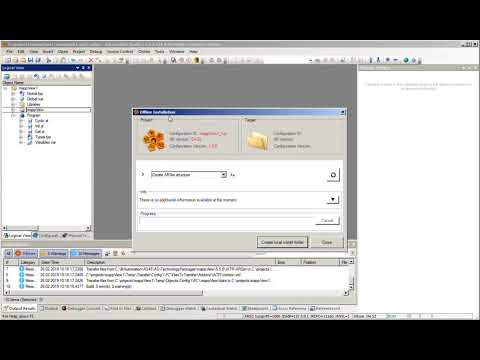
## 14. test visualization
1. compile and deploy project
2. open browser and navigate to 'http://127.0.0.1:81/index.html?visuId=FirstVisu'
[](http://www.youtube.com/watch?v=9GENVD3buxU)