Ecosyste.ms: Awesome
An open API service indexing awesome lists of open source software.
https://github.com/hmiladhia/img2text
A lightweight module to generate colorful ascii art from images
https://github.com/hmiladhia/img2text
Last synced: about 1 month ago
JSON representation
A lightweight module to generate colorful ascii art from images
- Host: GitHub
- URL: https://github.com/hmiladhia/img2text
- Owner: hmiladhia
- License: mit
- Created: 2021-05-24T08:41:18.000Z (over 3 years ago)
- Default Branch: main
- Last Pushed: 2024-02-22T21:10:32.000Z (9 months ago)
- Last Synced: 2024-09-25T21:07:06.955Z (about 2 months ago)
- Language: Python
- Size: 205 KB
- Stars: 11
- Watchers: 1
- Forks: 1
- Open Issues: 0
-
Metadata Files:
- Readme: README.md
- License: LICENSE
Awesome Lists containing this project
README
# img2text
A lightweight module to generate colorful ascii art from images
To install img2text:
```python
pip install img2text
```
## How To Use
Let's use the python logo as reference:

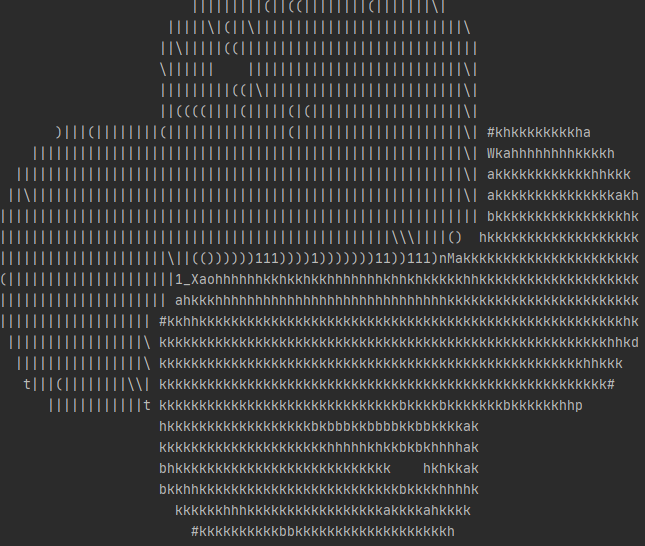
To generate an ascii image
```python
from img2text import img_to_ascii
ascii_img = img_to_ascii('data/python.png', width=80)
print(ascii_img)
```
We obtain the following:

### Adding Color
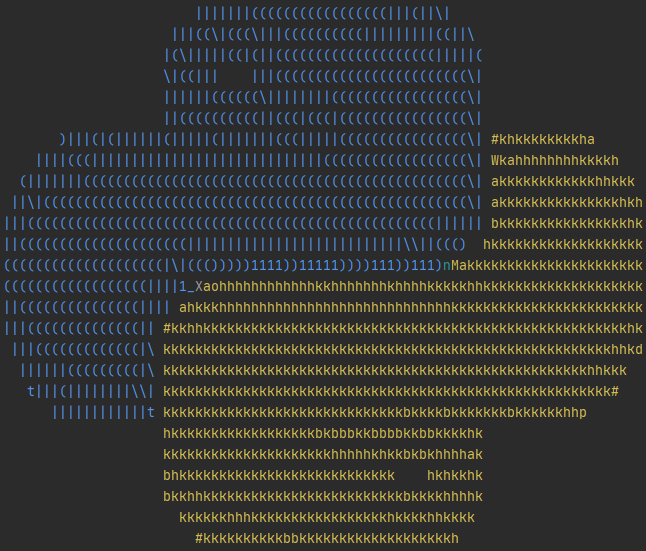
We can customize this further by adding color (to be shown in the console):
```python
from img2text import img_to_ascii
ascii_img = img_to_ascii('data/python.png', width=80, colorful=True)
print(ascii_img)
```
We obtain the following:

### Customizing Output
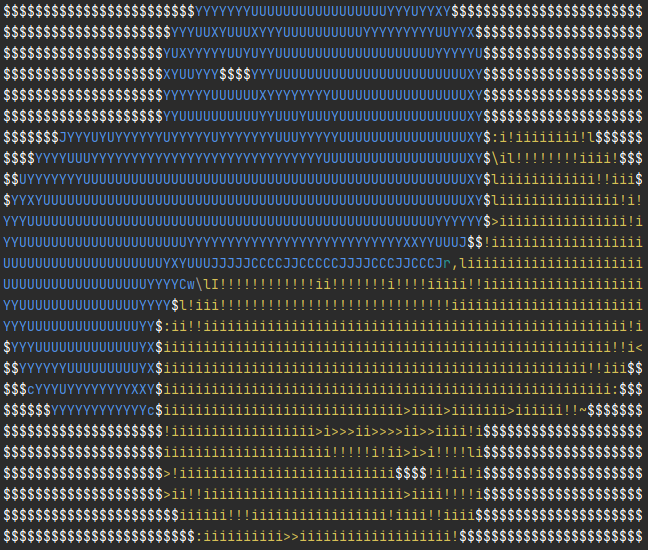
We can reverse the intensity of the image by setting `reverse` to True
```python
from img2text import img_to_ascii
ascii_img = img_to_ascii('https://raw.githubusercontent.com/hmiladhia/img2text/master/data/python.png', width=80, colorful=True, reverse=True)
print(ascii_img)
```
We obtain the following:

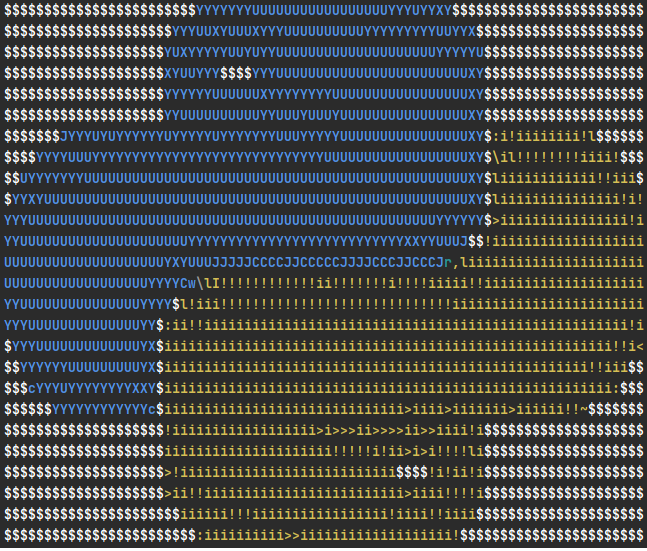
We can get a slightly brighter image by adding the `bright` option which sets the characters to bold:
```python
from img2text import img_to_ascii
ascii_img = img_to_ascii('data/python.png', width=80, colorful=True, reverse=True, bright=True)
print(ascii_img)
```
We obtain the following:

You can also change the character set by providing a custom string of characters that increase in intensity:
```python
from img2text import img_to_ascii
chars = r" ░▒▓█"
ascii_img = img_to_ascii('https://raw.githubusercontent.com/hmiladhia/img2text/master/data/python.png', width=80, colorful=True, bright=True, chars=chars)
print(ascii_img)
```
We obtain the following:

### Exporting ASCII image to a file
It's also possible to export the result to a text file, so you can print its content using the `cat` command for example
To do this all you need to do is to write the content to a file:
```python
from img2text import img_to_ascii
ascii_img = img_to_ascii('https://raw.githubusercontent.com/hmiladhia/img2text/master/data/python.png', width=80, colorful=True)
with open('logo.ascii', 'w') as f:
f.write(ascii_img + '\n')
```
or using the CLI:
```bash
img2text -cw 80 -o logo.ascii data/python.png
```
### Additional Options
- Customize the width and height by providing the number of columns/lines to use
- Customize the aspect ratio by providing `ar_coef` coefficient. The default value is set to 2.4
but depending on the console you are using it might be interesting to try out values from [2, 3]
- You can add a Background Color by setting `bg_color` to one of the following values:
- BLACK
- RED
- GREEN
- YELLOW
- BLUE
- MAGENTA
- CYAN
- WHITE