https://github.com/hopding/jrpicam
Java API to access Raspberry Pi Camera
https://github.com/hopding/jrpicam
Last synced: 10 months ago
JSON representation
Java API to access Raspberry Pi Camera
- Host: GitHub
- URL: https://github.com/hopding/jrpicam
- Owner: Hopding
- License: mit
- Created: 2015-12-29T22:12:34.000Z (over 10 years ago)
- Default Branch: master
- Last Pushed: 2017-04-01T13:16:52.000Z (about 9 years ago)
- Last Synced: 2025-04-02T04:34:38.033Z (about 1 year ago)
- Language: Java
- Homepage:
- Size: 867 KB
- Stars: 94
- Watchers: 13
- Forks: 27
- Open Issues: 6
-
Metadata Files:
- Readme: README.md
- License: LICENSE.md
Awesome Lists containing this project
README
[](https://jitpack.io/#Hopding/JRPiCam)
# JRPiCam
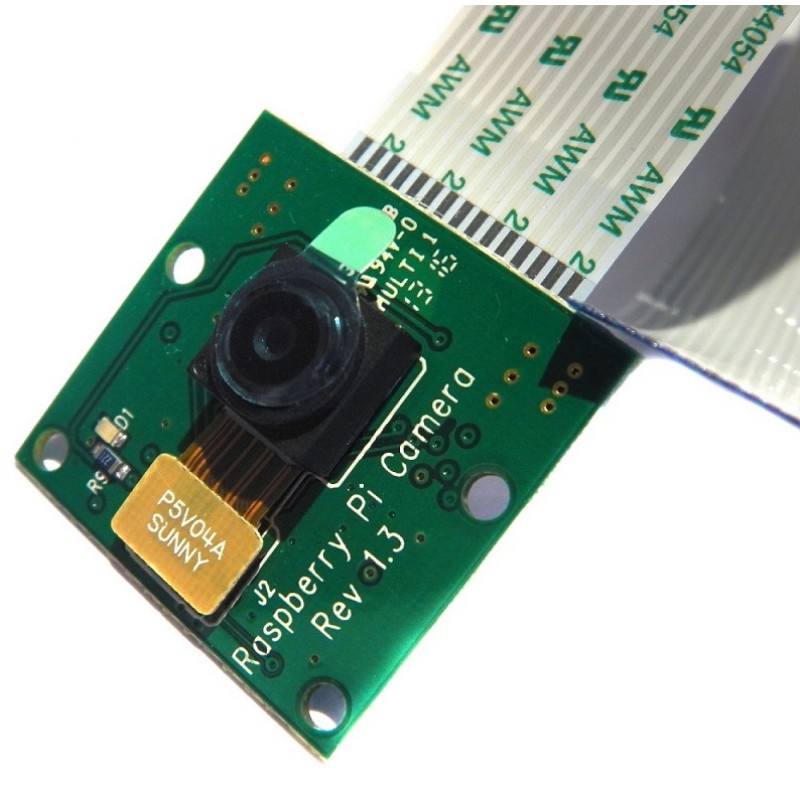
JRPiCam is a Java API that allows Java applications running on a Raspberry Pi to access the Raspberry Pi Camera. JRPiCam
achieves this functionality by using the [`ProcessBuilder`](https://docs.oracle.com/javase/7/docs/api/java/lang/ProcessBuilder.html) class to run the native `raspistill` program on the RPi. This means that
JRPiCam has all the same functionality as `raspistill`, plus additional Java specific features.
Because JRPiCam works by invoking the `raspistill` software, it is important that your RPi be properly configured to run
`raspistill`. The appropriate settings may be configured by running `raspi-config` in the terminal of your RPi. Further
instructions can be found [here](https://www.raspberrypi.org/documentation/configuration/camera.md).
# Using JRPiCam
To use JRPiCam in your project, just download and unzip the most recent [release](https://github.com/Hopding/JRPiCam/releases/tag/v1.1.1), then add the `jrpicam-1.1.1.jar` file to your project's build path.
The core component of JRPiCam is the `RPiCamera` class, which can be instantiated as follows:
```java
// Create a Camera that saves images to the Pi's Pictures directory.
RPiCamera piCamera = new RPiCamera("/home/pi/Pictures");
```
Various options can be set on the camera by calling the appropriate methods:
```java
piCamera.setWidth(500).setHeight(500) // Set Camera to produce 500x500 images.
.setBrightness(75) // Adjust Camera's brightness setting.
.setExposure(Exposure.AUTO) // Set Camera's exposure.
.setTimeout(2) // Set Camera's timeout.
.setAddRawBayer(true); // Add Raw Bayer data to image files created by Camera.
// Sets all Camera options to their default settings, overriding any changes previously made.
piCamera.setToDefaults();
```
Once the `RPiCamera` has been created, and the desired options have been adjusted, an image may be captured from the RPi Camera
by called the takeStill() method:
```java
piCamera.takeStill("An Awesome Pic.jpg");
```
`takeStill()` requires a String to be passed in to save the image under. In this case, once the Camera has captured the image, it will be saved as "/home/pi/Pictures/AnAwesomePic.jpg" (since we've set the Camera to save images to the "/home/pi/Pictures"
directory).
`takeStill()` also returns a File object that can be used to easily obtain and load the image after it has been saved to the Pi's memory. The following code captures an image, saves it, and then loads it into a `BufferedImage`
```java
BufferedImage image = ImageIO.read(piCamera.take("An Awesome Pic.jpg")));
```
Images may also be loaded directly into a buffer within your application by calling the `takeBufferedStill()` method:
```java
BufferedImage image = piCamera.takeBufferedStill();
```
Capturing images this way is much faster than saving them to memory and then loading them into your application (as you would
have to do with the `takeStill()` method), and is particularly useful if you don't want to save the photo in the RPi at all (perhaps you want to send it over a network and save it on a remote server).
# Wiki
Additional code examples and information can be found in the `src/main/java/com/hopding/jrpicam/examples` directory and on the [JRPiCam wiki](https://github.com/Hopding/JRPiCam/wiki).
# Javadoc
The Javadoc for the project is hosted online [here](http://hopding.com/docs/jrpicam/). It can also be built manually with a Gradle task; see [below](https://github.com/Hopding/JRPiCam#building-the-project).
# Examples
The releases contain a number of example JARs (pre-built JARs of the classes in the `src/main/java/com/hopding/jrpicam/examples` directory) that can be executed on the RPi's terminal:
* `demo-view-1.1.1.jar`
* `shoot-buffered-still-1.1.1.jar`
* `shoot-still-1.1.1.jar`
* `shoot-timelapse-1.1.1.jar`
`demo-view-1.1.1.jar` runs a demo gui program that illustrates some functions of JRPiCam. The rest of the examples show how to do things like take a still image, save it, load it into a buffer, and take a series of images.
To run them, just download and unzip the most recent [release](https://github.com/Hopding/JRPiCam/releases/tag/v1.1.1), open it in a terminal, and run the following:
```
$ java -jar examples/[jar name]
```
for example:
```
$ java -jar examples/demo-view-1.1.1.jar
```
# Building the Project
JRPiCam is structured as a Gradle project. It contains tasks to build the library JAR, the example JARs, and the Javadoc. To build the project, you must first clone or download the project repository, and open a terminal therein. Then, assuming you're using Windows' Powershell or Unix's Bash:
* To build the main library JAR (`jrpicam-1.1.1.jar`):
```
$ ./gradlew jar
```
* To build the example JARs:
```
$ ./gradlew buildExamples
```
* To build the Javadoc
```
$ ./gradlew javadoc
```
The JAR files will be located in the `build/libs` directory. The Javadoc will be located at `build/docs/javadoc`.