https://github.com/hopding/merp
Code for My Experimental Robot Platform (MERP)
https://github.com/hopding/merp
Last synced: 3 months ago
JSON representation
Code for My Experimental Robot Platform (MERP)
- Host: GitHub
- URL: https://github.com/hopding/merp
- Owner: Hopding
- License: mit
- Created: 2016-11-20T14:50:36.000Z (over 9 years ago)
- Default Branch: master
- Last Pushed: 2016-11-20T20:35:19.000Z (over 9 years ago)
- Last Synced: 2025-03-20T16:27:18.479Z (over 1 year ago)
- Language: Java
- Size: 71.3 KB
- Stars: 0
- Watchers: 2
- Forks: 0
- Open Issues: 0
-
Metadata Files:
- Readme: README.md
- License: LICENSE.md
Awesome Lists containing this project
README
# MERP
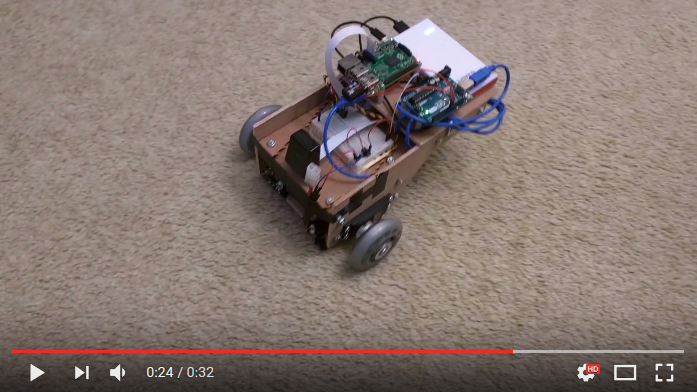
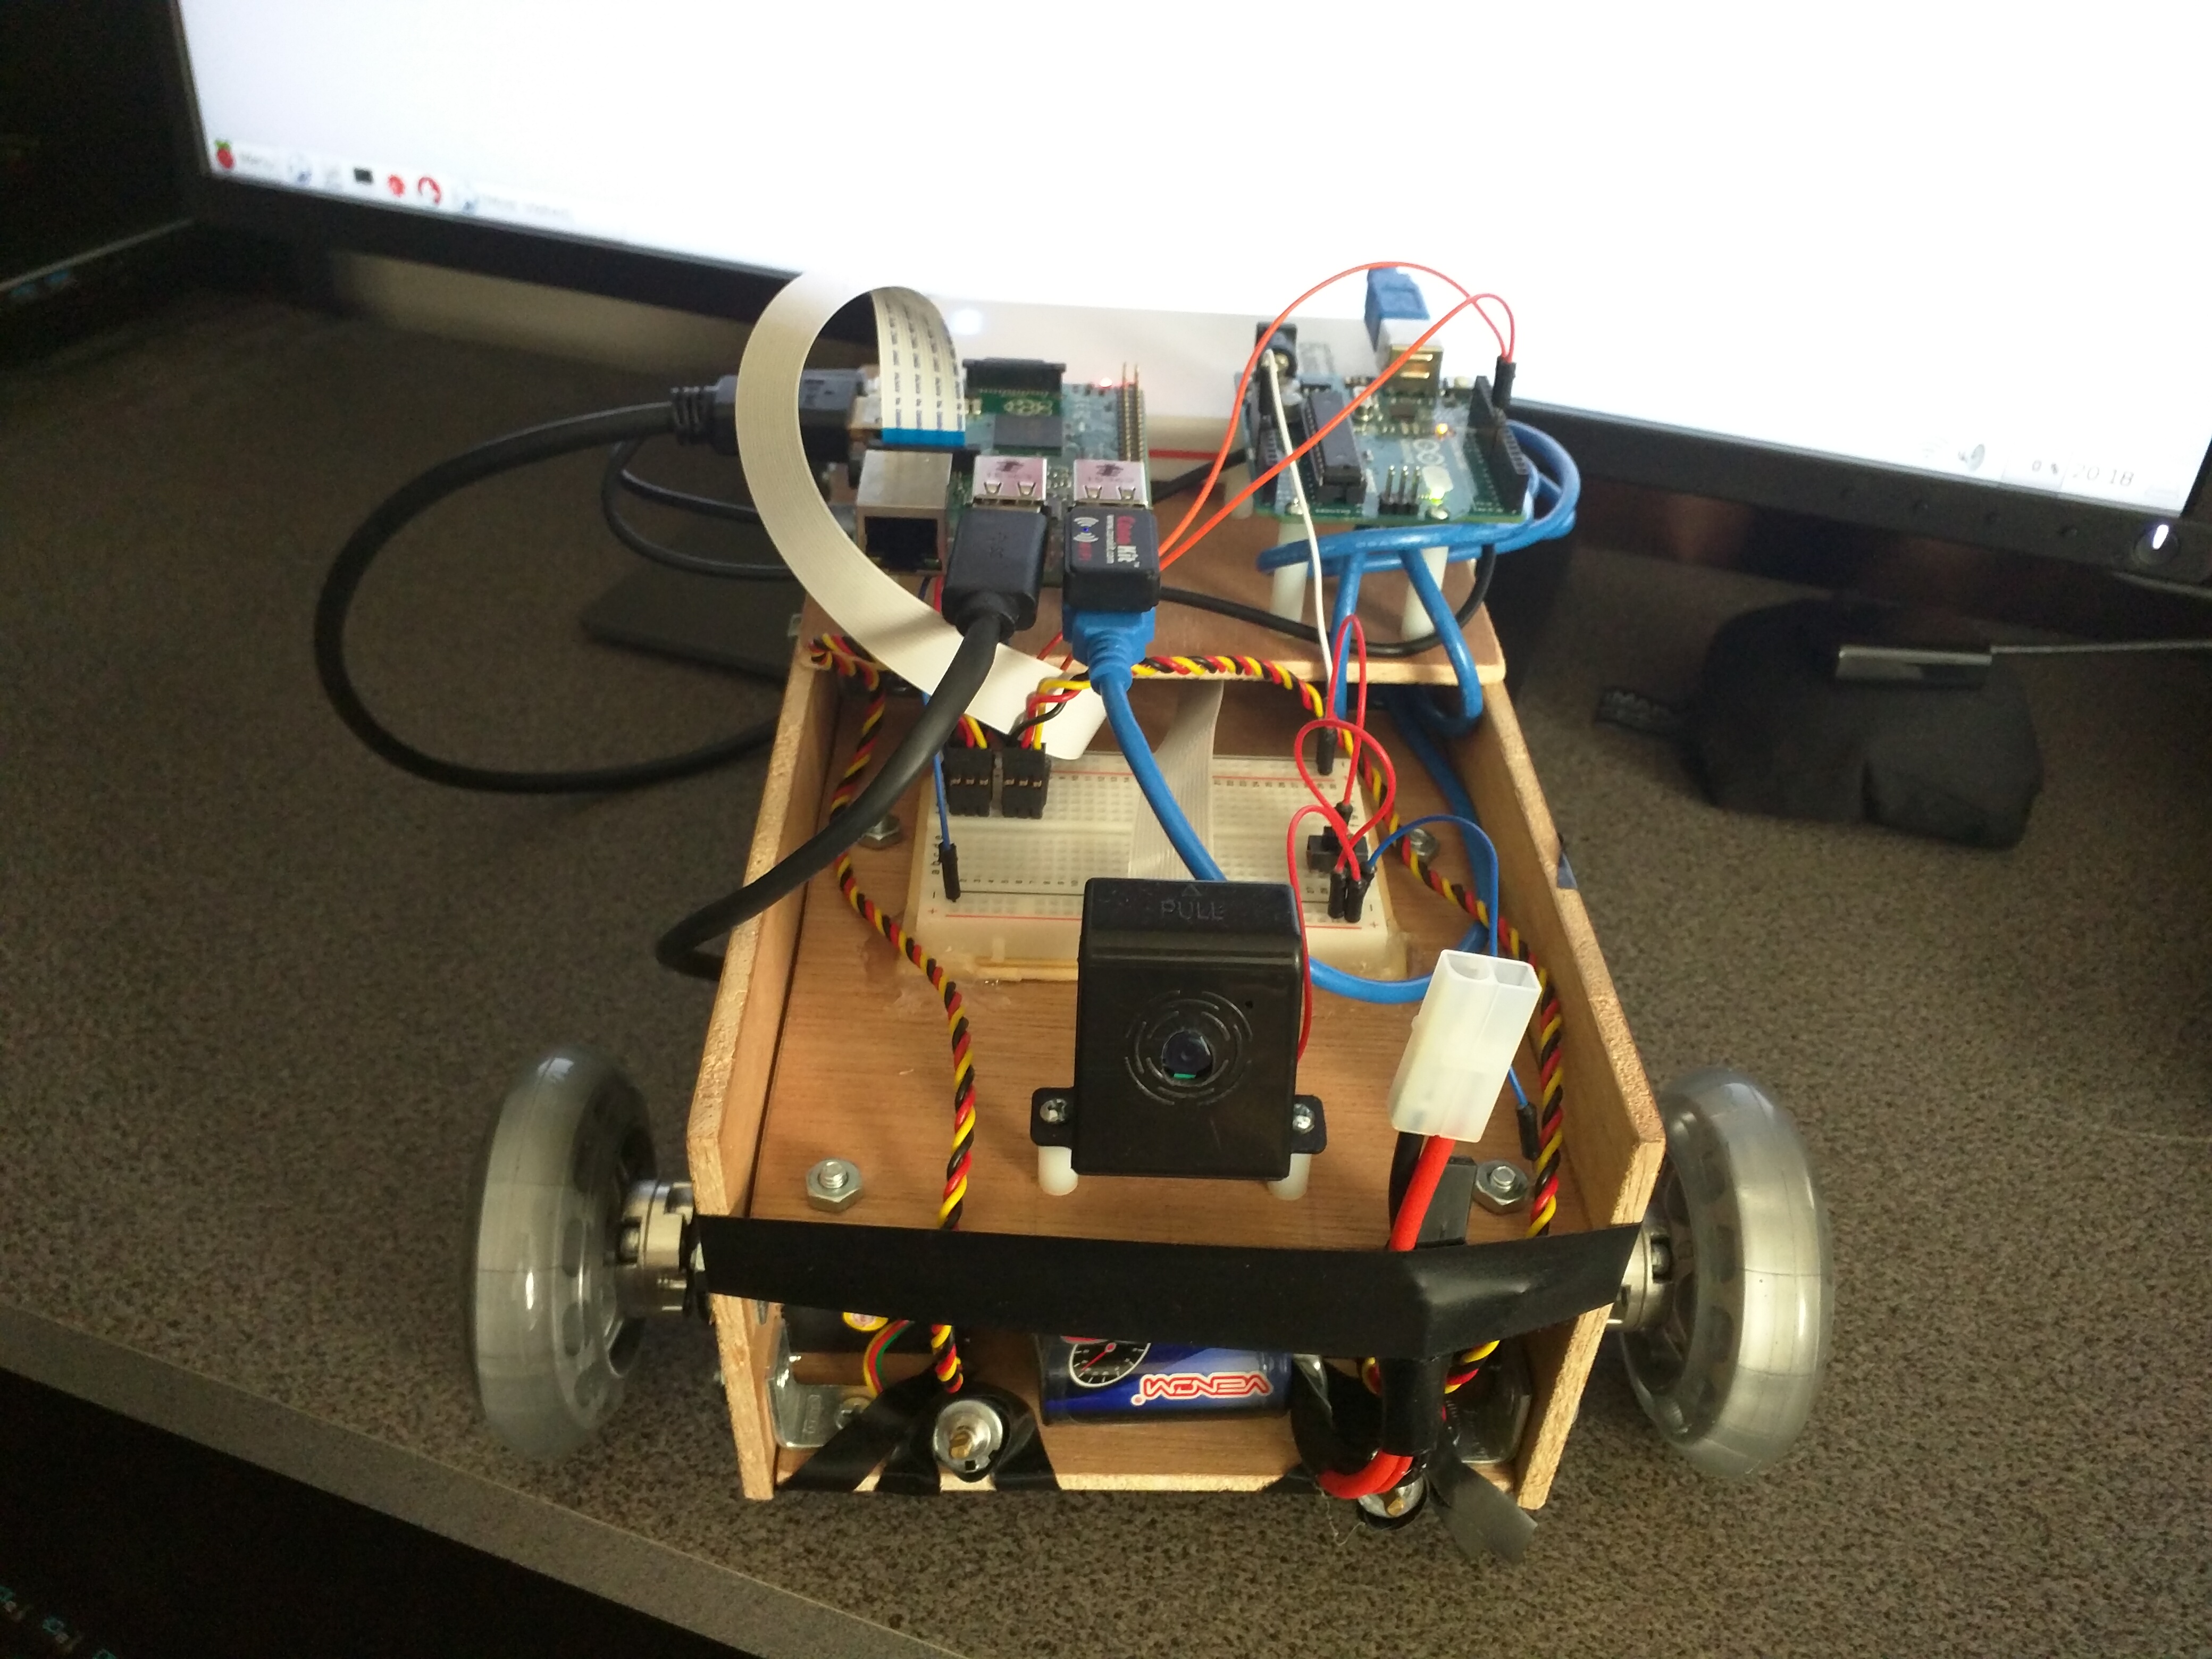
MERP (My Experimental Robotics Platform) is a robot built with a Raspberry Pi and an Arduino. It is intended to be an extensible base for future robotics projects/experiments. (Click below to view video)
[](https://www.youtube.com/watch?v=waLDvPaleoY)
# Overview
MERP is built from:
* 1 Raspberry Pi
* 1 Arduino Uno
* 2 Continuous Rotation Servos
* 1 Motor Battery Pack
* 1 Raspberry Pi/Arduino Battery Pack
* 1 Raspberry Pi Camera
* 1 Rear Swivel Wheel
* 2 Front Wheels
* Custom Wooden Frame
Eventually, MERP will have autonomous modes. However, at present MERP must be remote controlled over WiFi. Control signals are sent to the Pi, which processes them and sends motor control signals to the Arduino as required. The Arduino then directly controls the servos.
This repository contains the code for the Pi ([`rpi-code/`](https://github.com/Hopding/MERP/tree/master/rpi-code)) and Arduino ([`/arduino-code/SerialServoControlv1`](https://github.com/Hopding/MERP/tree/master/arduino-code/SerialServoControlv1`)). A [separate repository](https://github.com/Hopding/Merp-Controller) contains the code for the desktop controller program.
# Raspberry Pi Code
The code for the Pi is structured as a Gradle project with a task for creating a runnable JAR file. When this JAR file is run on the Pi, it first begins looking for the Arduino by trying to handshake with the various serial devices that are available (anything listed under `/dev/` as `tty...` - e.g. `/dev/ttyACM0`). If the Arduino is successfully found, it then launches a server listening on port `12345`. Once a client connects, the Pi then listens for commands. Whenever a motor command is received, the Pi relays the message over serial to the Arduino, which in turn sends PWM signals to the servos.
**NOTE:** [Releases](https://github.com/Hopding/MERP/releases) are available with pre-built JARs, if you would prefer to skip the cloning and building steps, and get straight to running the code.
To build and run the JAR for the Pi (for both Windows Powershell and Linux):
* **Clone** this repo:
```
$ git clone https://github.com/Hopding/MERP.git
```
* **CD** into the rpi-code directory:
```
$ cd MERP/rpi-code
```
* **Execute** the Gradle task to create the JAR (The JAR will be created in the `rpi-code/build/libs` directory):
```
$ ./gradlew runnableJAR
```
* **Execute** the JAR with the following command:
```
$ java -jar build/libs/merp-server-1.0.jar
```
I generally use a headless setup for MERP, so I find it useful to build the JAR on my desktop, send it to the Pi, and then execute it over SSH. Though, the Pi could be set to simply run the JAR on startup as well.
# Arduino Code
The Arduino code consists of a single `.ino` file: [/arduino-code/SerialServoControlv1/SerialServoControlv1.ino](https://github.com/Hopding/MERP/blob/master/arduino-code/SerialServoControlv1/SerialServoControlv1.ino). The code simply waits for a handshake from the Pi, then listens for serial messages from the Pi and responds by adjusting the PWM signals to the servos.
The Arduino code must be uploaded to the Arduino using the [Arduino IDE](https://www.arduino.cc/en/Main/Software). After installing the IDE, simply navigate to the cloned repository directory and open the `SerialServoControlv1.ino` file in the IDE. Ensure the Arduino is plugged into the computer running the IDE, then simply compile and upload `SerialServoControlv1.ino` to the Arduino.