https://github.com/hxmeet/hxmeet-core-starter
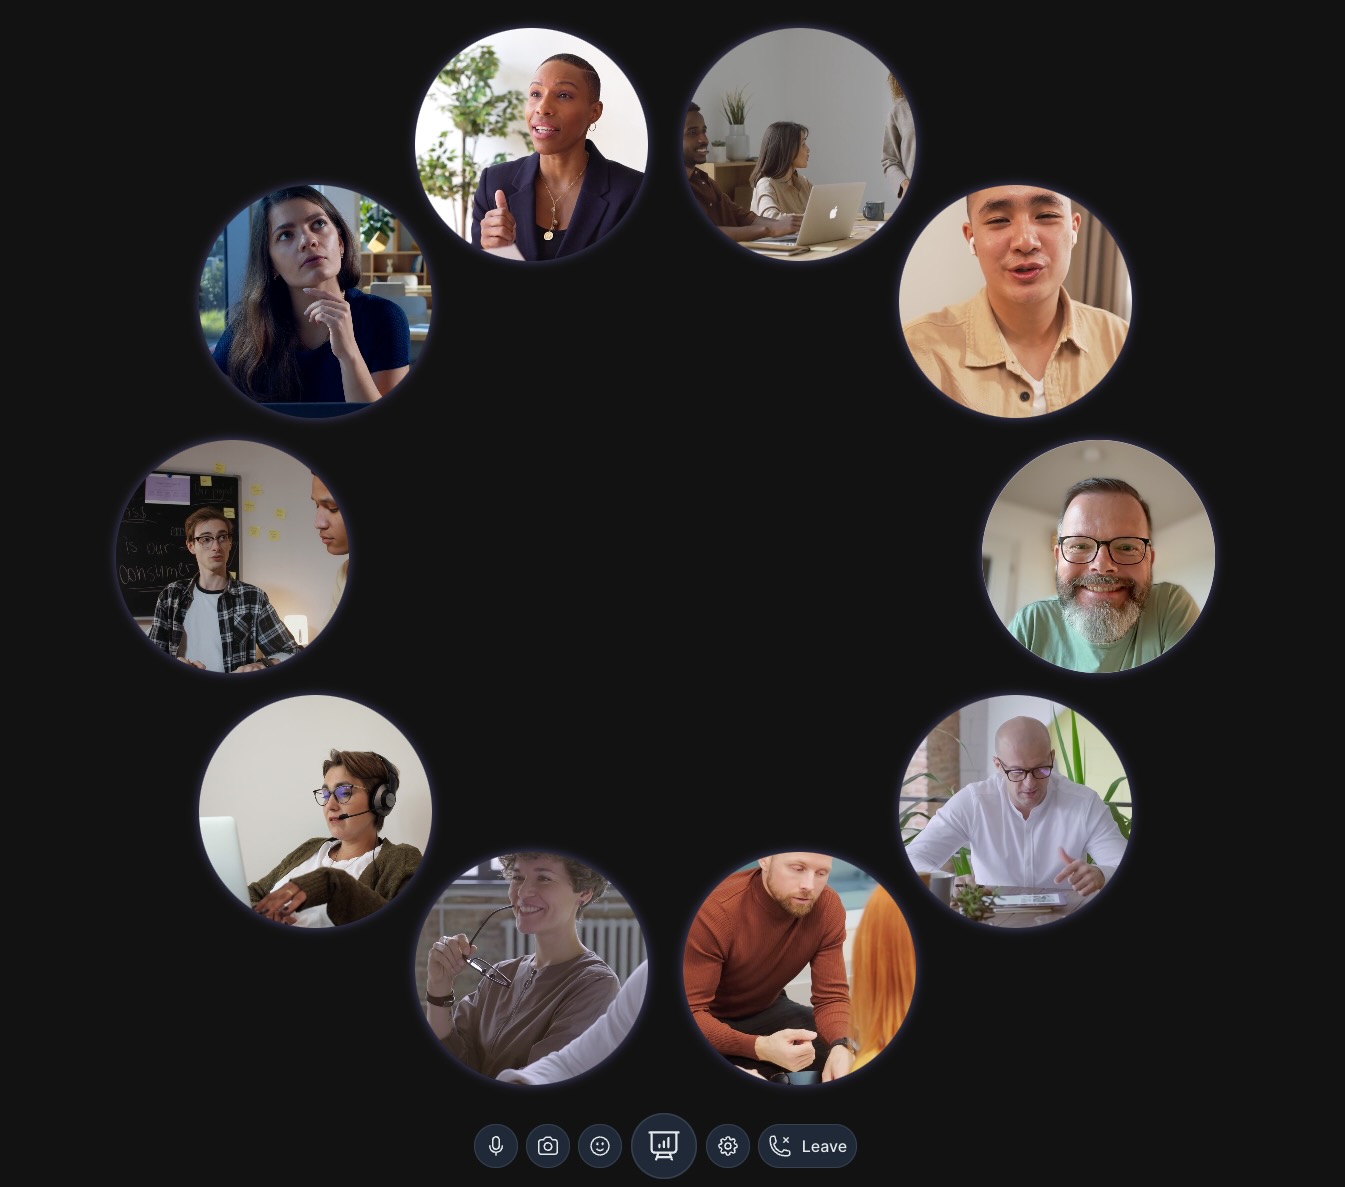
Example of a video-conferencing system build with 'hxmeet-core-component'
https://github.com/hxmeet/hxmeet-core-starter
conferencing livekit on-premise privacy-first screensharing secure-communication self-hosted video video-conferencing vue webrtc
Last synced: about 2 months ago
JSON representation
Example of a video-conferencing system build with 'hxmeet-core-component'
- Host: GitHub
- URL: https://github.com/hxmeet/hxmeet-core-starter
- Owner: hxmeet
- License: mit
- Created: 2025-08-21T09:52:24.000Z (11 months ago)
- Default Branch: main
- Last Pushed: 2025-08-30T12:51:30.000Z (10 months ago)
- Last Synced: 2025-08-30T14:33:31.435Z (10 months ago)
- Topics: conferencing, livekit, on-premise, privacy-first, screensharing, secure-communication, self-hosted, video, video-conferencing, vue, webrtc
- Language: Vue
- Homepage: https://hxmeet.io
- Size: 298 KB
- Stars: 1
- Watchers: 0
- Forks: 0
- Open Issues: 0
-
Metadata Files:
- Readme: README.md
- License: LICENSE
Awesome Lists containing this project
README
# HxMeet Core Starter
This project is the starter or the showcase project of the `` component.
It is open-source, allowing the creation of custom, tailored conferencing solutions.
> [!NOTE]
> This is a vuejs project based on [hxmeet-core-starter](https://github.com/hxmeet/hxmeet-core-starter) and it contains
> a server function (build with nitro) to create the livekit tokens, because the API keys and secrets should not shared
> on the client side.
## Live Demo
👉 Try it out at: [https://hxmeet.io](https://hxmeet.io)
## Screenshot
## ✨ Conferencing Features
- Low-latency WebRTC video & audio
- Screen sharing
- Chat
- Different layout options
- Participant list
- Media controls (mute, camera off)
- Support keyboard shortcuts
- Dark mode
- Mobile friendly
## 🛠️ Developer options
- Themable (set your own color schema)
- Embeddable in your app or website
- Customizable
- Hook into the component events
- Add extensions
- Add test participants
- Open-source (MIT license)
## Installation ans starting
### Requirements
- [Node.js](https://nodejs.org/) (v22 recommended)
- [npm](https://www.npmjs.com/)
- [LiveKit](https://livekit.io) account (later you can switch to an self-hosted livekit solution)
### Starting
The project contains a simple start page where you enter your participant name and start a conference.
1. Checkout project and install dependencies: `npm install`
2. Copy the `.env.example` file to `.env`
3. Enter your LiveKit API data there:
```bash
# ----------------------------------------
# Client side variables
# ----------------------------------------
# Livekit-Cloud: Go to 'Settings/Project' and take the 'Project URL'
VITE_LIVEKIT_URL=
# ----------------------------------------
# Server side variables
# ----------------------------------------
# Livekit-Cloud: Go to 'Settings/API-Keys' and create an 'API Key'
# The NITRO_LIVEKIT_SERVICE_URL is the same as the VITE_LIVEKIT_URL but starts with 'https://'
NITRO_LIVEKIT_SERVICE_URL=
NITRO_LIVEKIT_API_KEY=
NITRO_LIVEKIT_SECRET=
```
4. Start the test page: `npm run dev`
5. Open [http://localhost:5173](http://localhost:5173) in your browser
To invite other participants, you can share the URL (the path starts with `/room/`) with them.
## License
Licensed under the MIT License.