https://github.com/iam-veeramalla/Jenkins-Zero-To-Hero
Install Jenkins, configure Docker as slave, set up cicd, deploy applications to k8s using Argo CD in GitOps way.
https://github.com/iam-veeramalla/Jenkins-Zero-To-Hero
argocd cicd docker gitops jenkins kubernetes pipeline
Last synced: 8 months ago
JSON representation
Install Jenkins, configure Docker as slave, set up cicd, deploy applications to k8s using Argo CD in GitOps way.
- Host: GitHub
- URL: https://github.com/iam-veeramalla/Jenkins-Zero-To-Hero
- Owner: iam-veeramalla
- License: mit
- Created: 2023-02-01T04:33:00.000Z (almost 3 years ago)
- Default Branch: main
- Last Pushed: 2024-08-21T14:59:57.000Z (about 1 year ago)
- Last Synced: 2024-10-29T14:54:09.351Z (about 1 year ago)
- Topics: argocd, cicd, docker, gitops, jenkins, kubernetes, pipeline
- Language: Python
- Homepage: https://www.youtube.com/@AbhishekVeeramalla
- Size: 146 KB
- Stars: 6,495
- Watchers: 327
- Forks: 12,121
- Open Issues: 227
-
Metadata Files:
- Readme: README.md
- License: LICENSE
- Code of conduct: CODE_OF_CONDUCT.md
Awesome Lists containing this project
README
# Jenkins-Zero-To-Hero
Are you looking forward to learn Jenkins right from Zero(installation) to Hero(Build end to end pipelines)? then you are at the right place.
## Installation on EC2 Instance
YouTube Video ->
https://www.youtube.com/watch?v=zZfhAXfBvVA&list=RDCMUCnnQ3ybuyFdzvgv2Ky5jnAA&index=1
Install Jenkins, configure Docker as agent, set up cicd, deploy applications to k8s and much more.
## AWS EC2 Instance
- Go to AWS Console
- Instances(running)
- Launch instances
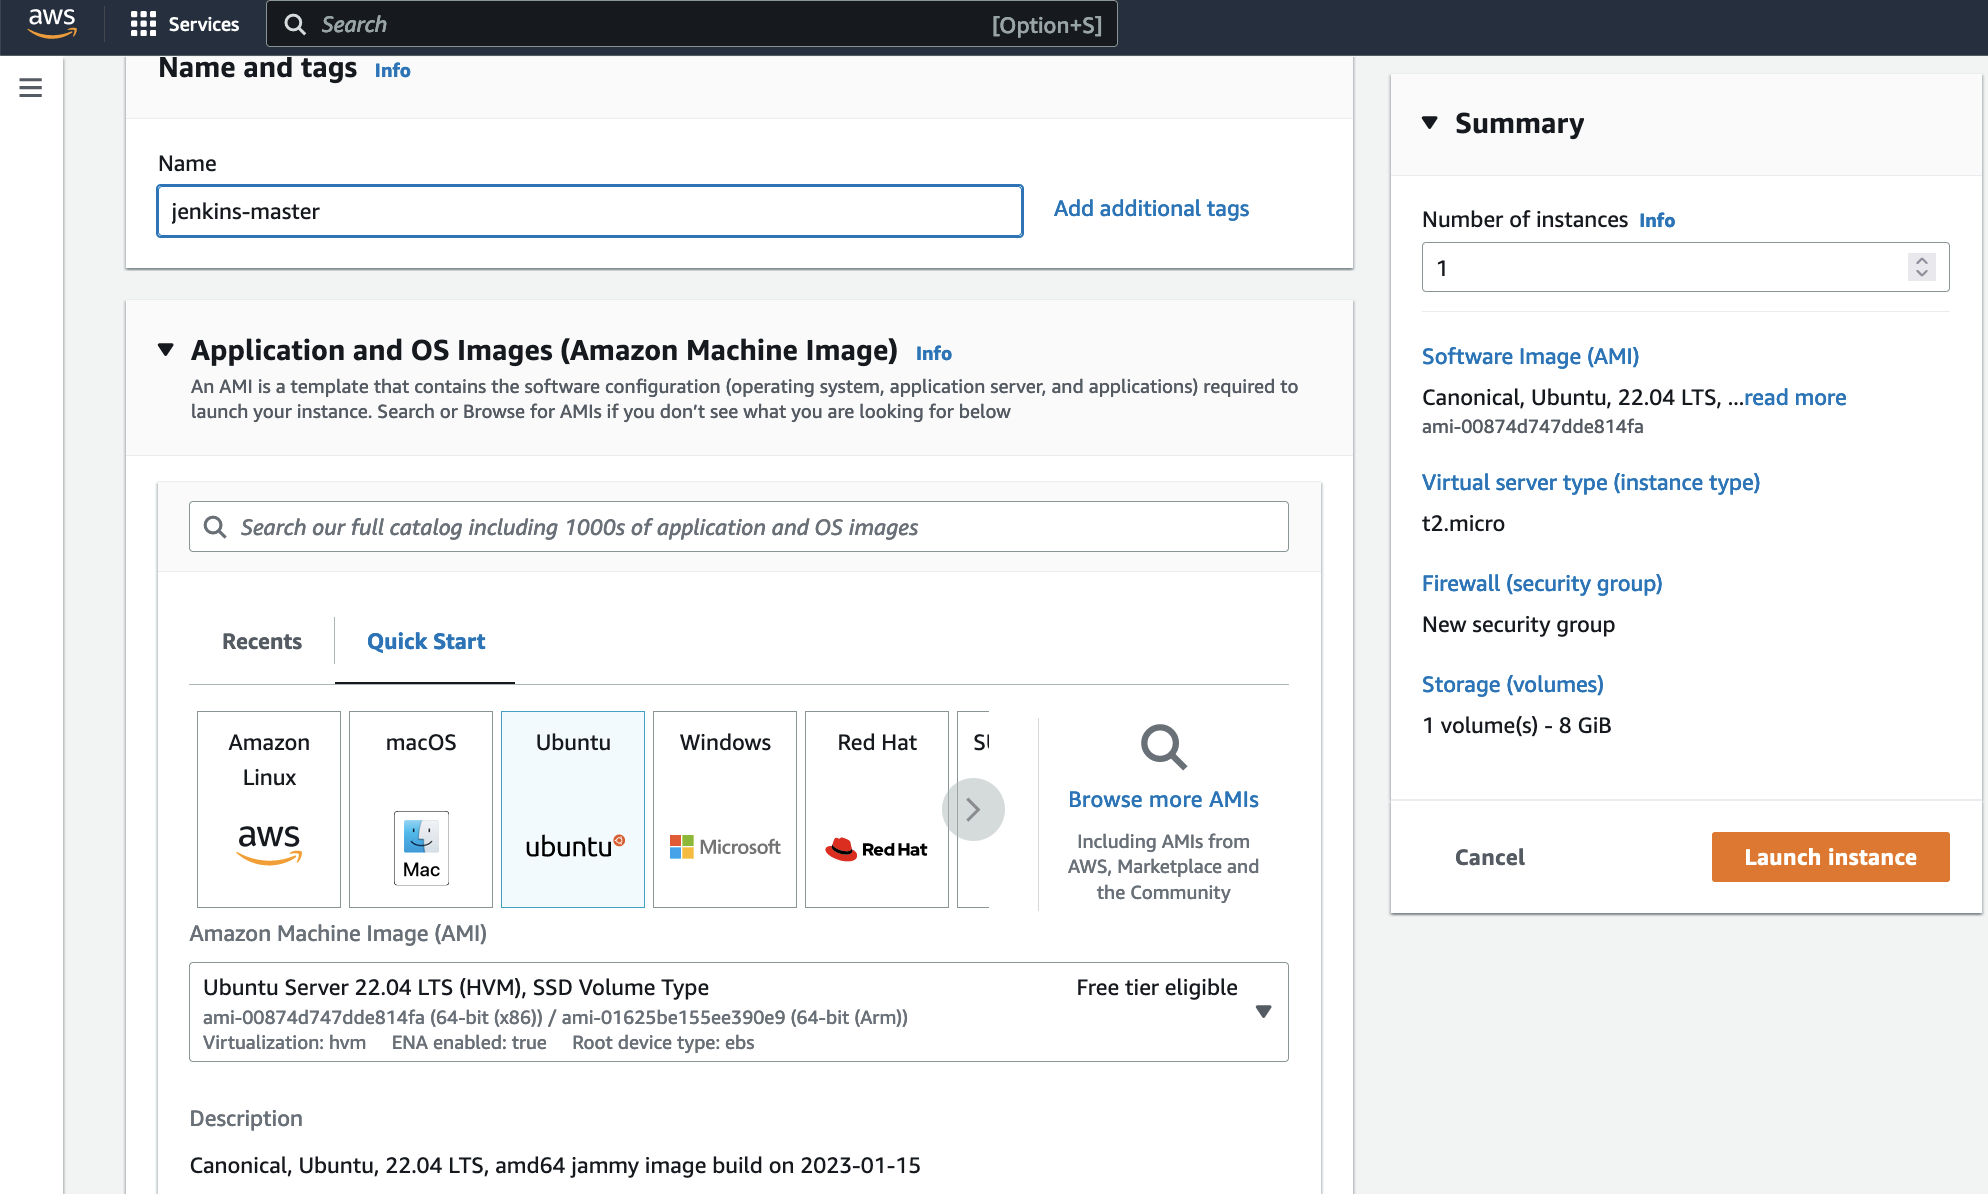
### Install Jenkins.
Pre-Requisites:
- Java (JDK)
### Run the below commands to install Java and Jenkins
Install Java
```
sudo apt update
sudo apt install openjdk-17-jre
```
Verify Java is Installed
```
java -version
```
Now, you can proceed with installing Jenkins
```
curl -fsSL https://pkg.jenkins.io/debian/jenkins.io-2023.key | sudo tee \
/usr/share/keyrings/jenkins-keyring.asc > /dev/null
echo deb [signed-by=/usr/share/keyrings/jenkins-keyring.asc] \
https://pkg.jenkins.io/debian binary/ | sudo tee \
/etc/apt/sources.list.d/jenkins.list > /dev/null
sudo apt-get update
sudo apt-get install jenkins
```
**Note: ** By default, Jenkins will not be accessible to the external world due to the inbound traffic restriction by AWS. Open port 8080 in the inbound traffic rules as show below.
- EC2 > Instances > Click on
- In the bottom tabs -> Click on Security
- Security groups
- Add inbound traffic rules as shown in the image (you can just allow TCP 8080 as well, in my case, I allowed `All traffic`).

### Login to Jenkins using the below URL:
http://:8080 [You can get the ec2-instance-public-ip-address from your AWS EC2 console page]
Note: If you are not interested in allowing `All Traffic` to your EC2 instance
1. Delete the inbound traffic rule for your instance
2. Edit the inbound traffic rule to only allow custom TCP port `8080`
After you login to Jenkins,
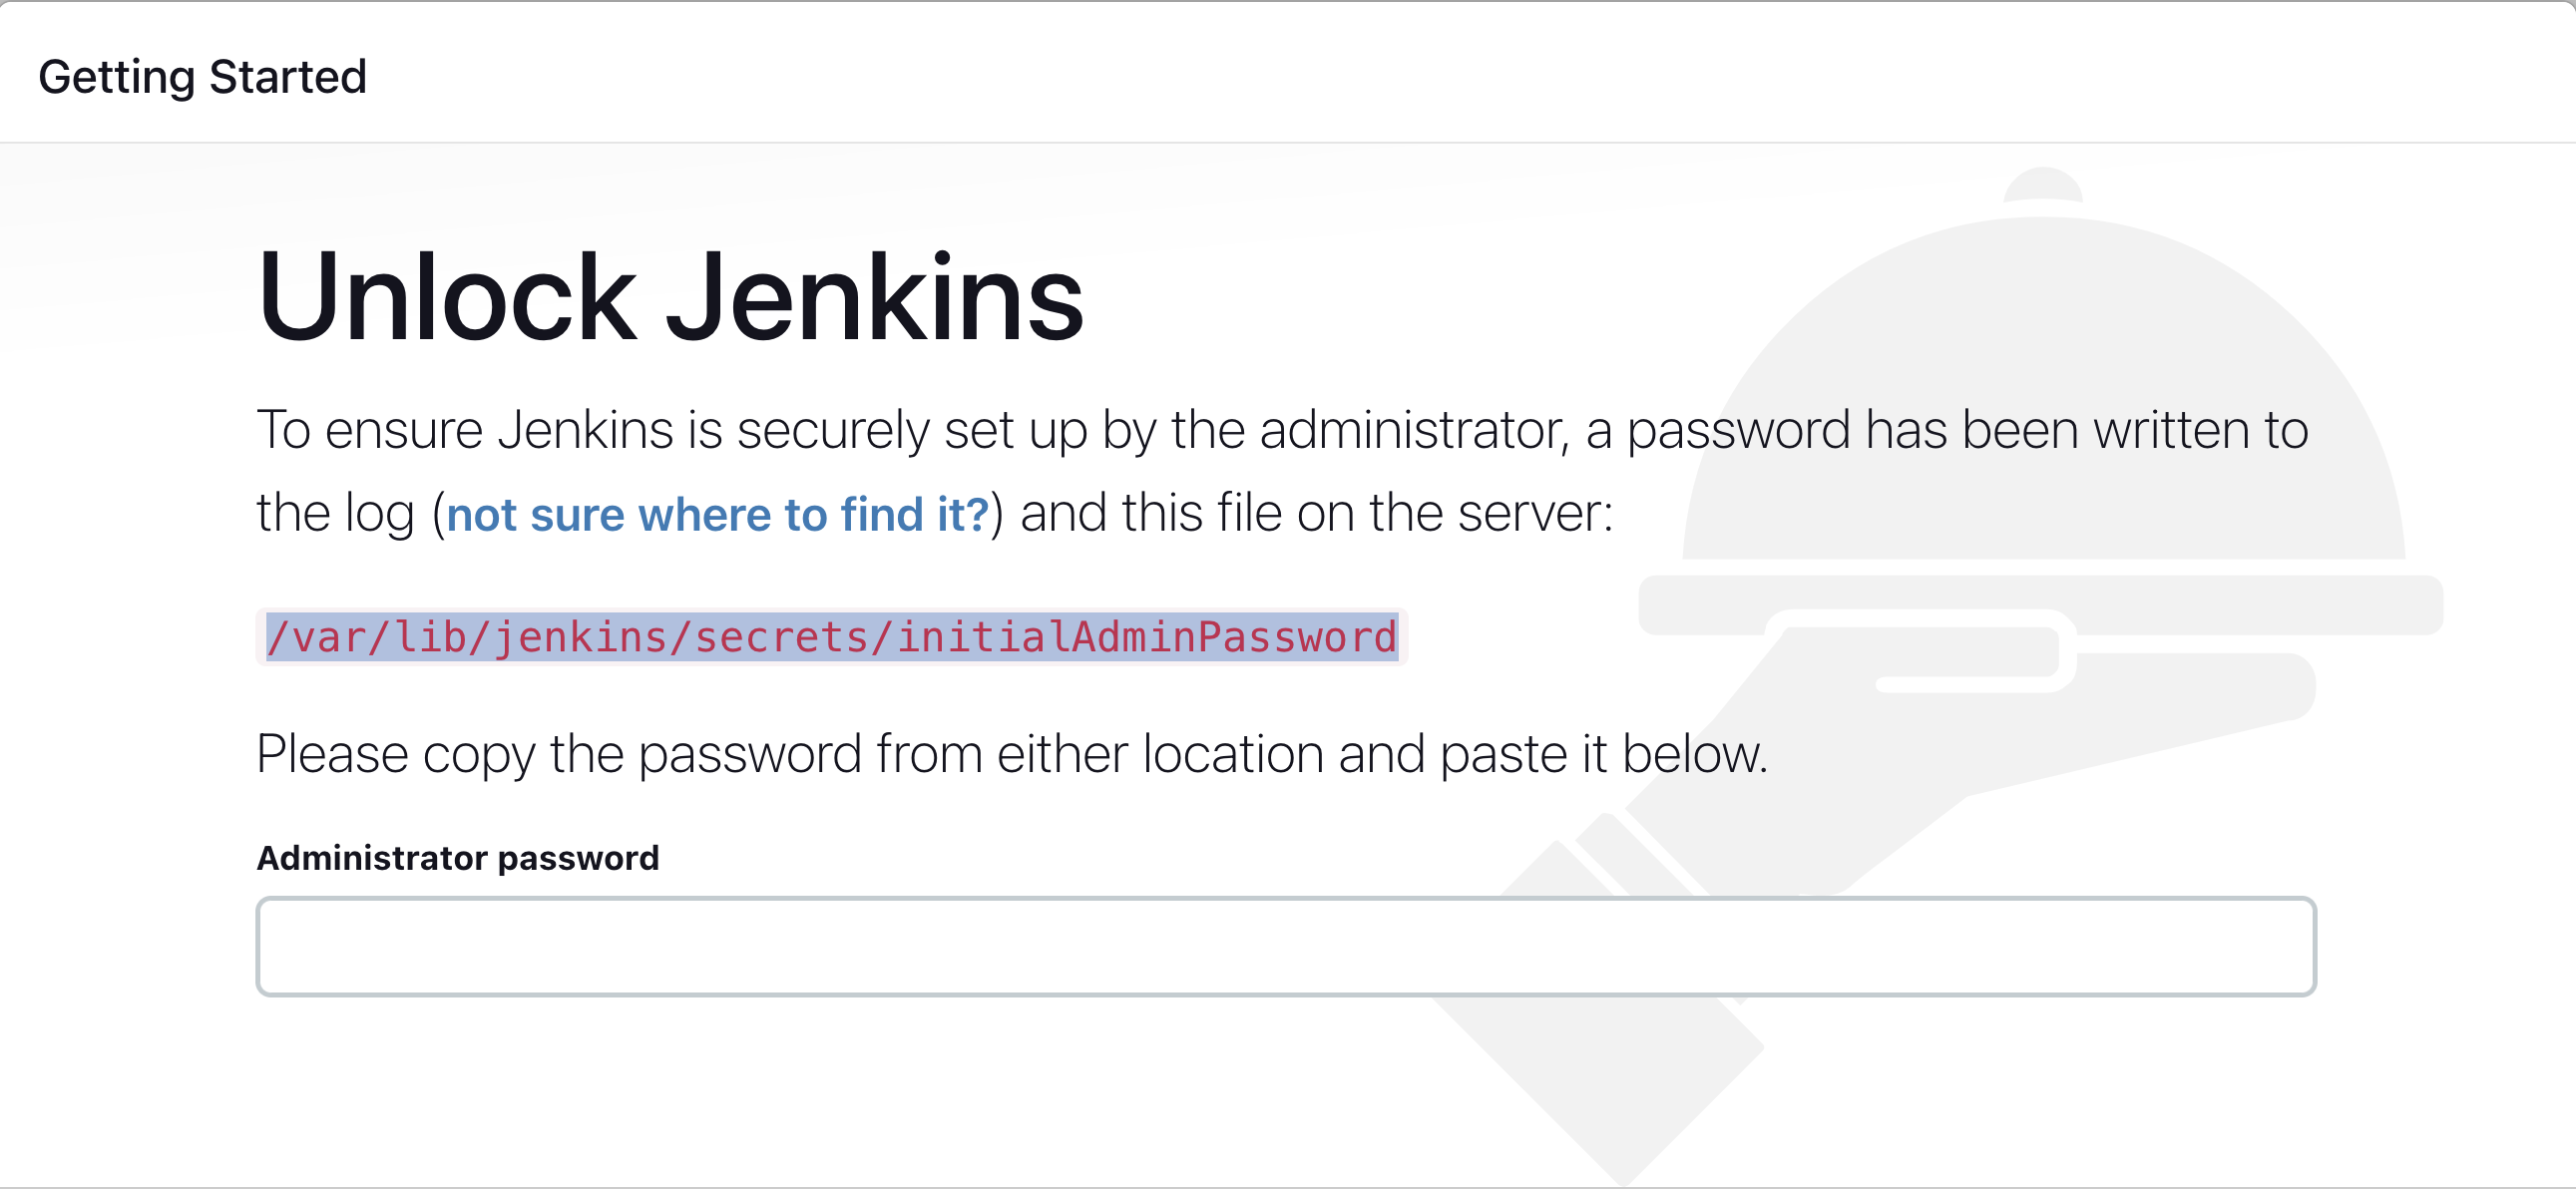
- Run the command to copy the Jenkins Admin Password - `sudo cat /var/lib/jenkins/secrets/initialAdminPassword`
- Enter the Administrator password
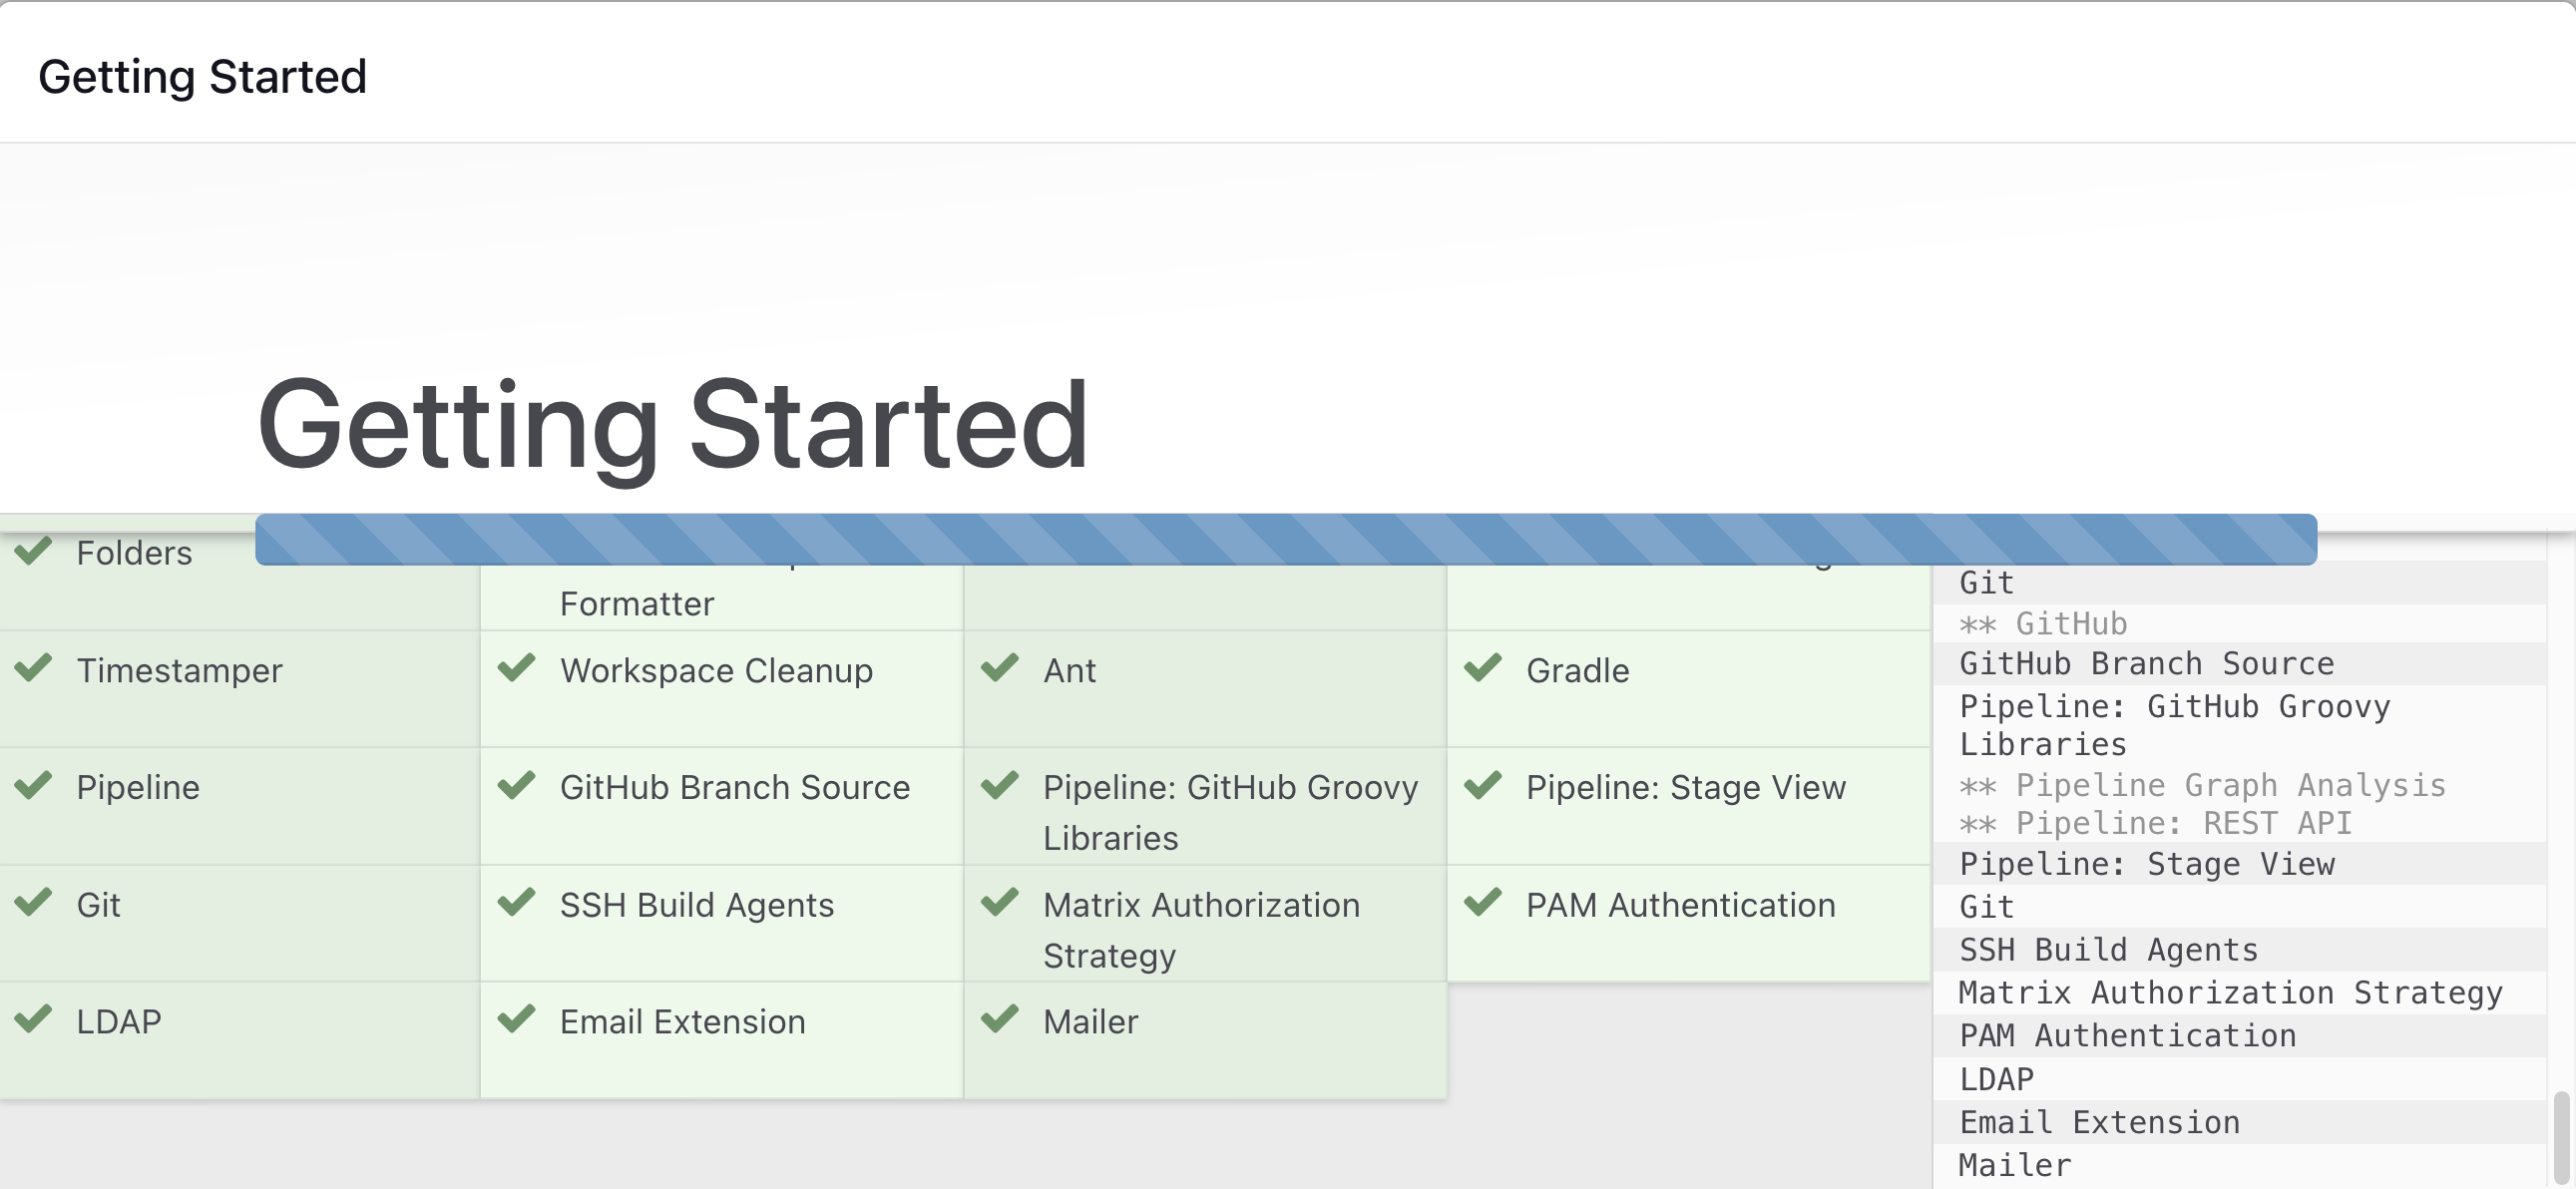
### Click on Install suggested plugins
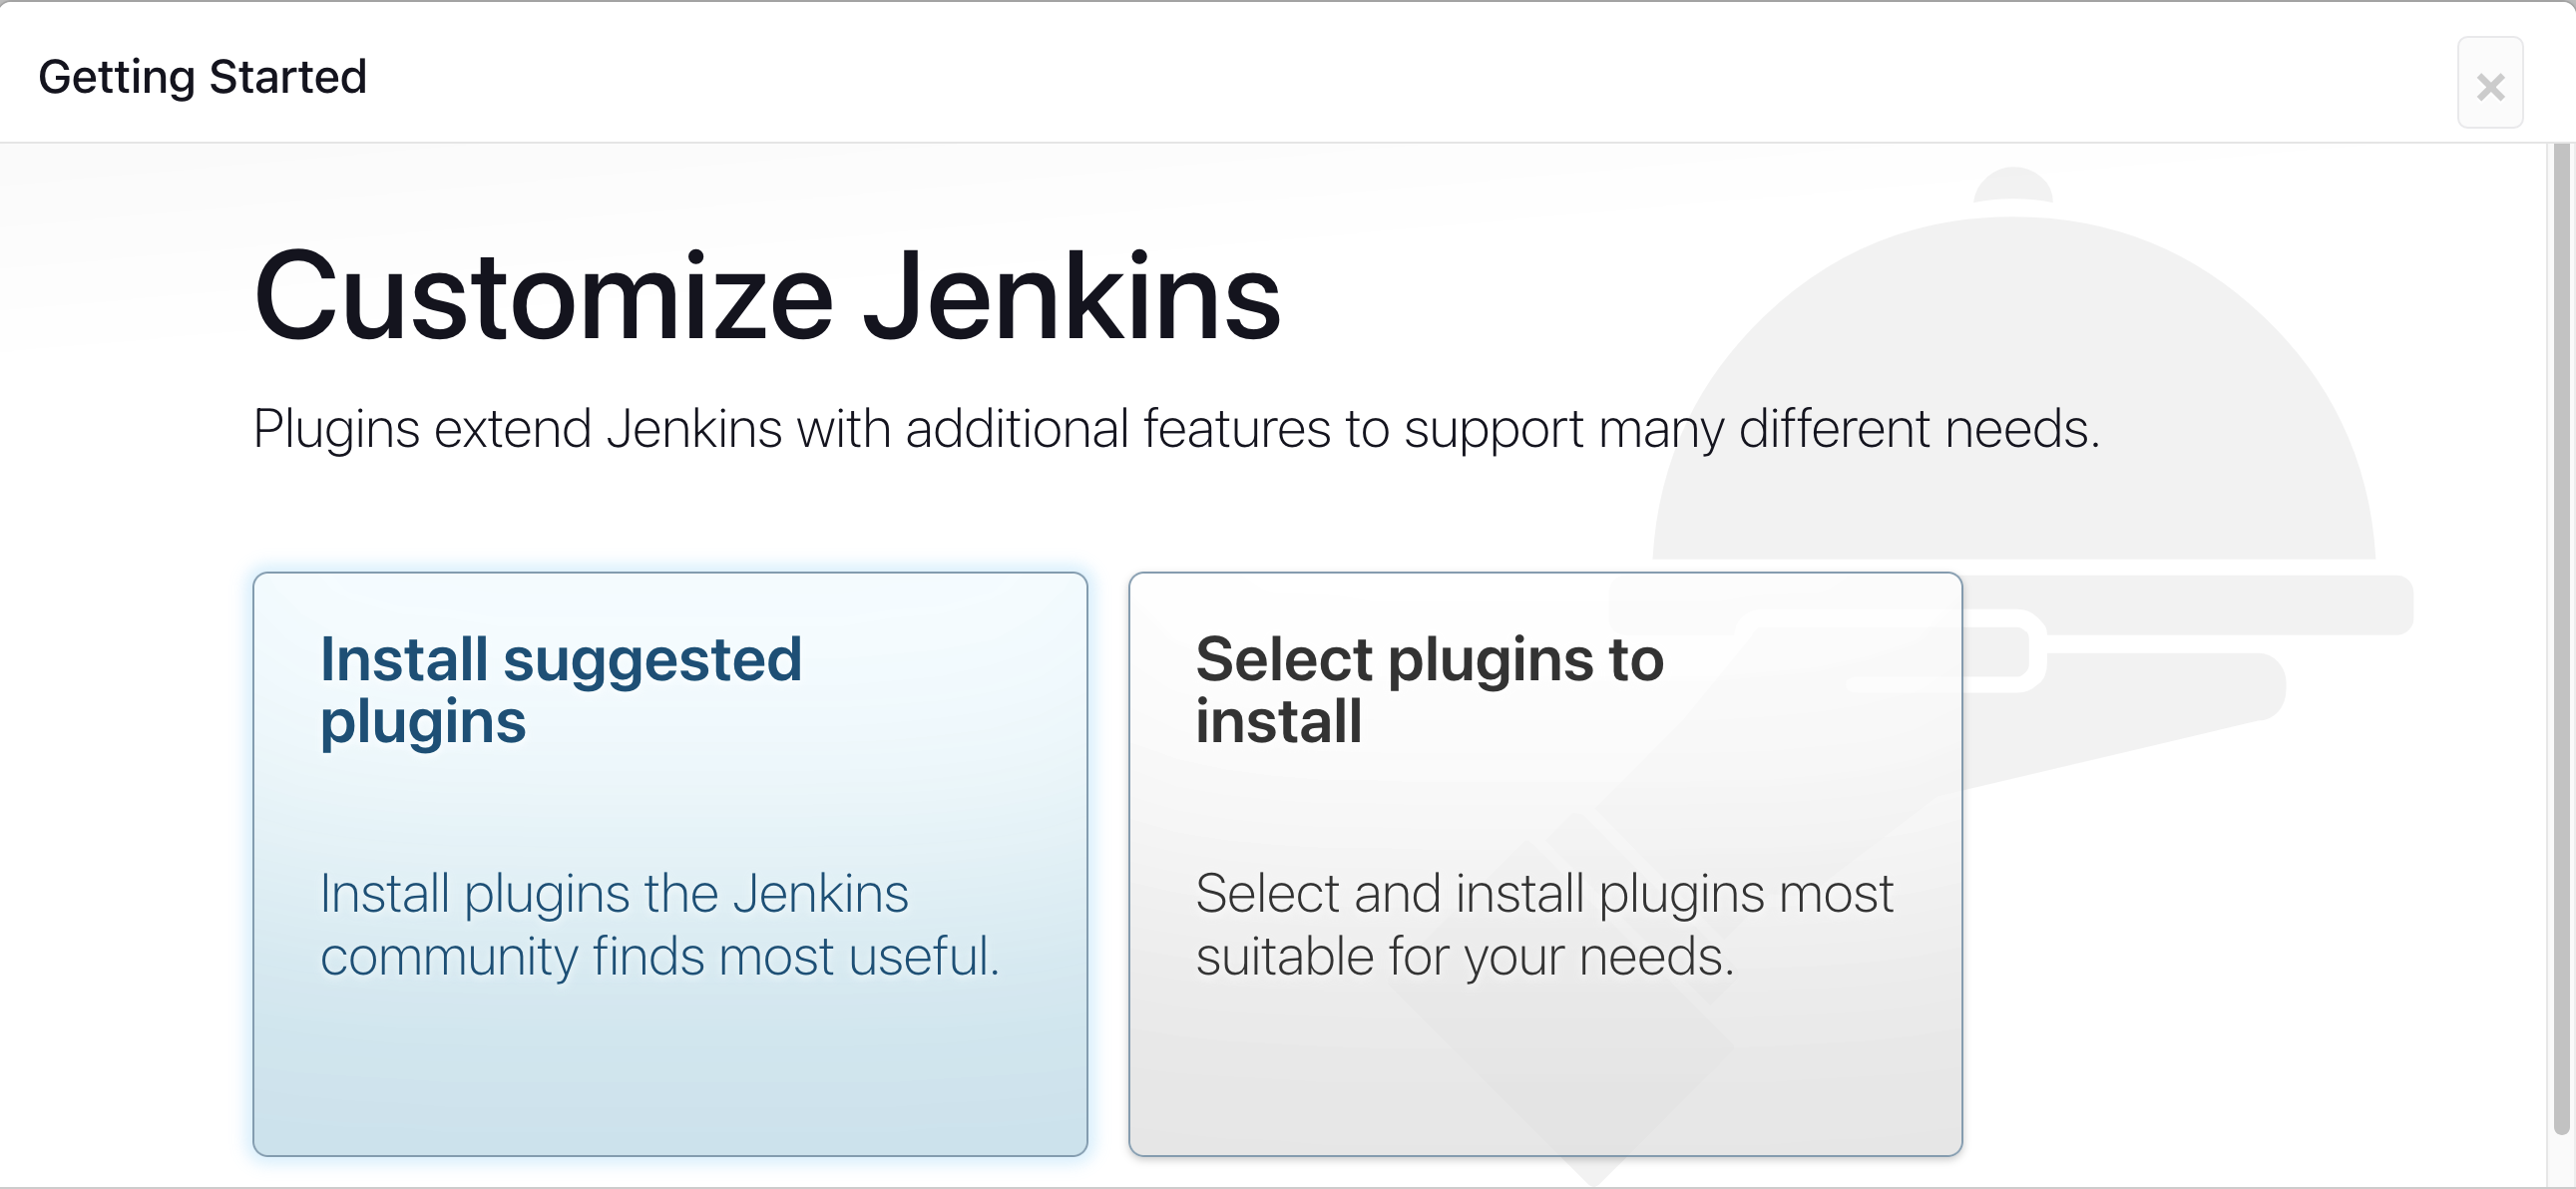
Wait for the Jenkins to Install suggested plugins
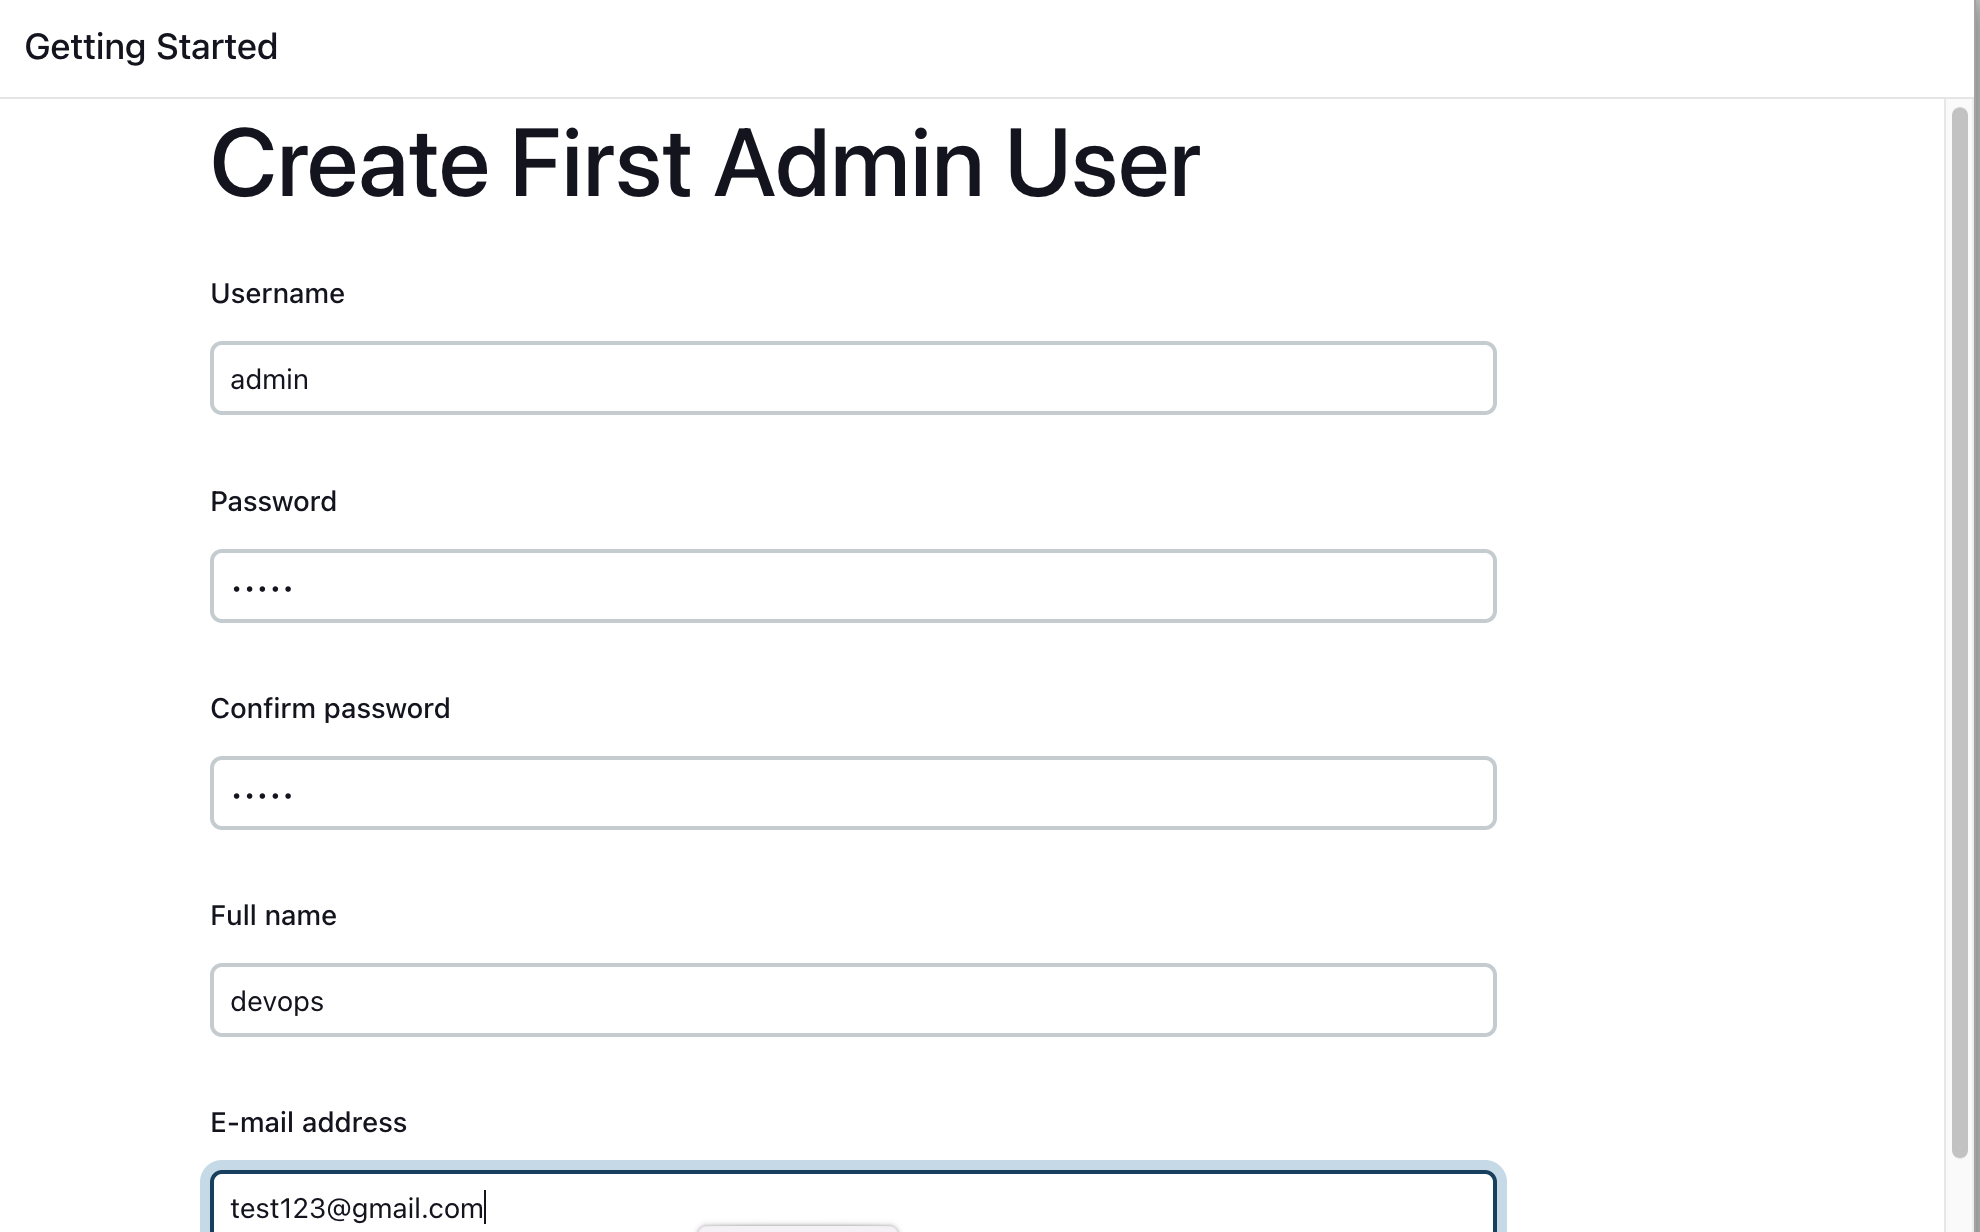
Create First Admin User or Skip the step [If you want to use this Jenkins instance for future use-cases as well, better to create admin user]
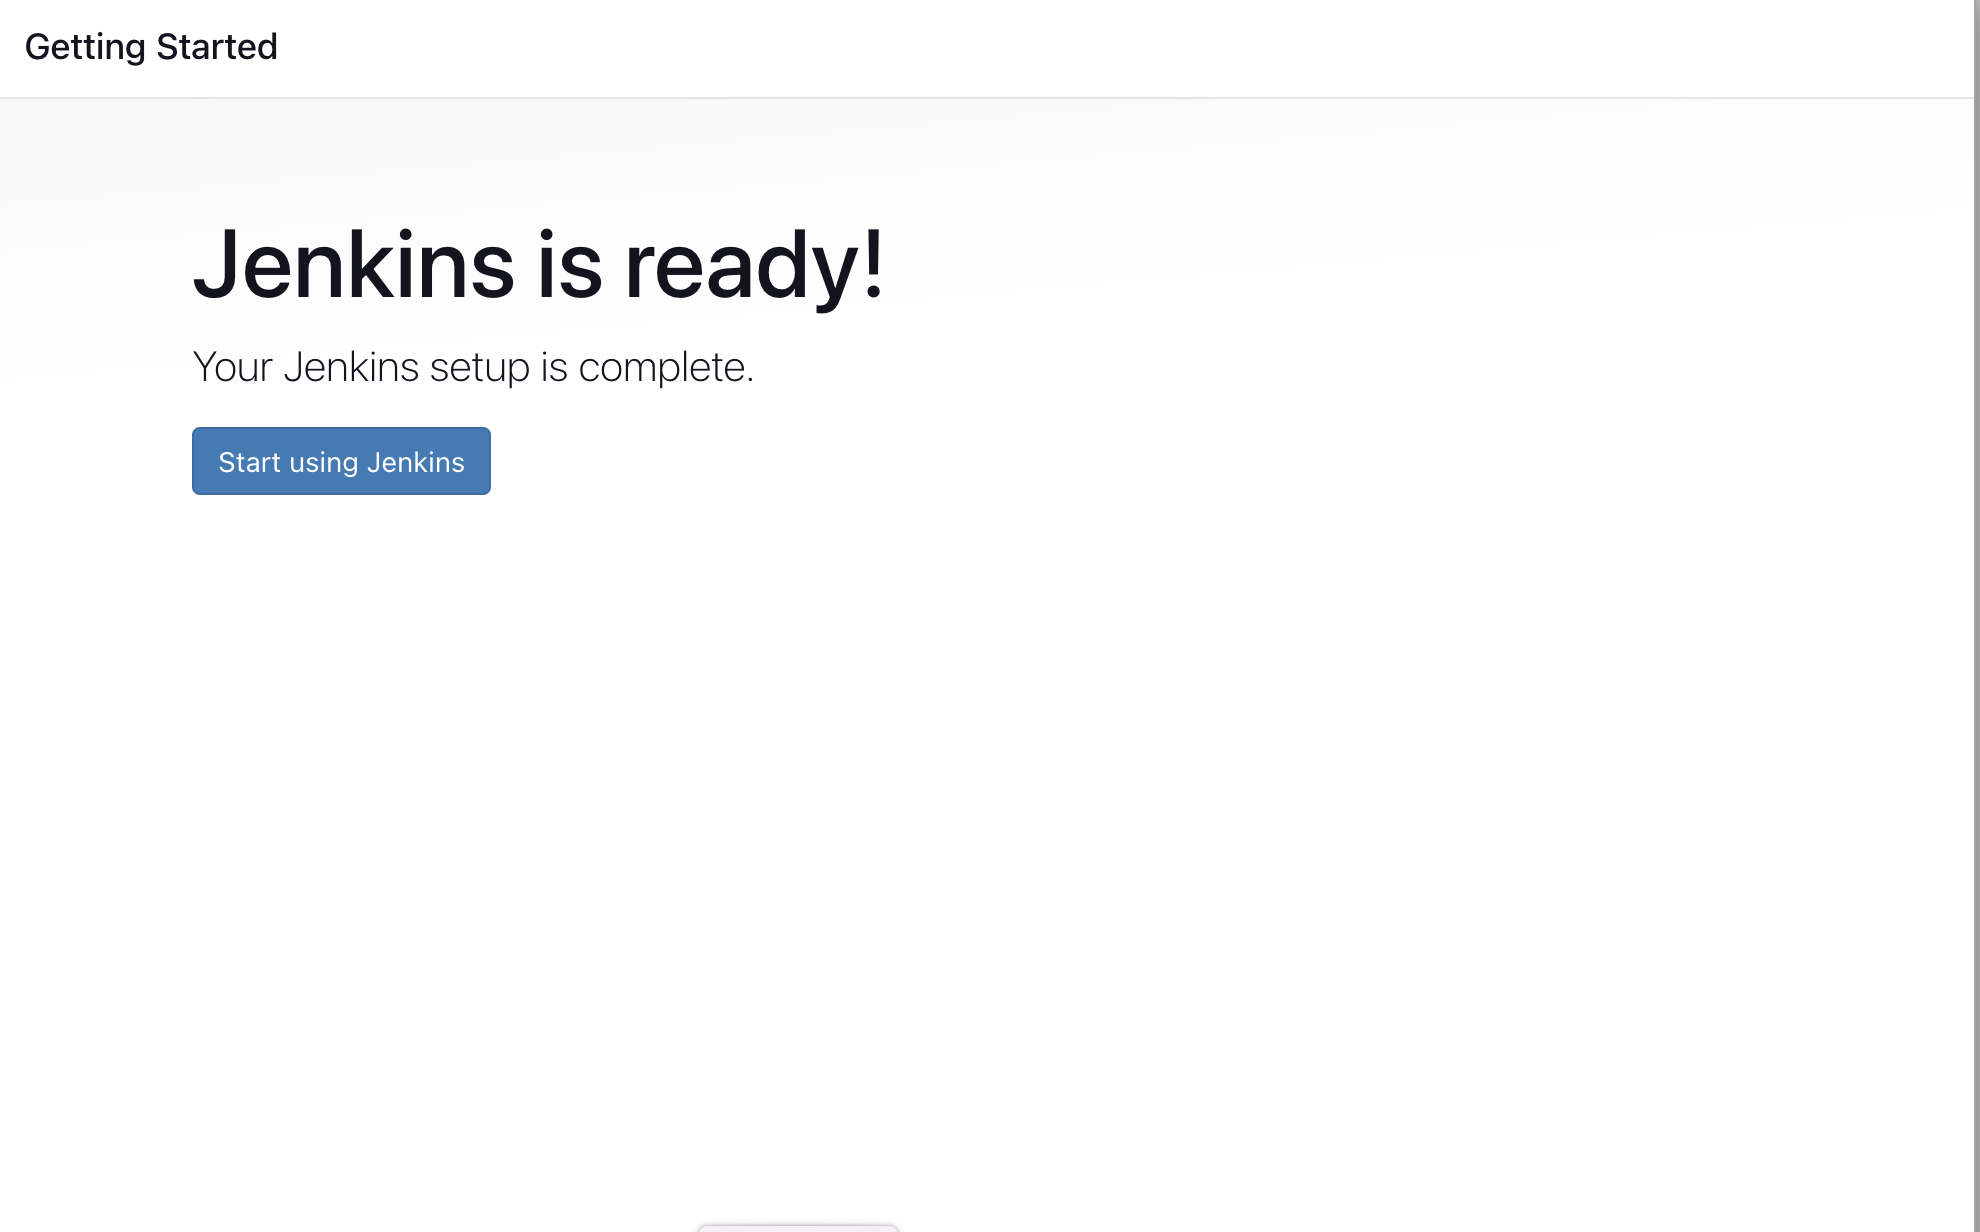
Jenkins Installation is Successful. You can now starting using the Jenkins
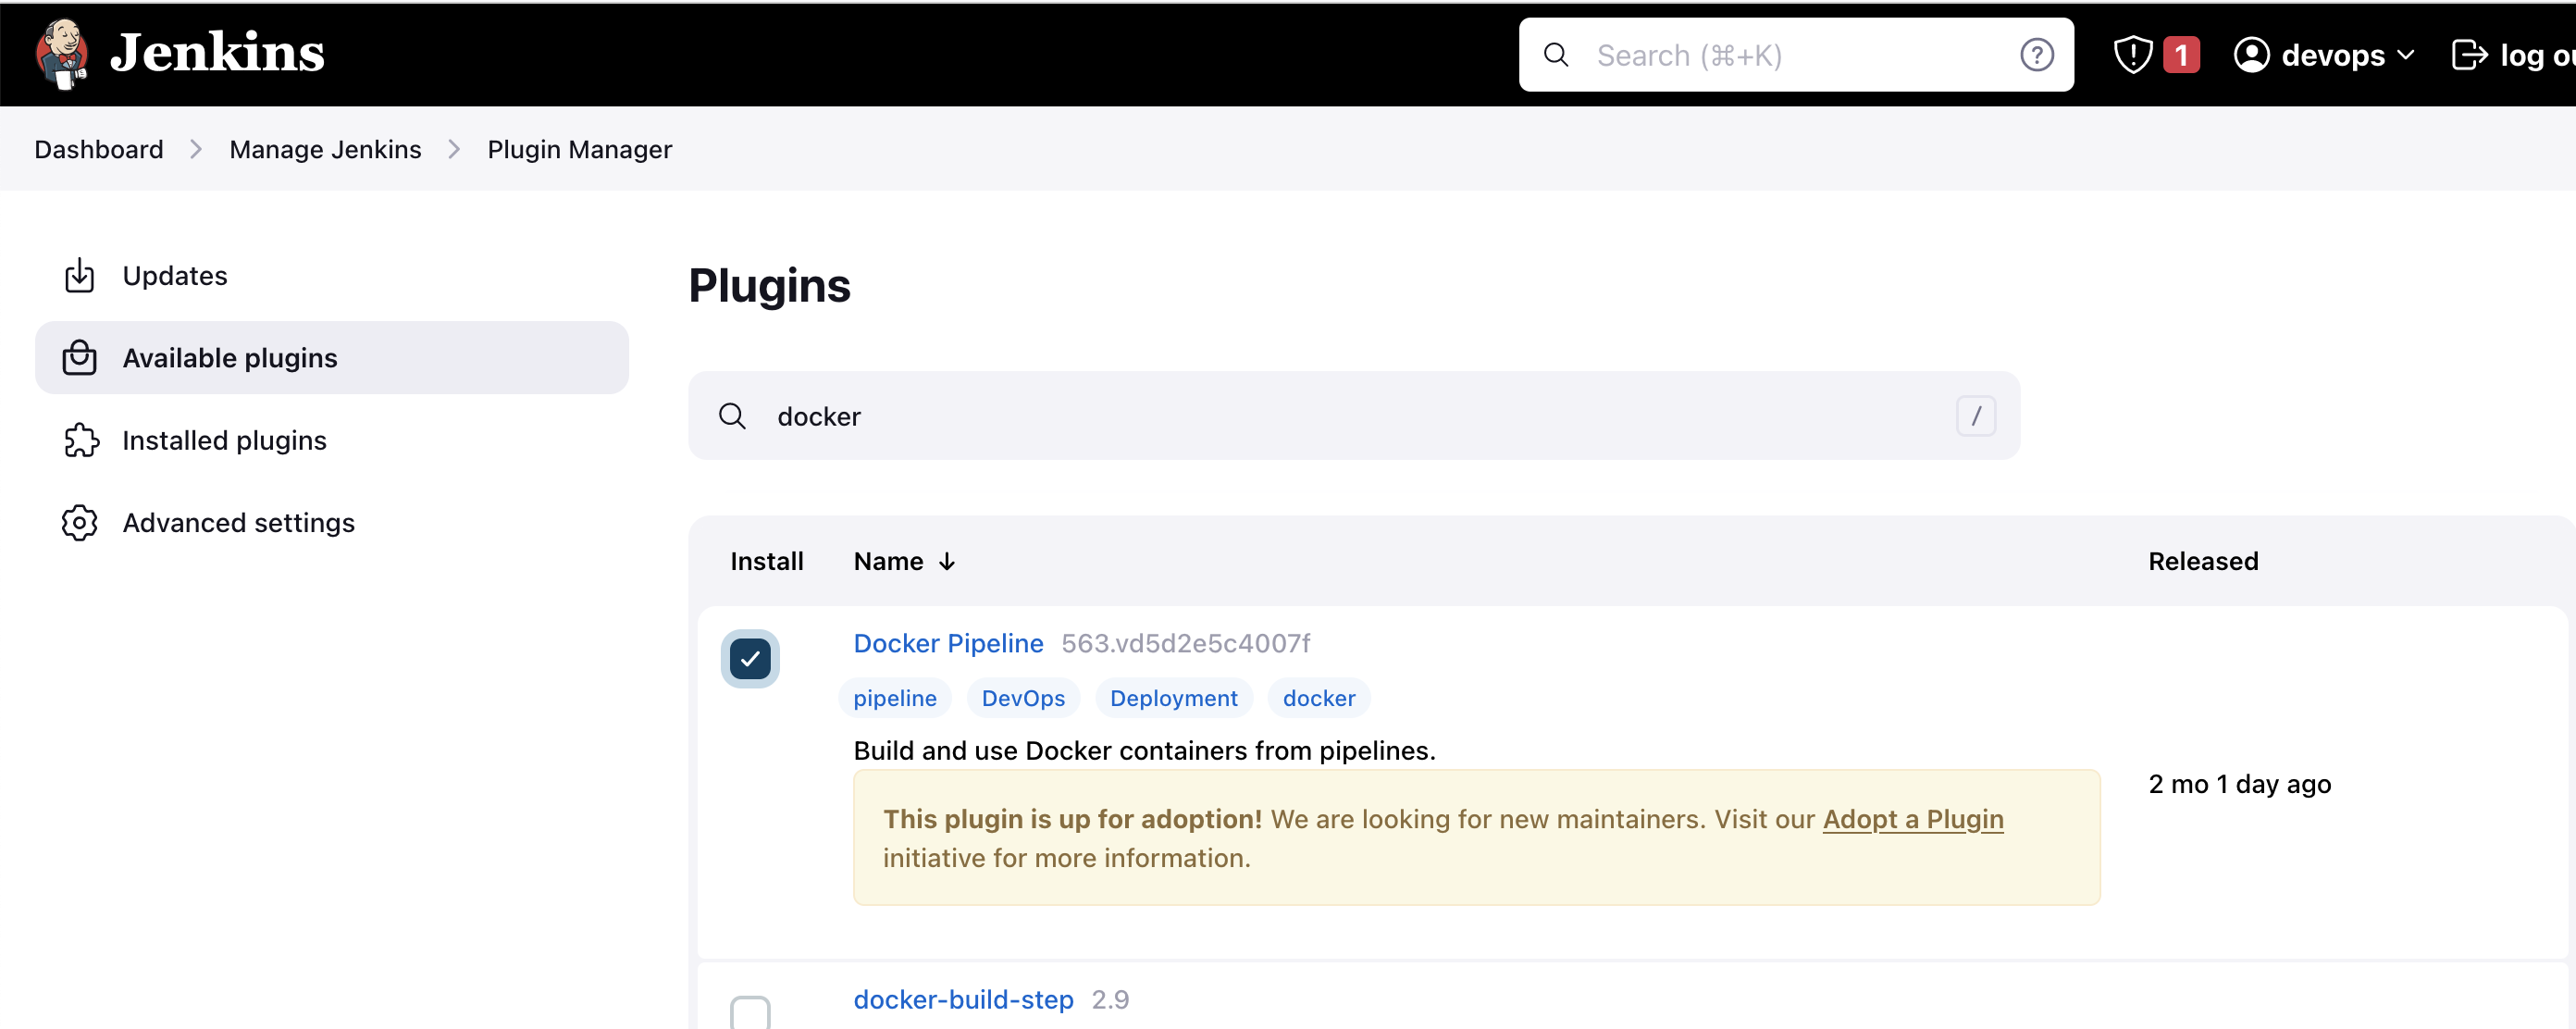
## Install the Docker Pipeline plugin in Jenkins:
- Log in to Jenkins.
- Go to Manage Jenkins > Manage Plugins.
- In the Available tab, search for "Docker Pipeline".
- Select the plugin and click the Install button.
- Restart Jenkins after the plugin is installed.
Wait for the Jenkins to be restarted.
## Docker Slave Configuration
Run the below command to Install Docker
```
sudo apt update
sudo apt install docker.io
```
### Grant Jenkins user and Ubuntu user permission to docker deamon.
```
sudo su -
usermod -aG docker jenkins
usermod -aG docker ubuntu
systemctl restart docker
```
Once you are done with the above steps, it is better to restart Jenkins.
```
http://:8080/restart
```
The docker agent configuration is now successful.