Ecosyste.ms: Awesome
An open API service indexing awesome lists of open source software.
https://github.com/ibrahimbougaoua/autofill-extension
https://github.com/ibrahimbougaoua/autofill-extension
Last synced: about 2 months ago
JSON representation
- Host: GitHub
- URL: https://github.com/ibrahimbougaoua/autofill-extension
- Owner: ibrahimBougaoua
- Created: 2024-07-06T14:30:41.000Z (6 months ago)
- Default Branch: main
- Last Pushed: 2024-07-06T15:58:19.000Z (6 months ago)
- Last Synced: 2024-07-07T16:00:08.500Z (6 months ago)
- Language: HTML
- Size: 465 KB
- Stars: 0
- Watchers: 1
- Forks: 0
- Open Issues: 0
-
Metadata Files:
- Readme: readme.md
Awesome Lists containing this project
README
        # Autofill Extension

## Description

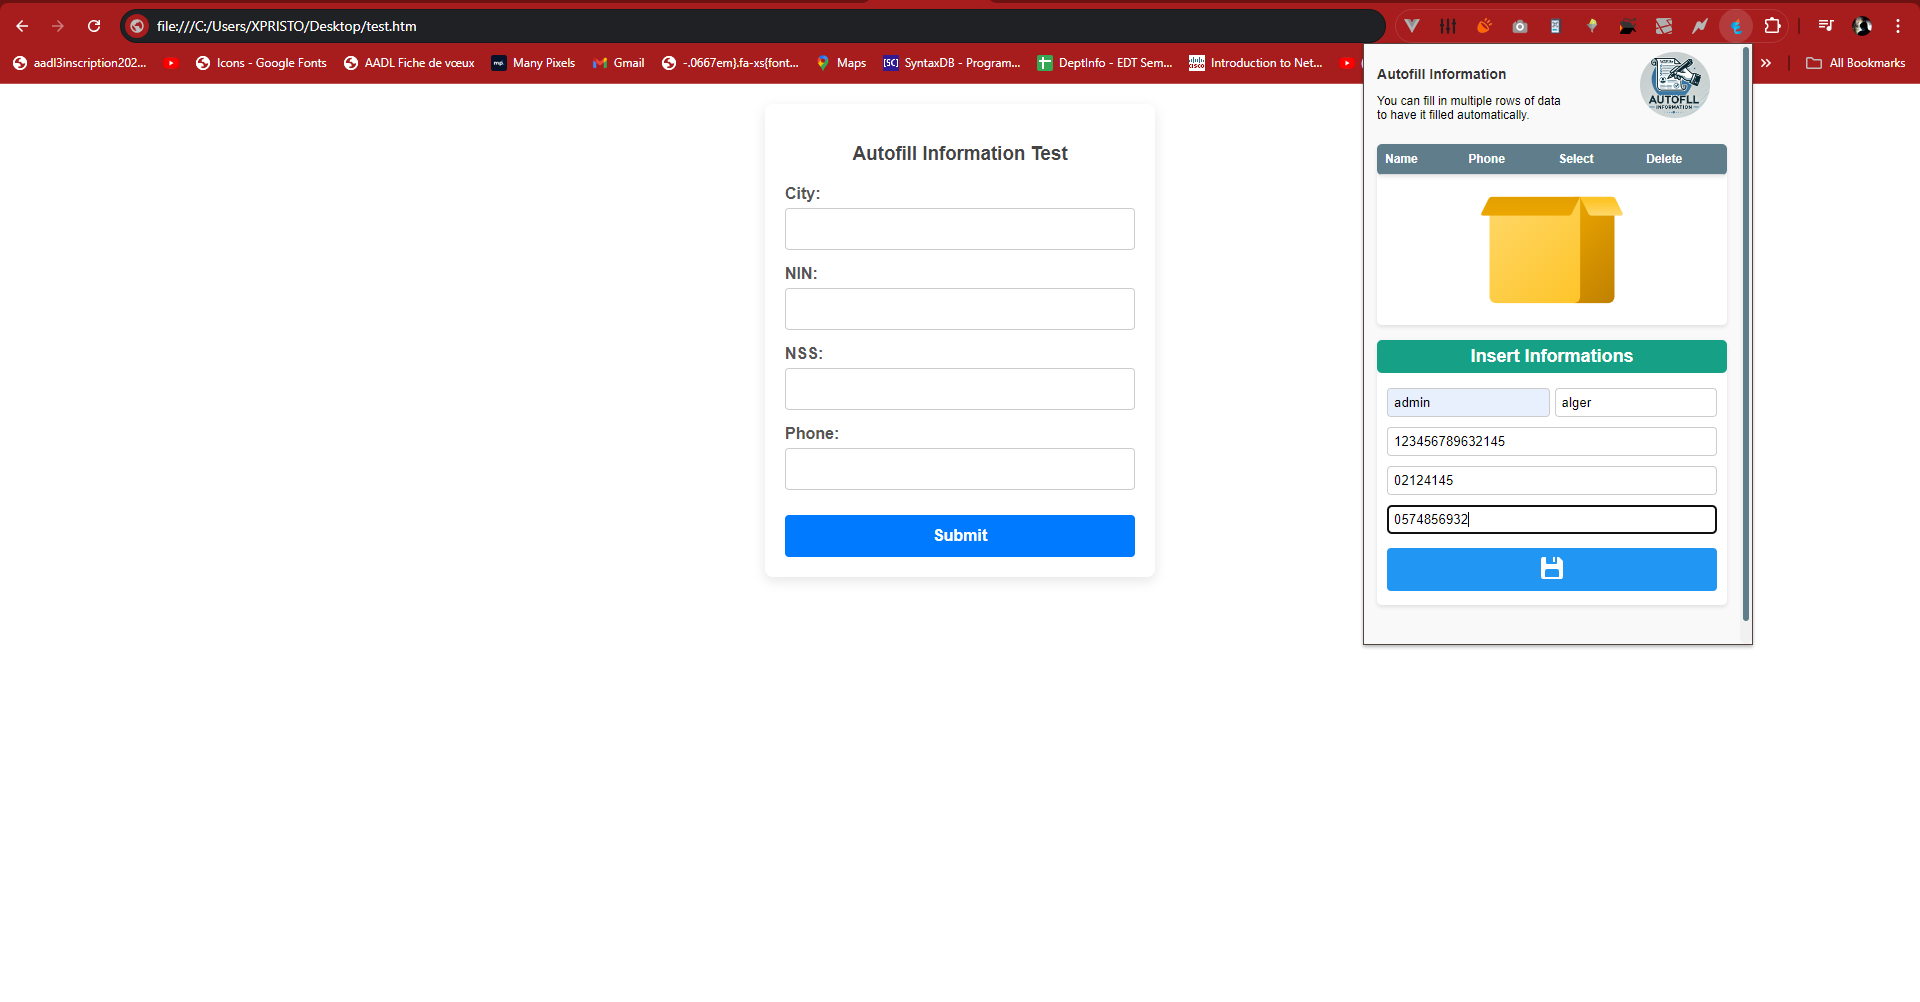
Autofill Extension is a Chrome extension designed to help users automatically fill out client information in forms. The extension allows users to add, edit, and delete client records, and then easily select a client to autofill their details into forms on web pages.

## Features

- Add new client records with required fields: Name, City, NIN, NSS, and Phone.

- Edit existing client records.

- Delete client records with a confirmation prompt.

- Automatically fill out form fields on web pages with selected client information.

- Visual indication of empty fields and requirement to fill all fields before saving.

- Centered image display when no records are available.

- Responsive and user-friendly interface.

## Installation and Usage

### Load the Extension in Chrome

1. Open Chrome and go to `chrome://extensions/`.

2. Enable **Developer mode** in the top right corner.

3. Click **Load unpacked** and select your extension project directory.

4. Your extension should now be loaded and visible in the list of extensions.

### Directory Structure

```php

autofill-extension/

├── images/

│ ├── select-icon.svg

│ ├── delete-icon.svg

│ ├── empty.svg

│ ├── icon16.png

│ ├── icon48.png

│ ├── icon128.png

├── popup.html

├── popup.js

├── background.js

├── content.js

├── manifest.json

```

### Usage Instructions

1. Click on the Autofill Extension icon in the Chrome toolbar to open the popup.

2. **Adding a New Client**:

    - Fill out all the fields: Name, City, NIN, NSS, and Phone.

    - Click the **Add Client** button. All fields are required, and if any are empty, they will be highlighted with a red border.

3. **Selecting a Client**:

    - Click the **Select** button next to a client record to autofill their information into form fields on the current web page.

4. **Deleting a Client**:

    - Click the **Delete** button next to a client record.

    - Confirm the deletion in the prompt that appears.

### First step


### Second step


### Third step


### Fourth step


### Contributing

Feel free to submit issues or pull requests if you have any improvements or bug fixes.

### License

This project is licensed under the MIT License.