https://github.com/idvoretskyi/minikube-kvm
Running a local Kubernetes cluster with Minikube on KVM
https://github.com/idvoretskyi/minikube-kvm
cncf kubernetes kubernetes-cluster kubernetes-setup kvm kvm2 minikube minikube-cluster minikube-setup
Last synced: 5 months ago
JSON representation
Running a local Kubernetes cluster with Minikube on KVM
- Host: GitHub
- URL: https://github.com/idvoretskyi/minikube-kvm
- Owner: idvoretskyi
- License: cc0-1.0
- Created: 2019-02-19T12:42:58.000Z (over 7 years ago)
- Default Branch: master
- Last Pushed: 2019-02-22T12:01:32.000Z (over 7 years ago)
- Last Synced: 2024-12-29T20:44:41.654Z (over 1 year ago)
- Topics: cncf, kubernetes, kubernetes-cluster, kubernetes-setup, kvm, kvm2, minikube, minikube-cluster, minikube-setup
- Homepage:
- Size: 1.25 MB
- Stars: 3
- Watchers: 3
- Forks: 0
- Open Issues: 0
-
Metadata Files:
- Readme: README.md
- License: LICENSE
Awesome Lists containing this project
README
Running Kubernetes locally on Ubuntu Linux with Minikube and KVM
================================================================
[Minikube](https://github.com/kubernetes/minikube) is a cross-platform, community-driven [Kubernetes](https://kubernetes.io/) distribution, which is targeted to be primarily used in the local environments. It deploys a single-node cluster, which is an excellent option for having a simple Kubernetes cluster up&running on localhost.
Minikube is designed to be used as a virtual machine (VM), and the default VM runtime of Minikube is VirtualBox. At the same time, extensibility is one of the critical benefits of Minikube, so it's possible to use it without VirtualBox, but with other [drivers](https://github.com/kubernetes/minikube/blob/master/docs/drivers.md).
At the same time, QEMU/KVM is a Linux-native virtualization solution, which may offer more benefits comparing to VirtualBox. Specifically, it's way more natural to use KVM on the headless GNU/Linux server.
Also, VirtualBox and KVM can't be used simultaneously, so if you are already running any KVM workloads on some machine, and willing to run Minikube there as well, using the KVM minikube driver is a preferred way to go.
In this guide, we'll focus on running Minikube with the KVM driver on Ubuntu 18.04 LTS.
Disclaimer
----------
This is not an official minikube guide. You may find detailed information on running and using Minikube on it's official [webpage](https://github.com/kubernetes/minikube/blob/master/docs/drivers.md), where different use cases, operating systems, environments, etc. are covered. Instead, the purpose of this guide - to provide some easy and clear guidelines on running Minikube with KVM on a Linux.
Prereqs
-------
- Any Linux you like (in this tutorial we'll use Ubuntu 18.04 LTS, and all the instructions below are applicable to it. If you prefer using a different Linux distribution, please check out the relevant documentation, or make this tutorial better and submit a PR :wink:)
- Installed and properly configured `libvirt` and QEMU-KVM
- Kubernetes CLI (`kubectl`) for operating the Kubernetes cluster
### QEMU/KVM and libvirt installation
*NOTE: skip if already installed*
Before we proceed, we have to verify if our host can run KVM-based virtual machines. This can be easily checked with the [kvm-ok](https://manpages.ubuntu.com/manpages/bionic/man1/kvm-ok.1.html) tool, available on Ubuntu.
```shell
sudo apt install -y cpu-checker && sudo kvm-ok
```
If you receive the following output after running `kvm-ok`, you can use KVM on your machine (otherwise, please check out your configuration):
```shell
$ sudo kvm-ok
INFO: /dev/kvm exists
KVM acceleration can be used
```
Now let's install KVM and libvirt (and add our current user to the `libvirt` group to grant sufficient permissions:
```shell
sudo apt install -y libvirt-clients libvirt-daemon-system qemu-kvm \
&& sudo usermod -a -G libvirt $(whoami) \
&& newgrp libvirt
```
### kubectl (Kubernetes CLI) installation
*NOTE: skip if already installed*
To have an ability to manage the Kubernetes cluster, we have to install [kubectl](https://kubernetes.io/docs/reference/kubectl/overview/), the Kubernetes CLI tool.
The natural way to install it - download the pre-built binary and move it to the directory under the \$PATH.
```shell
curl -LO https://storage.googleapis.com/kubernetes-release/release/$(curl -s https://storage.googleapis.com/kubernetes-release/release/stable.txt)/bin/linux/amd64/kubectl \
&& sudo install kubectl /usr/local/bin
```
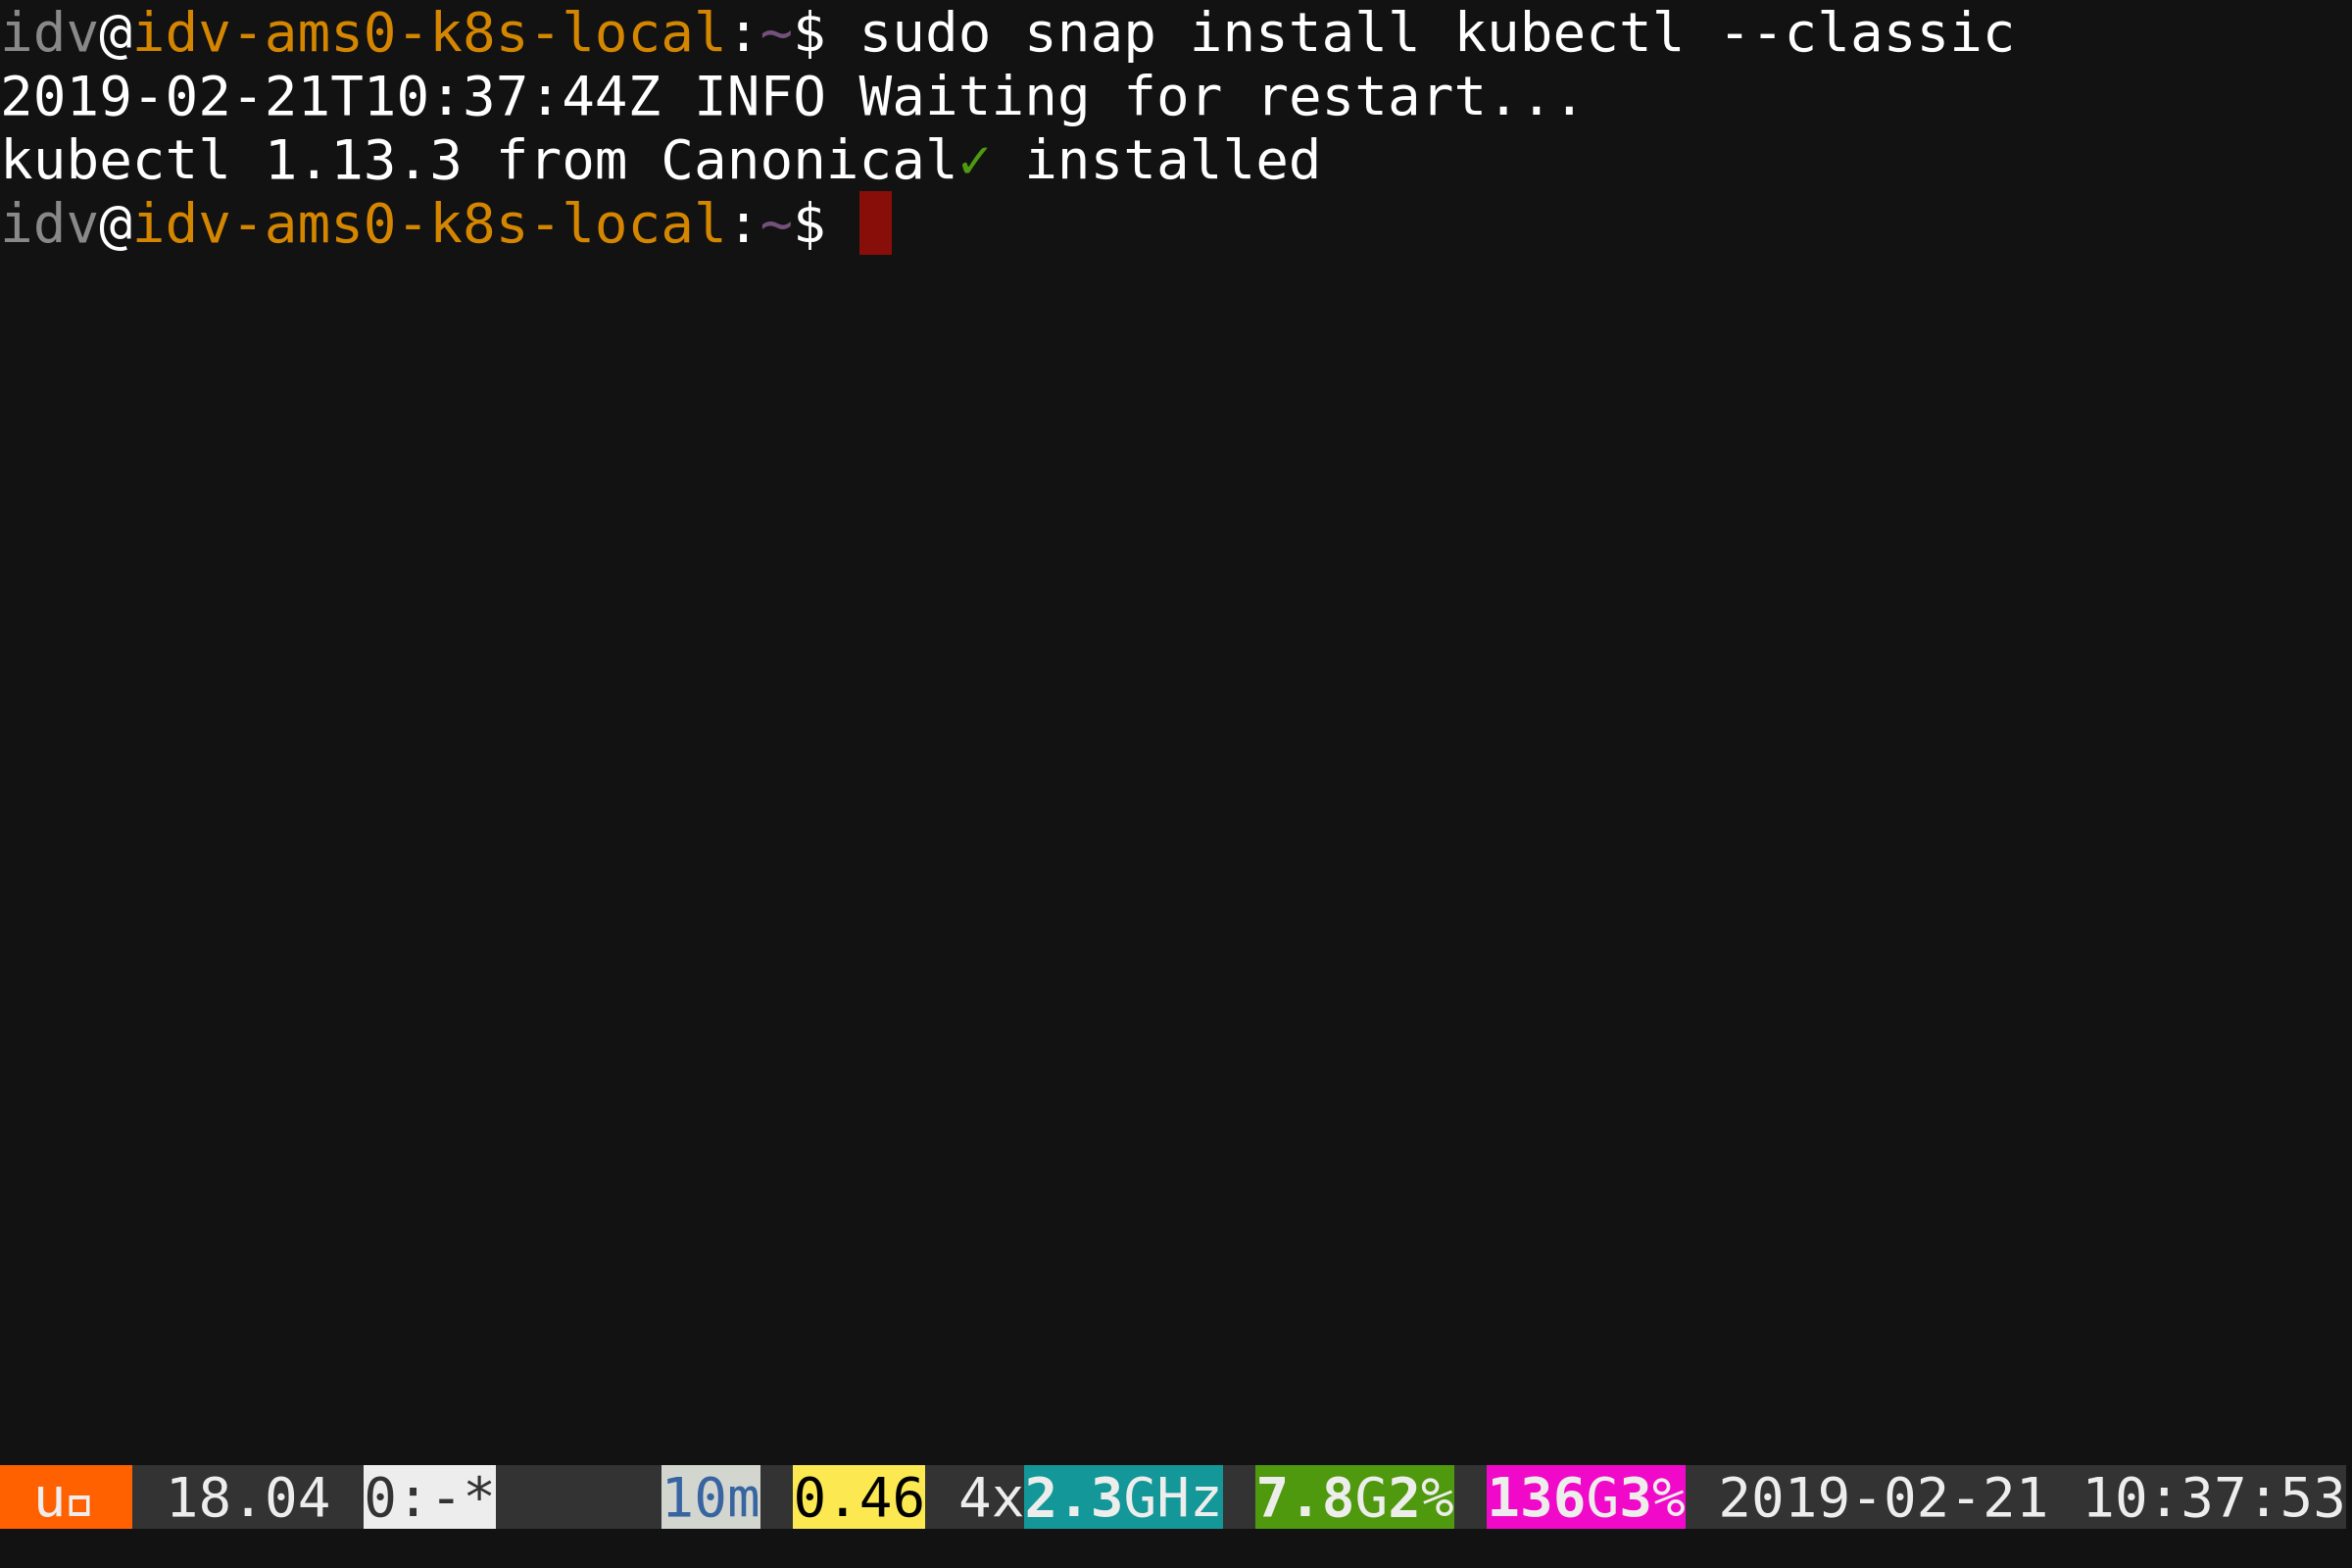
Alternatively, it can be installed as a [snap](https://snapcraft.io/) package. This means that your snapd has to be [installed and configured](https://docs.snapcraft.io/installing-snapd/6735). On Ubuntu 18.04+ (as well as on other Ubuntu flavors) snapd is available by default.
```shell
sudo snap install kubectl --classic
```
Minikube installation
---------------------
### Minikube KVM driver installation
VM driver is an essential requirement for the Minikube local deployment. As we've agreed to use KVM as a Minikube driver in this tutorial, let's install the KVM driver with the following command:
```shell
curl -LO https://storage.googleapis.com/minikube/releases/latest/docker-machine-driver-kvm2 \
&& sudo install docker-machine-driver-kvm2 /usr/local/bin/
```
### Minikube installation
Now let's install Minikube itself:
```shell
curl -LO https://storage.googleapis.com/minikube/releases/latest/minikube-linux-amd64 \
&& sudo install minikube-linux-amd64 /usr/local/bin/minikube
```
### Verify the Minikube installation
Before we proceed, we have to verify if Minikube is correctly installed. The simplest way to do it - check the minikube status.
```shell
minikube status
```

### To use the KVM2 driver:
Now let's run the local Kubernetes cluster with Minikube and KVM:
```shell
minikube start --vm-driver kvm2
```

### Set KVM2 as a default VM driver for Minikube
If KVM is a single driver for Minikube on our machine, it's way more convenient to set it as a default driver and run Minikube with less command-line arguments. The following command sets KVM driver as a default one:
```shell
minikube config set vm-driver kvm2
```
So now let's run minikube as usual:
```shell
minikube start
```

Verify the Kubernetes installation
----------------------------------
Let's check out if the Kubernetes cluster is up and running:
```shell
kubectl get nodes
```

Now let's run a simple sample app (nginx in our case):
```shell
kubectl create deployment nginx --image=nginx
```
Also, check out if the Kubernetes pods are correctly provisioned
```shell
kubectl get pods
```

Next steps
----------
Now the Kubernetes cluster on a local machine with Minikube and KVM is adequately set up and configured.
To proceed, you may check out the Kubernetes tutorials on the project website:
- [Hello Minikube](https://kubernetes.io/docs/tutorials/hello-minikube/)
Also, it's worth it checking the "Introduction to Kubernetes" course by The Linux Foundation/Cloud Native Computing Foundation, available for free on EDX:
- [Introduction to Kubernetes](https://www.edx.org/course/introduction-to-kubernetes#)