https://github.com/jsonwebtoken/jsonwebtoken.github.io
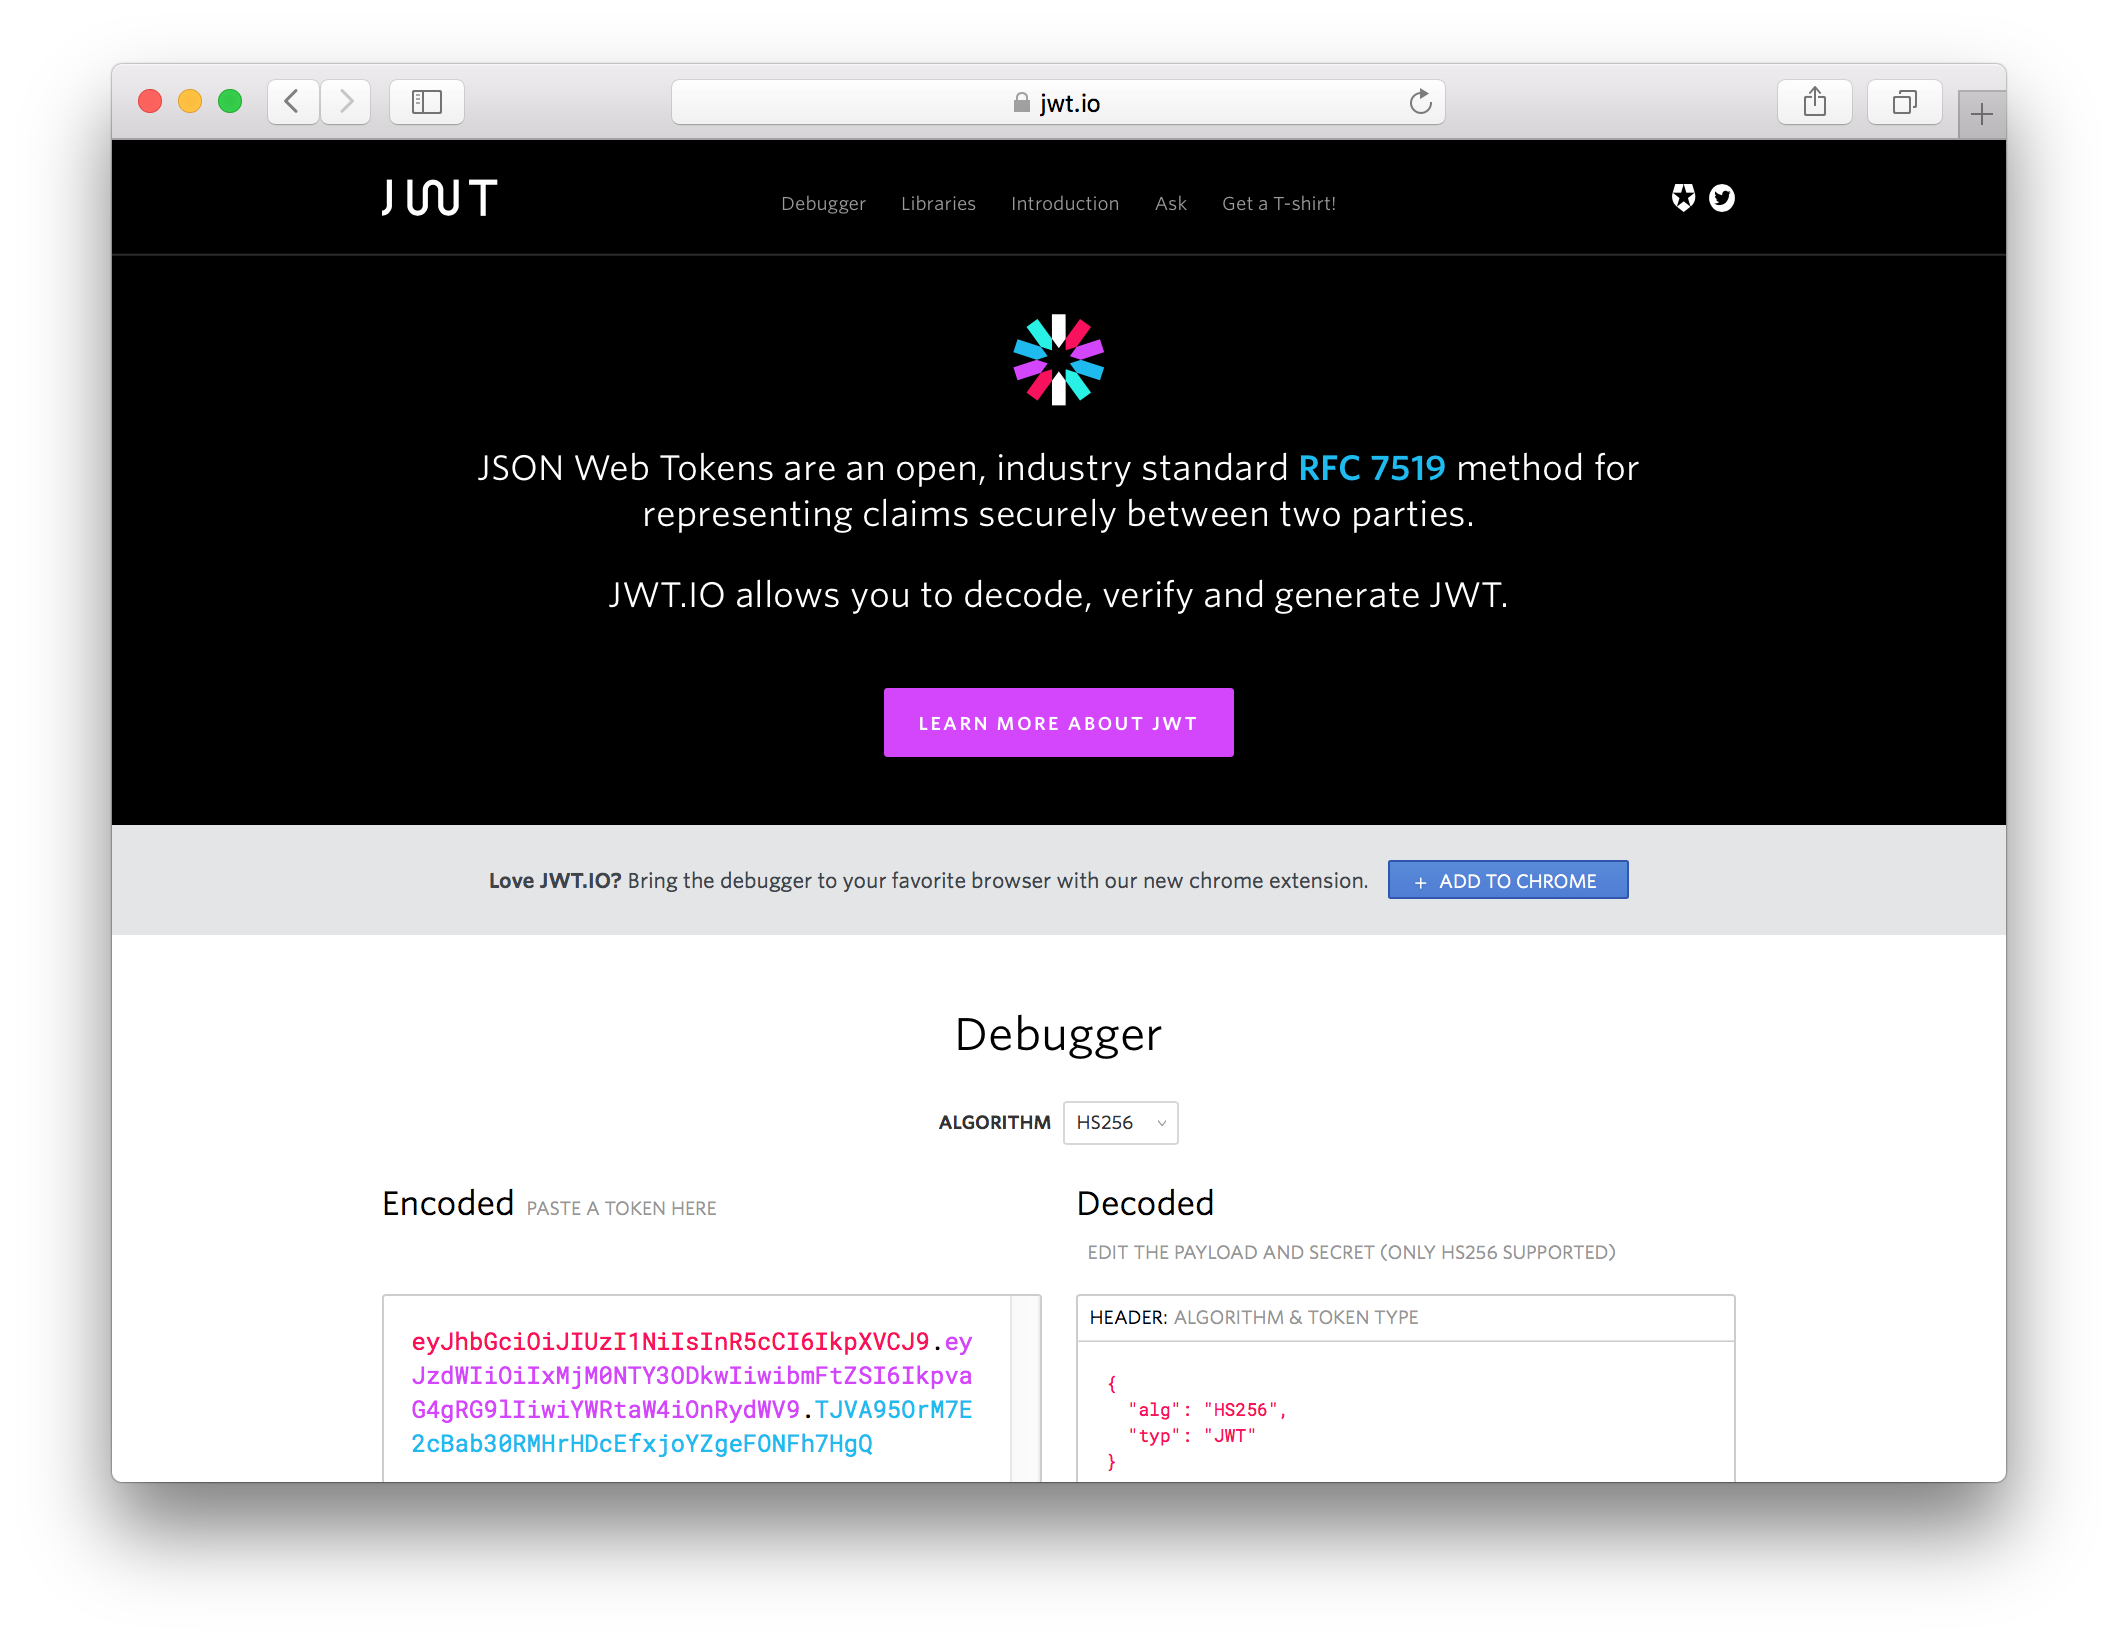
Developer-centric site to create awareness of JWTs and troubleshoot them.
https://github.com/jsonwebtoken/jsonwebtoken.github.io
Last synced: 9 months ago
JSON representation
Developer-centric site to create awareness of JWTs and troubleshoot them.
- Host: GitHub
- URL: https://github.com/jsonwebtoken/jsonwebtoken.github.io
- Owner: jsonwebtoken
- License: other
- Created: 2014-03-10T17:48:34.000Z (almost 12 years ago)
- Default Branch: master
- Last Pushed: 2025-02-18T13:39:14.000Z (11 months ago)
- Last Synced: 2025-02-18T14:33:29.083Z (11 months ago)
- Language: JavaScript
- Homepage: jwt.io
- Size: 7.27 MB
- Stars: 535
- Watchers: 18
- Forks: 333
- Open Issues: 37
-
Metadata Files:
- Readme: README.md
- License: LICENSE.txt
Awesome Lists containing this project
- WebHackersWeapons - jsonwebtoken.github.io
- jimsghstars - jsonwebtoken/jsonwebtoken.github.io - Developer-centric site to create awareness of JWTs and troubleshoot them. (JavaScript)
README
## JWT.io

### Sponsor
|||
|-|-|
||If you want to quickly add secure (JSON Web) token-based authentication to your projects, feel free to check Auth0's documentation and free plan at [developer.auth0.com](https://developer.auth0.com)|
### How to add a library
To add a library, simply edit the right JSON file located at `views/website/libraries`. Each language gets its own file. Multiple libraries share the same language file.
To add a new language, simply add a JSON file in the same folder as the others. It will get automatically recognized. If you add a new language, you will need to provide a proper icon for it and place it in the `img` folder.
Here's a commented example of the .NET language file (`0-.NET.json`). All fields must have valid values unless noted:
```javascript
{
// Language name (unique)
"name": ".NET",
// Unique identifier that will be used as a CSS class
// for this language (only valid CSS class names).
"uniqueClass": "net",
// The language icon, SVG format preferred, should be placed
// in /img directory.
"image": "/img/1.svg",
// The color of header that displays the name of the language
// and the icon. This is a valid CSS color definition.
"bgColor": "rgb(42, 168, 229)",
// An array of libraries for this language.
"libs": [
{
// In case the library suffered from a vulnerability, the
// minimum version in which the vuln was fixed must be
// listed here. Optional (can be null).
"minimumVersion": "1.0.1", // or null
// Supported features, true for supported,
// false for not supported.
"support": {
"sign": true,
"verify": true,
"iss": true,
"sub": true,
"aud": true,
"exp": true,
"nbf": true,
"iat": true,
"jti": true,
"hs256": true,
"hs384": true,
"hs512": true,
"rs256": true,
"rs384": true,
"rs512": true,
"es256": true,
"es384": true,
"es512": true,
"ps256": true,
"ps384": true,
"ps512": true,
"eddsa": true
},
// Author URL, can be GitHub profile, personal page
// company page, etc. Can be null.
"authorUrl": "https://www.microsoft.com", // or null
// Author name.
"authorName": "Microsoft",
// For the star count, this is the GitHub repository path,
// (usually user/repo). Can be null (no star count shown).
"gitHubRepoPath": "AzureAD/azure-activedirectory-identitymodel-extensions-for-dotnet", // or null
// URL for source code.
"repoUrl": "https://github.com/MSOpenTech/azure-activedirectory-identitymodel-extensions-for-dotnet",
// Install command, can be HTML or plain text.
"installCommandHtml": "Install-Package
System.IdentityModel.Tokens.Jwt"
}
]
}
```
### How to build
First, install the required dependencies:
```sh
npm install
```
In order to build (and run) the project execute:
```sh
./node_modules/.bin/grunt
```
You will find the generated files in the `dist` directory. For the website, you can run a server at its root. For example: `http-server dist/website`. The default `grunt` task runs a server
at [https://127.0.0.1:8000](https://127.0.0.1:8000) and watches
for changes.
To run tests, execute:
```
./node_modules/.bin/grunt test
```
Look at the end of the [Gruntfile](/Gruntfile.js) for other common tasks.
### How to run project locally
- Make sure that you run these commands using Node `v16.x.x`.
- Clone the project:
```bash
git clone org-6887375@github.com:jsonwebtoken/jsonwebtoken.github.io.git
```
- Make the project directory your current directory:
```bash
cd jsonwebtoken.github.io
```
- Install required dependencies:
```bash
npm install
```
- Build the project:
```bash
npm run build
```
- Run the development server:
```bash
npm run start
```
- Visit: [http://localhost:3000](http://localhost:3000)
### Happy hacking!