Ecosyste.ms: Awesome
An open API service indexing awesome lists of open source software.
https://github.com/kansas1295/erfours-erf
Made by Erfours
https://github.com/kansas1295/erfours-erf
composable headless jamstack netlify ssg
Last synced: about 1 month ago
JSON representation
Made by Erfours
- Host: GitHub
- URL: https://github.com/kansas1295/erfours-erf
- Owner: kansas1295
- License: mit
- Created: 2024-04-03T02:03:41.000Z (11 months ago)
- Default Branch: master
- Last Pushed: 2024-04-18T08:49:42.000Z (10 months ago)
- Last Synced: 2024-04-18T10:32:45.870Z (10 months ago)
- Topics: composable, headless, jamstack, netlify, ssg
- Language: TypeScript
- Homepage: https://kansas1295.github.io/erfours-erf/
- Size: 447 KB
- Stars: 0
- Watchers: 1
- Forks: 0
- Open Issues: 1
-
Metadata Files:
- Readme: README.md
- License: LICENSE.md
Awesome Lists containing this project
README
# Netlify Create Next.js + TypeScript + MUI Starter

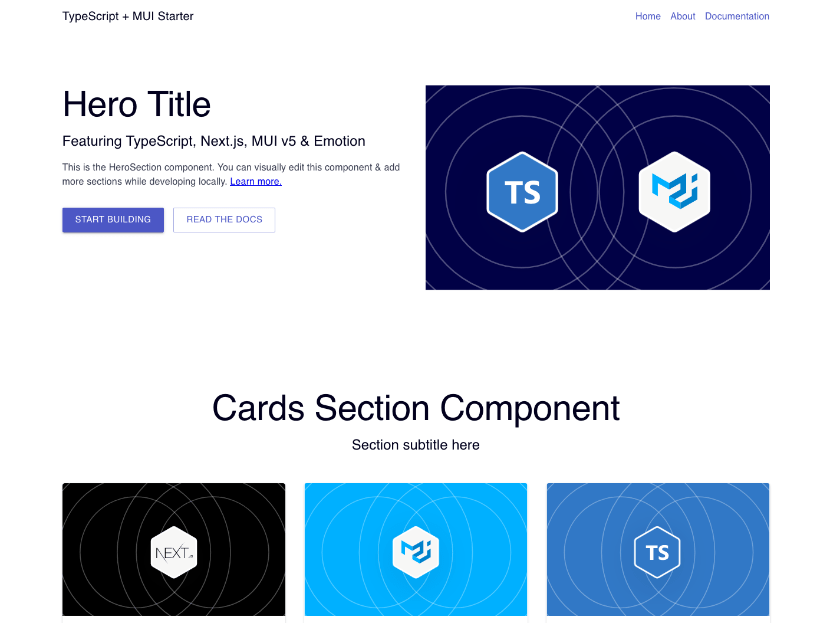
This is a minimal starting point for new Netlify Create projects. It is built with Next.js, TypeScript, and [MUI](https://mui.com/), and is equipped with visual editing capabilities using Stackbit. It uses markdown files as the content source. See below for [other Netlify Create example projects](#other-stackbit-projects).
**⚡ Demo:** [stackbit-ts-mui-nextjs-starter.netlify.app](https://stackbit-ts-mui-nextjs-starter.netlify.app/)
## Features
This is meant to be a simple starting point that demonstrates the use of bringing your own component library, such as MUI.
In addition to MUI support, this project contains the following:
- **Flexible Pages:** Simple and flexible page model that lets editors add new pages.
- **Basic Components:** A few basic components to add to new pages.
- **Layout Elements:** Header and footer elements automatically added to pages.
- **Component & Template Presets:** Predefined arrangements of content and components for faster editing. [Learn more](https://docs.stackbit.com/conceptual-guides/content-presets/).
- **TypeScript Support:** Components and content are type-safe. (See `types` directory for definitions.)
## Getting Started
The typical development process is to begin by working locally.
Create local Stackbit project from this repo:
```txt
npx create-stackbit-app@latest --starter ts-nextjs
```
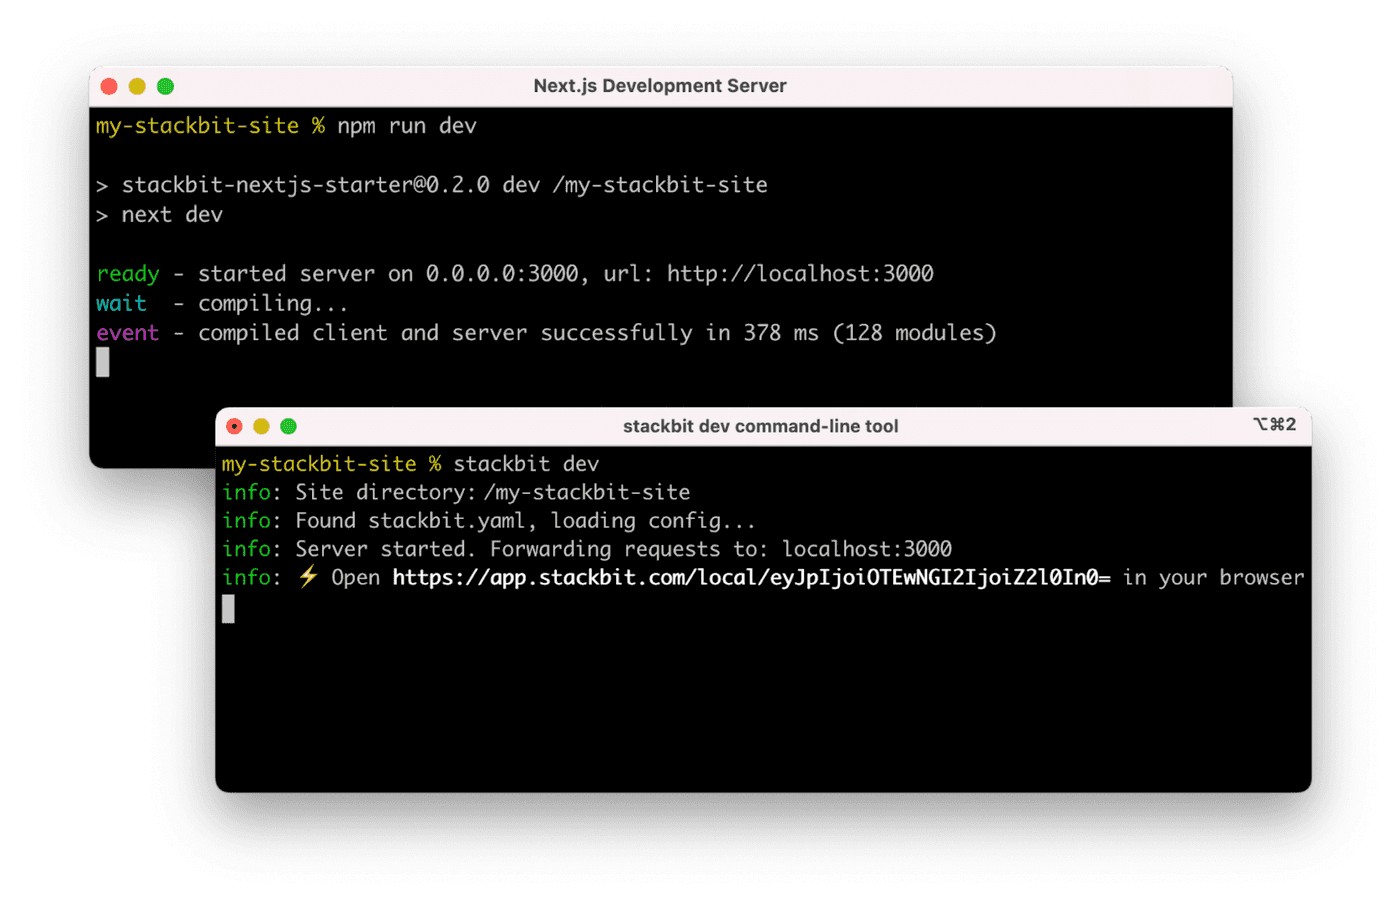
Run the Next.js development server:
```txt
cd my-stackbit-site
npm run dev
```
Install the Stackbit CLI. Then open a new terminal window in the same project directory and run the Stackbit Dev server:
```txt
npm install -g @stackbit/cli
stackbit dev
```
This outputs your own Stackbit URL. Open this, register or sign in, and you will be directed to Stackbit's visual editor for your new project.

## Next Steps
Here are a few suggestions on what to do next if you're new to Stackbit:
- Learn [how Stackbit works](https://docs.stackbit.com/conceptual-guides/how-stackbit-works/)
- Follow the [_Getting Started_ tutorial](https://docs.stackbit.com/getting-started/)
- Explore the [how-to guides](https://docs.stackbit.com/how-to-guides/) for help while developing your site
## Other Stackbit Projects
Stackbit has a number of examples that you can use to create a new project or evaluate Stackbit. Run the following command to see a list of available examples:
```txt
npx create-stackbit-app@latest --help
```
You can also visit [our `stackbit-themes` GitHub organization](https://github.com/stackbit-themes)
## Join the Community
[Join us on Netlify answers](https://answers.netlify.com/) for community support and to showcase what you build with this starter.