https://github.com/kjinengineer/starter-template-for-blog
Blog Template: Make your own blog site with this ready-to-use template. Everything is set up, just start posting!
https://github.com/kjinengineer/starter-template-for-blog
blog-boilerplate blog-template nextjs-blog-template
Last synced: about 1 year ago
JSON representation
Blog Template: Make your own blog site with this ready-to-use template. Everything is set up, just start posting!
- Host: GitHub
- URL: https://github.com/kjinengineer/starter-template-for-blog
- Owner: kjinengineer
- Created: 2024-11-09T09:14:56.000Z (over 1 year ago)
- Default Branch: main
- Last Pushed: 2024-11-10T11:26:28.000Z (over 1 year ago)
- Last Synced: 2025-04-01T05:34:14.249Z (about 1 year ago)
- Topics: blog-boilerplate, blog-template, nextjs-blog-template
- Language: TypeScript
- Homepage: https://starter-template-for-blog.vercel.app
- Size: 348 KB
- Stars: 2
- Watchers: 1
- Forks: 2
- Open Issues: 0
-
Metadata Files:
- Readme: README.md
Awesome Lists containing this project
README

Make your own blog site with this ready-to-use template.
Everything is set up, just start posting!
## 🎤 Introduction
Do you want to create your own blog site? **Starter-Template-For-Blog** provides everything you need to build a complete blog site, packed with essential features. Built with Next.js, TailwindCSS, and TypeScript, this template makes setup simple: just clone the project and start adding your posts.Everything is set up—just dive in and start building your blog!
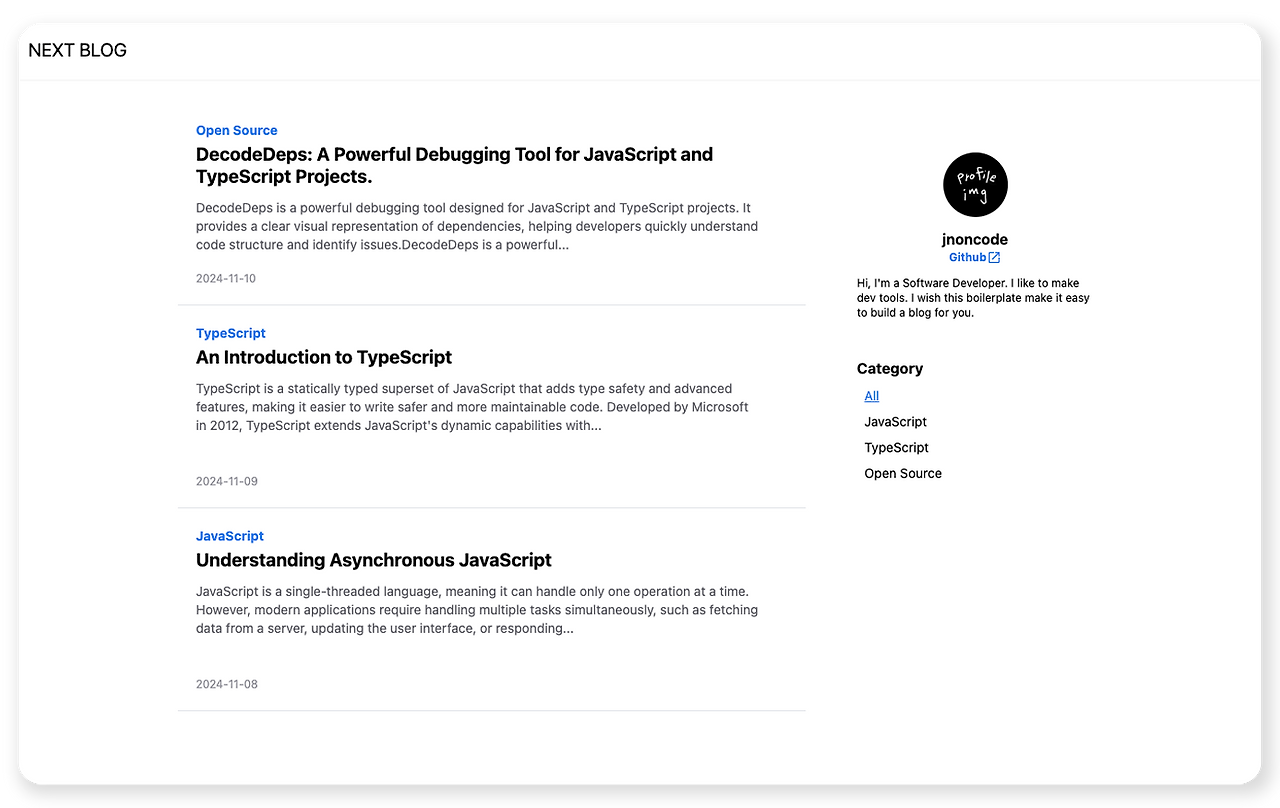
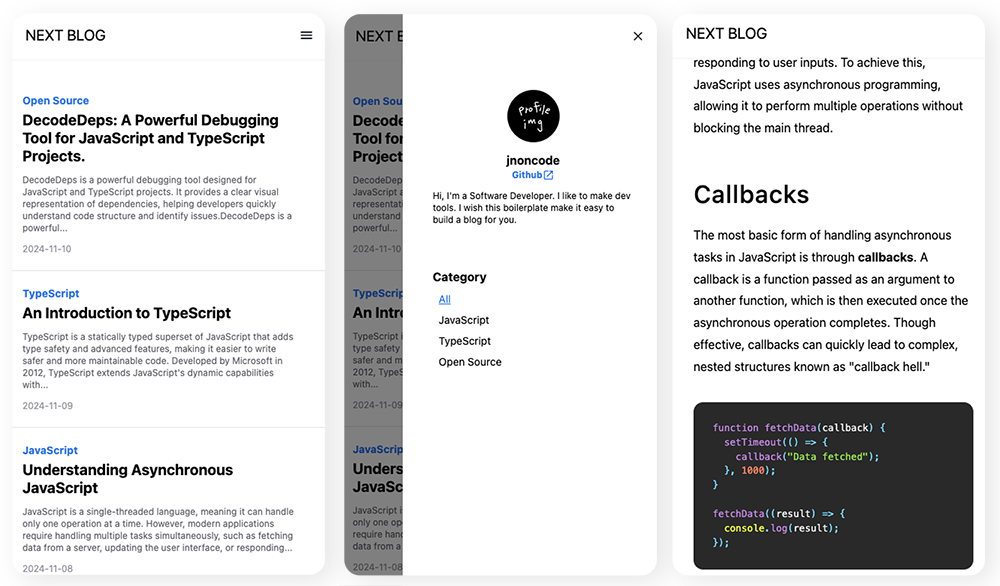
## 👀 Preview
[Explore the Demo Site](https://starter-template-for-blog.vercel.app/?category=All&page=1)
### In Desktop
### In Mobile
## ✨ Features
- Displays files directly from local folders, not using on a server.
- Responsive mobile design to provide a smooth experience on mobile devices.
- Easily customize it to fit your style.
## 📖 How to Use
#### **Step 1.** Clone this repository.
```bash
git clone https://github.com/jnoncode/starter-template-for-blog.git
```
```bash
cd starter-template-for-blog
```
#### **Step 2.** Install the necessary dependencies and run the project.
```bash
yarn
```
```bash
yarn dev
```
#### **Step 3.** In the root directory’s `__post` folder, create posts in Markdown format.
Include id, title, preview, date, and category at the top of each Markdown file. Here’s an example.
```js
---
id: 2;
title: "An Introduction to TypeScript";
preview: "TypeScript is a statically typed superset of JavaScript that adds type safety and advanced features, making it easier to write safer and more maintainable code.";
date: "2024-11-09";
category: "TypeScript";
---
```
Once these are set, just add your content! Your Markdown files will automatically be converted to HTML and displayed on the site!
## 🎨 How to Customize
### ▪ How to change the blog name
In `custom/profile.ts`, edit `blogTitle` as you want.
### ▪ How to update the user profile
Change `profileName`, `profileIntroduction`, and `profileGithubLink` in `custom/navigation.ts`. For the profile picture, replace `profile_pic.png` in the `custom/ folder` with your image (keeping the filename the same).
### ▪ How to change the logo
Replace `icon.png` in the `public/` folder with your logo image.
### ▪ How to change colors
Change the color values in `custom/colors.ts`. The blog’s primary colors are generally based on `primary[500]`.
### ▪ How to add categories
Add your categories as an array in `custom/category.ts`.
### ▪ How to update Markdown design
`src/post/MarkDownPost.tsx` applies styles to parsed markdown data converted to HTML. You can customize the blog post design here.
### ▪ More detailed customization
For more detailed customization beyond what’s described, explore the `src/` folder. Various components are in here, with comments added to most of the code. Feel free to edit.
## 🛠️ Issue
If you have any questions, need help with customization, or encounter any issues, feel free to open an issue.