https://github.com/lemariva/rpifocus
Add autofocus to the 16 mm Telephoto Lens mounted on the Raspberry Pi HQ Camera (Raspberry Pi Microservice Application)
https://github.com/lemariva/rpifocus
microservices-application raspberry-pi raspberry-pi-camera raspberry-pi-hq-camera
Last synced: 9 months ago
JSON representation
Add autofocus to the 16 mm Telephoto Lens mounted on the Raspberry Pi HQ Camera (Raspberry Pi Microservice Application)
- Host: GitHub
- URL: https://github.com/lemariva/rpifocus
- Owner: lemariva
- License: gpl-3.0
- Created: 2020-11-01T20:28:04.000Z (over 5 years ago)
- Default Branch: main
- Last Pushed: 2021-01-23T21:47:20.000Z (over 5 years ago)
- Last Synced: 2025-02-01T12:44:09.509Z (over 1 year ago)
- Topics: microservices-application, raspberry-pi, raspberry-pi-camera, raspberry-pi-hq-camera
- Language: Python
- Homepage: https://lemariva.com/blog/2020/12/raspberry-pi-hq-camera-autofocus-telephoto-lens
- Size: 1.31 MB
- Stars: 28
- Watchers: 4
- Forks: 10
- Open Issues: 0
-
Metadata Files:
- Readme: README.md
- License: LICENSE
Awesome Lists containing this project
README
# Autofocus for the 16mm telephoto lens mounted on a Raspberry Pi HQ Camera.
As you may have already noticed, the Raspberry Pi HQ Camera lenses don't have any autofocus functionality. This project includes the hardware design, firmware and software to add autofocus functionality to those lenses. In this case, I use the 16mm telephoto lens.
The project is divided into two repositories. This repository includes the code of the Microservice application, whereas [lemariva/uPyFocus](https://github.com/lemariva/uPyFocus) includes the firmware for the M5Stack that controls the motors to rotate the Lens focus and aperture.
A detailed article about the application can be found on [Raspberry Pi HQ Camera: Autofocus for the Telephoto Lens (JiJi)](https://lemariva.com/blog/2020/12/raspberry-pi-hq-camera-autofocus-telephoto-lens).
## Video
[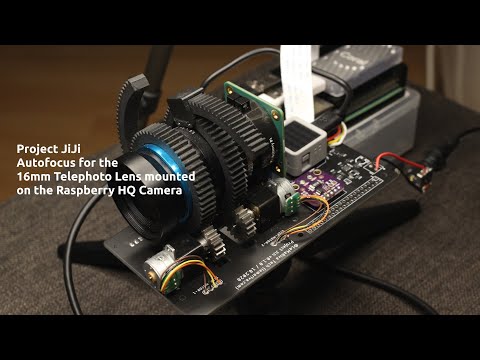](https://www.youtube.com/watch?v=PrbyPmq_Z7Q)
## Photo examples
| | | | |
|:--------:|:--------:|:--------:|:--------:|
| |
| |
| |
| |
|
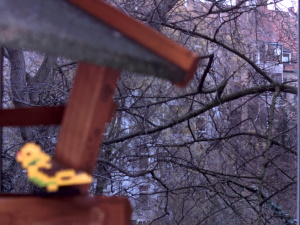
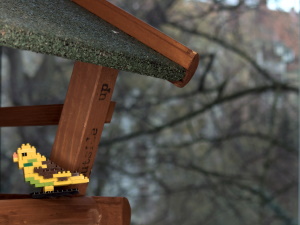
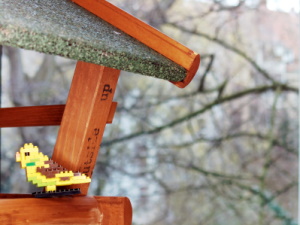
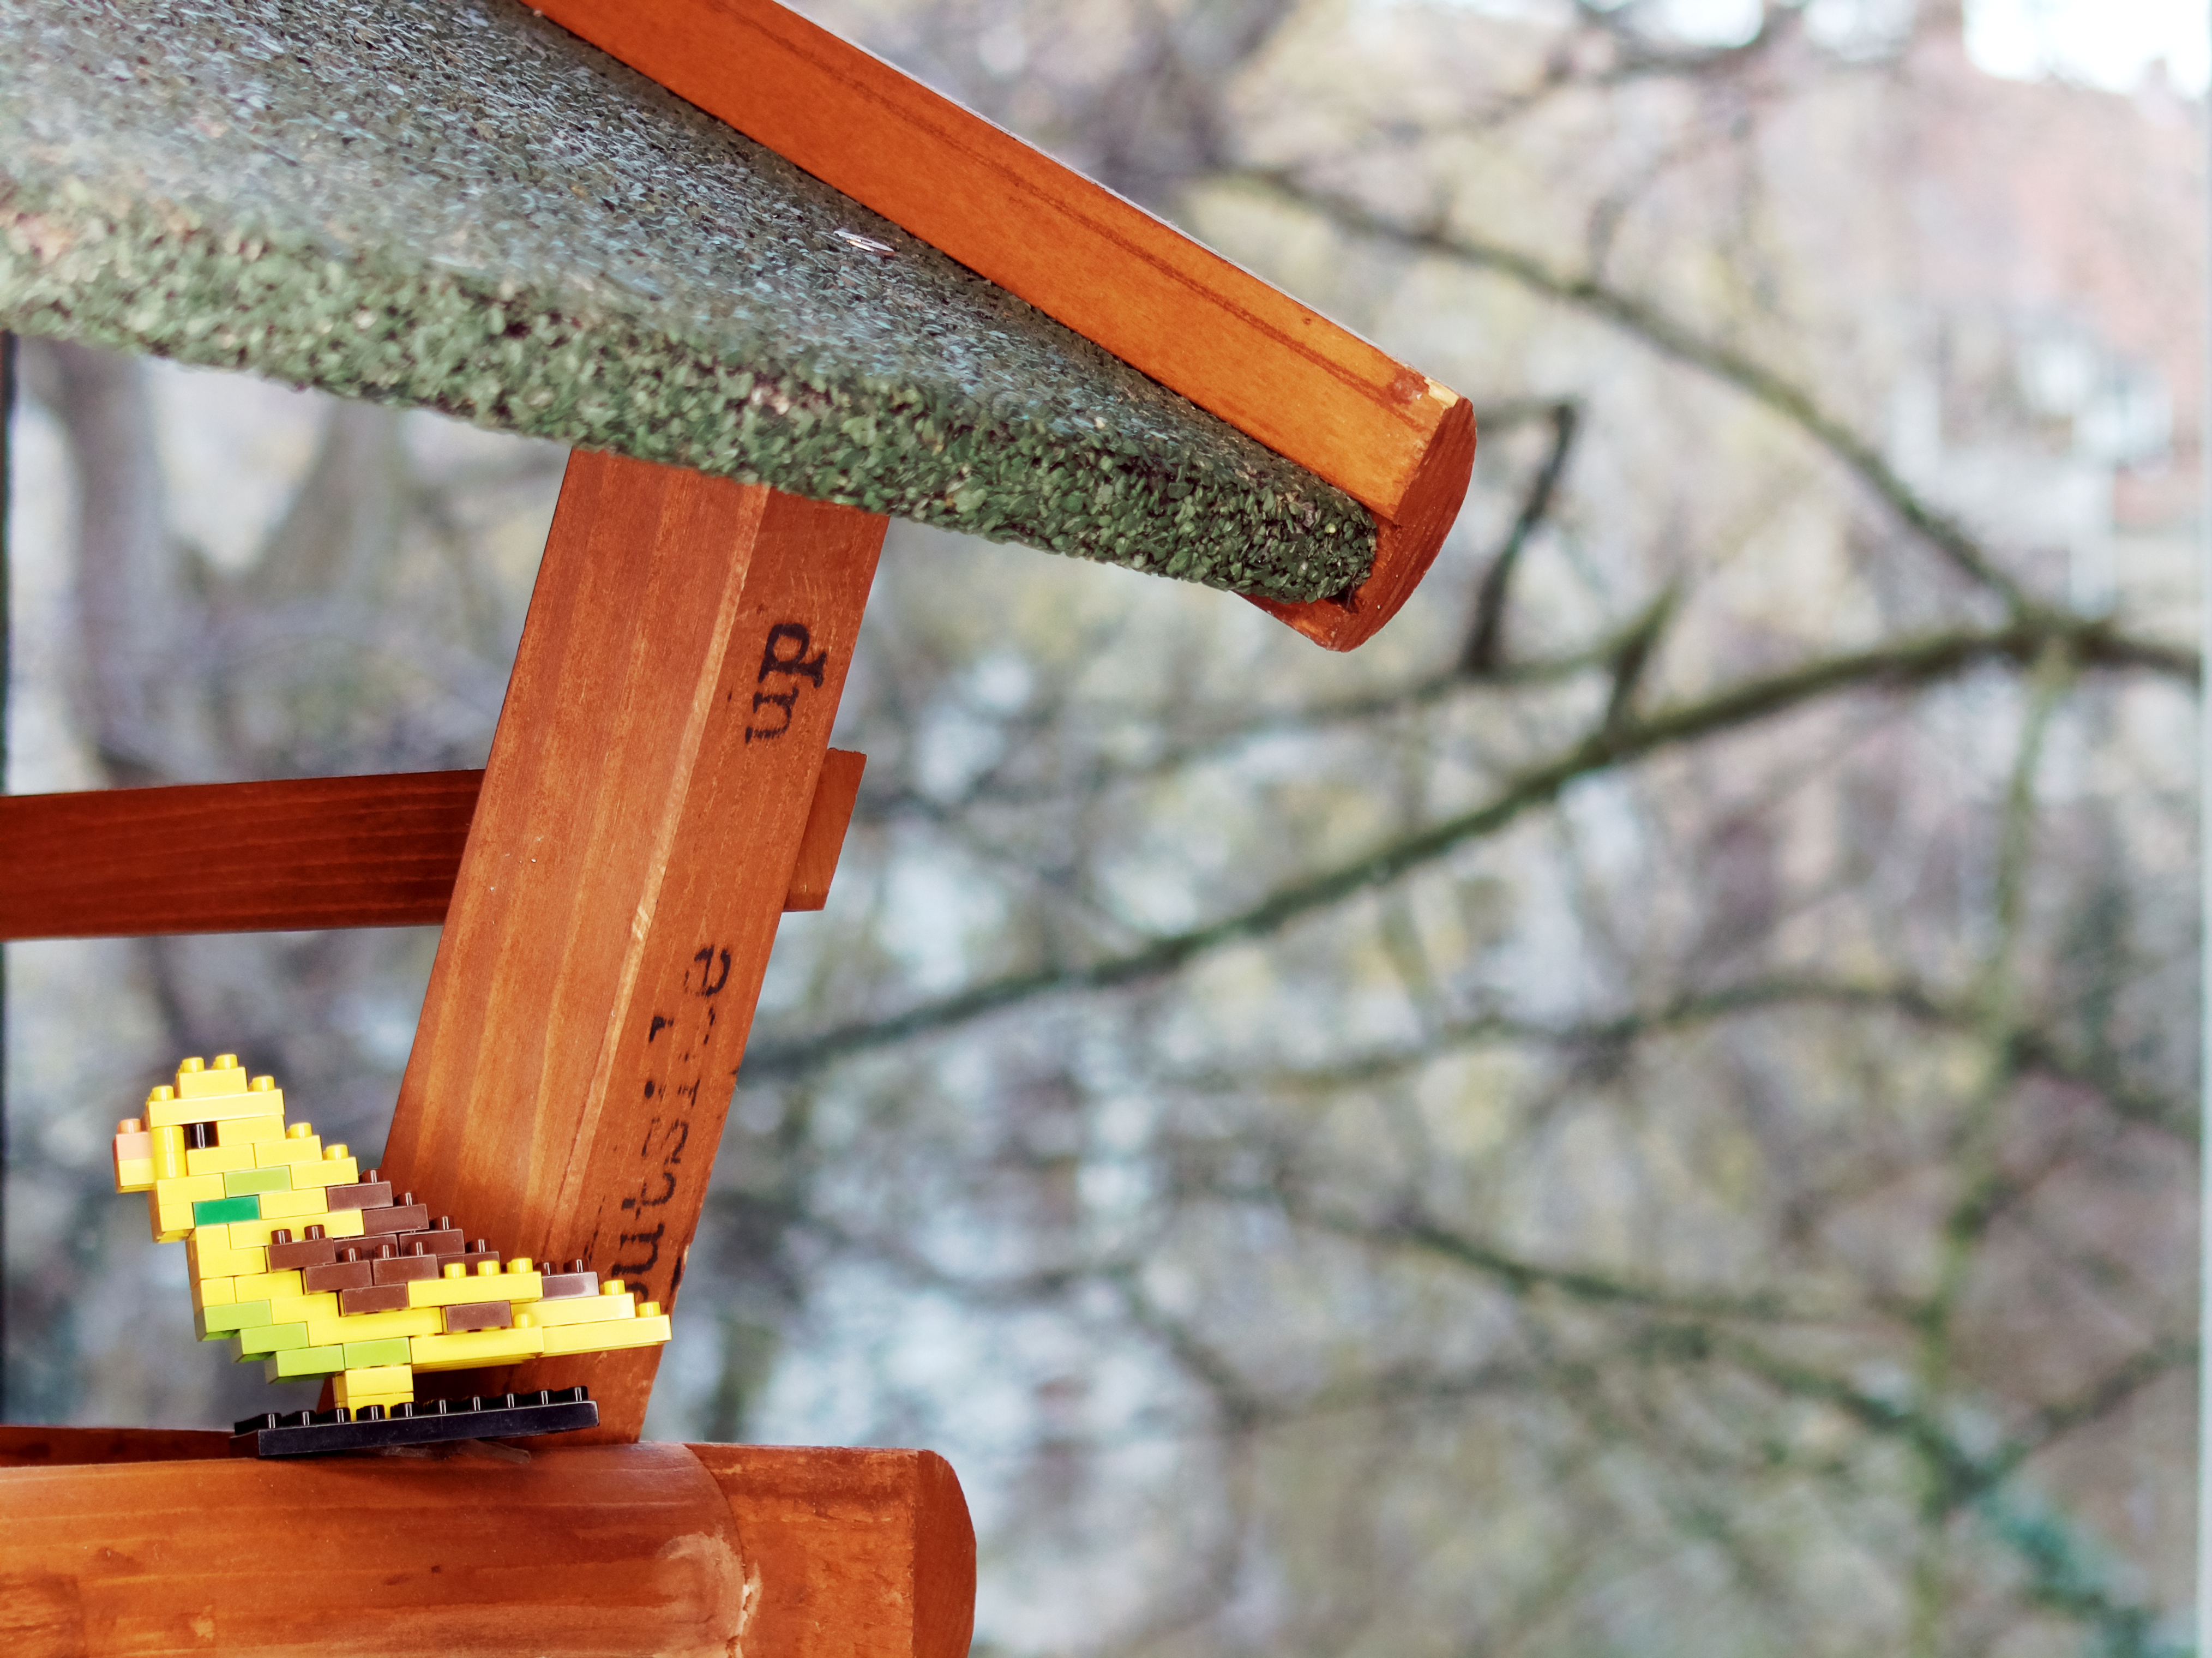
|Focus Type: Box
Background focused (download)|Focus Type: Box
Nanoblock bird focused (download)|Focus Type: Box
Nanoblock bird focused.
Diff. illum & cam. aperture (download)|Focus Type: Object detector
Teddy bear focused (download)|
## Simple PCB schematic
Inside the folder `pcb`, you'll find the board design and schematic files (Eagle), to order the PCB. I added also the Gerber files that I used by jlcpcb.
| |
|:--------:|
| |
|
|Simple PCB schematic.|
## Start the Microservices Application
The application that runs on the Raspberry Pi is a Microservices application. That means different services are orchestrated to offer an application. The orchestration is performed by docker-compose and the services are containerized using Docker.
To install Docker and `docker-compose` on the Raspberry Pi, type the following on a Terminal:
```
# Docker
curl -sSL https://get.docker.com | sh
sudo usermod -aG docker pi
# docker-compose
sudo pip3 -v install docker-compose
# usually you need these dependencies
sudo apt-get install -y libffi-dev libssl-dev
sudo apt-get install -y python3 python3-pip
sudo apt-get remove python-configparser
```
The services of the microservices application are the following:
* **webapp**: it provides the frontend application (webserver). It is programmed in Angular.
* **backend**: it communicates with the frontend via a RestAPI (Flask server), controls the camera, sends the signals to the M5Stack to control the motors, sends the signals and data to the other services to identify objects and take photos. Basically, it is the core service. It is programmed in Python.
* **obj-detector**: it receives an image over UDP and identifies the object on it and returns a JSON message. It is programmed in Python. It uses TensorFlow and connects to the Coral USB Accelerator to process the data in real-time.
* **photo-service**: it receives a signal via RestAPI (Flask server) to take photos and it processes them to create HDR photos. It is programmed in Python and it uses Celery for multitasking/non-blocking response to the RestAPI.
* **redis**: Celery uses this service to schedule the tasks.
To start the Microservices application, follow these steps:
1. Download the `docker-compose.yml` file or just clone the complete [lemariva/rPIFocus](https://github.com/lemariva/rPIFocus) repository:
```sh
git clone https://github.com/lemariva/rPIFocus.git
```
2. Open the `docker-compose.yml` file and change the `HOST_M5STACK=` with the IP of your M5Stack.
3. Start the application by typing inside the `rPiFocus` folder:
```sh
docker-compose up -d
```
4. Open a browser and visit the URL address: `http://:4200`, you'll see an interface like in the figure below. ( shhh... I've just noticed that I wrote Raspberry HD camera and not HQ camera... :( )
5. To stop the application, type:
```sh
docker-compose down
```
| |
|:---------:|
|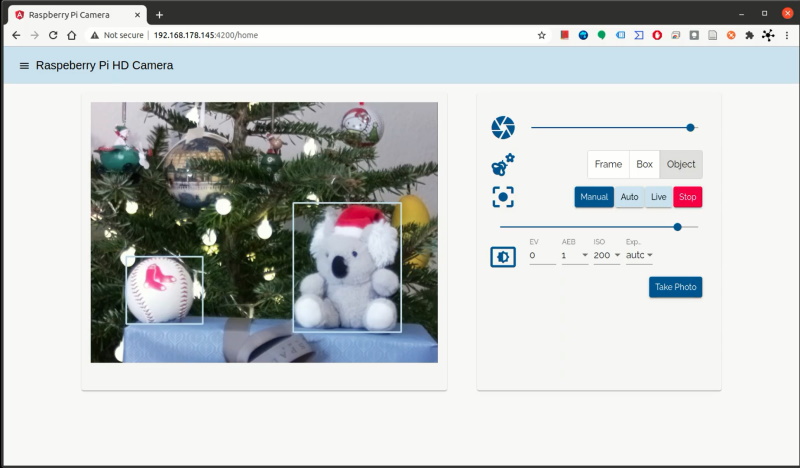 |
|
|Webservice Microservices Application|
## Build containers
The Docker images can be built by typing e.g.:
```sh
docker build -t /rpifocus-webapp:1.0.0 webapp
```
Then, if you are logged in into Docker Hub, you can push the image by typing:
```sh
docker push /webapp
# read this tutorial: https://docs.docker.com/docker-hub/access-tokens/#create-an-access-token for login
```
Then, you need to edit the image names inside the `docker-compose.yml` and start the microservices application again (`docker-compose down` and then `docker-compose up -d`).
Additionally, I included a `cloudbuild.yaml` file inside each folder. This can be used to build those images using Google Cloud Build. In this article: [M5Stack: Fresh air checker can help you to stay safe from #COVID-19](https://lemariva.com/blog/2020/11/m5stack-fresh-air-helps-stay-safe-from-covid-19), you can find an example of how to do that!
## License
* GNU General Public License v3.0