https://github.com/letmaik/pyvirtualcam
🎥 Send frames to a virtual camera from Python
https://github.com/letmaik/pyvirtualcam
python virtual-camera
Last synced: about 1 year ago
JSON representation
🎥 Send frames to a virtual camera from Python
- Host: GitHub
- URL: https://github.com/letmaik/pyvirtualcam
- Owner: letmaik
- License: gpl-2.0
- Created: 2020-05-26T22:10:05.000Z (about 6 years ago)
- Default Branch: main
- Last Pushed: 2025-05-12T22:00:38.000Z (about 1 year ago)
- Last Synced: 2025-05-12T22:36:46.790Z (about 1 year ago)
- Topics: python, virtual-camera
- Language: C++
- Homepage:
- Size: 12 MB
- Stars: 519
- Watchers: 12
- Forks: 56
- Open Issues: 6
-
Metadata Files:
- Readme: README.md
- Changelog: CHANGELOG.md
- License: LICENSE
Awesome Lists containing this project
README
# pyvirtualcam
pyvirtualcam sends frames to a virtual camera from Python.
## Usage
```py
import colorsys
import numpy as np
import pyvirtualcam
with pyvirtualcam.Camera(width=1280, height=720, fps=20) as cam:
print(f'Using virtual camera: {cam.device}')
frame = np.zeros((cam.height, cam.width, 3), np.uint8) # RGB
while True:
h, s, v = (cam.frames_sent % 100) / 100, 1.0, 1.0
r, g, b = colorsys.hsv_to_rgb(h, s, v)
frame[:] = (r * 255, g * 255, b * 255)
cam.send(frame)
cam.sleep_until_next_frame()
```
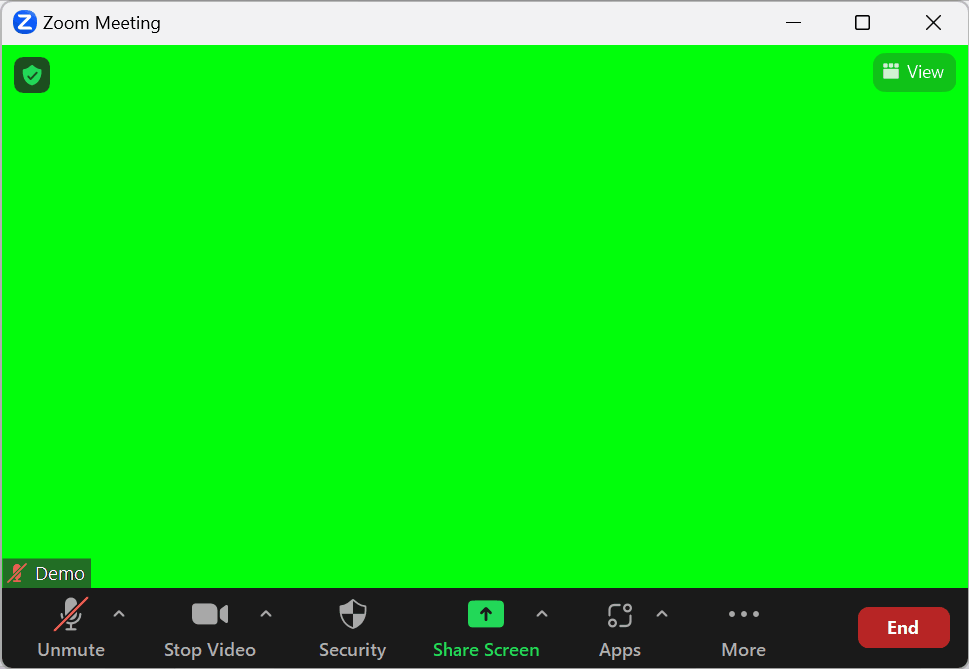
pyvirtualcam uses the first available virtual camera it finds (see later section).
For more examples, including using different pixel formats like BGR, or selecting a specific camera device, check out the [`examples/`](https://github.com/letmaik/pyvirtualcam/tree/main/examples) folder.
See also the [API Documentation](https://letmaik.github.io/pyvirtualcam).
## Installation
This package works on Windows, macOS, and Linux. Install it from [PyPI](https://pypi.org/project/pyvirtualcam/) with:
```sh
pip install pyvirtualcam
```
pyvirtualcam relies on existing virtual cameras which have to be installed first. See the next section for details.
## Supported virtual cameras
### Windows: OBS
[OBS](https://obsproject.com/) includes a built-in virtual camera for Windows (since 26.0).
To use the OBS virtual camera, simply [install OBS](https://obsproject.com/).
Note that OBS provides a single camera instance only, so it is *not* possible to send frames from Python to the built-in OBS virtual camera, capture the camera in OBS, mix it with other content, and output it again to OBS' built-in virtual camera. To achieve such a workflow, use another virtual camera from Python (like Unity Capture) so that OBS' built-in virtual camera is free for use in OBS.
### Windows: Unity Capture
[Unity Capture](https://github.com/schellingb/UnityCapture) provides a virtual camera originally meant for streaming Unity games. Compared to most other virtual cameras it supports RGBA frames (frames with transparency) which in turn can be captured in [OBS](https://obsproject.com/) for further processing.
To use the Unity Capture virtual camera, follow the [installation instructions](https://github.com/schellingb/UnityCapture#installation) on the project site.
### macOS: OBS
[OBS](https://obsproject.com/) includes a built-in virtual camera for macOS (since 26.1).
**NOTE**: Starting with pyvirtualcam 0.10, only OBS 28 or higher is supported. Install an older version if you need OBS 26 / 27 support.
**HELP WANTED**: pyvirtualcam requires code updates to run on macOS 14 and higher. If you own a Mac, consider contributing: https://github.com/letmaik/pyvirtualcam/issues/111#issuecomment-1763398540.
To use the OBS virtual camera, follow these one-time setup steps:
- [Install OBS](https://obsproject.com/).
- Start OBS.
- Click "Start Virtual Camera" (bottom right), then "Stop Virtual Camera".
- Close OBS.
Note that OBS provides a single camera instance only, so it is *not* possible to send frames from Python, capture the camera in OBS, mix it with other content, and output it again as virtual camera.
### Linux: v4l2loopback
pyvirtualcam uses [v4l2loopback](https://github.com/umlaeute/v4l2loopback) virtual cameras on Linux.
To create a v4l2loopback virtual camera on Ubuntu, run the following:
```sh
sudo apt install v4l2loopback-dkms
sudo modprobe v4l2loopback devices=1
```
For further information, see the [v4l2loopback documentation](https://github.com/umlaeute/v4l2loopback).
## Build from source
### Linux/macOS
```sh
git clone https://github.com/letmaik/pyvirtualcam --recursive
cd pyvirtualcam
pip install .
```
### Windows
These instructions are experimental and support is not provided for them.
Typically, there should be no need to build manually since wheels are hosted on PyPI.
You need to have Visual Studio installed to build pyvirtualcam.
In a PowerShell window:
```sh
$env:USE_CONDA = '1'
$env:PYTHON_VERSION = '3.7'
$env:PYTHON_ARCH = '64'
$env:NUMPY_VERSION = '1.14'
git clone https://github.com/letmaik/pyvirtualcam --recursive
cd pyvirtualcam
powershell .github/scripts/build-windows.ps1
```
The above will download all build dependencies (including a Python installation)
and is fully configured through the four environment variables.
Set `USE_CONDA = '0'` to build within an existing Python environment.