https://github.com/lifei6671/go-git-webhook
Golang 实现的自动化部署和运维工具,支持:Github / GitLab / GitOsc。
https://github.com/lifei6671/go-git-webhook
beego github gitlab gitlab-webhook gogs golang webhook
Last synced: 11 months ago
JSON representation
Golang 实现的自动化部署和运维工具,支持:Github / GitLab / GitOsc。
- Host: GitHub
- URL: https://github.com/lifei6671/go-git-webhook
- Owner: lifei6671
- License: mit
- Created: 2017-03-18T04:48:22.000Z (almost 9 years ago)
- Default Branch: master
- Last Pushed: 2024-03-11T06:23:59.000Z (almost 2 years ago)
- Last Synced: 2025-03-30T21:09:40.062Z (11 months ago)
- Topics: beego, github, gitlab, gitlab-webhook, gogs, golang, webhook
- Language: Go
- Size: 4.86 MB
- Stars: 221
- Watchers: 13
- Forks: 85
- Open Issues: 4
-
Metadata Files:
- Readme: README.md
- License: LICENSE
Awesome Lists containing this project
README
# SmartWebHook
[](https://travis-ci.org/lifei6671/go-git-webhook)
[](https://ci.appveyor.com/project/lifei6671/go-git-webhook/branch/master)
一个基于 Golang 开发的用于迅速搭建并使用 WebHook 进行自动化部署和运维系统,支持:Github / GitLab / GitOsc。
界面和开发思路参考于 [git-webhook](https://github.com/NetEaseGame/git-webhook) 。
在原作者的基础上解耦了WebHook和Server之间关系,实现了多对多关系。
因与服务器通信使用的是SSH方式,请注意保管服务器账号和密码。
同时支持 C/S 模式,配合[客户端](https://github.com/lifei6671/go-git-webhook-client/)可以实现不用SSH也可以远程执行命令。
当使用 C/S 模式时,server 的账号和密码是服务器端跟 Client 第一次通信时的认证信息,服务器端将通过 http://remote url/token 地址换取连接 WebSocket 的密钥,该密钥会作为 `x-smarthook-token` 请求头发送到客户端进行认证连接。
# 如何使用?
## Docker & docker-compose
[文档](./docs/docker.md)
## 源码安装使用
**1、拉取源码**
```
git clone github.com/lifei6671/go-git-webhook.git
```
**2、编译源码**
```
#更新依赖
go get -d ./...
#编译项目
go build -v -tags "pam" -ldflags "-w"
```
**3、配置**
系统的配置文件位于 conf/app.conf 中:
```ini
appname = smartwebhook
#监听的地址,如果要使用 nginx 作为前端代理
#httpaddr = 127.0.0.1
#监听的端口号
httpport = 8080
runmode = dev
sessionon = true
#保存到客户端的 session 名称
sessionname = smart_webhook_id
copyrequestbody = true
#生成回调地址时完整的域名
base_url = https://hook.iminho.me
#时区设置
timezone = Asia/Shanghai
#数据库配置
db_host=127.0.0.1
db_port=3306
db_database=webhook_db
db_username=root
db_password=123456
queue_size=50
```
请将 conf/的app.conf.example 重命名为 app.conf ,并修改 数据和端口号配置。
**4、运行**
```
chmod 0777 go-git-webhook
#恢复数据库,请提前创建一个空的数据库
./go-git-webhook orm syncdb webhook
#创建管理员账户
./go-git-webhook install -account=admin -password=123456 -email=admin@163.com
```
# 注意
## 添加 SSH Server
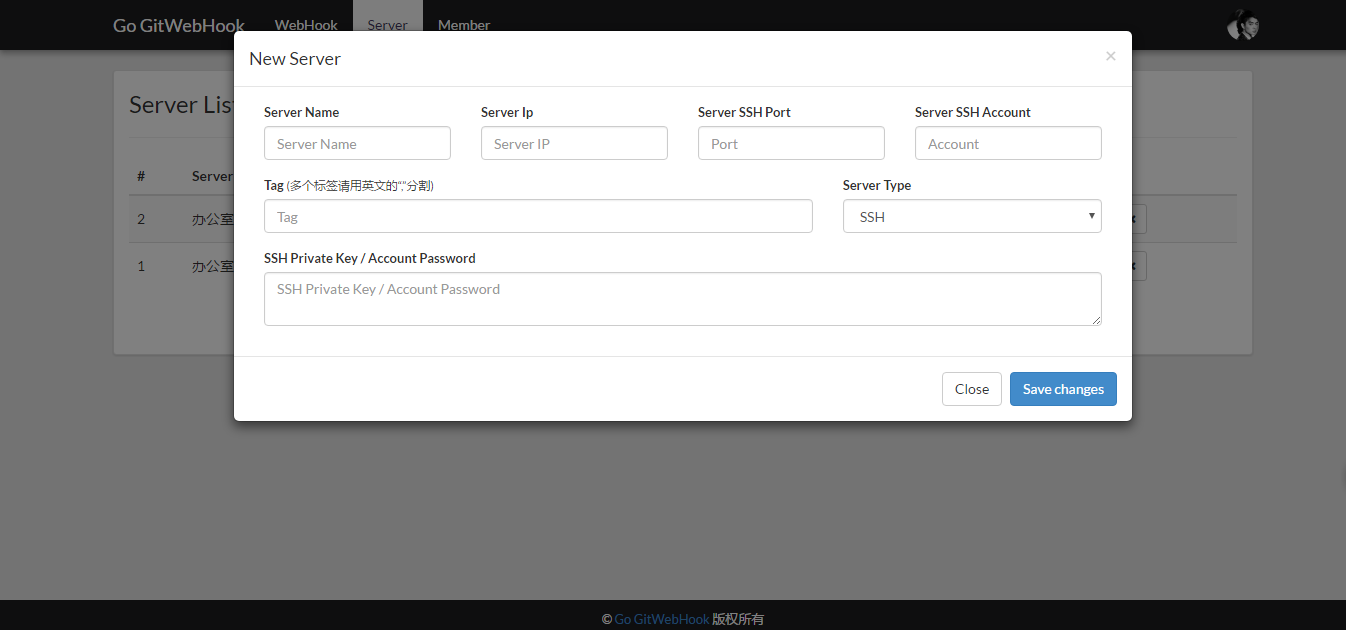
- 当添加的是一台 SSH 方式的服务器时,Server IP 为SSH外网IP地址,端口号为SSH端口号,账号为登录账号,SSH Private Key 可以是密码也可以是登录密钥,系统会自动识别密码类型。
- 如果添加的是一台 Client 模式的服务器时,Server IP 则为带有访问协议的网址,例如 `http://client.iminho.me`,端口号为HTTP端口号,如果为HTTP可是80,如果是HTTPS则是443. 账号和密码需要跟 Client 配置一致。
## 添加 WebHook
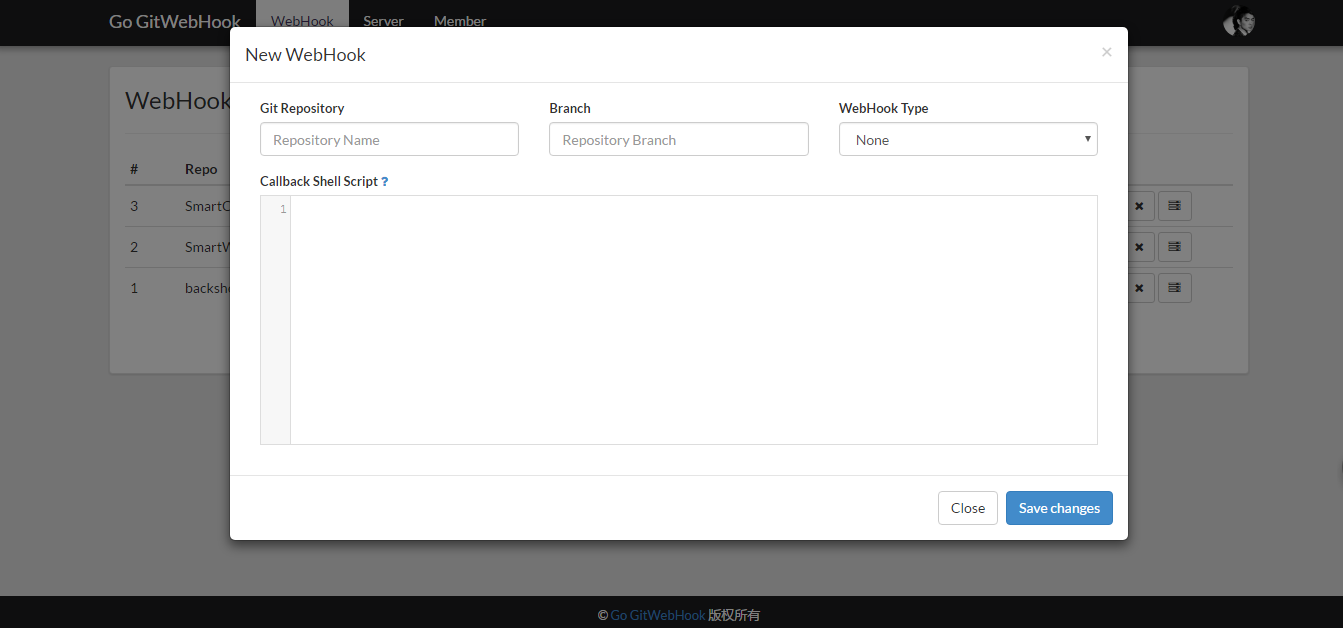
- WebHook 的回调脚本**暂**不支持换行,建议用服务器 shell 脚本代替命令。
- 添加完 WebHook 后,会自动生成对应的url回调地址,将改地址填写到对应git服务的webhooks中即可。其中 `Secure` 字段暂时不支持。
# 后台运行
**使用nohup后台运行**
```bash
nohup ./go-git-webhook &
```
**使用supervisor运行**
```bash
[program:go-git-webhook-client]
#设置为你的程序工作目录,否则会找不到配置文件
directory=/opt/go/src/github.com/lifei6671/go-git-webhook
command=/opt/go/src/github.com/lifei6671/go-git-webhook/go-git-webhook
autostart=true
autorestart=true
startsecs=10
stdout_logfile=/var/log/go-git-webhook/access.log
stdout_logfile_maxbytes=1MB
stdout_logfile_backups=10
stdout_capture_maxbytes=1MB
stderr_logfile=/var/log/go-git-webhook/error.log
stderr_logfile_maxbytes=1MB
stderr_logfile_backups=10
stderr_capture_maxbytes=1MB
```
请将配置中的 `command` 配置为你服务器的实际程序地址
# 使用 nginx 作为前端代理
如果使用nginx 作为前端代理,需要配置 WebSocket 支持,具体配置如下:
```smartyconfig
server {
listen 80;
server_name webhook.iminho.me;
charset utf-8;
access_log /var/log/nginx/webhook.iminho.me/access.log;
root "/var/go/src/go-git-webhook";
location ~ .*\.(ttf|woff2|eot|otf|map|swf|svg|gif|jpg|jpeg|bmp|png|ico|txt|js|css)$ {
root "/var/go/src/go-git-webhook";
expires 30m;
}
# 这是为了配合任务执行时自动刷新任务状态,需要开启 WebSocket 支持,请将 proxy_pass 参数配置为你的服务地址
location /hook/scheduler/status {
proxy_pass http://127.0.0.1:8080;
proxy_redirect off;
proxy_set_header X-Real-IP $remote_addr;
proxy_set_header X-Forwarded-For $proxy_add_x_forwarded_for;
proxy_set_header Host $http_host;
proxy_set_header X-NginX-Proxy true;
proxy_http_version 1.1;
proxy_set_header Upgrade $http_upgrade;
proxy_set_header Connection "upgrade";
}
location / {
try_files /_not_exists_ @backend;
}
# 这里为具体的服务代理配置
location @backend {
proxy_set_header X-Forwarded-For $remote_addr;
proxy_set_header Host $http_host;
proxy_set_header X-Forwarded-Proto $scheme;
proxy_pass http://127.0.0.1:8080;
}
}
```
# 使用技术
go-git-webhook 基于beego框架1.7.2版本开发。编译于golang 1.8版本。使用glide作为包管理工具。
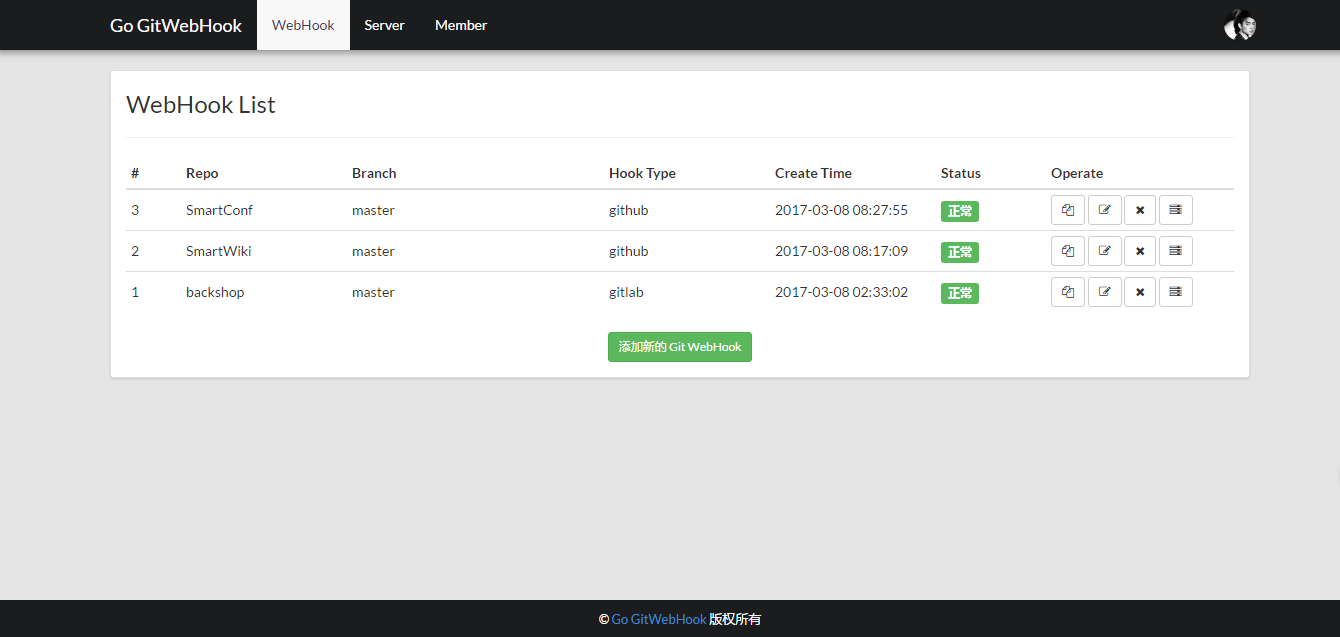
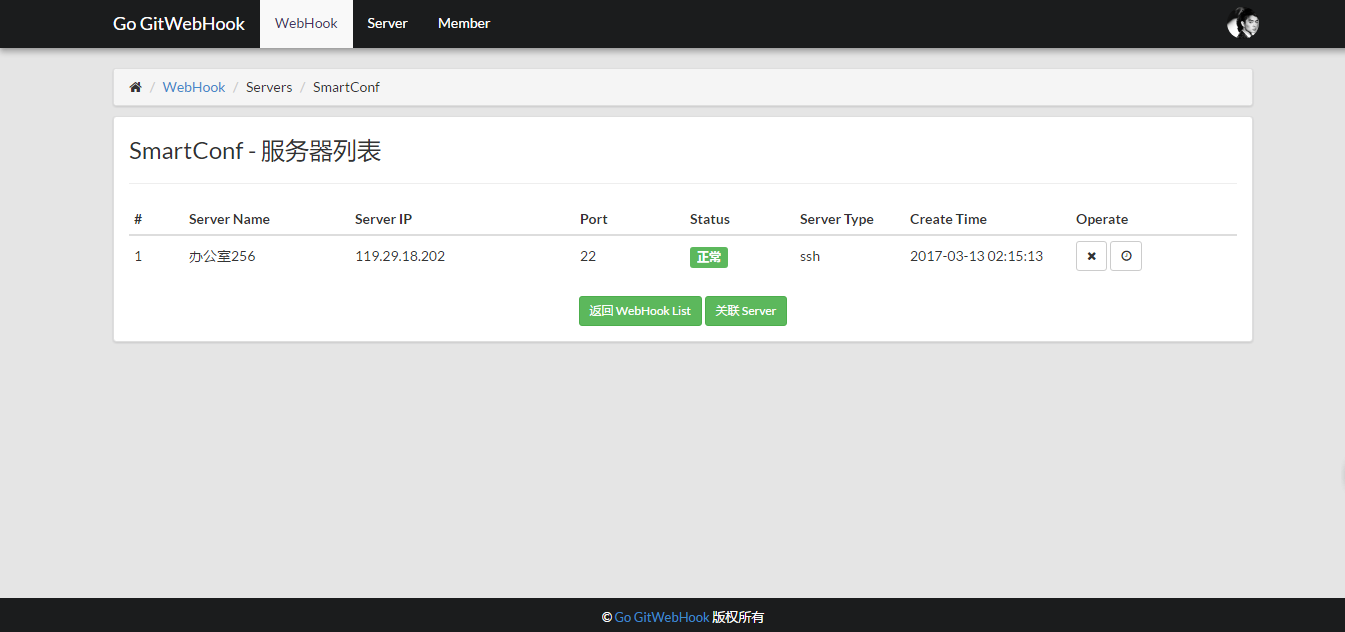
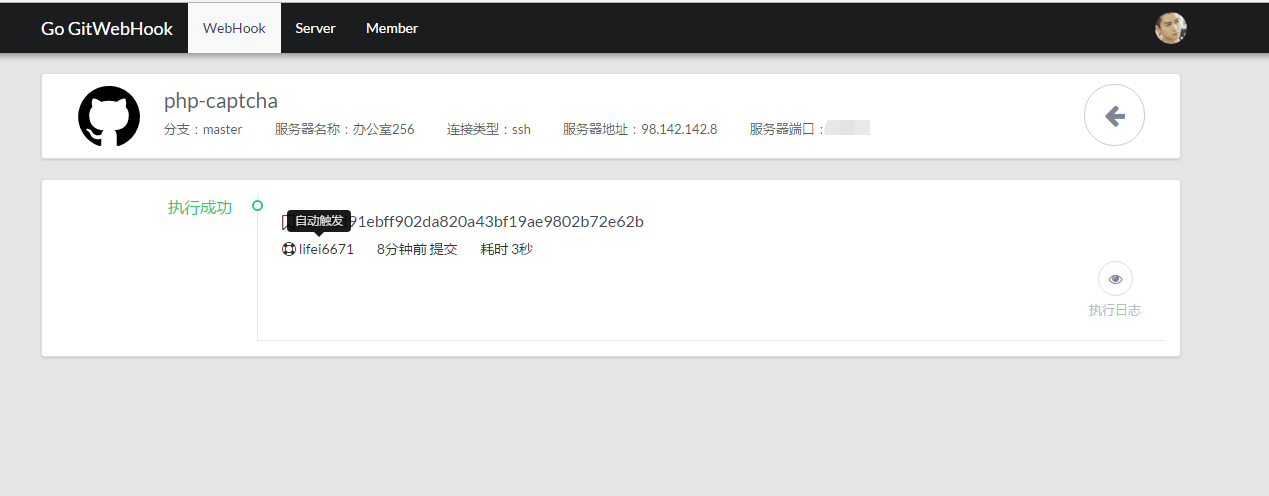
# 界面预览
# 问题反馈
如发现 BUG 请在 [issues](https://github.com/lifei6671/go-git-webhook/issues) 中反馈。