https://github.com/lnxpy/event-driven-in-python
Event-Driven Architecture implemented in Python with RabbitMQ
https://github.com/lnxpy/event-driven-in-python
Last synced: 5 months ago
JSON representation
Event-Driven Architecture implemented in Python with RabbitMQ
- Host: GitHub
- URL: https://github.com/lnxpy/event-driven-in-python
- Owner: lnxpy
- Created: 2022-05-05T17:42:57.000Z (about 4 years ago)
- Default Branch: main
- Last Pushed: 2026-02-12T12:17:58.000Z (5 months ago)
- Last Synced: 2026-02-12T21:05:34.471Z (5 months ago)
- Language: Python
- Size: 21.5 KB
- Stars: 13
- Watchers: 1
- Forks: 3
- Open Issues: 0
-
Metadata Files:
- Readme: README.md
Awesome Lists containing this project
README
## Event-Driven Architecture in Python
Event-Driven Architecture implemented in Python with RabbitMQ and Docker. You have full access to the messages and service configurations. **This project is based on [Event-Driven Architecture in Python](https://blog.imsadra.dev/event-driven-architecture-in-python) articles on Hashnode**.
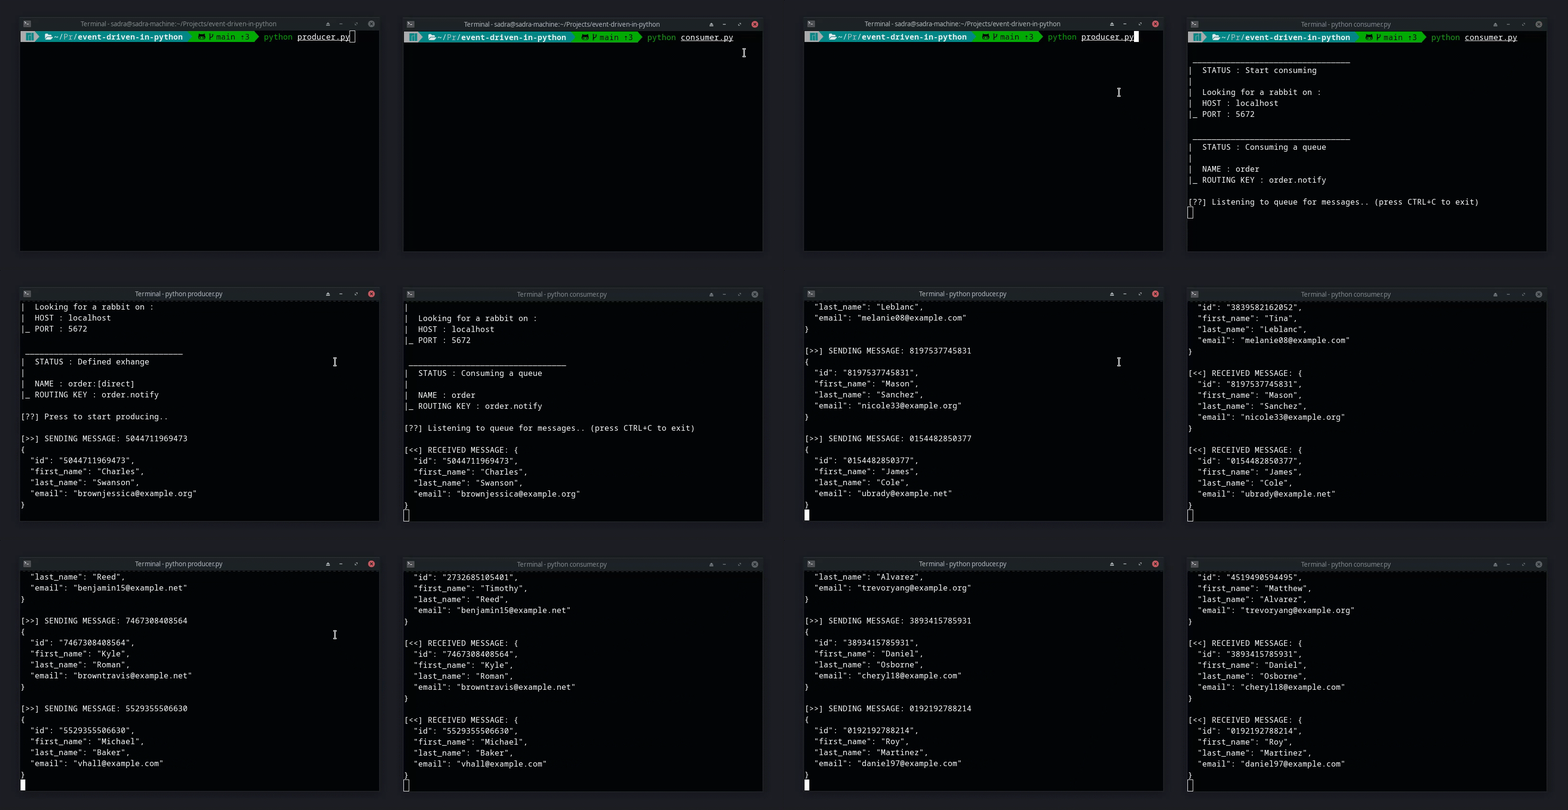
### Preview
### Setup
Follow these steps to run the project locally.
#### 1. Install docker and docker-compose
Use the following tutorials to make `docker` and `docker-compose` ready on your machine.
- [Docker setup guide for Linux, Windows, and Mac users](https://docs.docker.com/get-docker/).
- [Docker-compose installation guide](https://docs.docker.com/compose/install/).
#### 2. Clone this project
Open a fresh terminal tab and run the following commands.
```shell
git clone https://github.com/lnxpy/event-driven-in-python.git
```
```shell
cd event-driven-in-python
```
#### 3. Install the dependencies
You can either create a virtual environement or do nothing in case of installing the required packages.
##### with virtualenv
```shell
virtualenv venv
```
```shell
source venv/bin/activate
```
```shell
pip install -r requirements.txt
```
##### without virtualenv
```shell
pip3 install -r requirements.txt
```
#### 3. Start the compose
Make sure your Docker Daemon is working fine and your Docker service is running with the following command on Linux distributions.
```shell
sudo systemctl status docker
```
Then, start pulling the images and run a container on the background.
```shell
docker-compose up -d
```
#### 4. Customize the configurations
Open `settings/configs.py` file in a text editor and make changes. The default configuration might be fine for the rest of the project and your tests.
#### 5. Start producing and consuming
You can change the variable `MESSAGE` from `settings/configs.py` to make your own message pattern with some additional keys. Once you made your changes,
create two fresh terminal tabs and run both `producer.py` and `consumer.py` each by each. Since `producer.py` declares the queue, make sure you run the producer module first. For more message fields, check out `settings/volumes.py`. Make sure you use the exact key name as your message fields.
### Final Words
This project is made with the aim of educational purposes. Feel free to contribute.