Ecosyste.ms: Awesome
An open API service indexing awesome lists of open source software.
https://github.com/loaderb0t/bl3-echocom
https://github.com/loaderb0t/bl3-echocom
Last synced: 13 days ago
JSON representation
- Host: GitHub
- URL: https://github.com/loaderb0t/bl3-echocom
- Owner: LoaderB0T
- License: gpl-3.0
- Created: 2020-08-17T18:03:05.000Z (over 4 years ago)
- Default Branch: master
- Last Pushed: 2022-09-04T18:53:53.000Z (over 2 years ago)
- Last Synced: 2024-10-27T15:35:58.197Z (2 months ago)
- Language: C++
- Size: 232 MB
- Stars: 2
- Watchers: 1
- Forks: 0
- Open Issues: 1
-
Metadata Files:
- Readme: README.md
- License: LICENSE
Awesome Lists containing this project
README
# Borderlands 3 - Echo Device
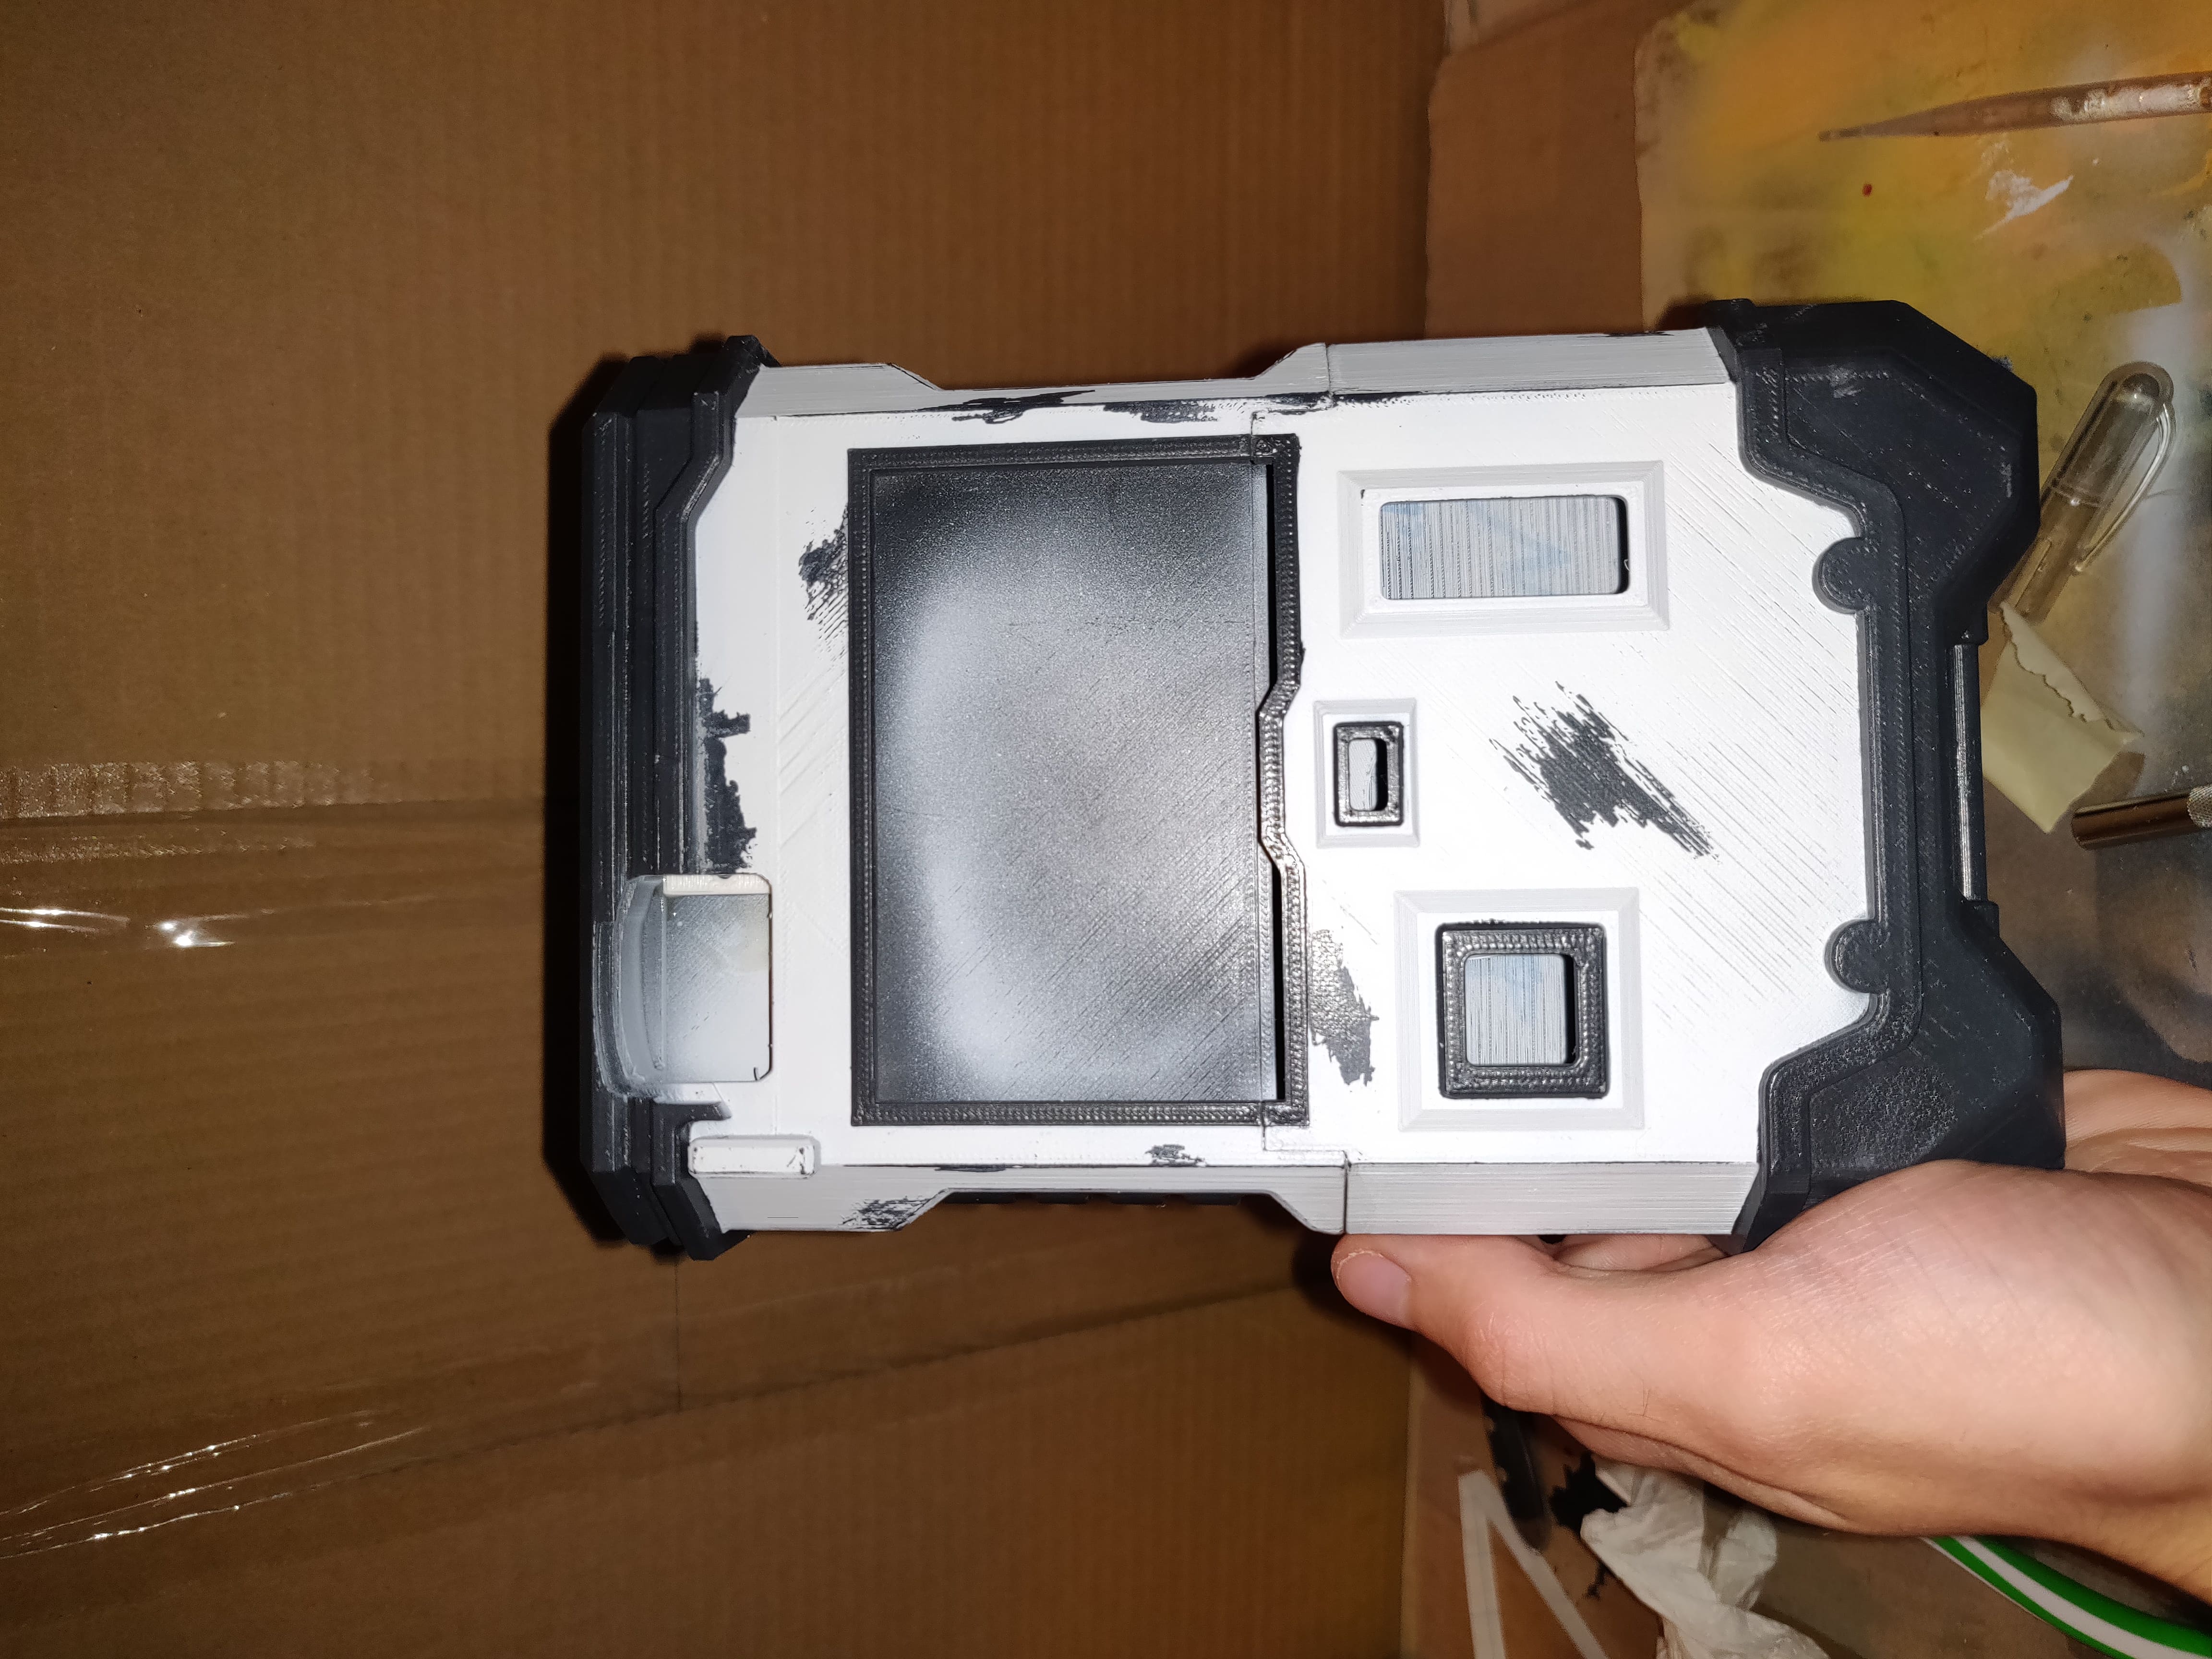
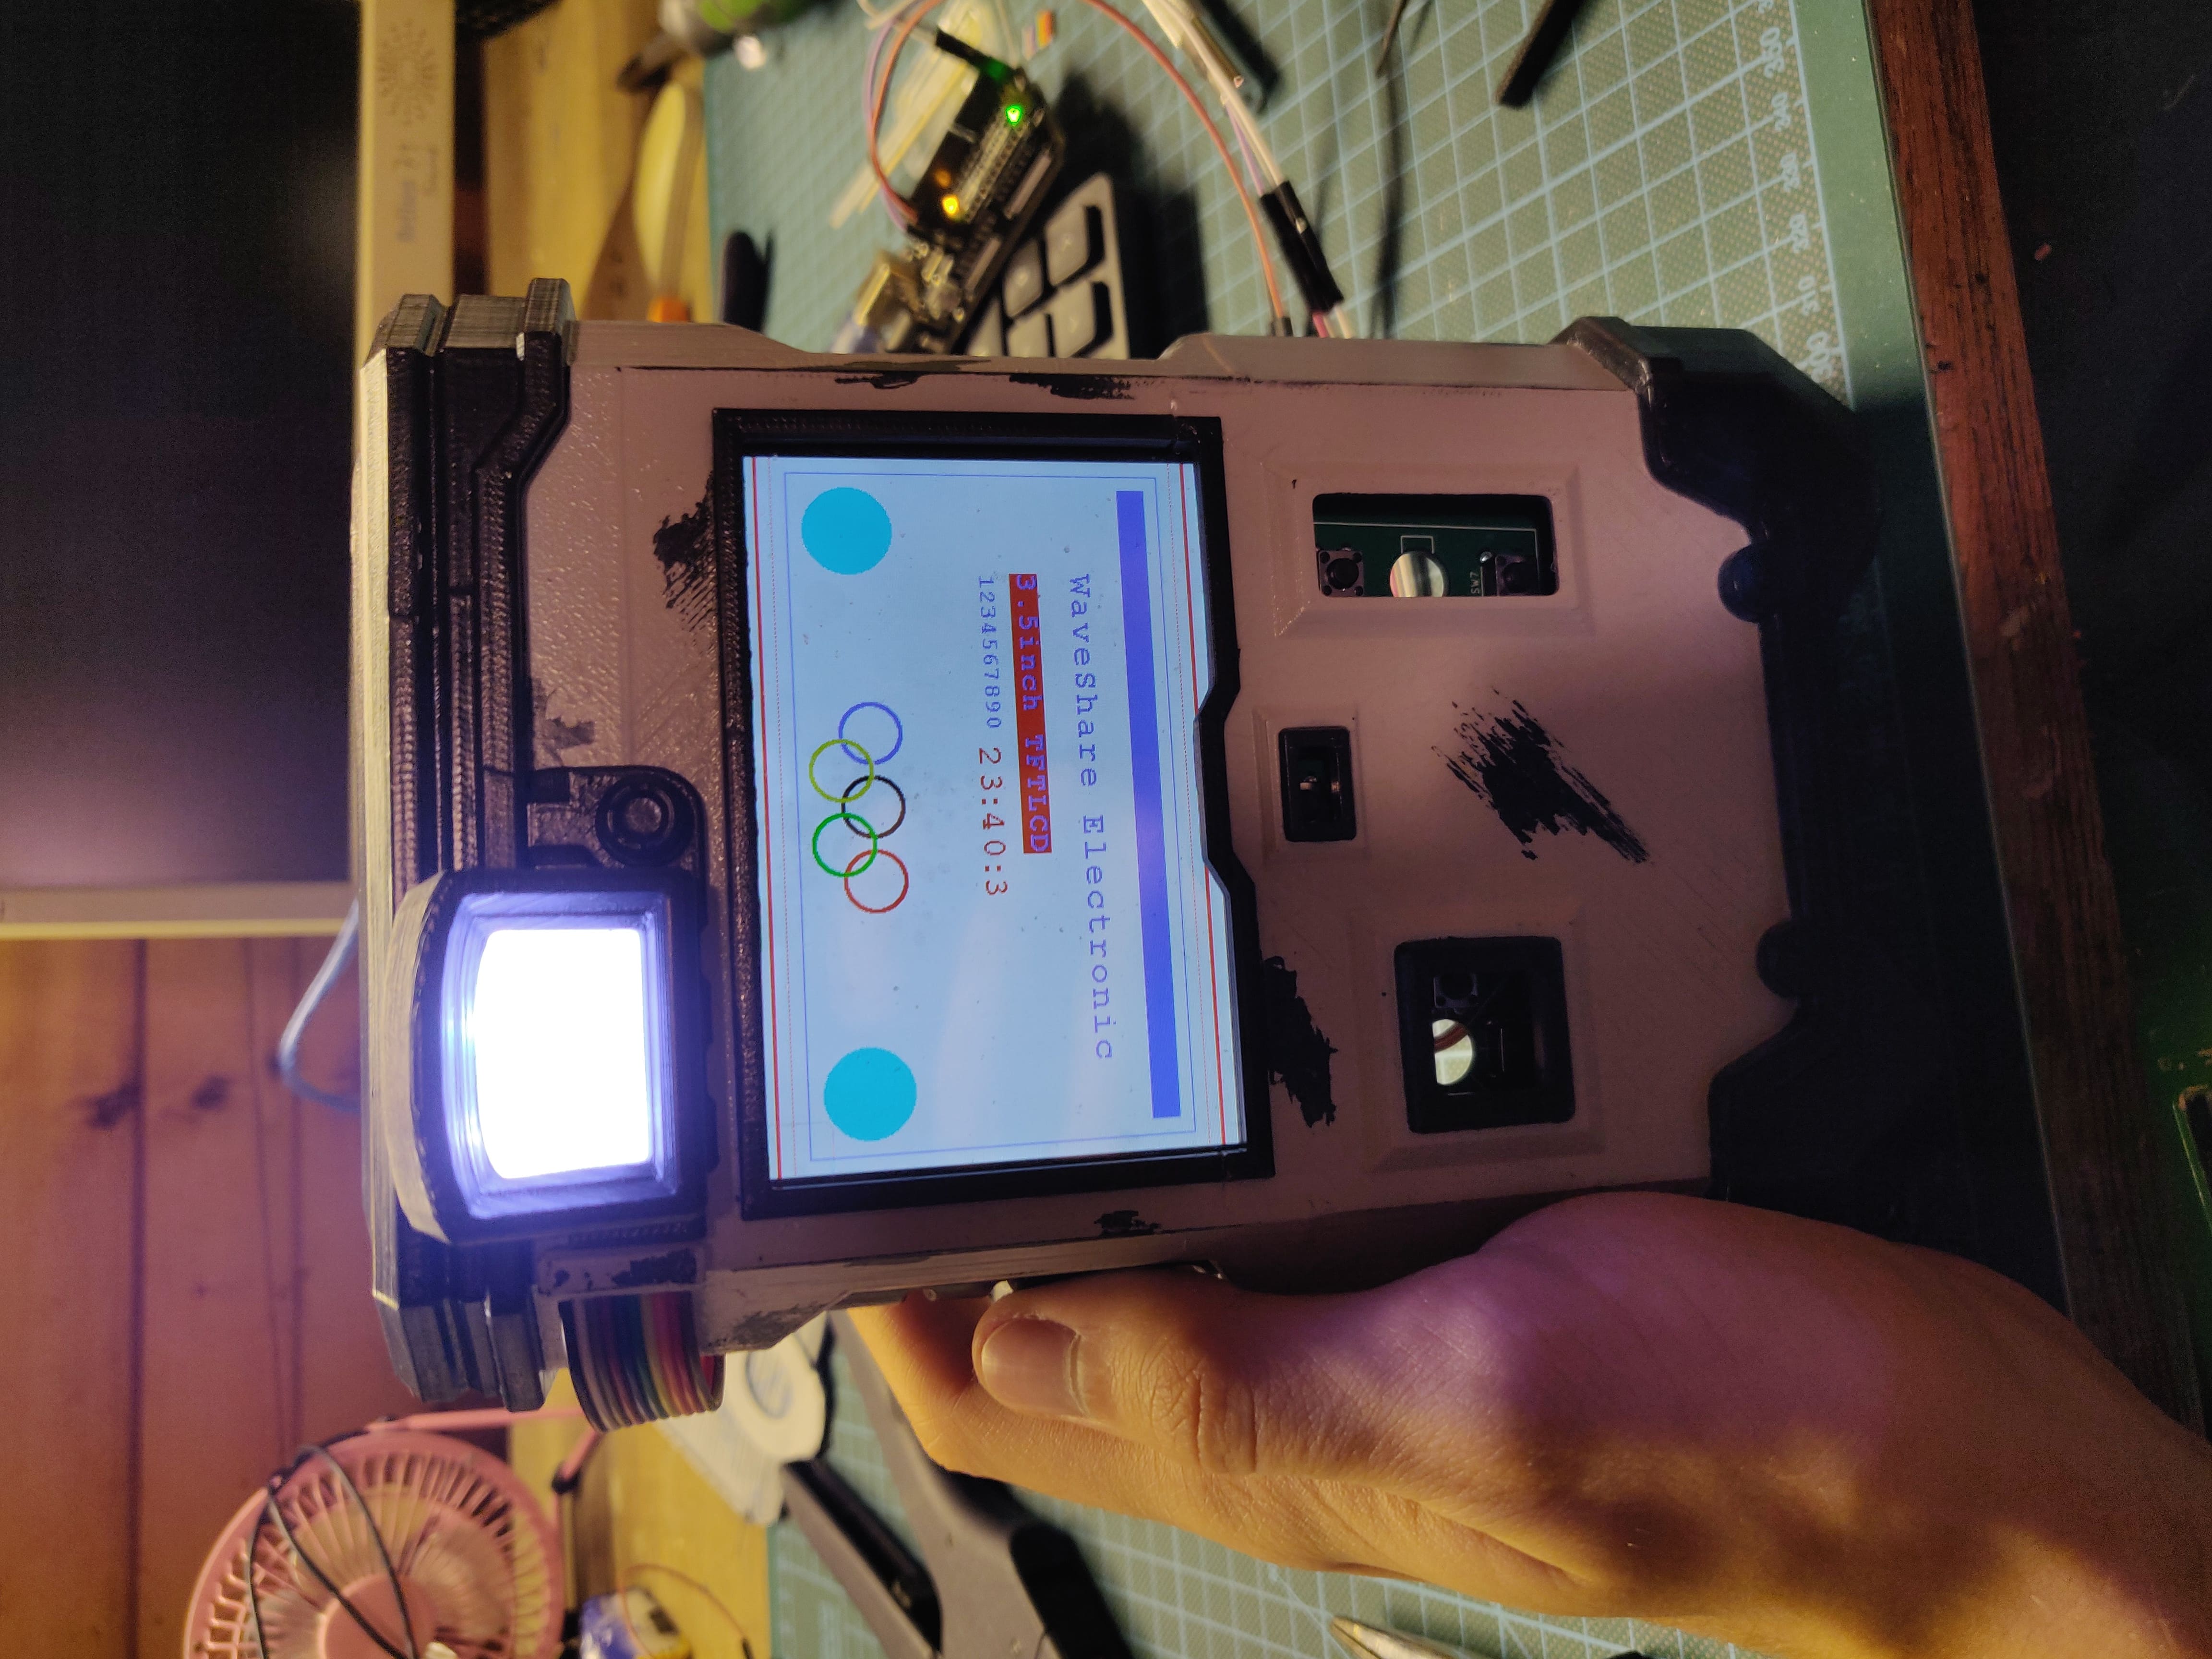
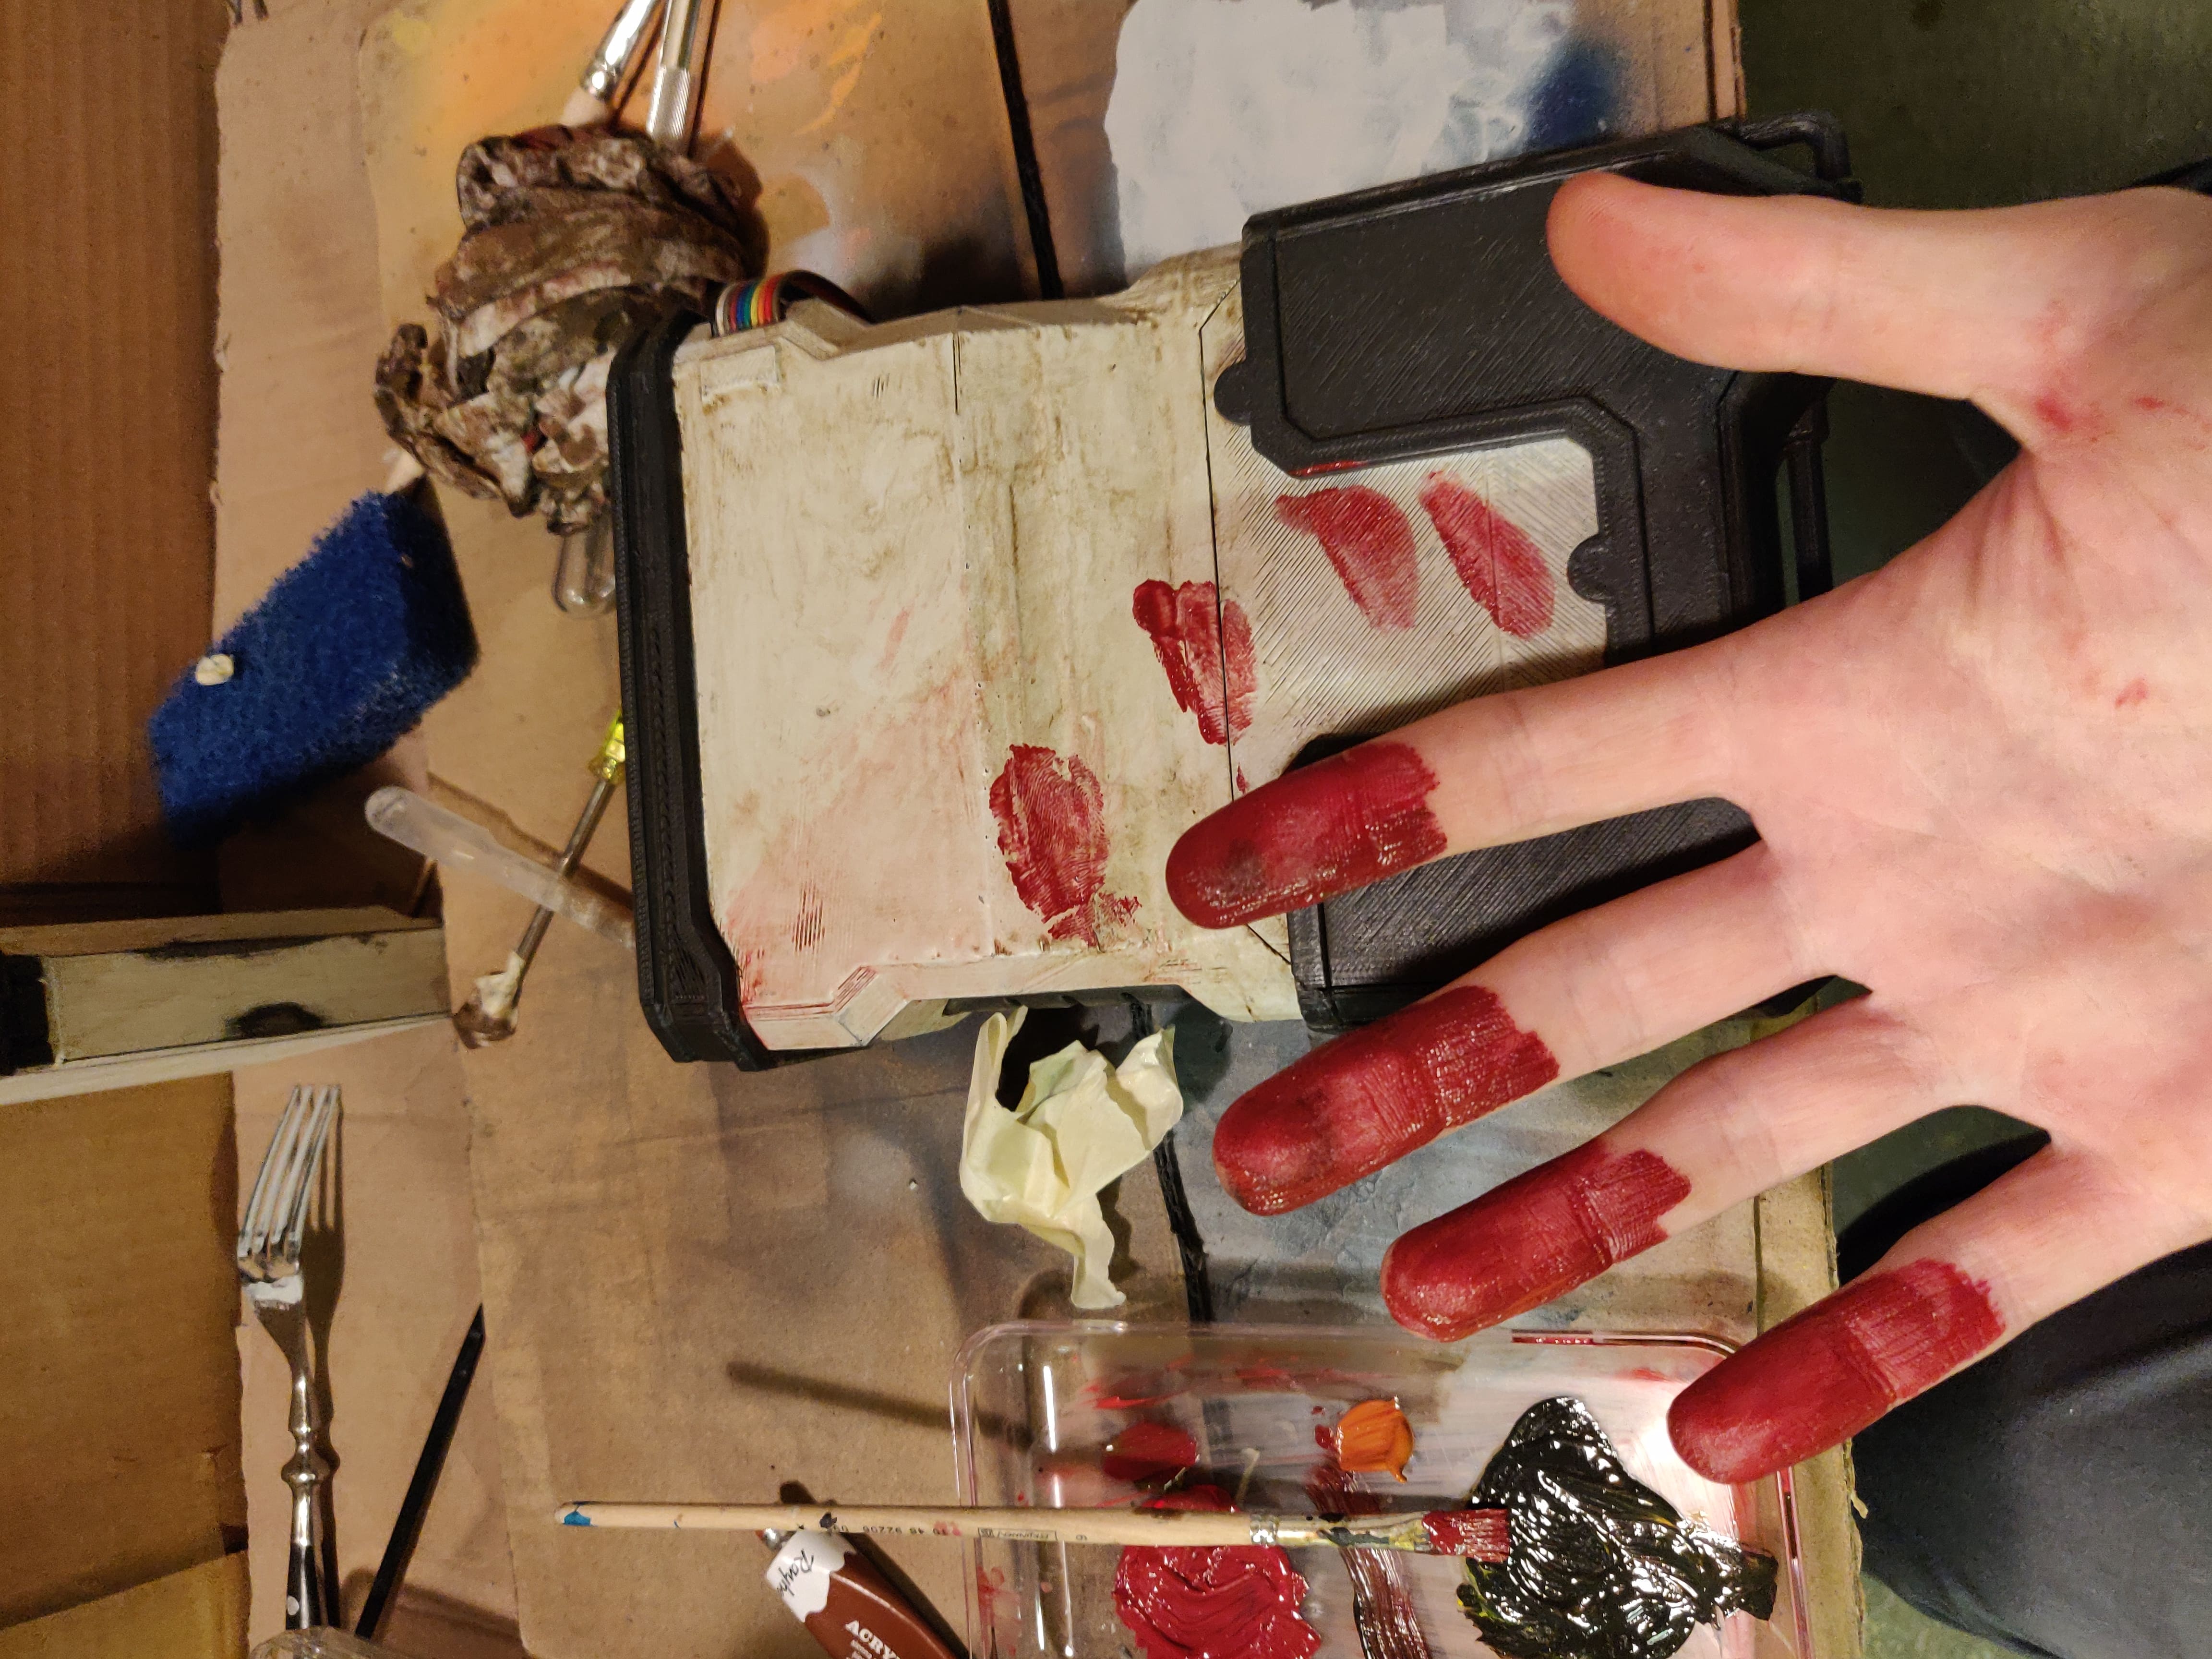
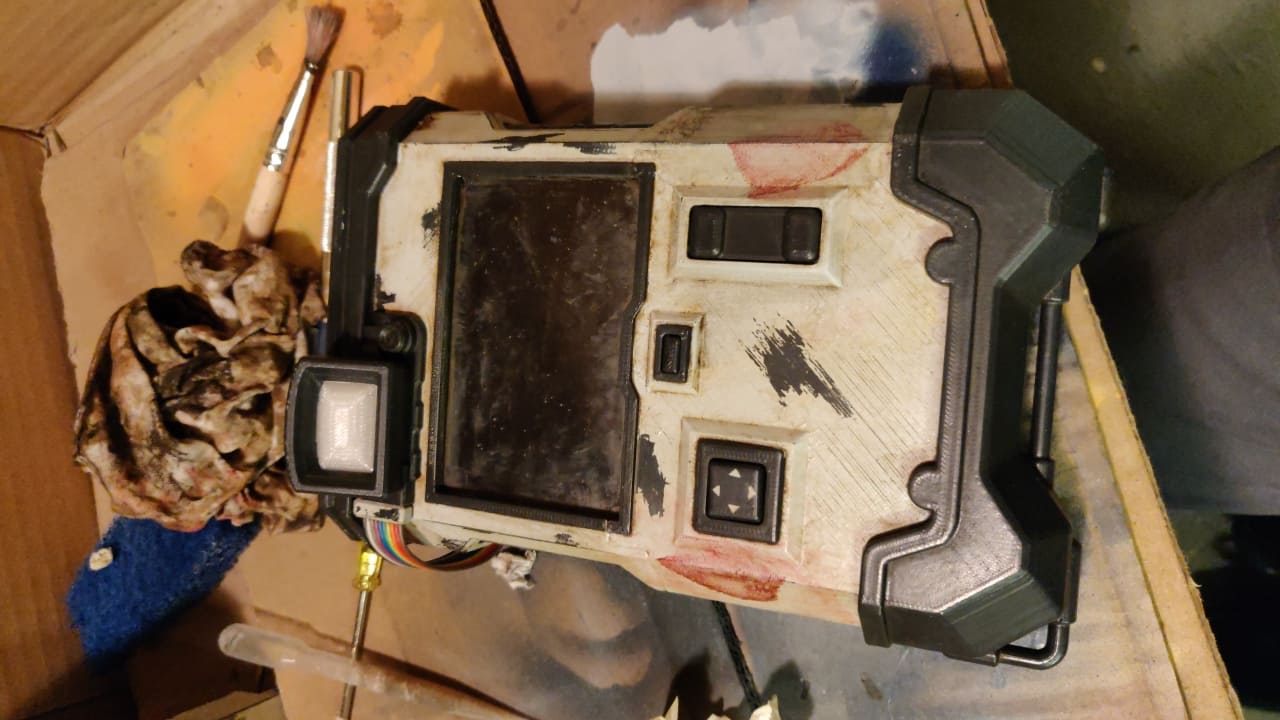
This repo contains all the needed files to create your own 3D printed Echo Com from Borderlands 3.
I put lots of images in the repo so the size got quite big, sorry for that 🤷♂️.
If you need additional information or have any questions please just open an issue and I will try to answer them 😀.
And please, if you decide to give it a shot and you use my model, please please send me pictures of the result! :) Just open an issue here to show off your amazing work.
## Printing
- I printed all opaque parts with PLA filament with 0.15mm layer height.
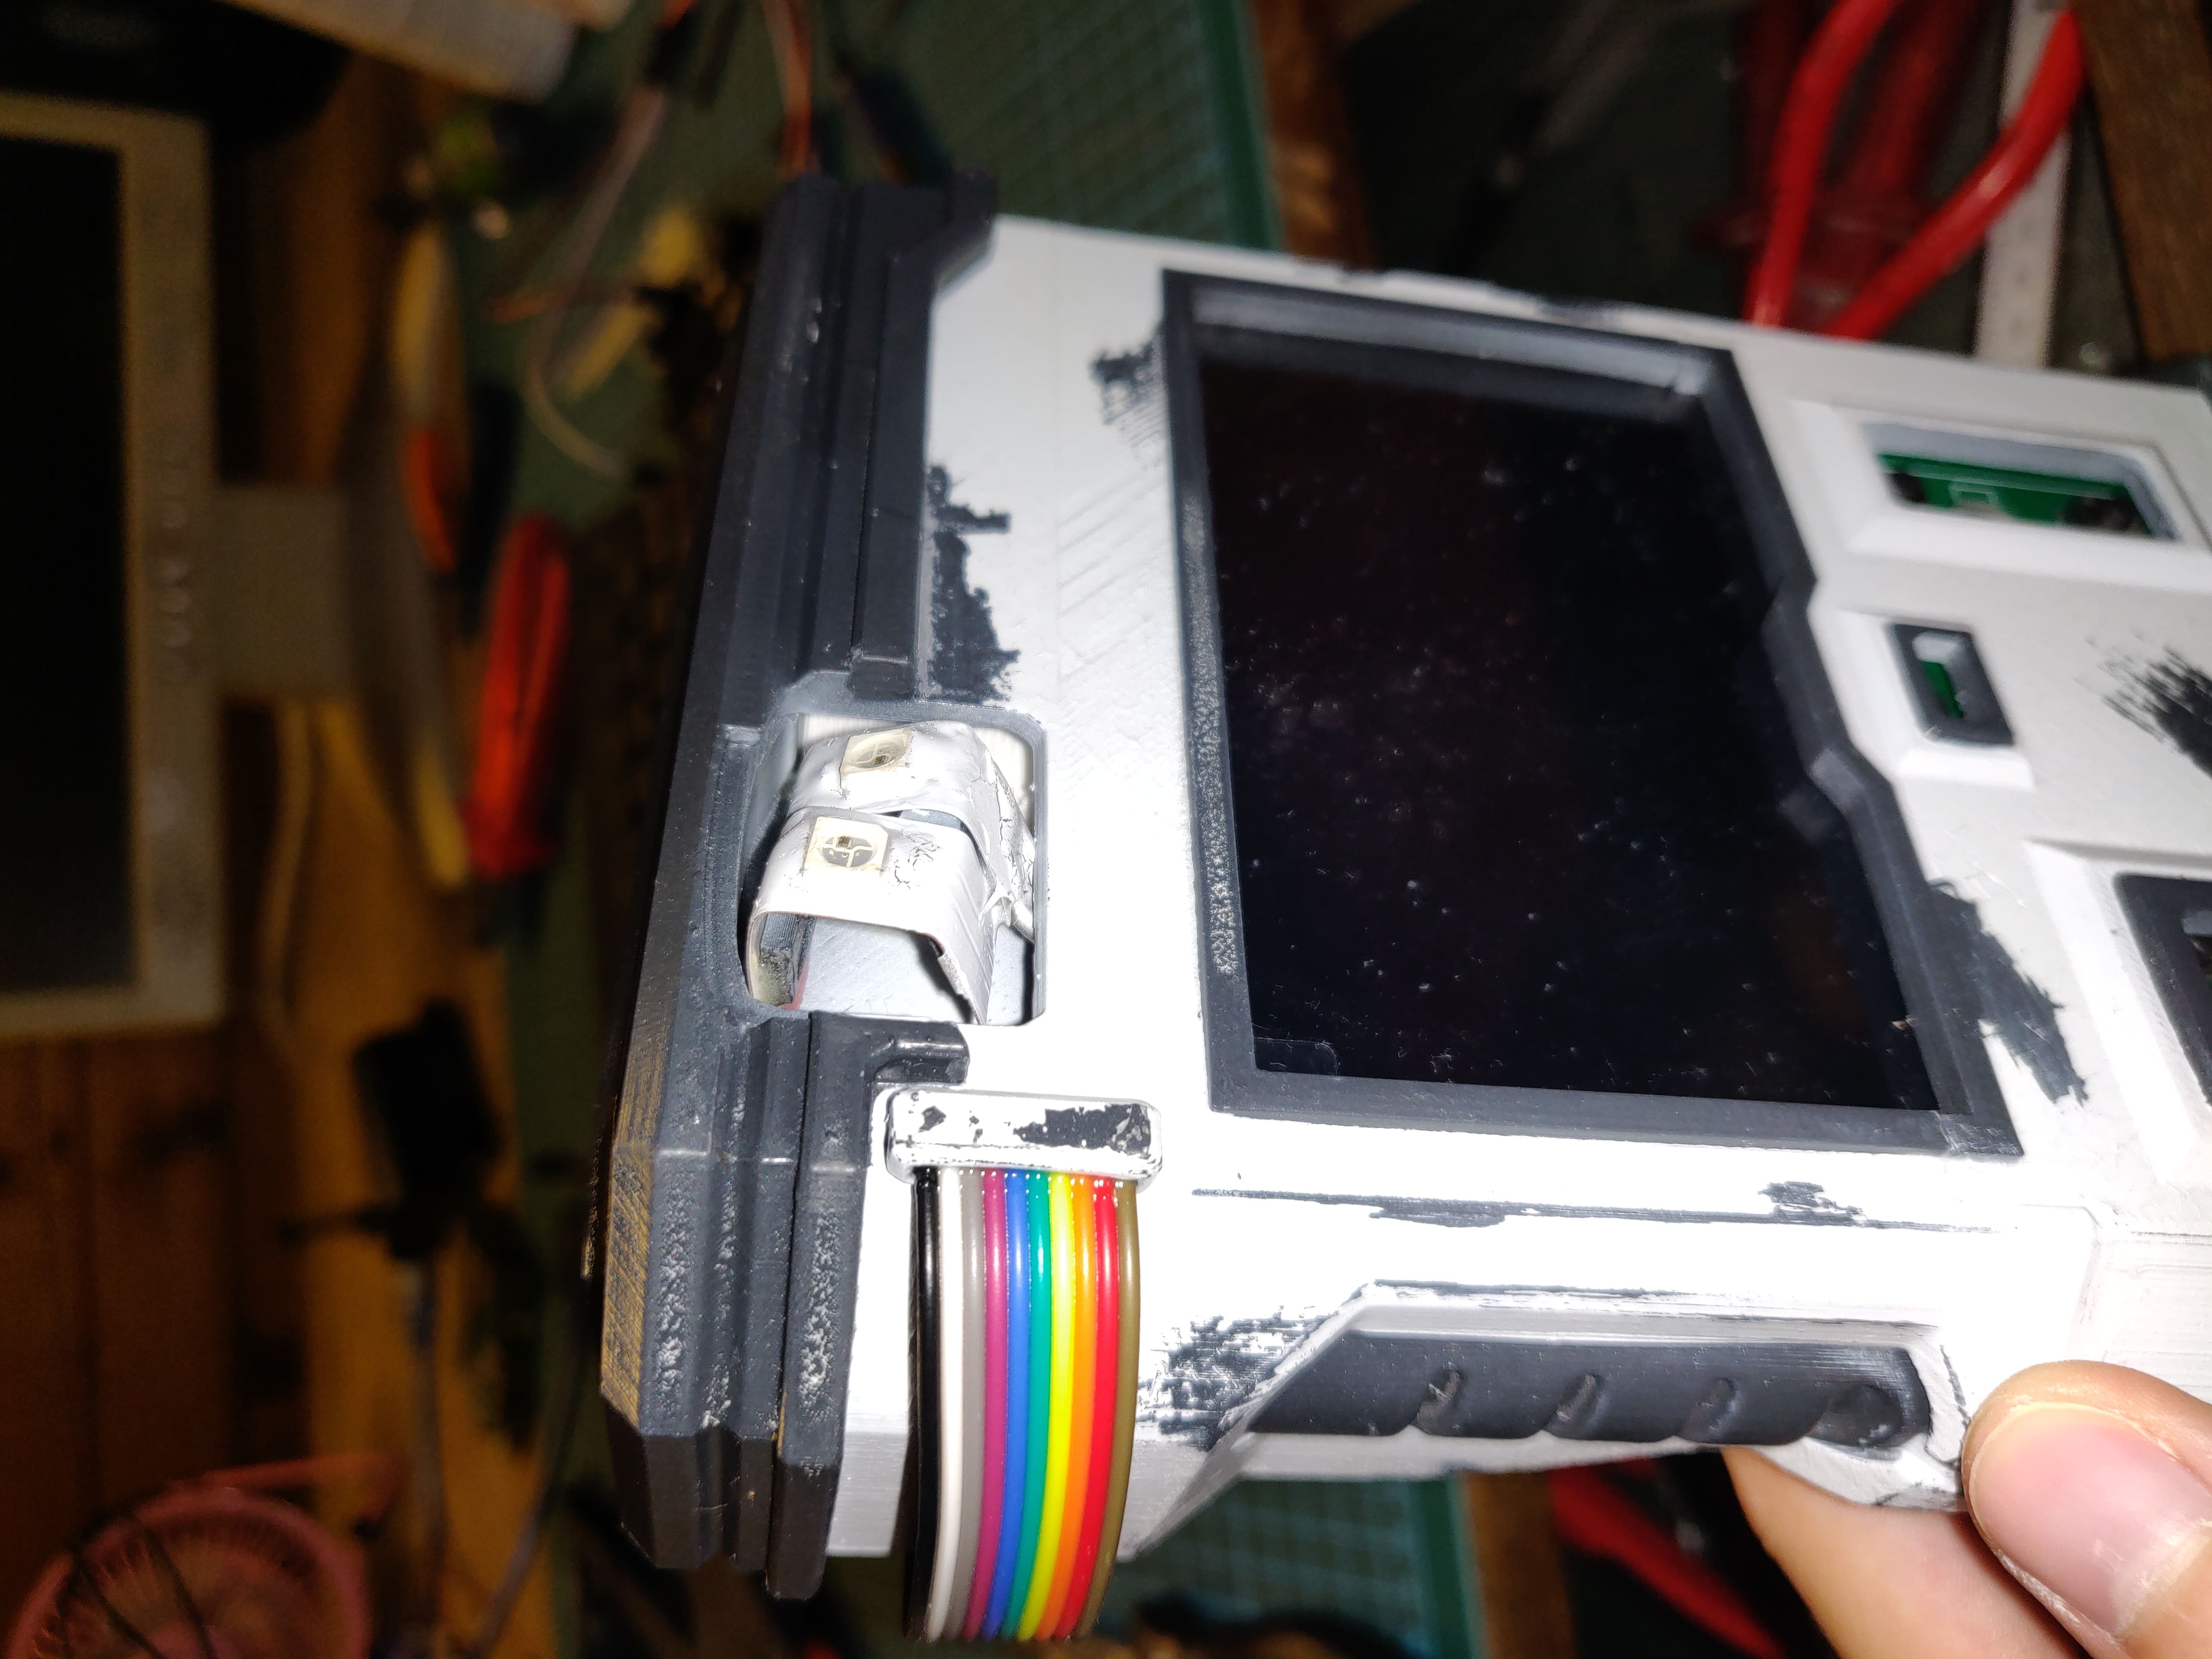
- For the electronics version, the inner projector part was printed with "transparent" PETG filament to let the light of the LEDs pass through.
- I Recommend printing more or less everything with full support to make sure all the complex parts get printed properly.
- Removing the supports is quite easy with this model.
## Components for the electronics version
- [4" TFT Display](https://www.waveshare.com/4inch-tft-touch-shield.htm)
- I really recommend buying exactly this one as the 3D model is designed for exactly this product.
- It was the only display I found that had the correct size for the EchoCom.
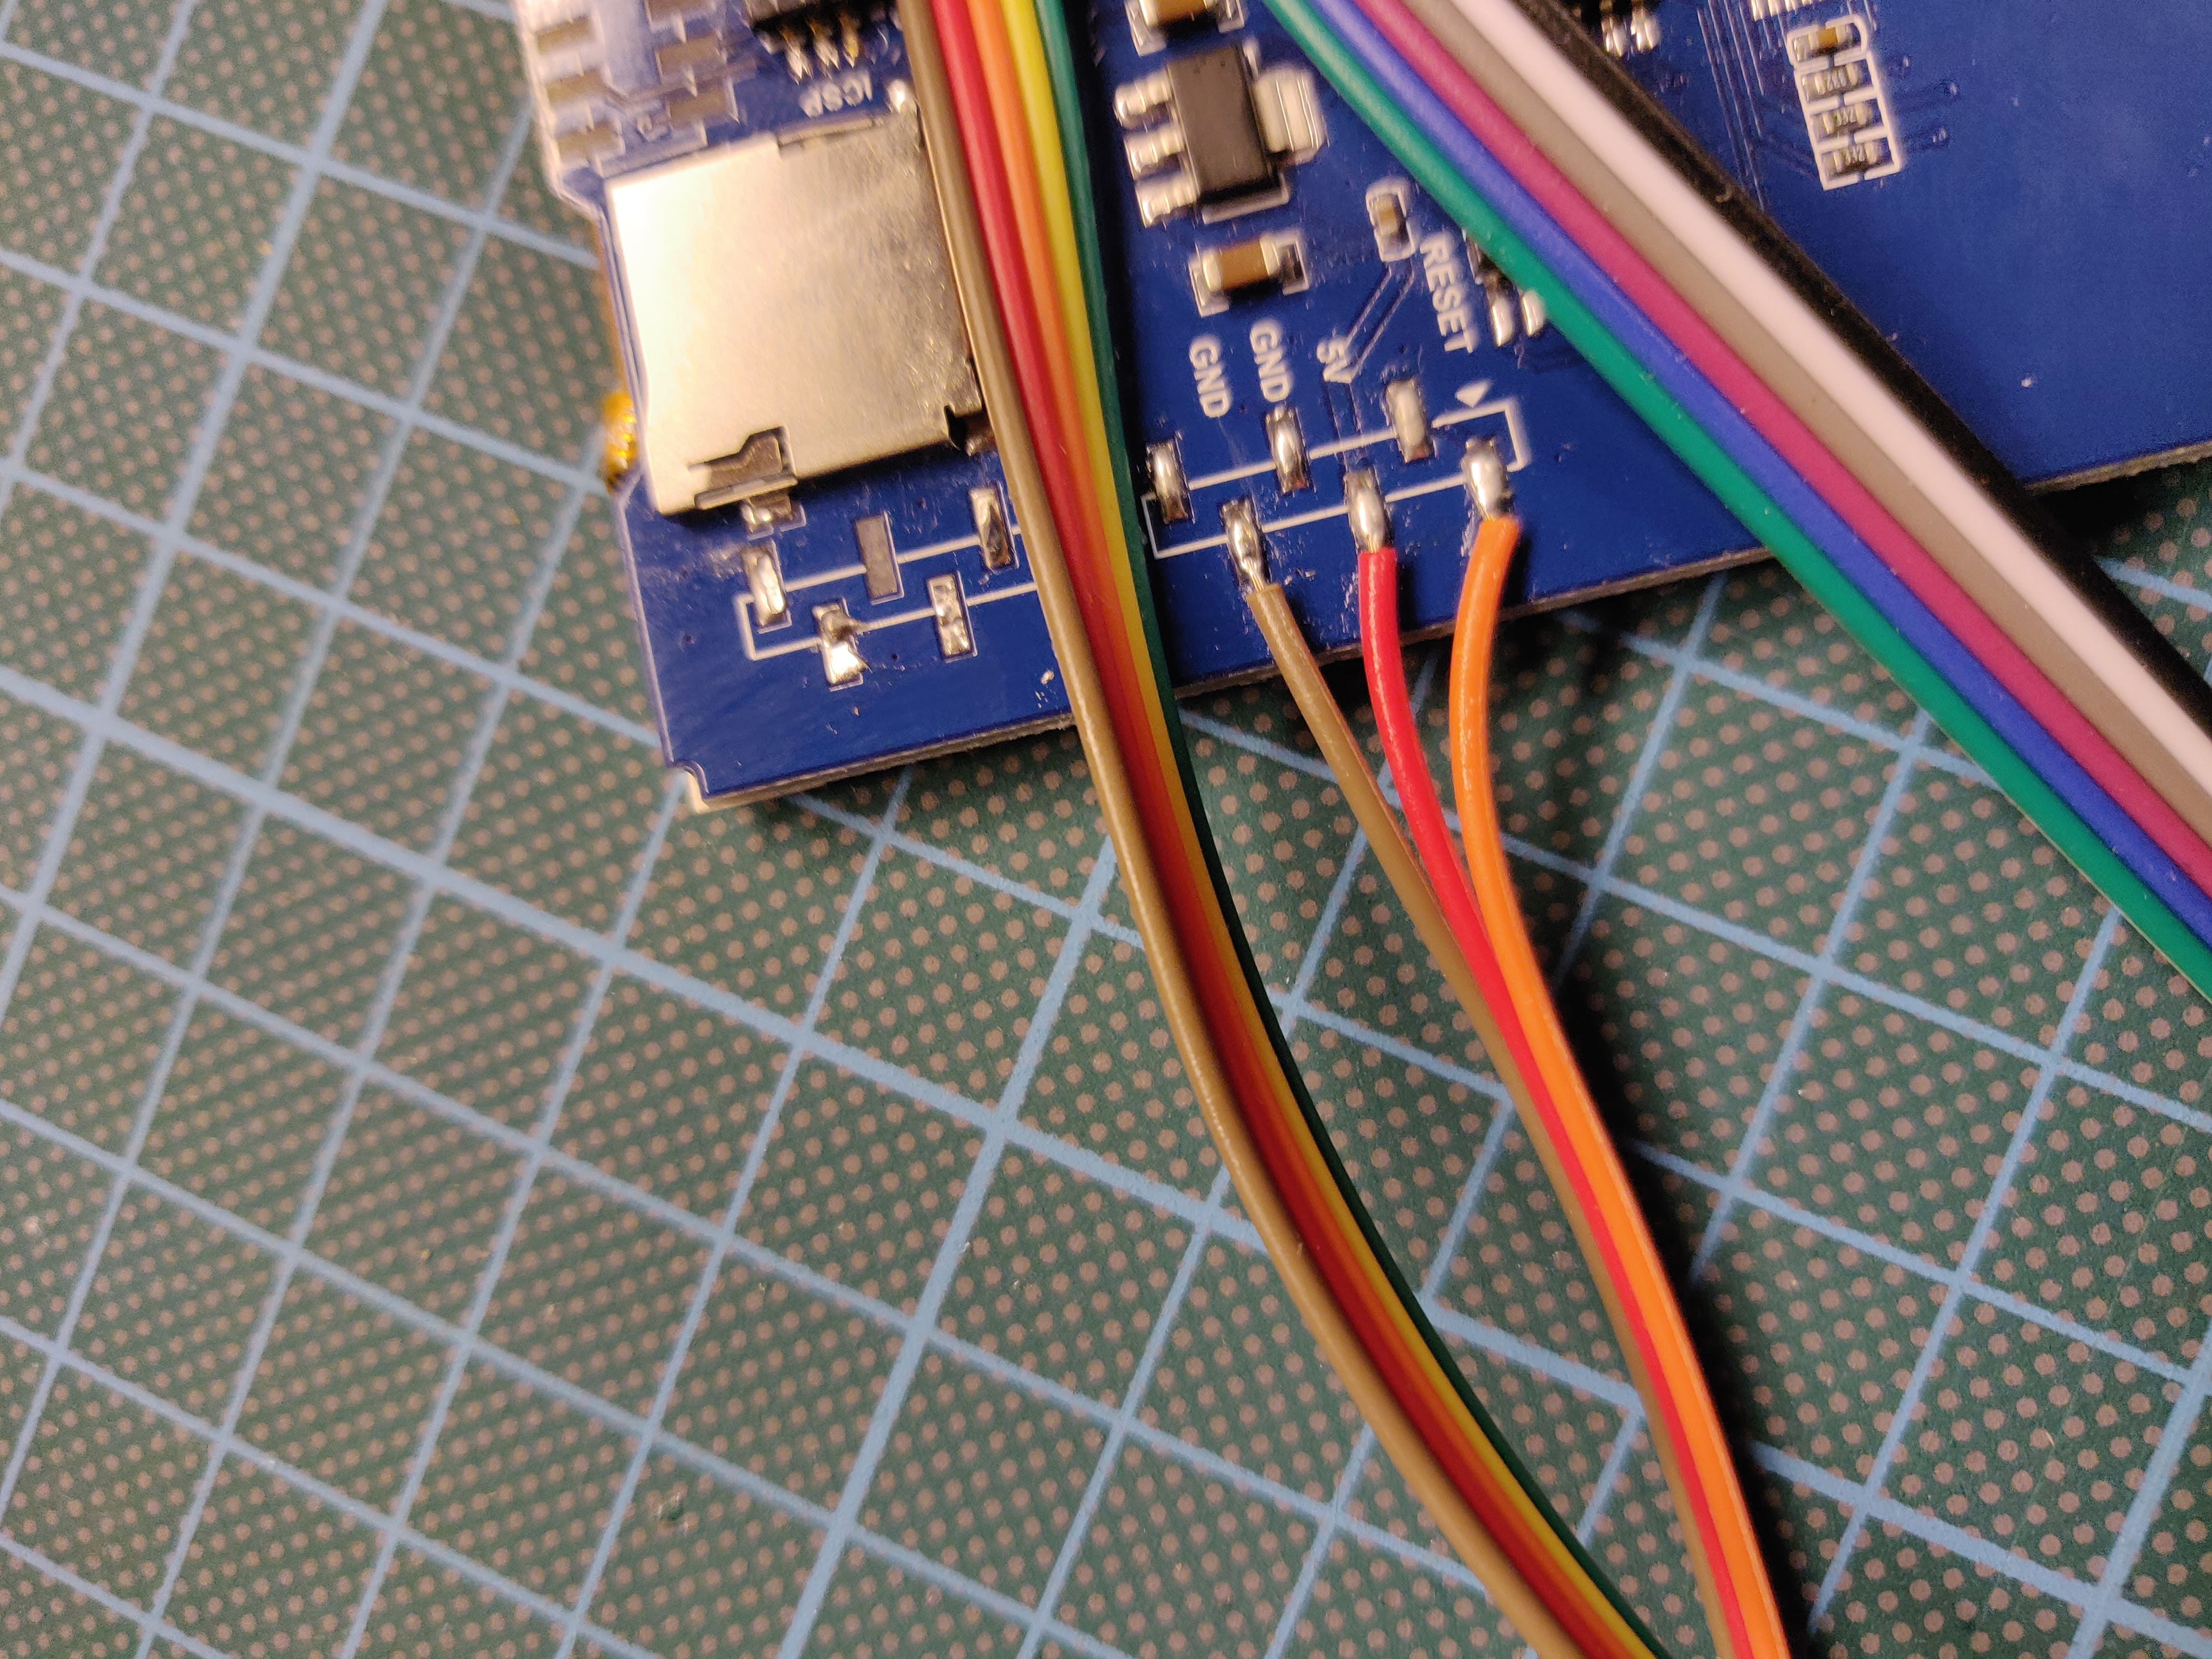
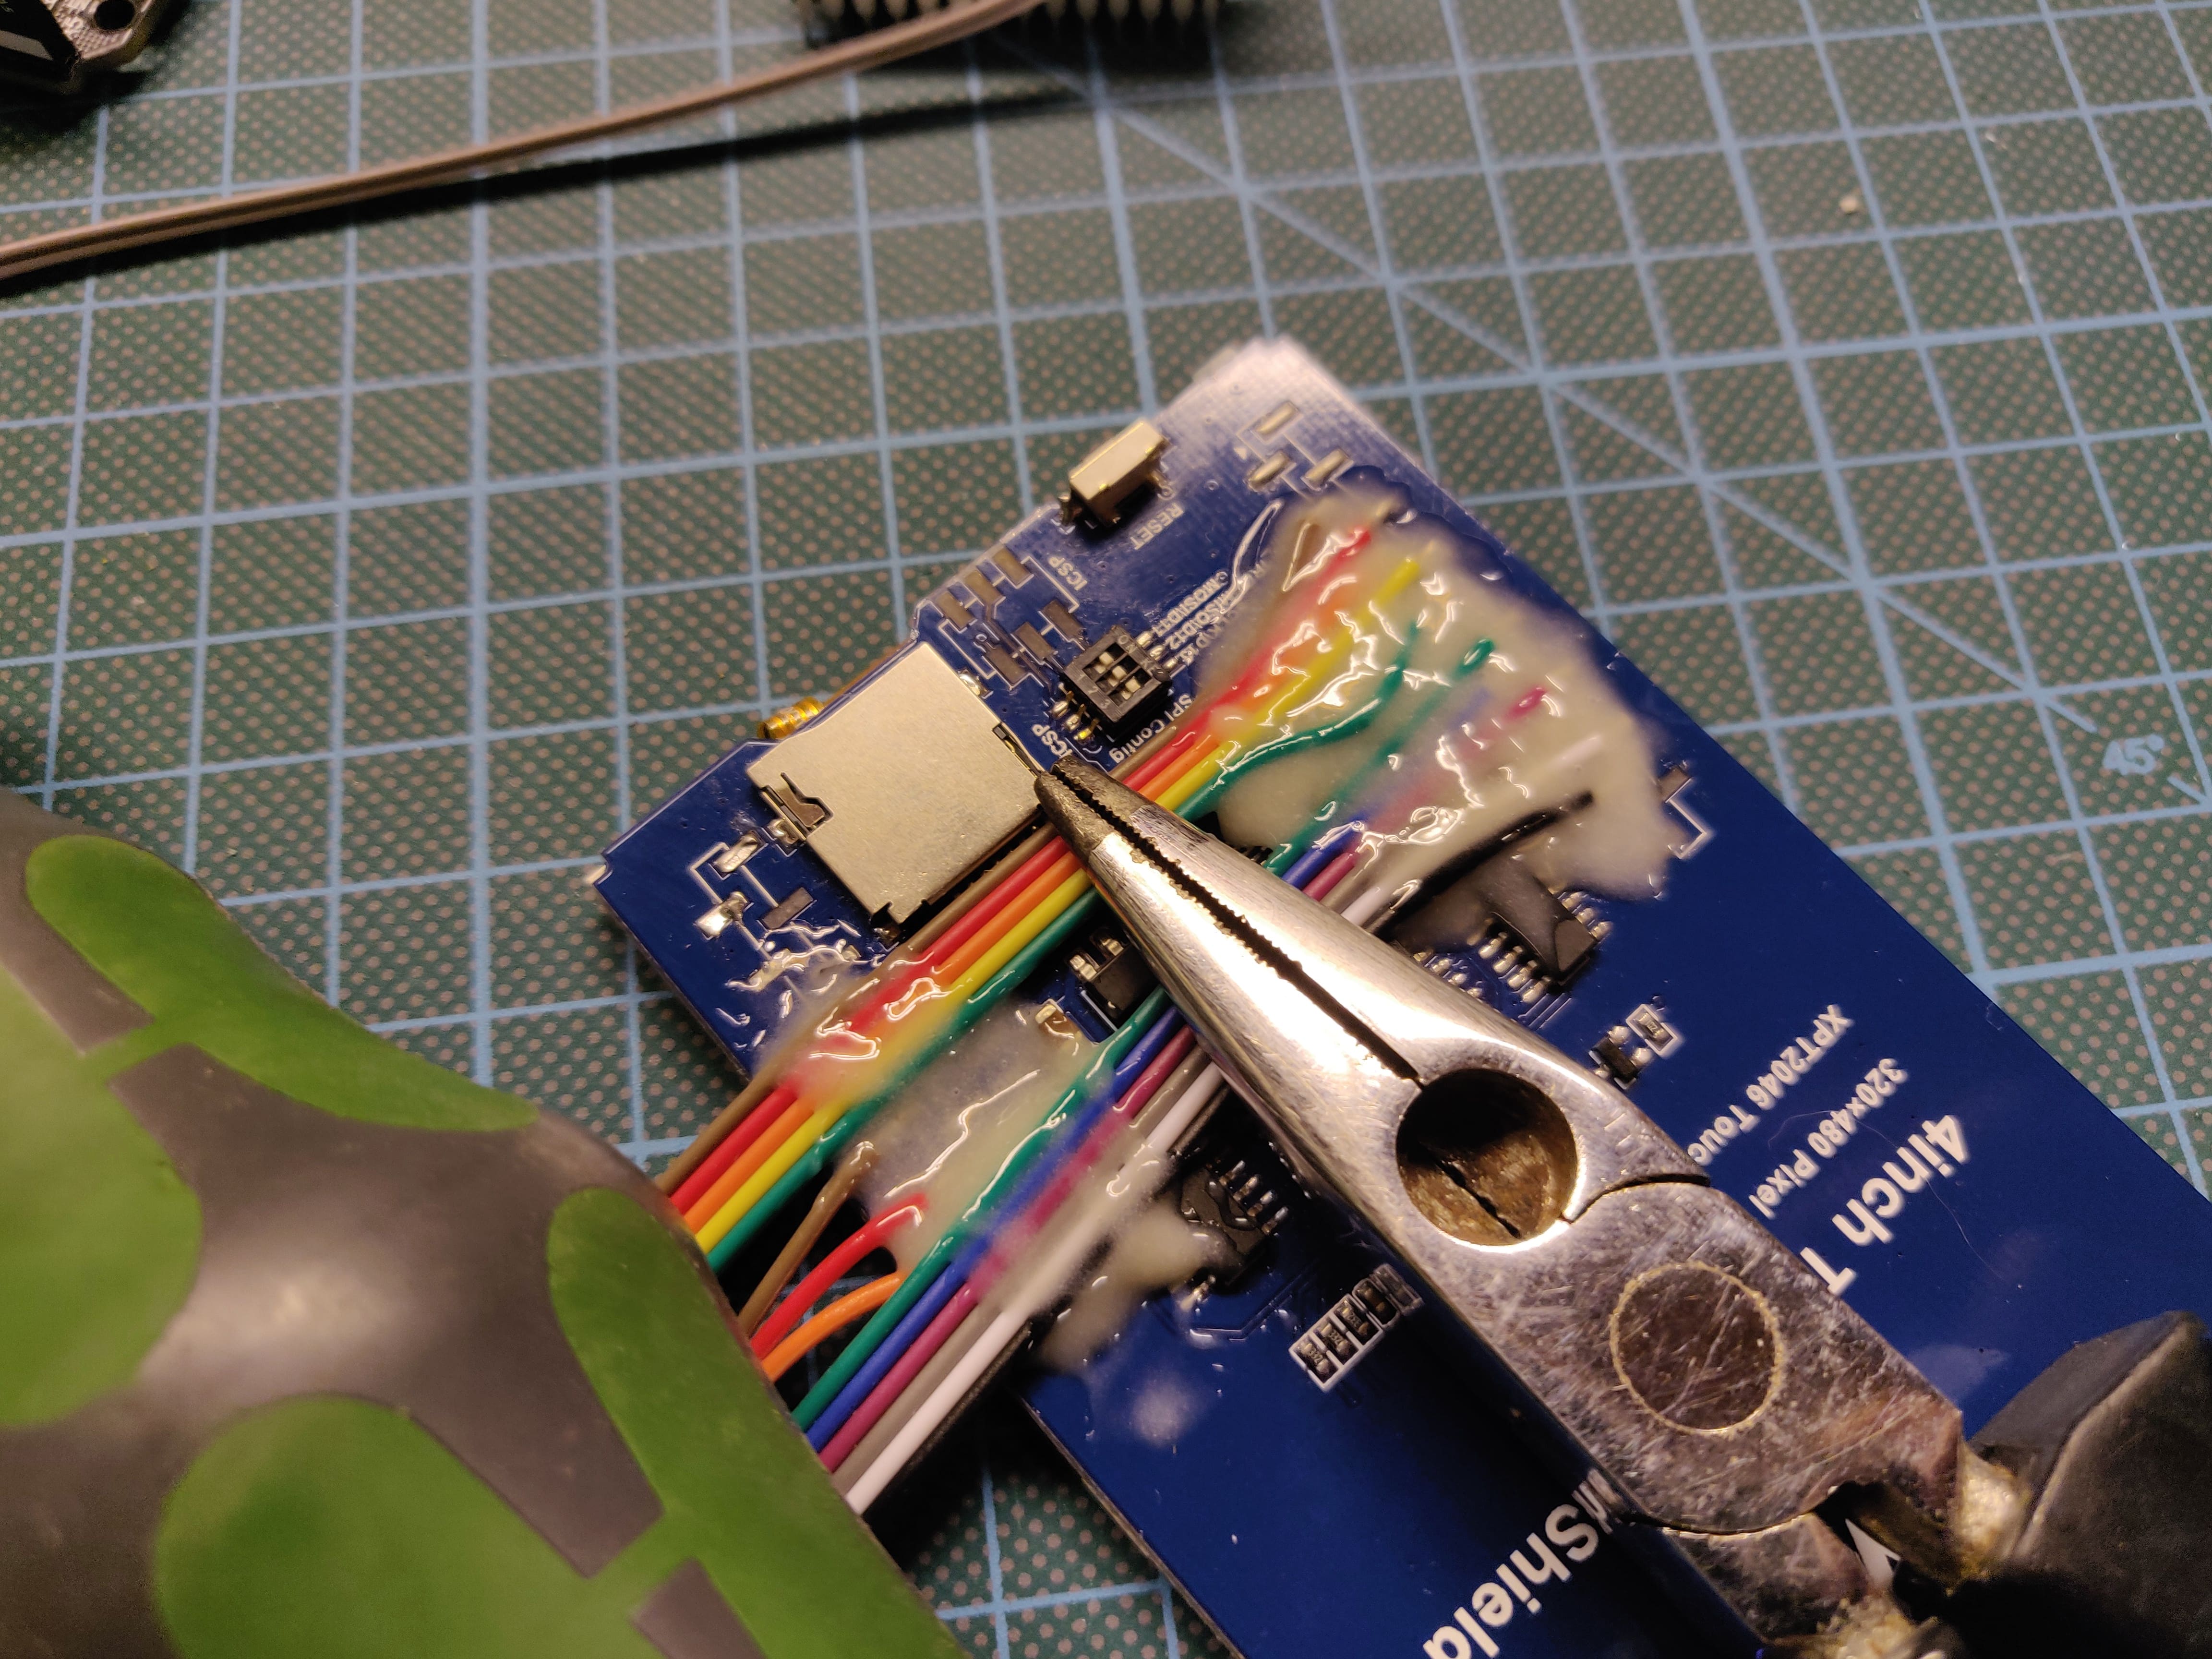
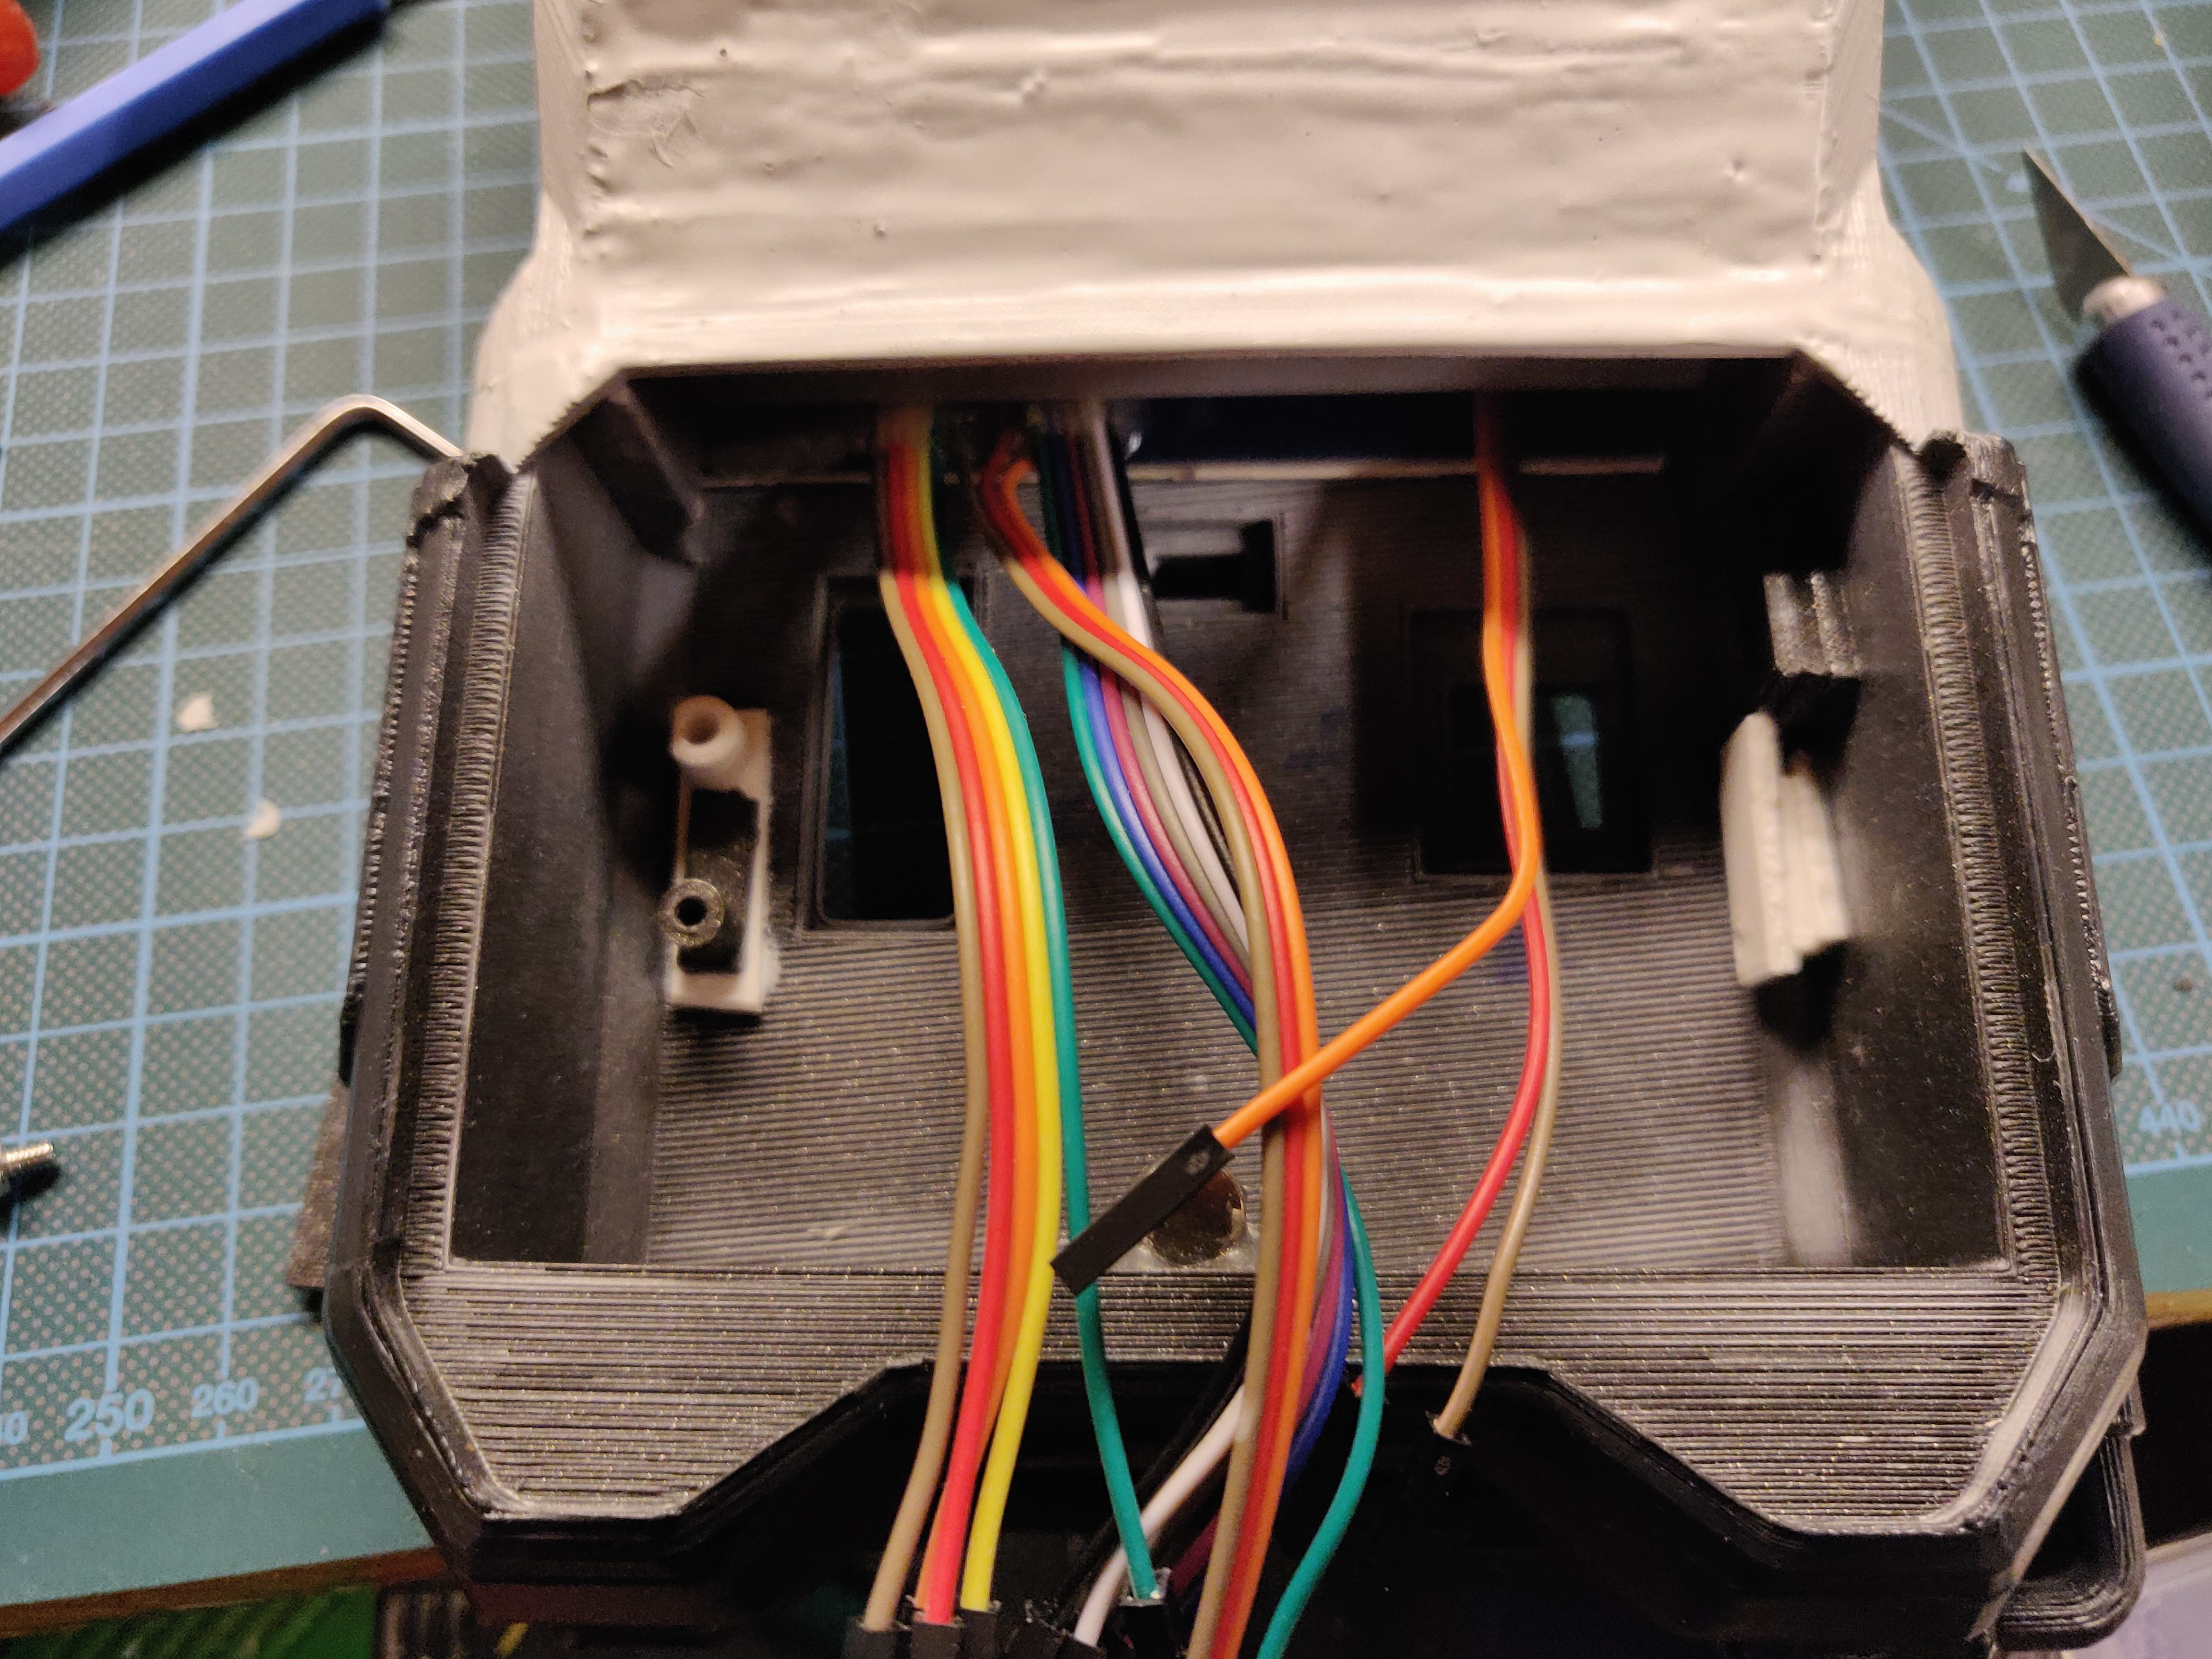
- You have to remove the pin headers from the backside for it to fit into the model. The required wires then can be re-soldered with a thinner footprint.
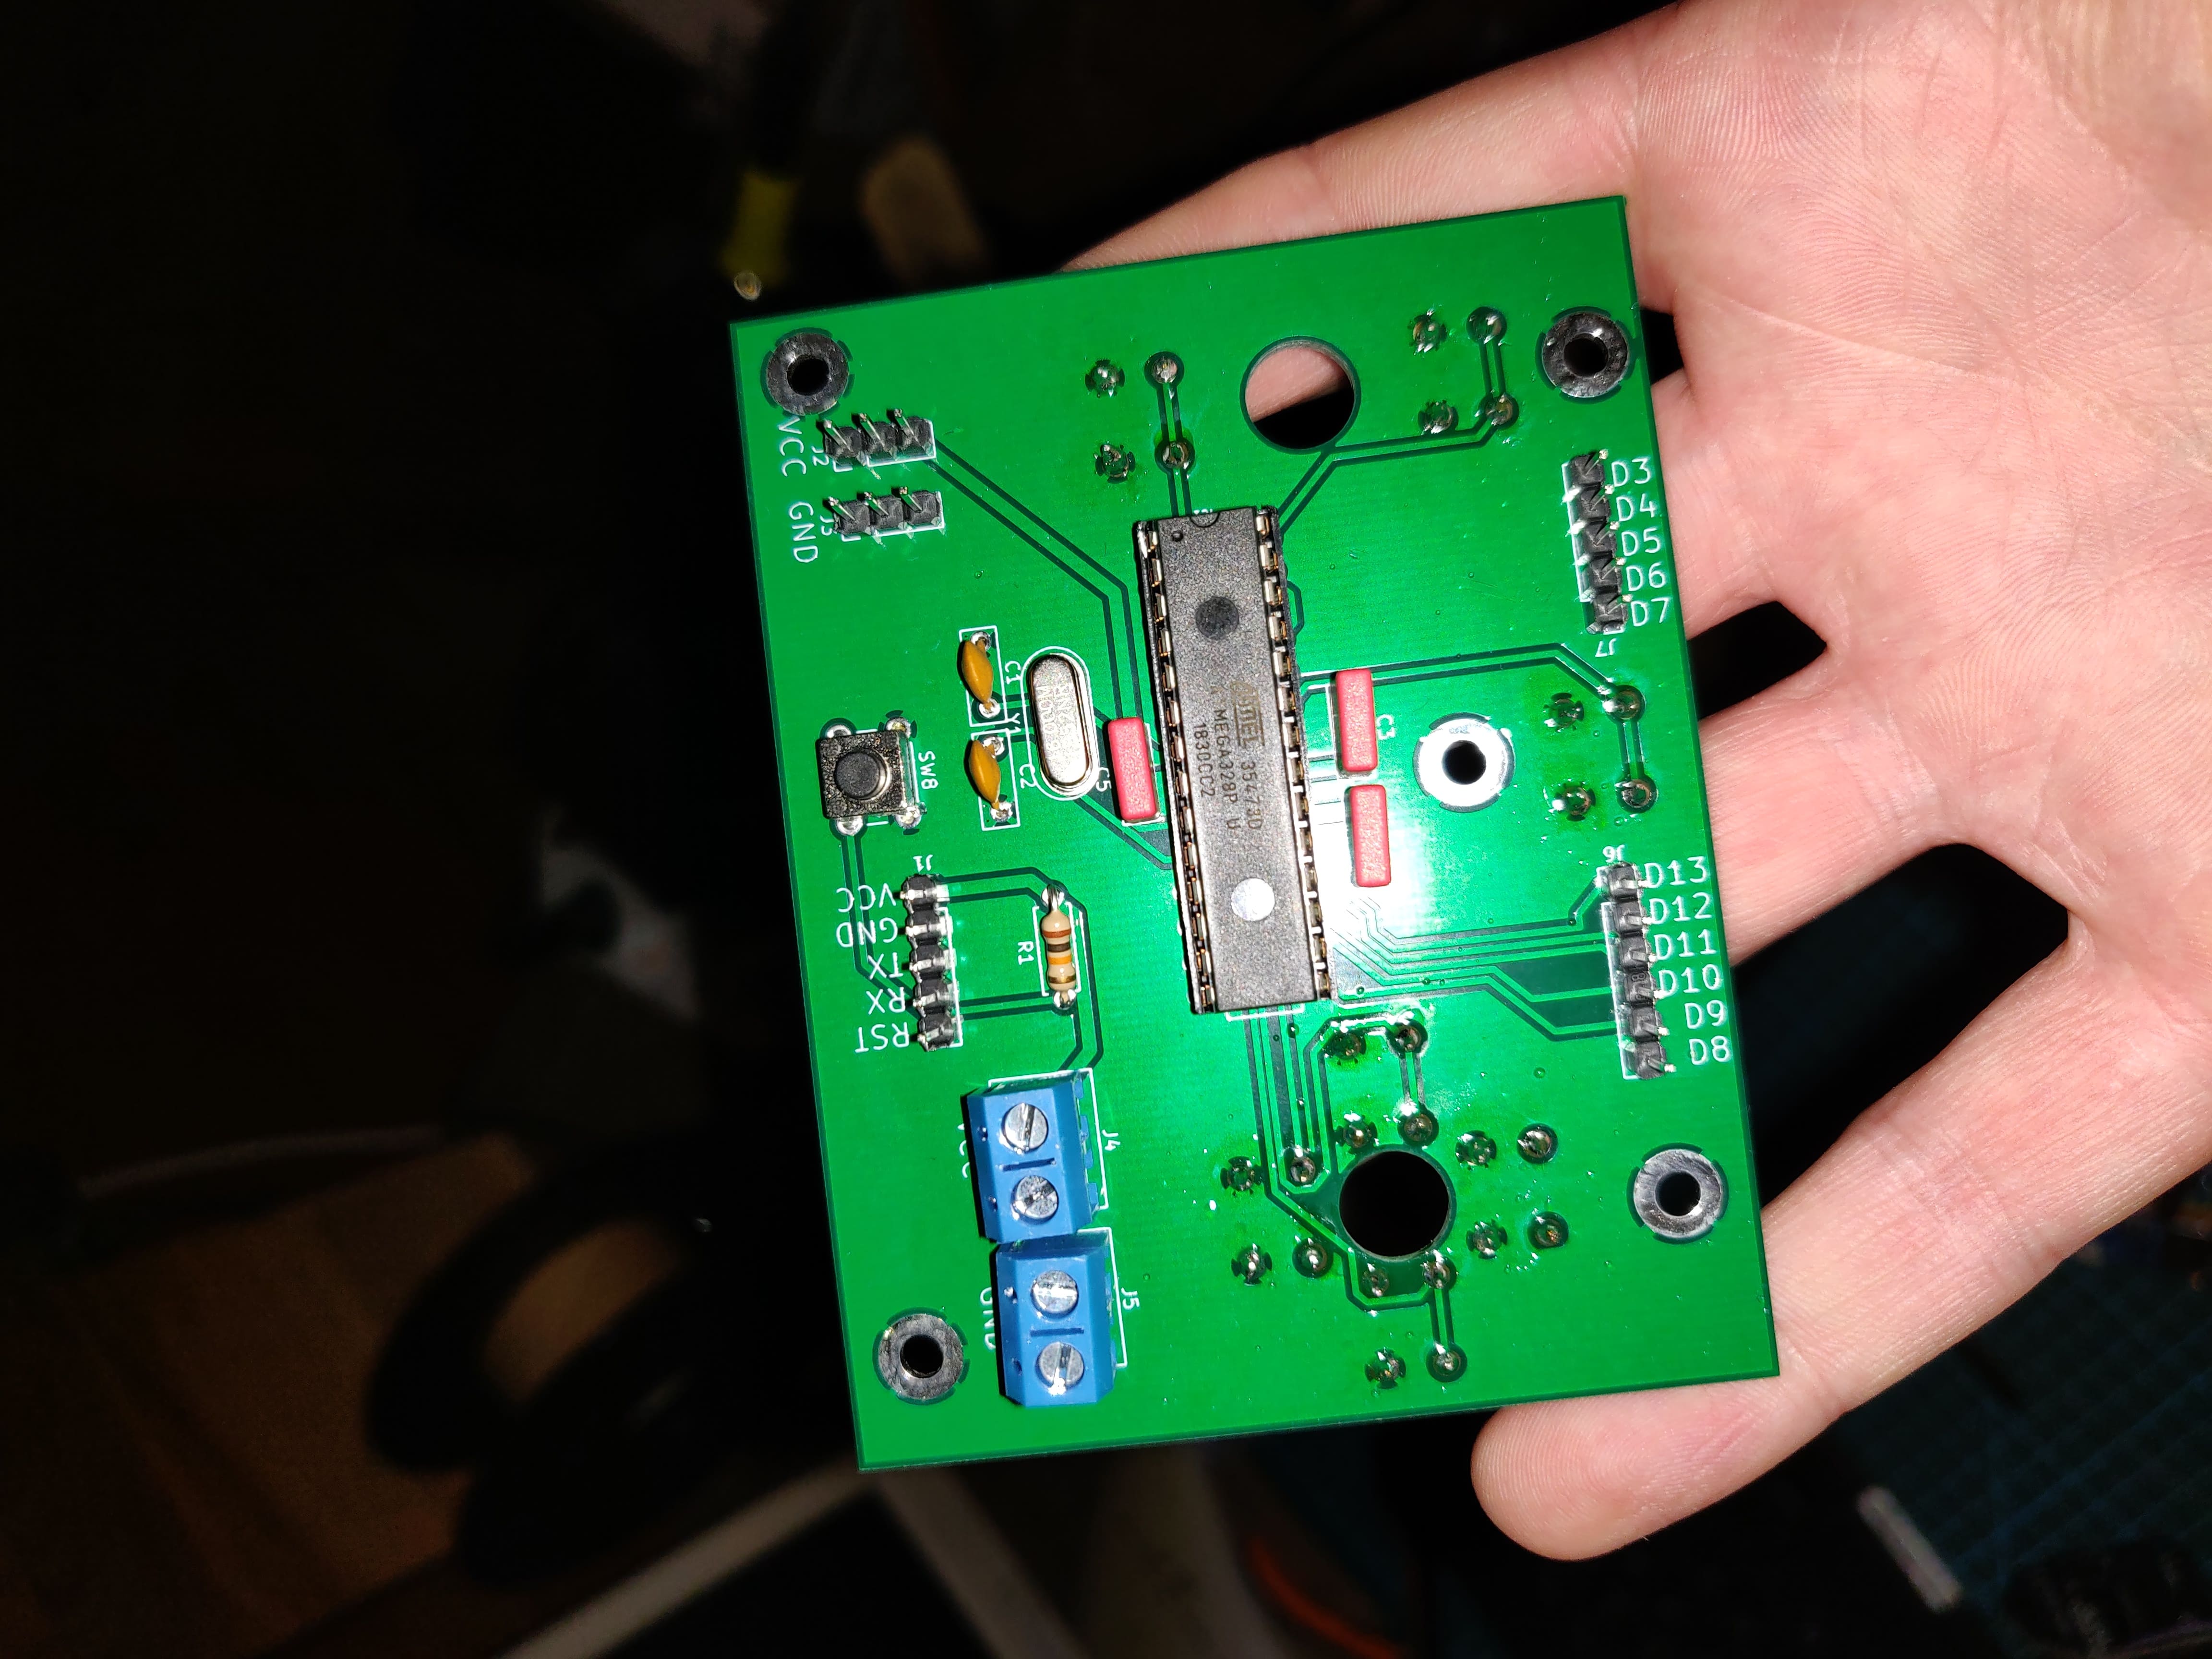
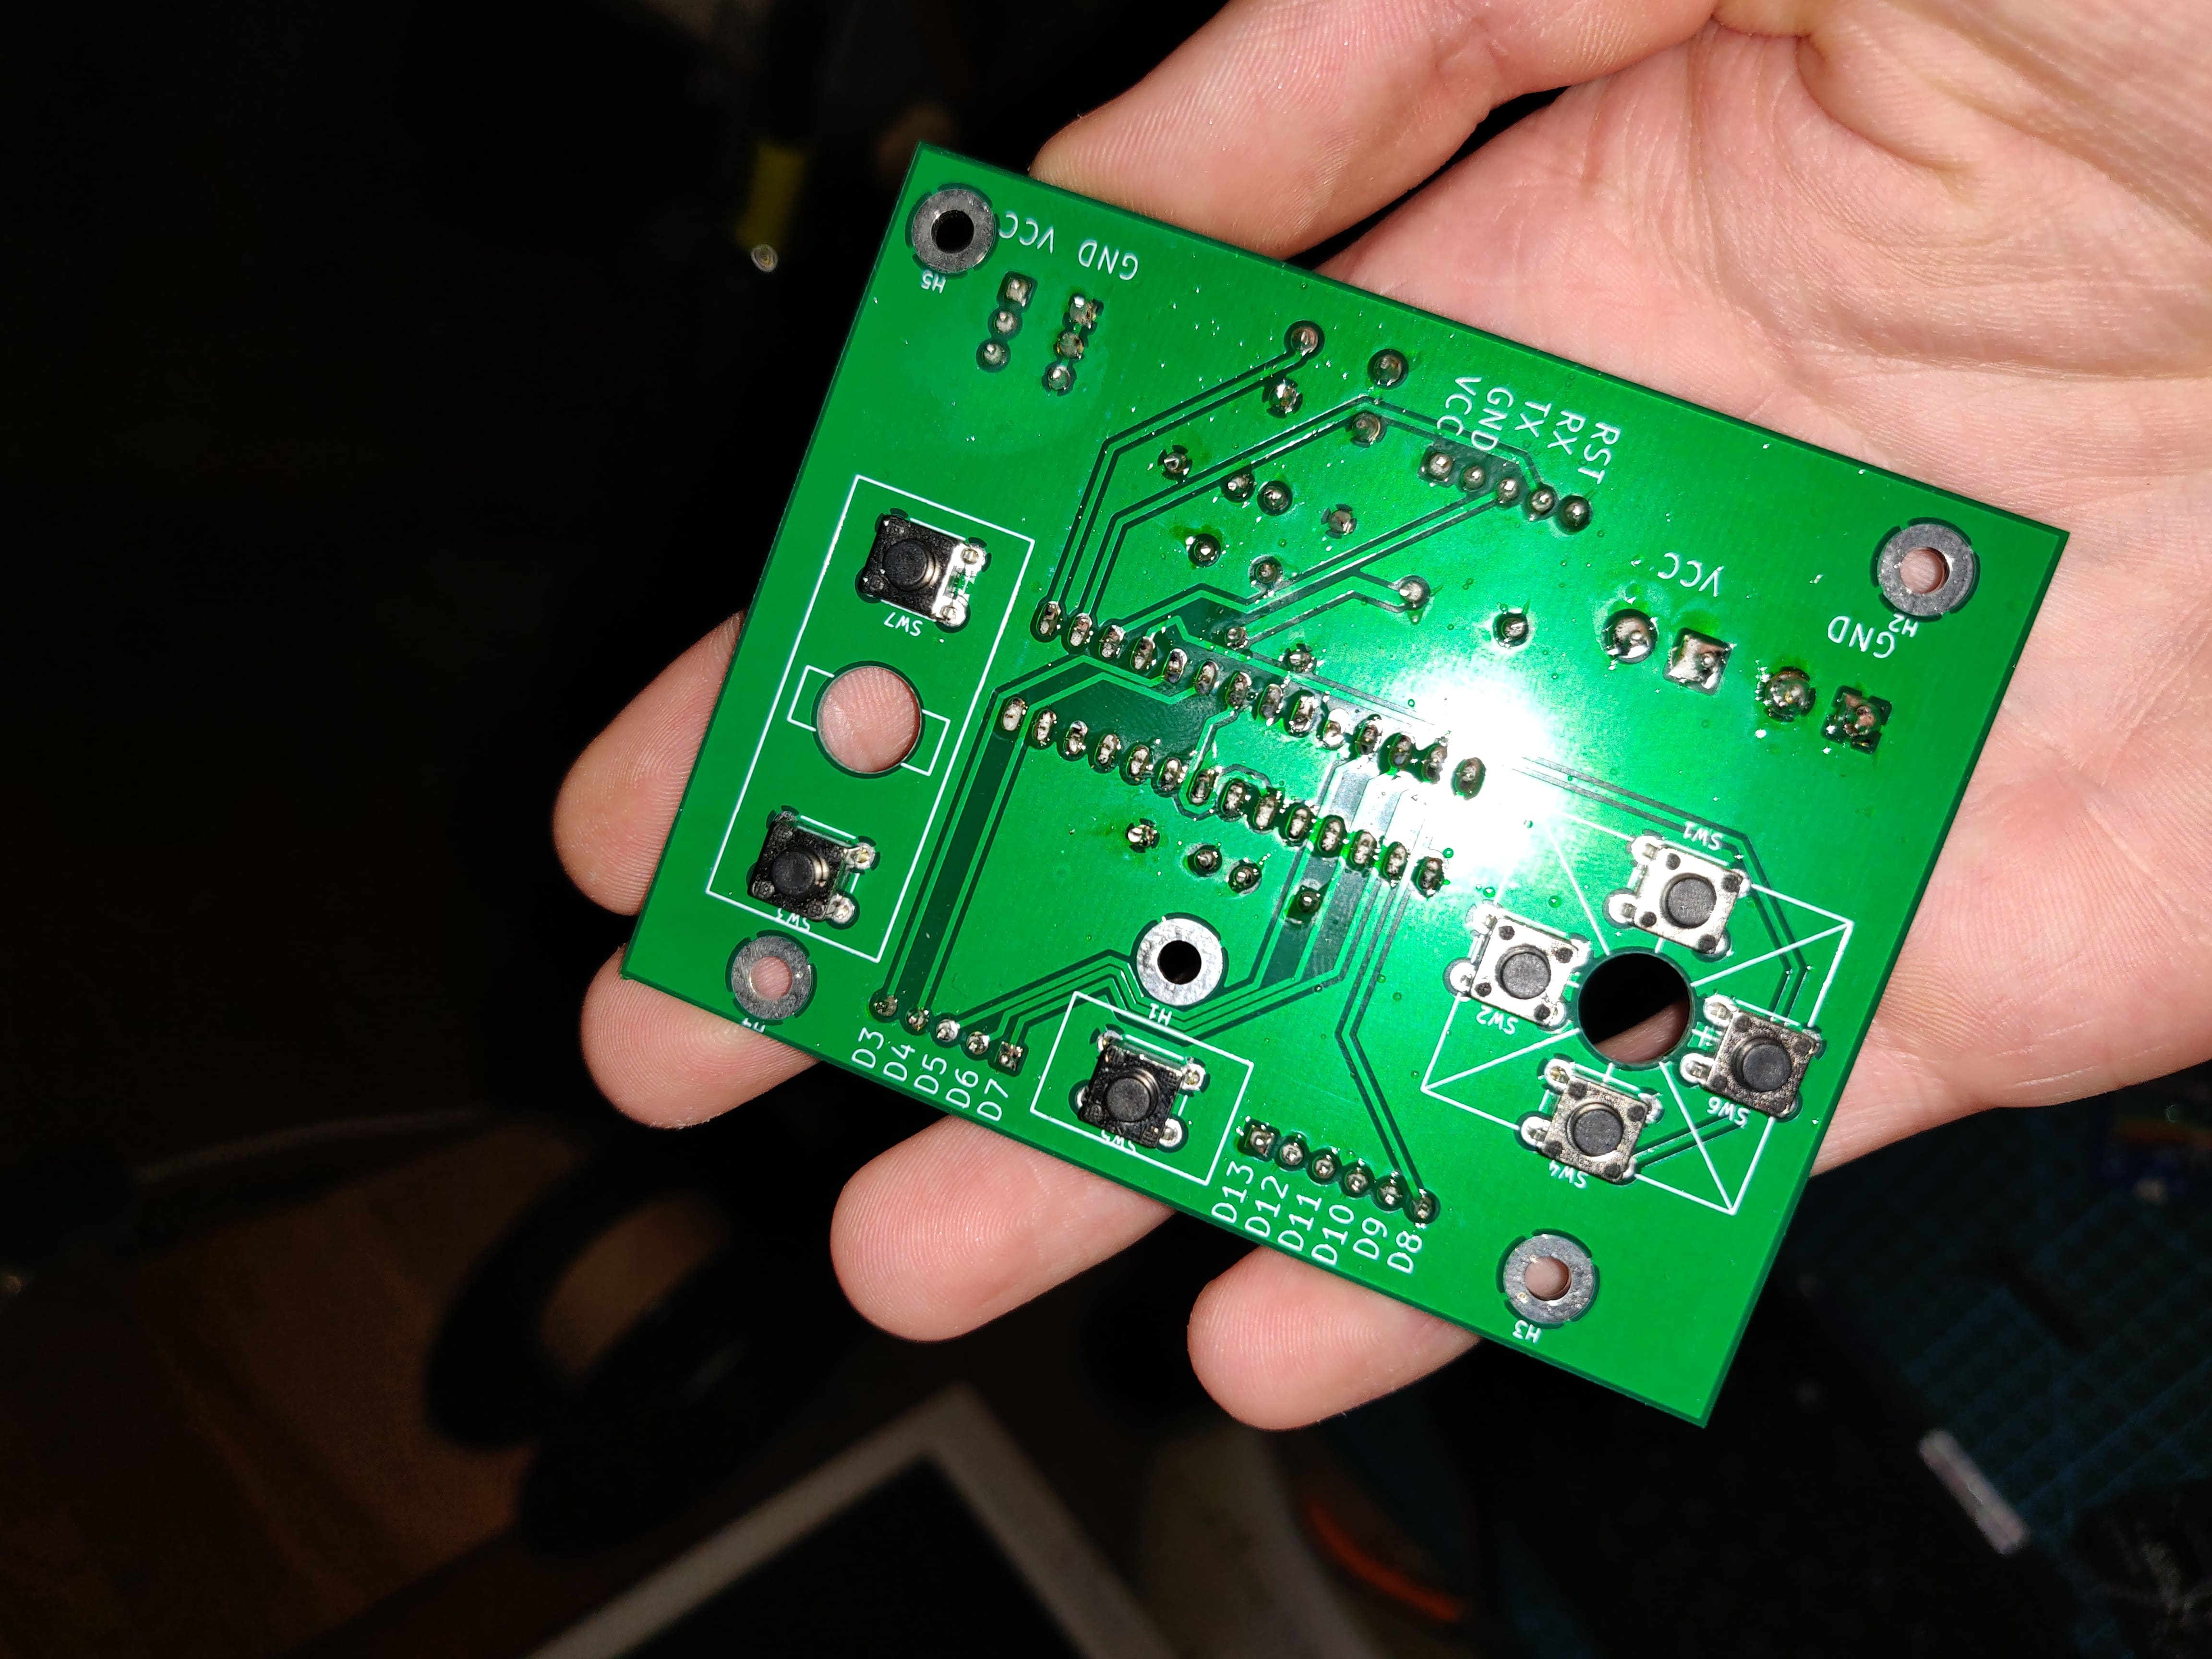
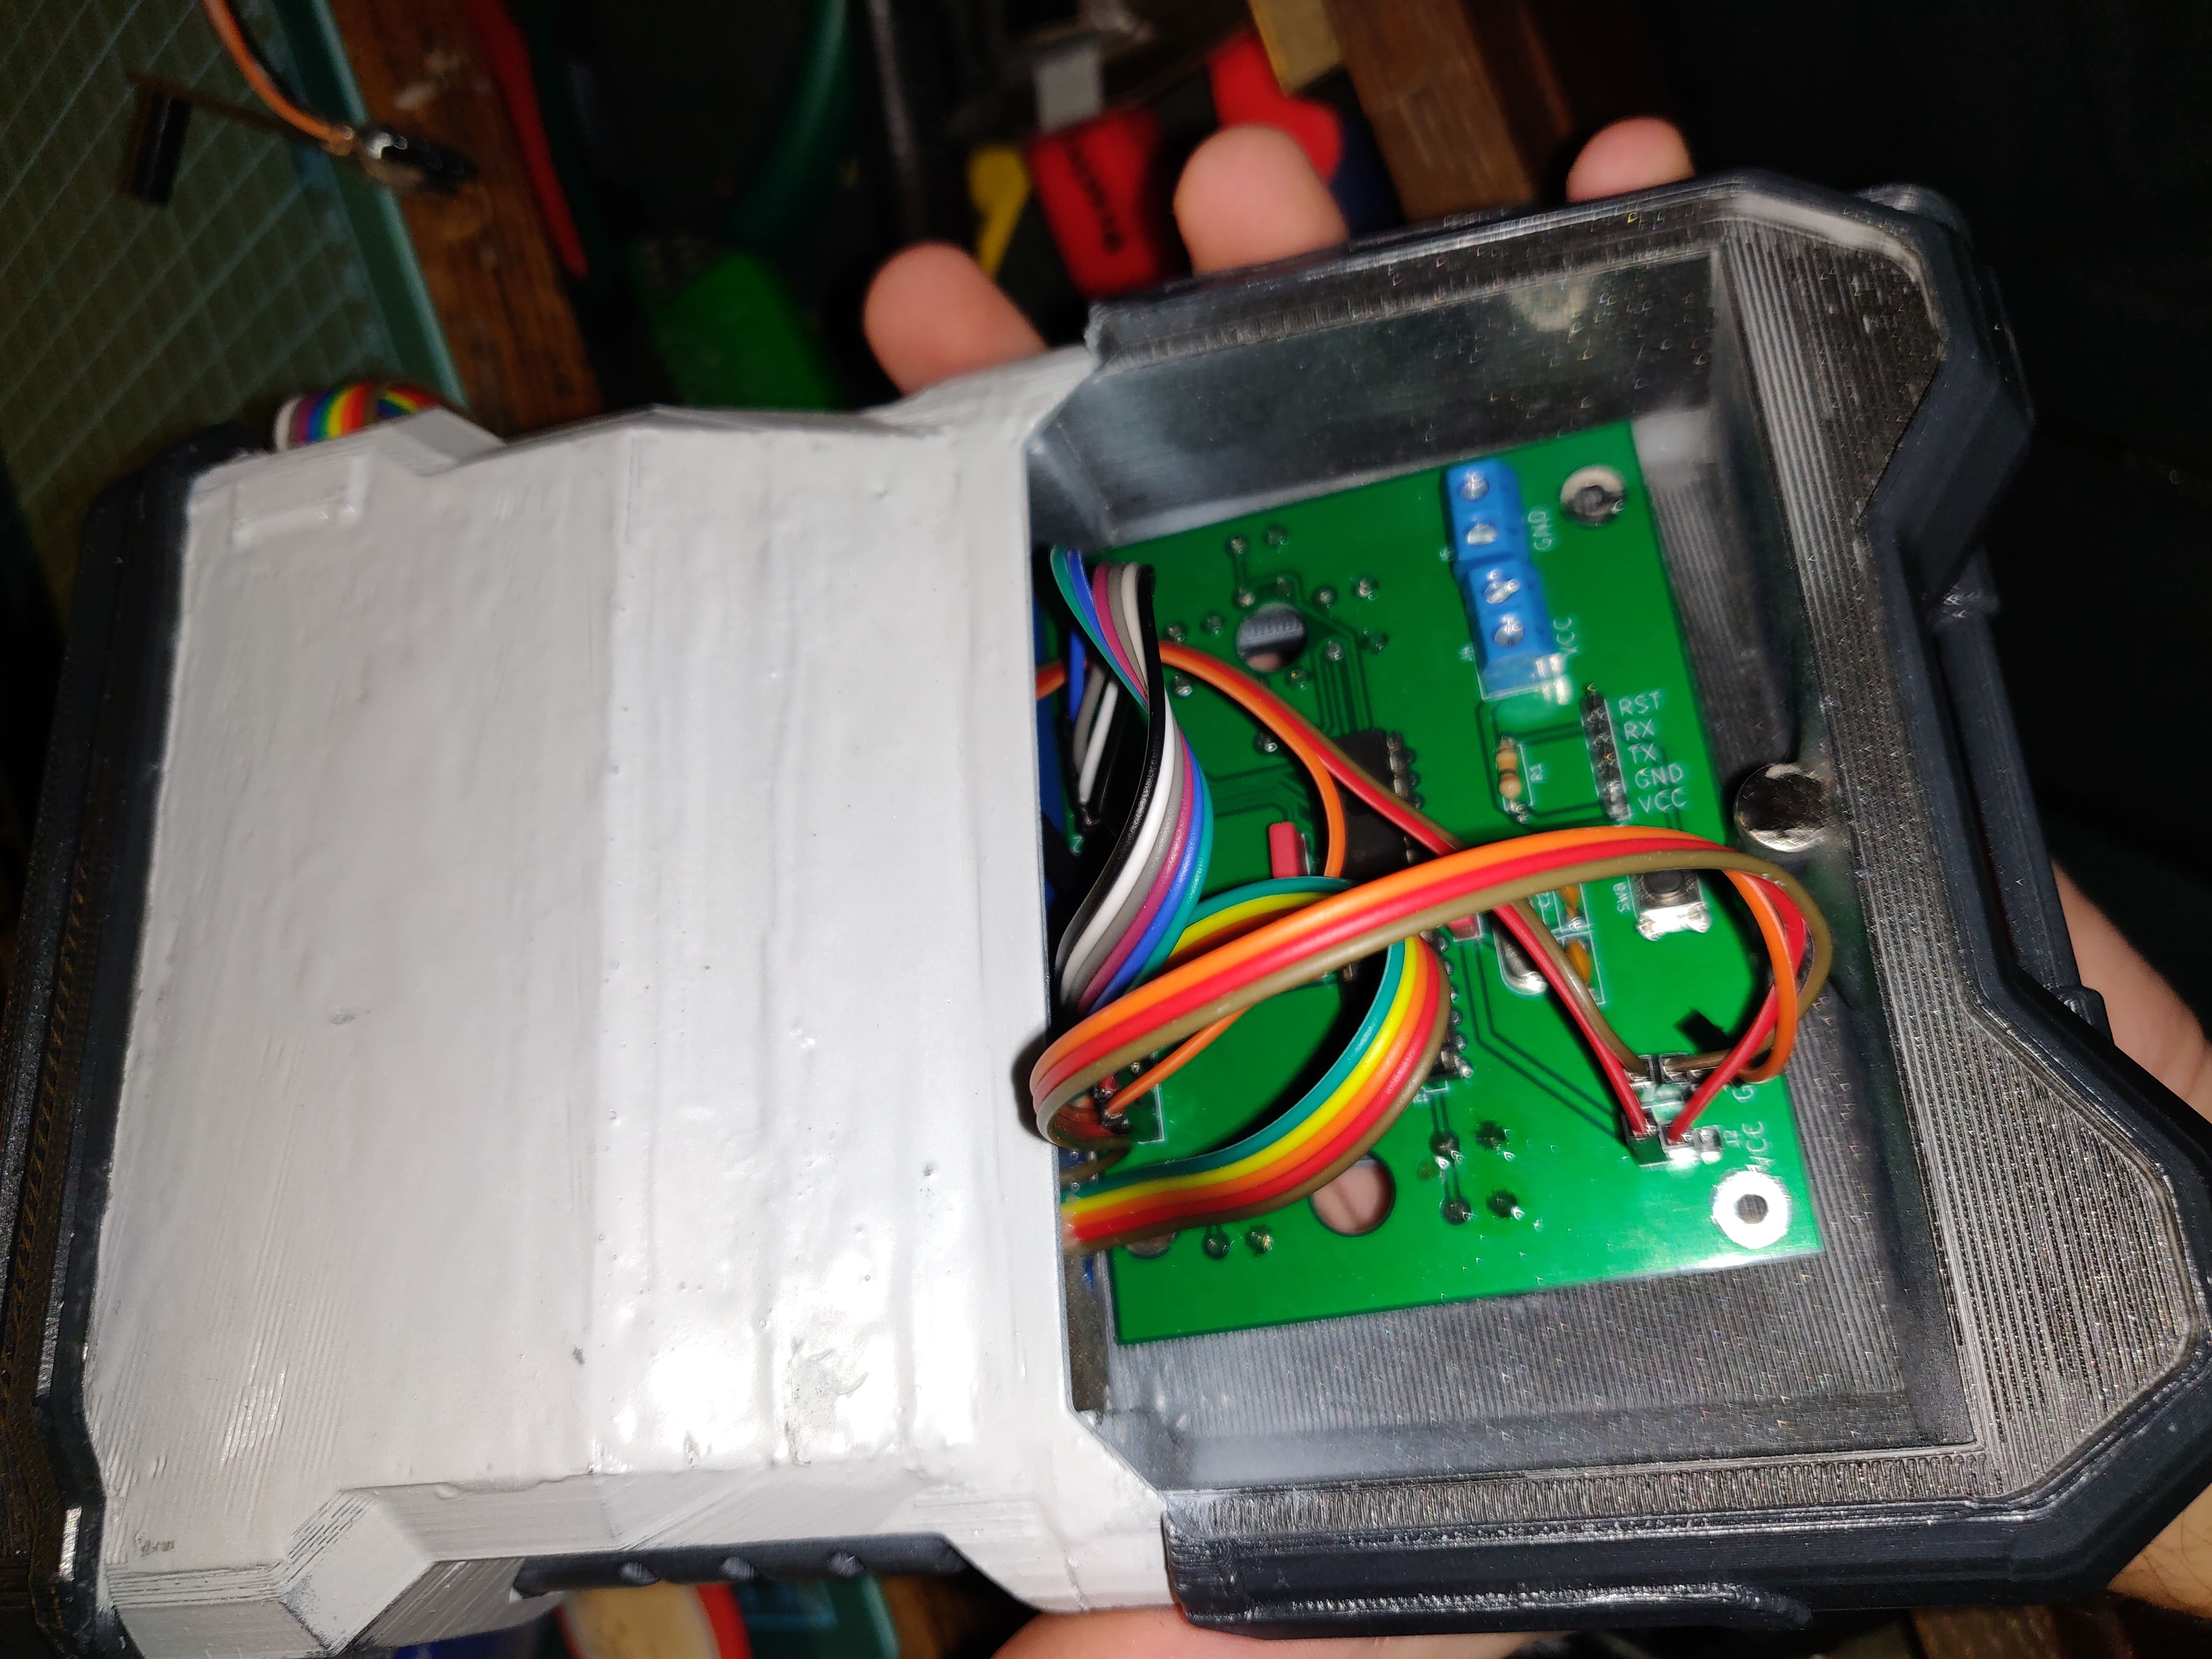
- Custom PCB
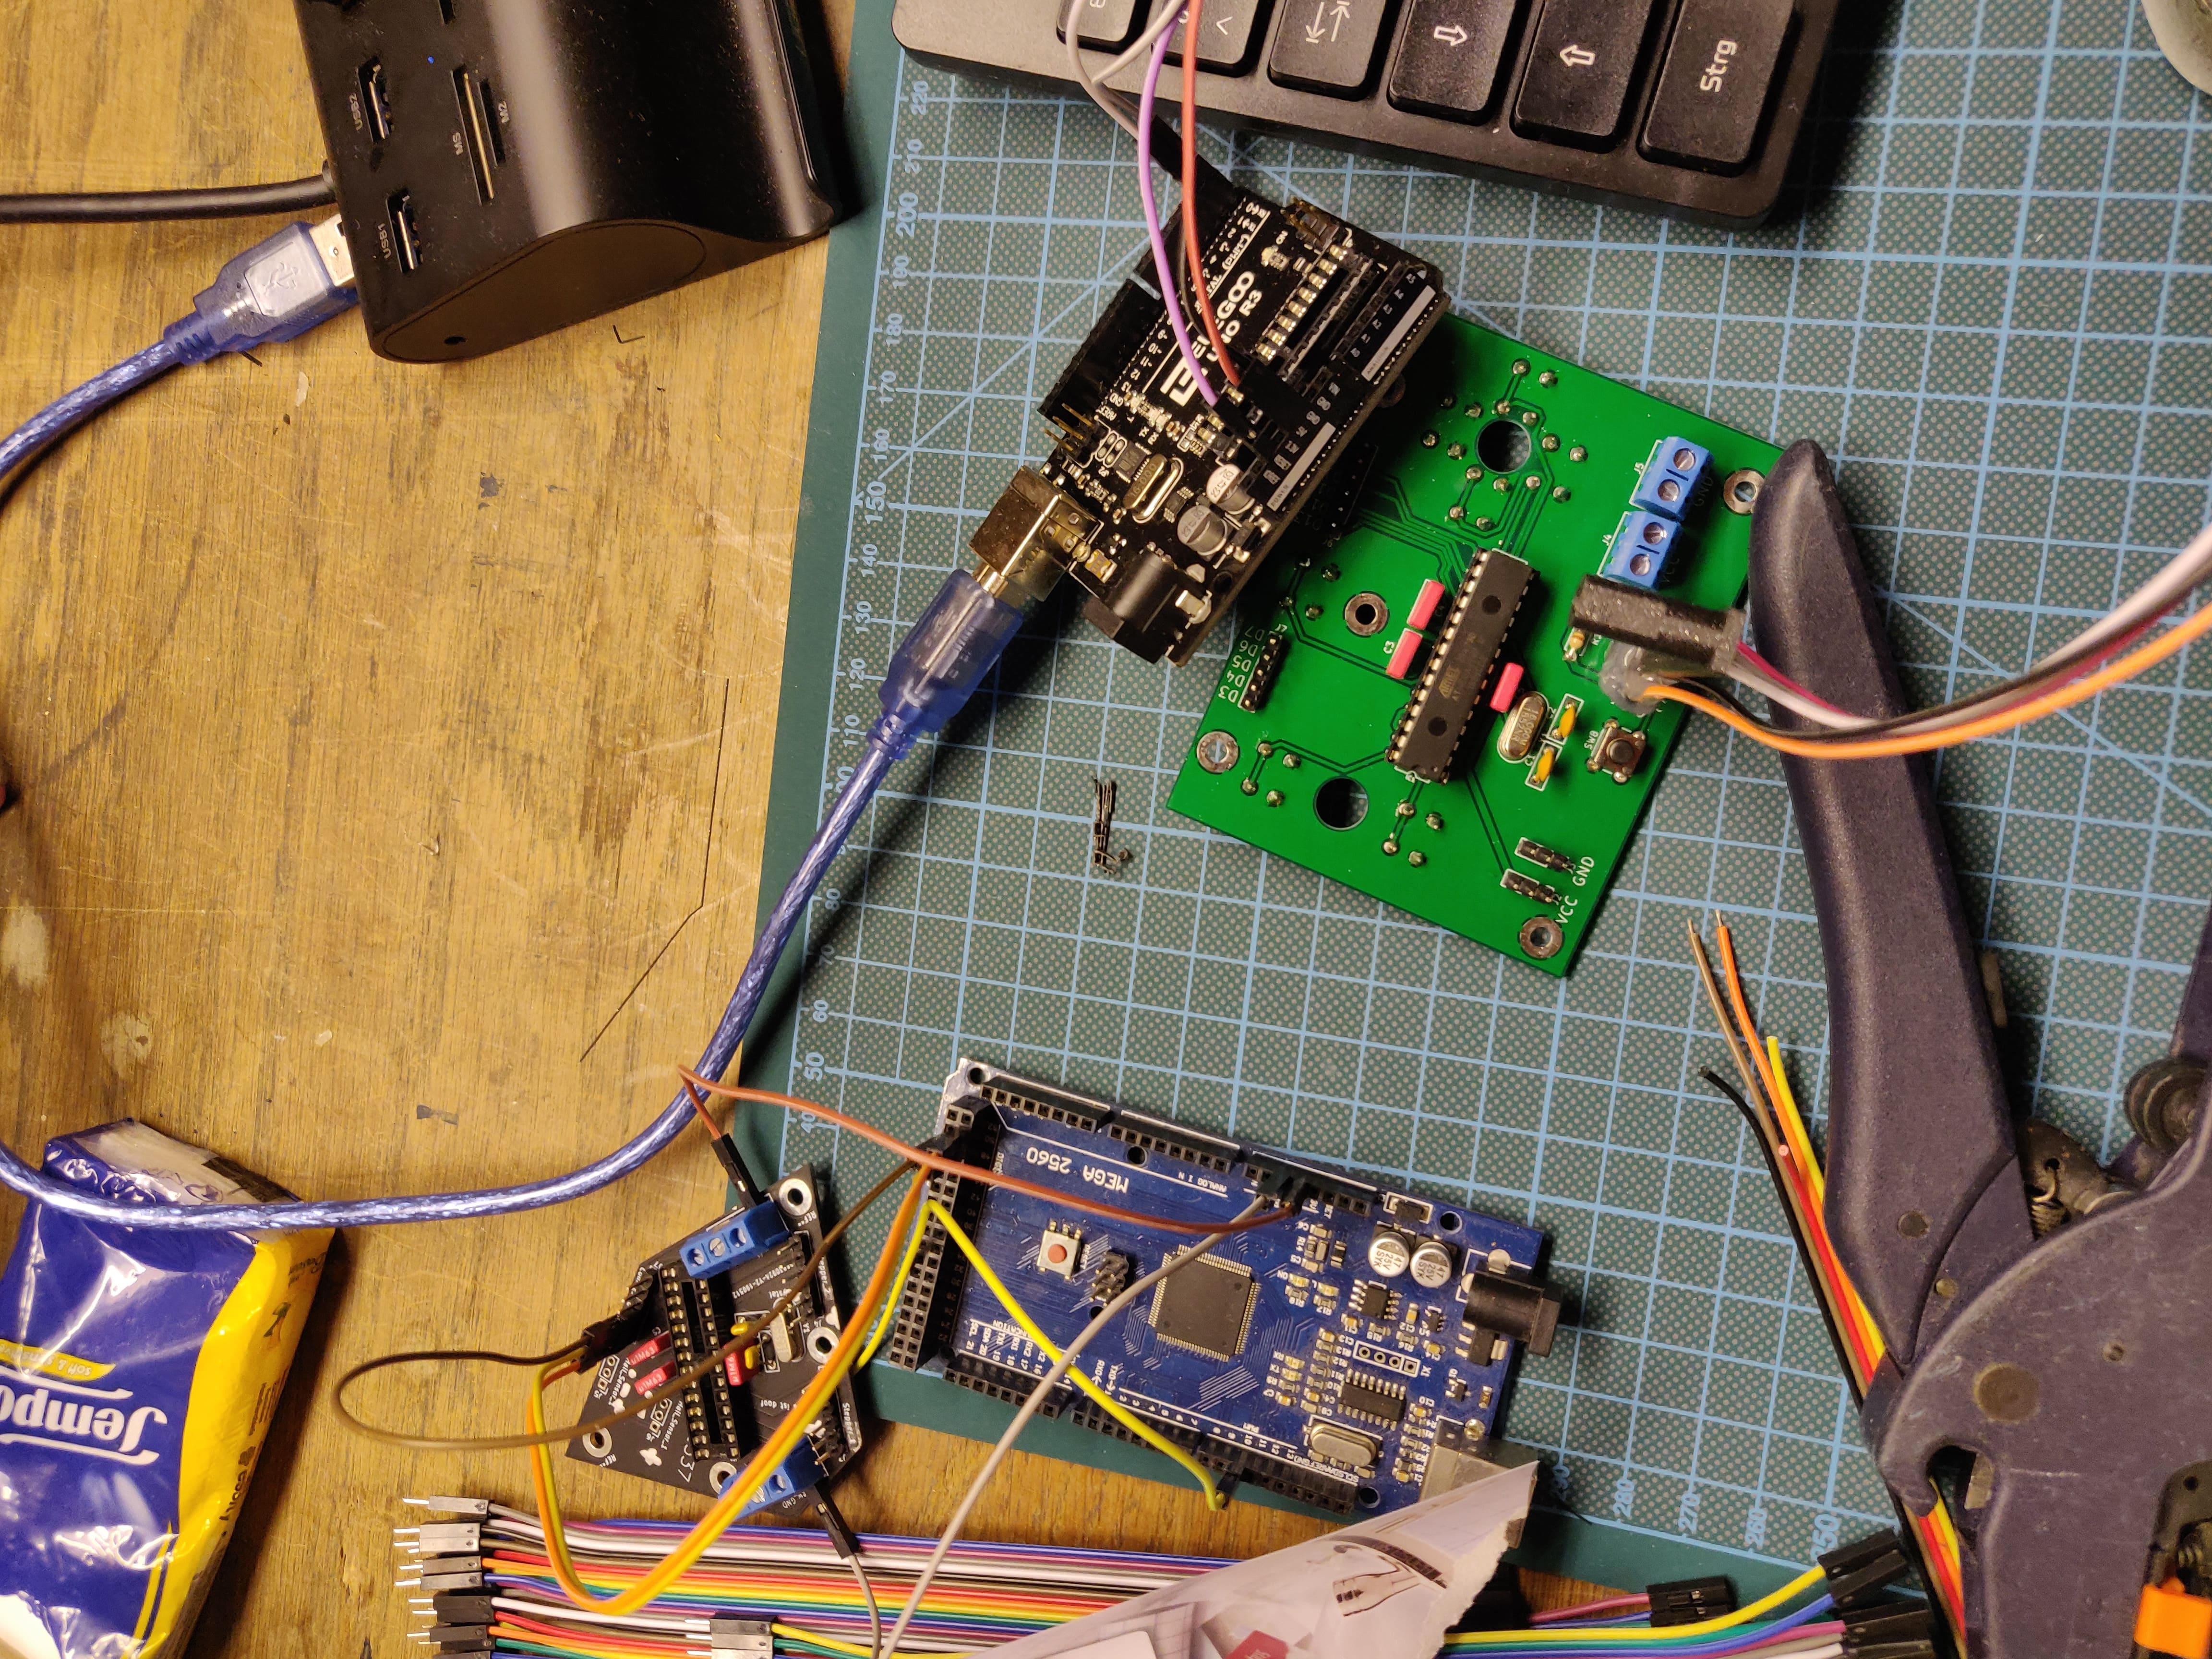
- You can find the KiCad project and a finished plot of the PCB in the `pcb` folder.
- Use a service like [JLCPCB](jlcpcb.com) to have it manufactured or you can of course do it yourself :)
- Electronic Components:
- 1x Atmega328P-PU
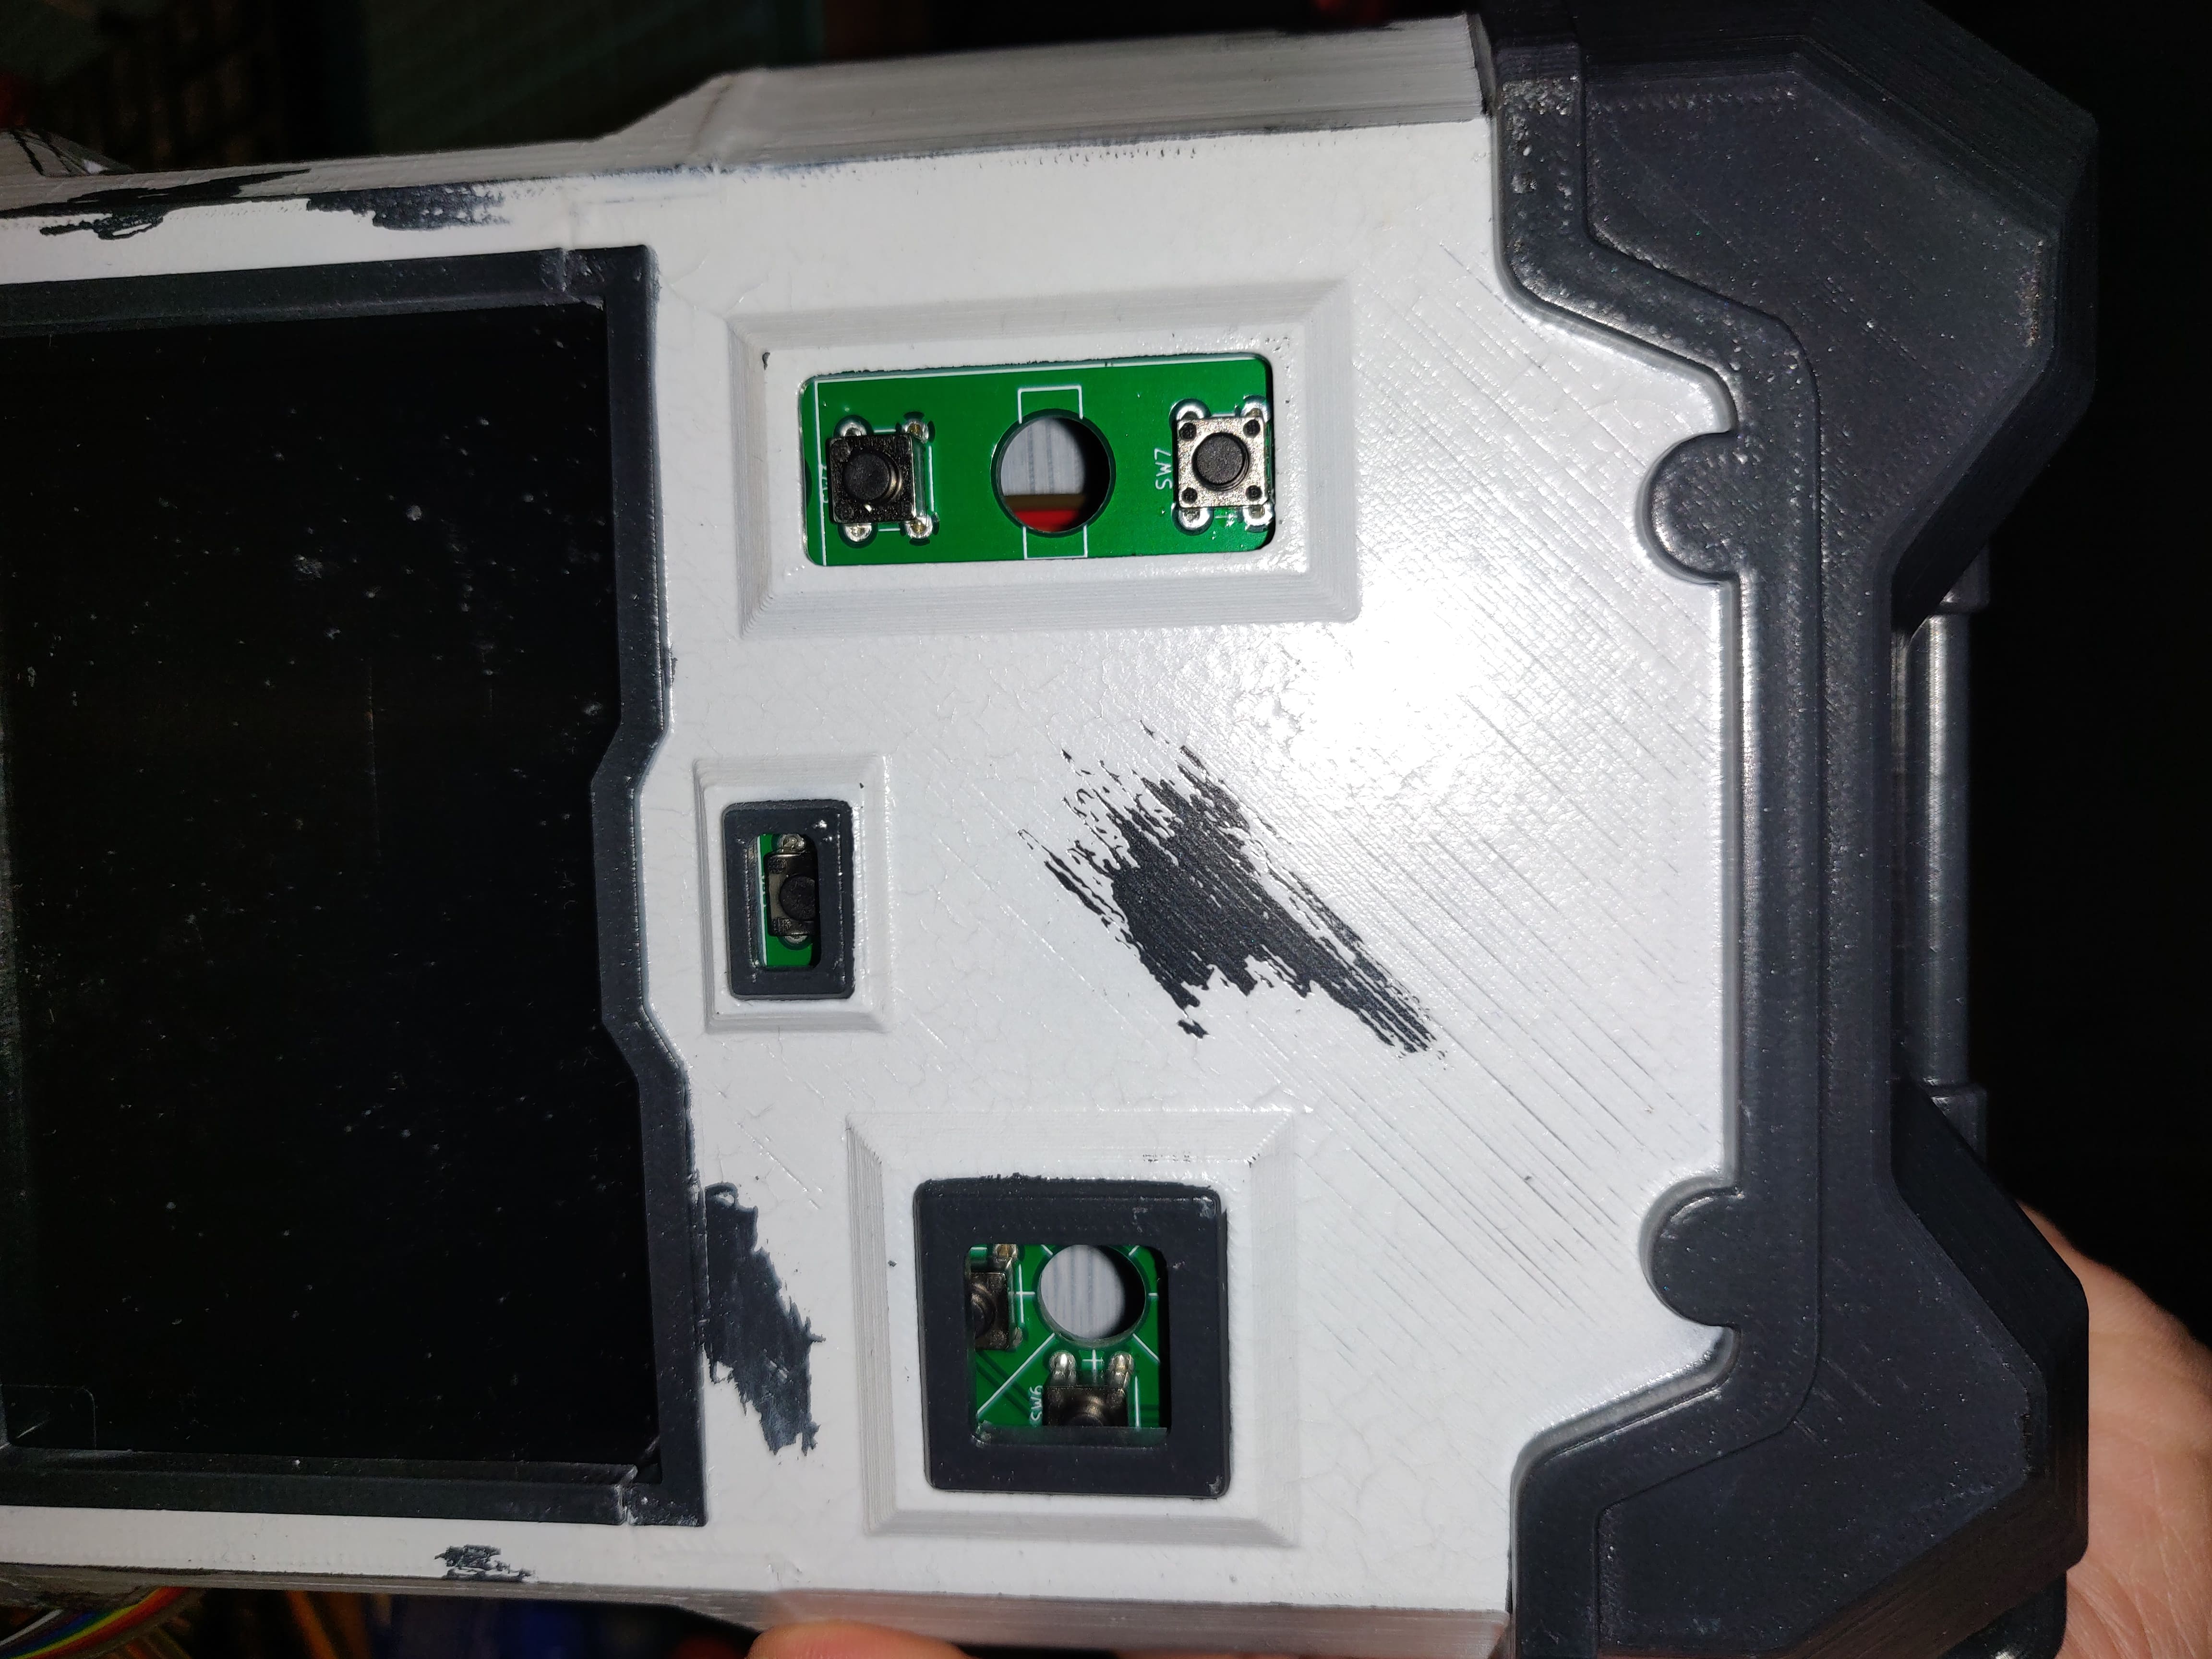
- 8x Push Button
- 2x 22pF ceramic capacitors
- 1x 16MHz Crystal
- 3x 100nF foil capacitor
- 1x 10K Ohm resistor
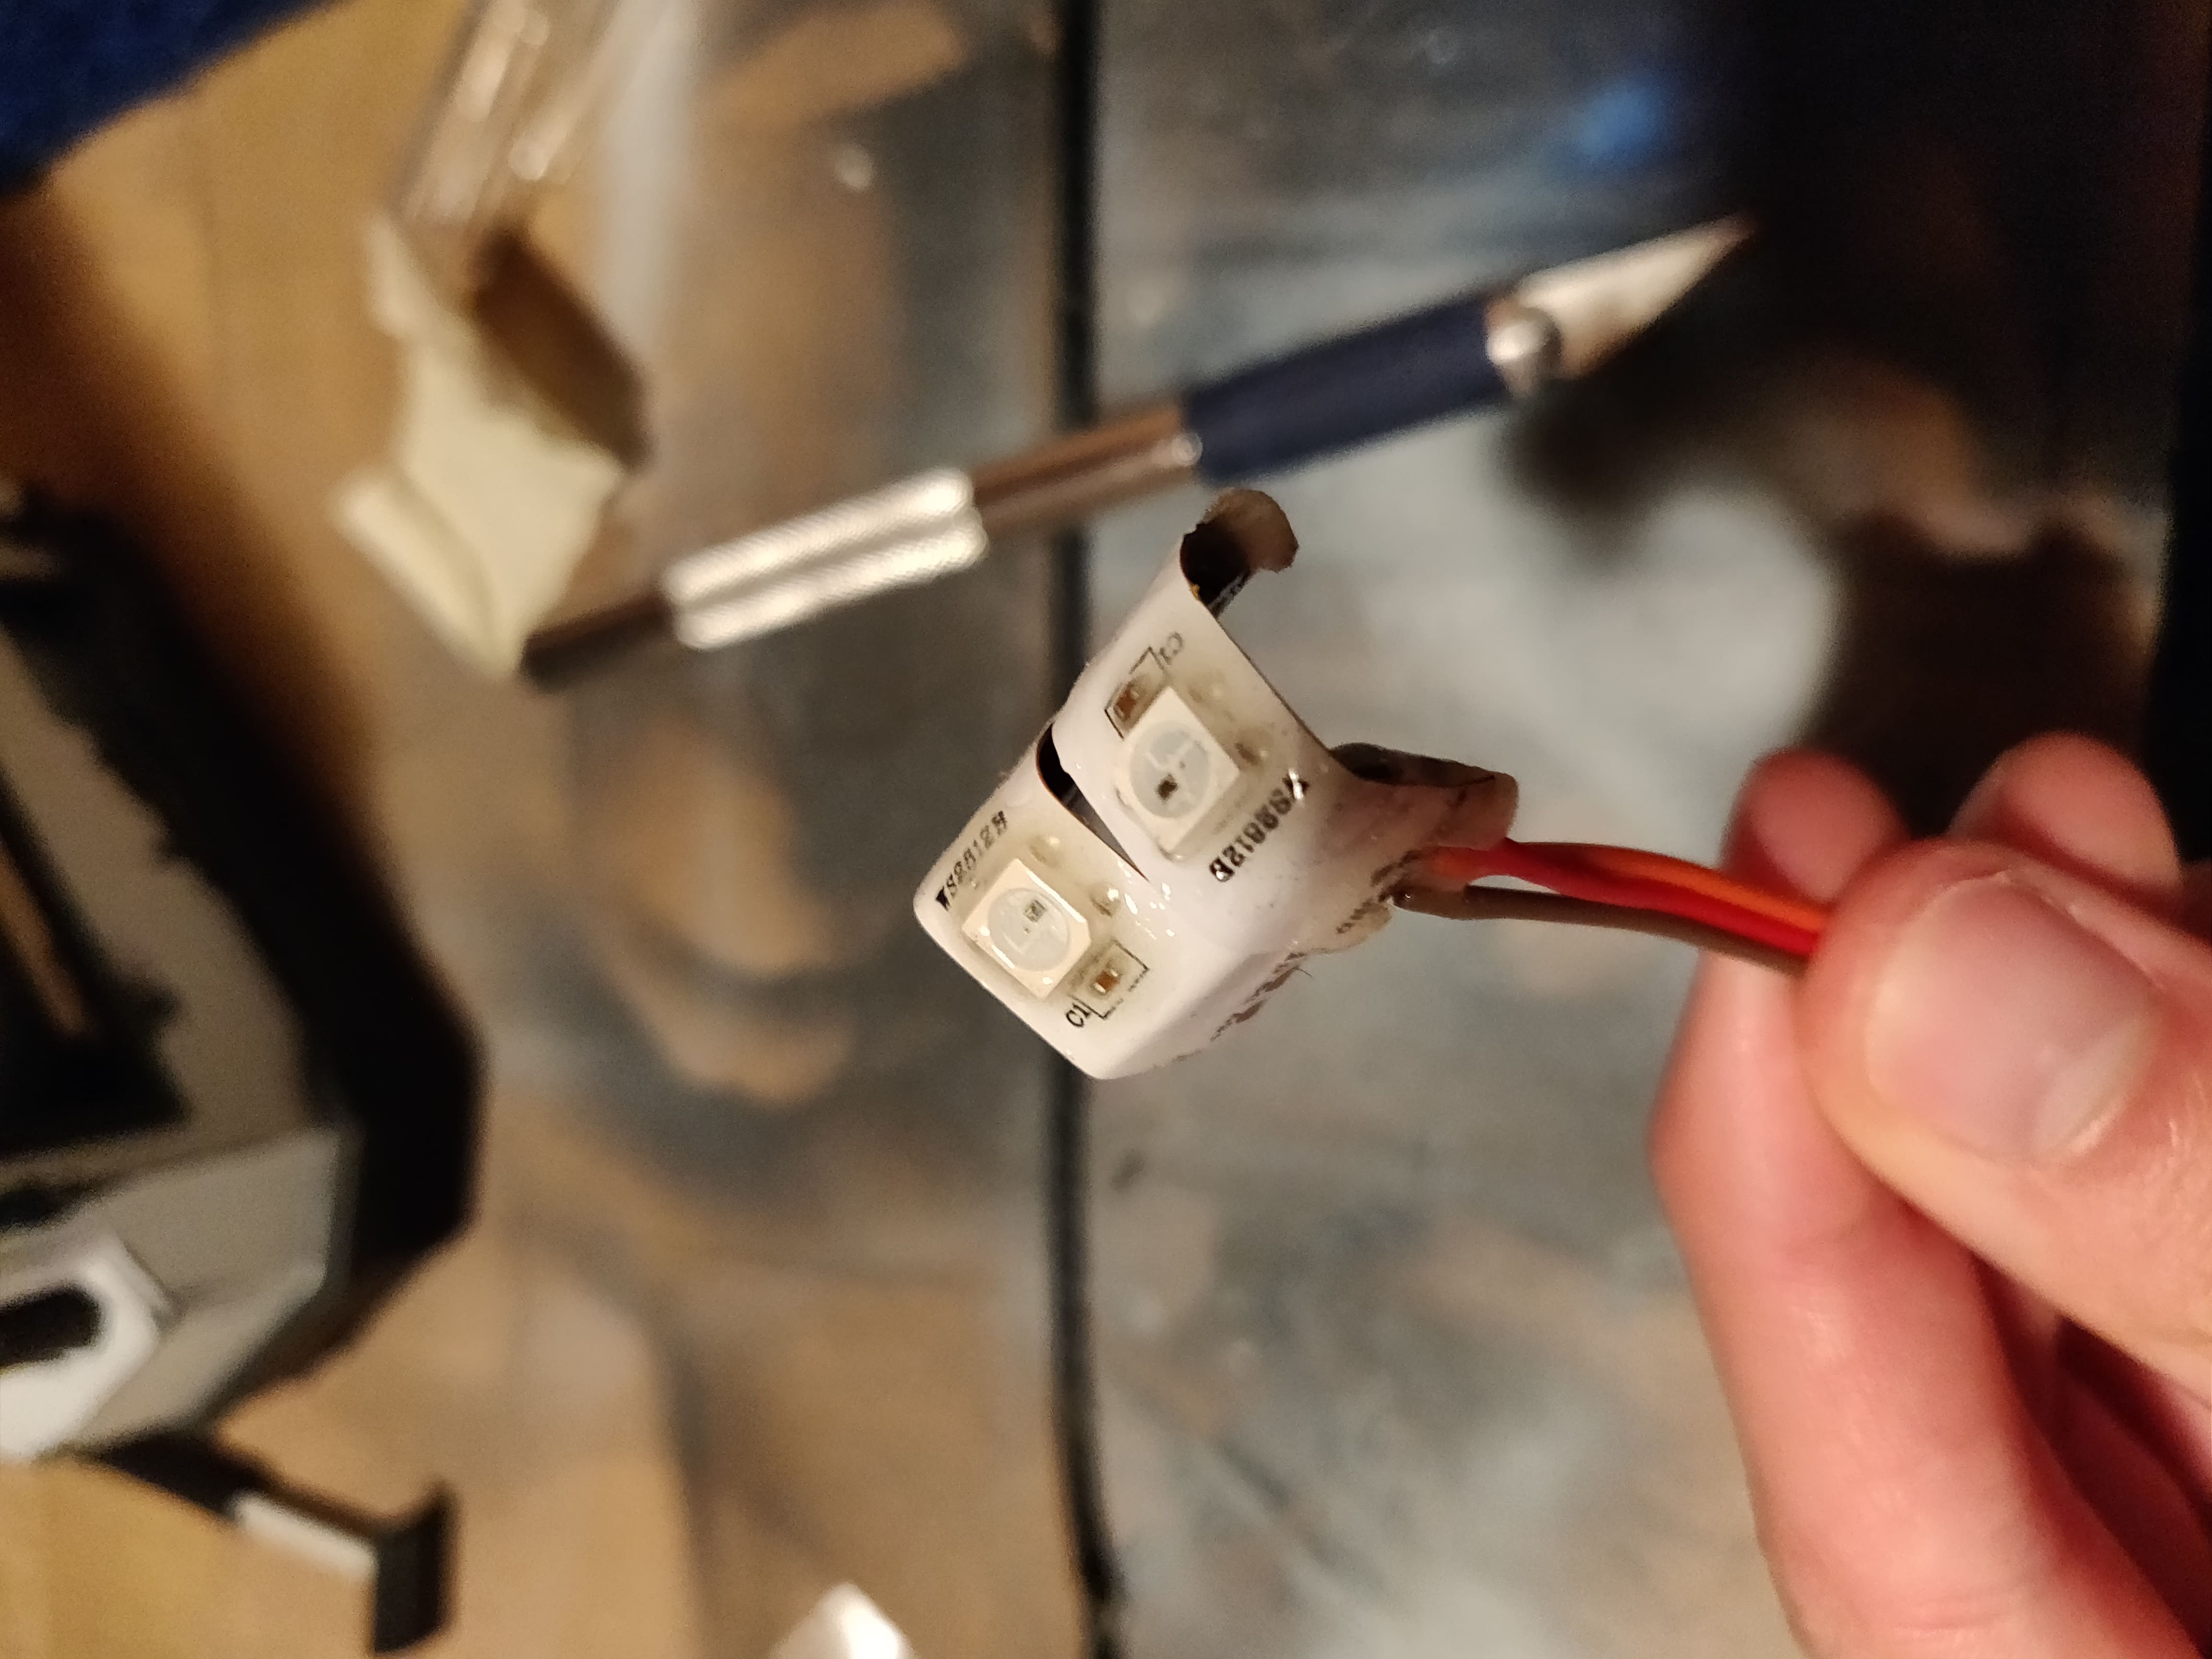
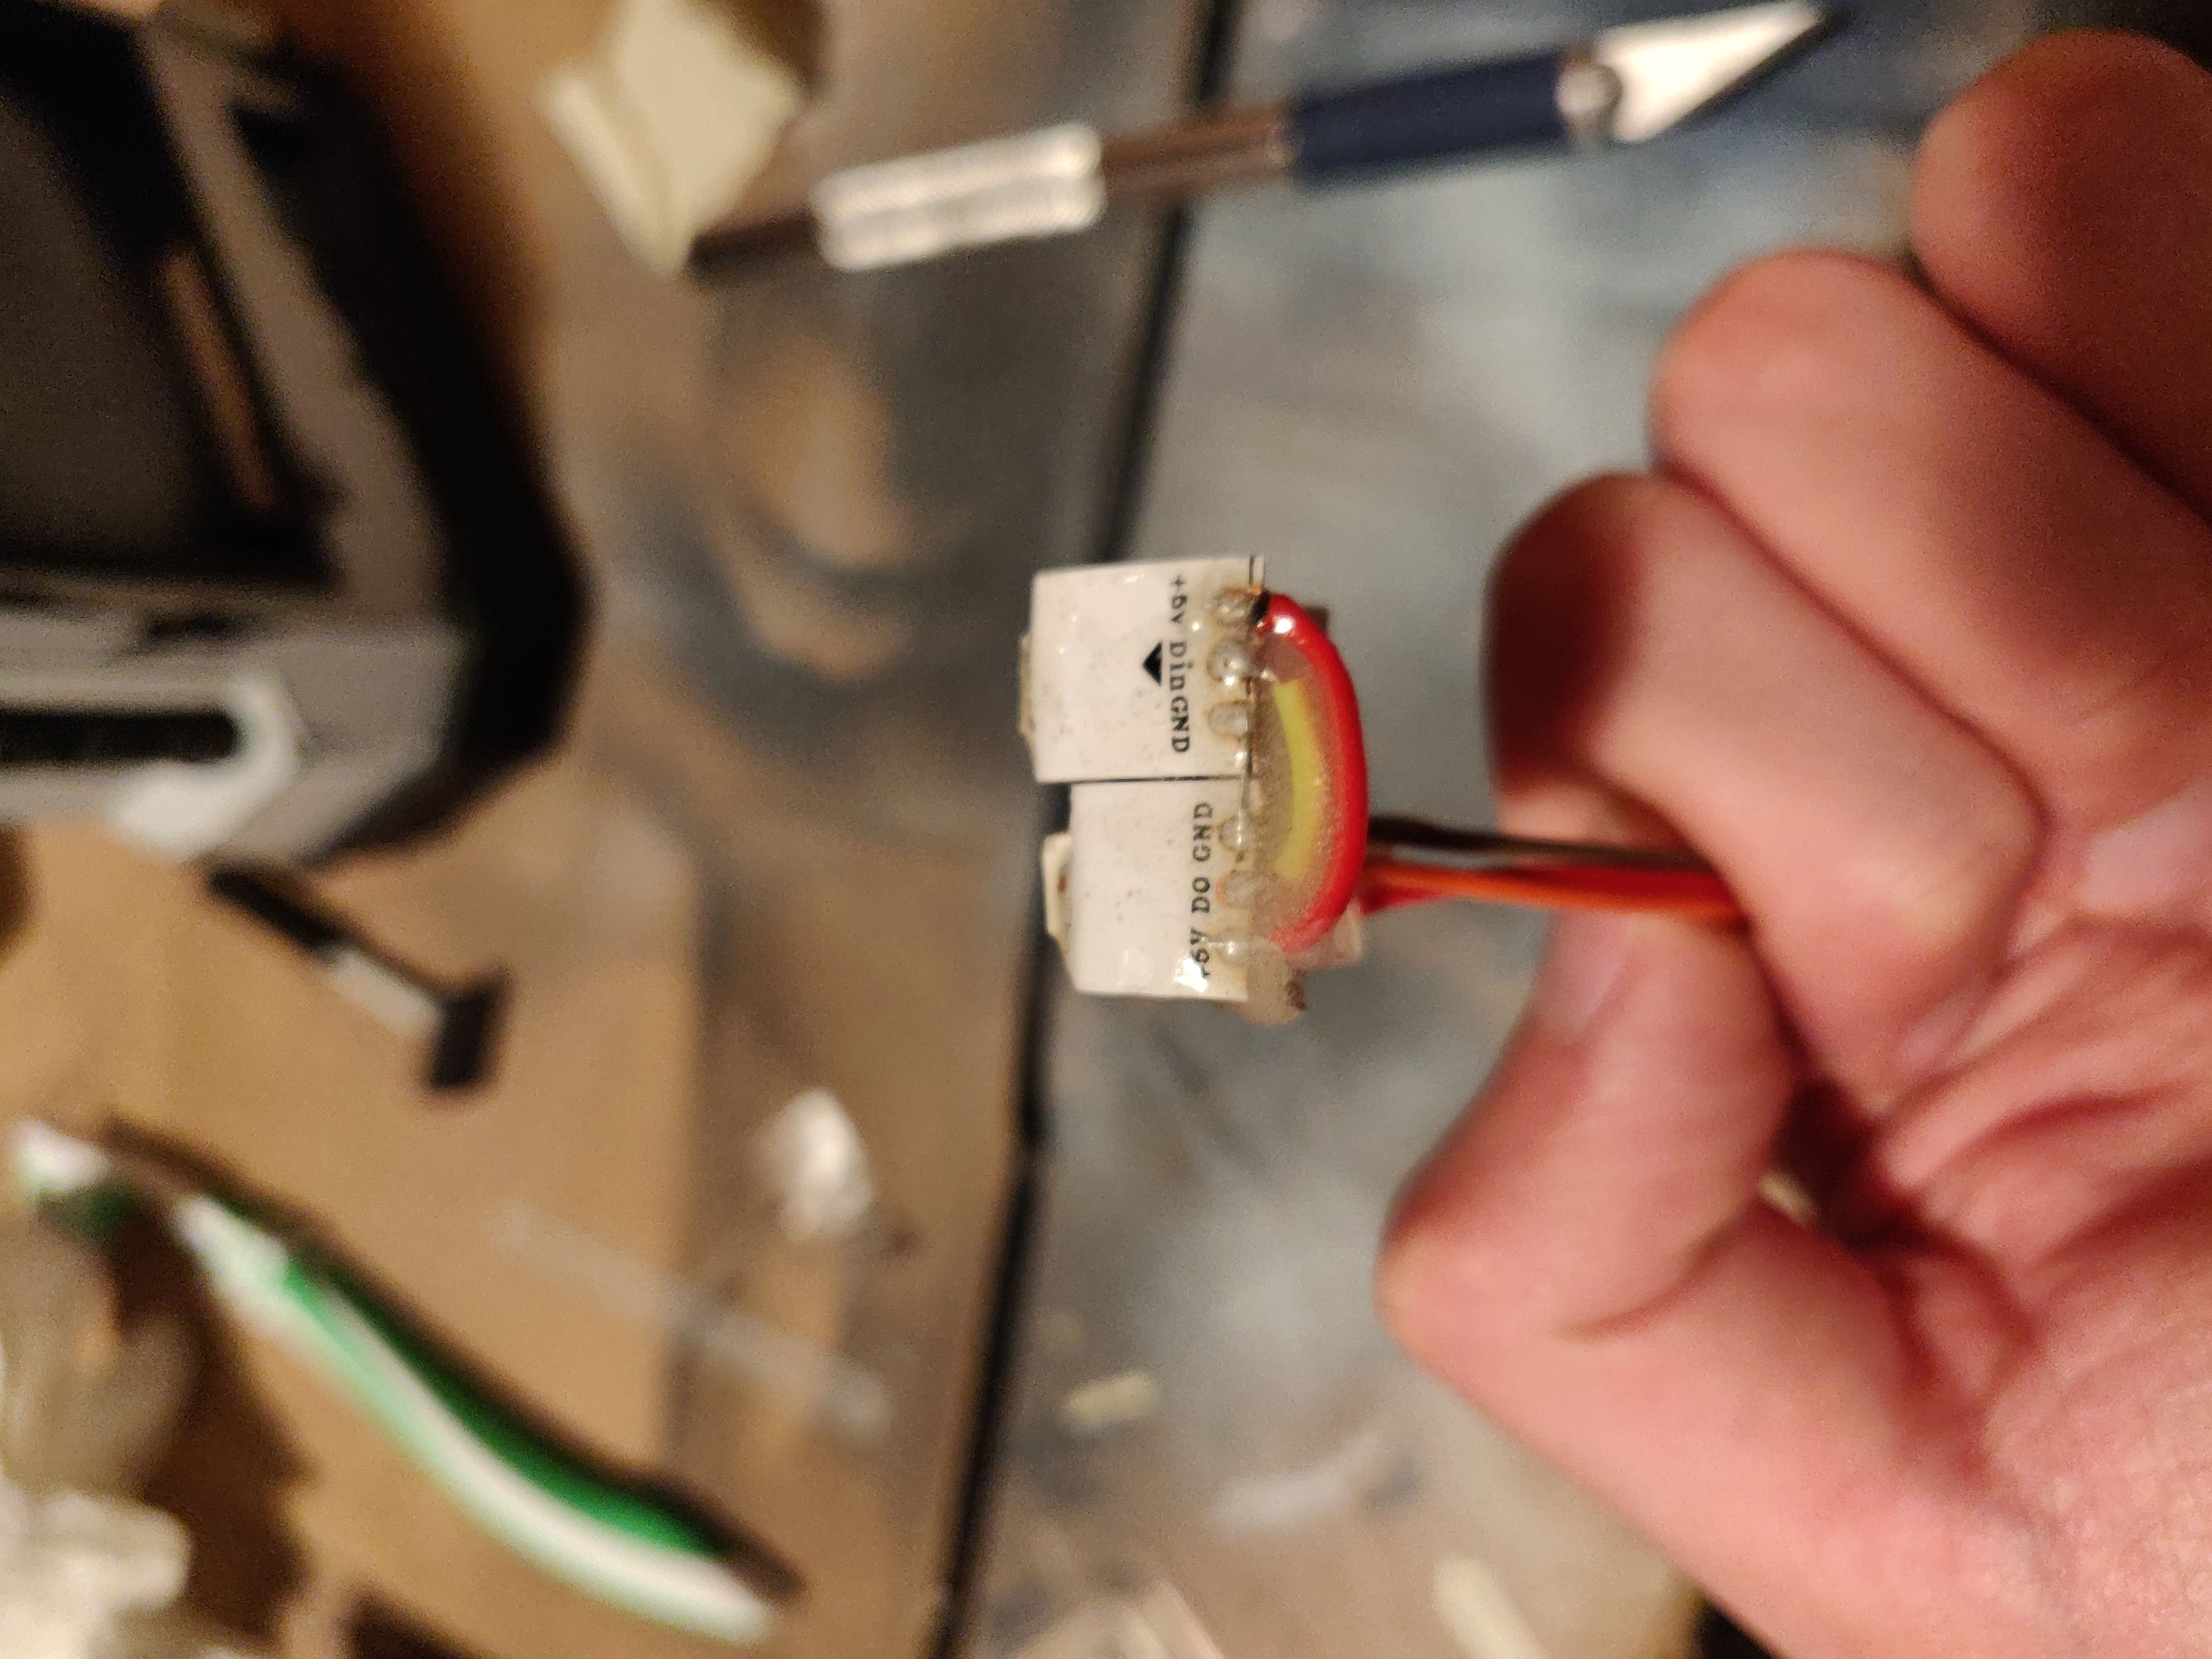
- 2x Digital RGB LEDs (eg WS2812B) (one or maybe more than two might also work for you)
- 2x Screw Terminals (optional, you can also solder the power wires)
- Pin Header (optional, you can also solder the wires, but I recommend the headers!)
- 2x 3-pin
- 2x 5-pin
- 1x 6-pin
- Some sort of power source (I have not yet figured this out)
- Wires (with correct heads depending on your pin headers)
## Code
The code is very, very unfinished!
I recommend [Visual Studio Code](https://code.visualstudio.com/) to edit the code. The code is a [PlatformIO](https://platformio.org/) project, so I recommend the [PlatformIO extension](https://marketplace.visualstudio.com/items?itemName=platformio.platformio-ide) for VSCode.
## Images
| | | |
| :--------------------------------------------------------------------------------------------------------------: | :---------------------------------------------------------------------------------------------------------------: | :---------------------------------------------------------------------------------------------------------------: |
| .jpg) |
| .jpg) |
| .jpg) |
|
| .jpg) |
| .jpg) |
| .jpg) |
|
| .jpg) |
| .jpg) |
| .jpg) |
|
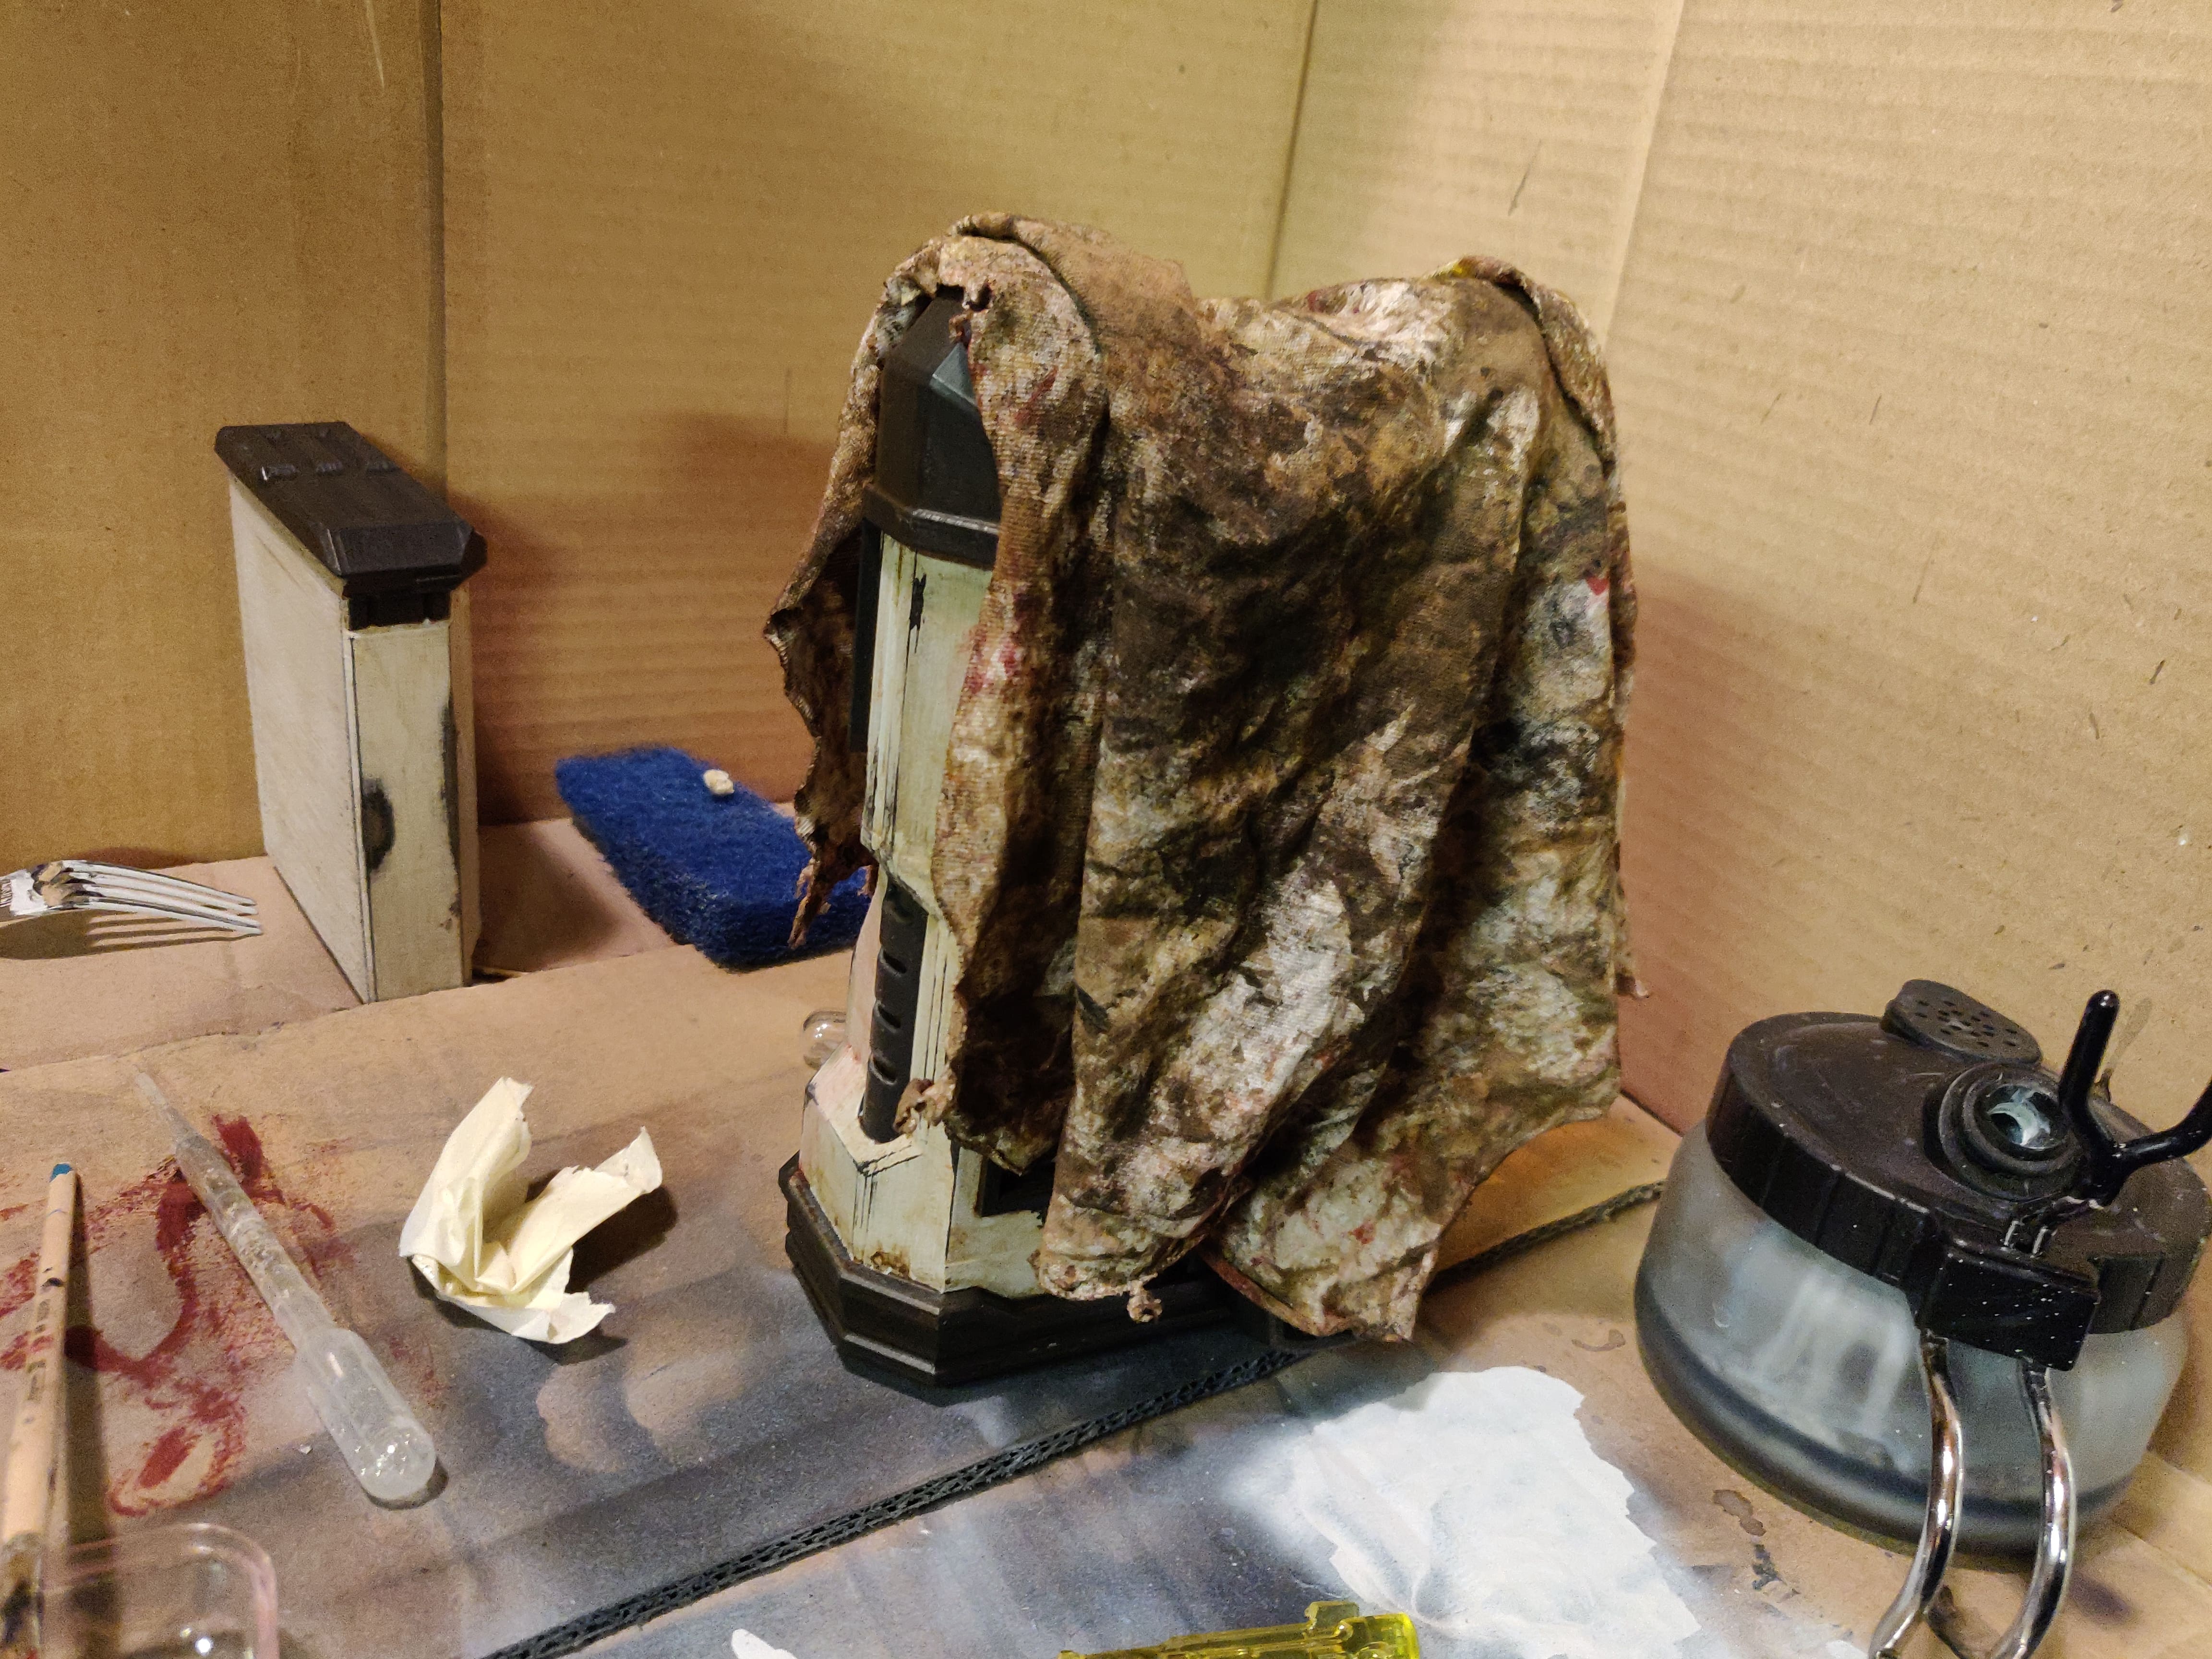
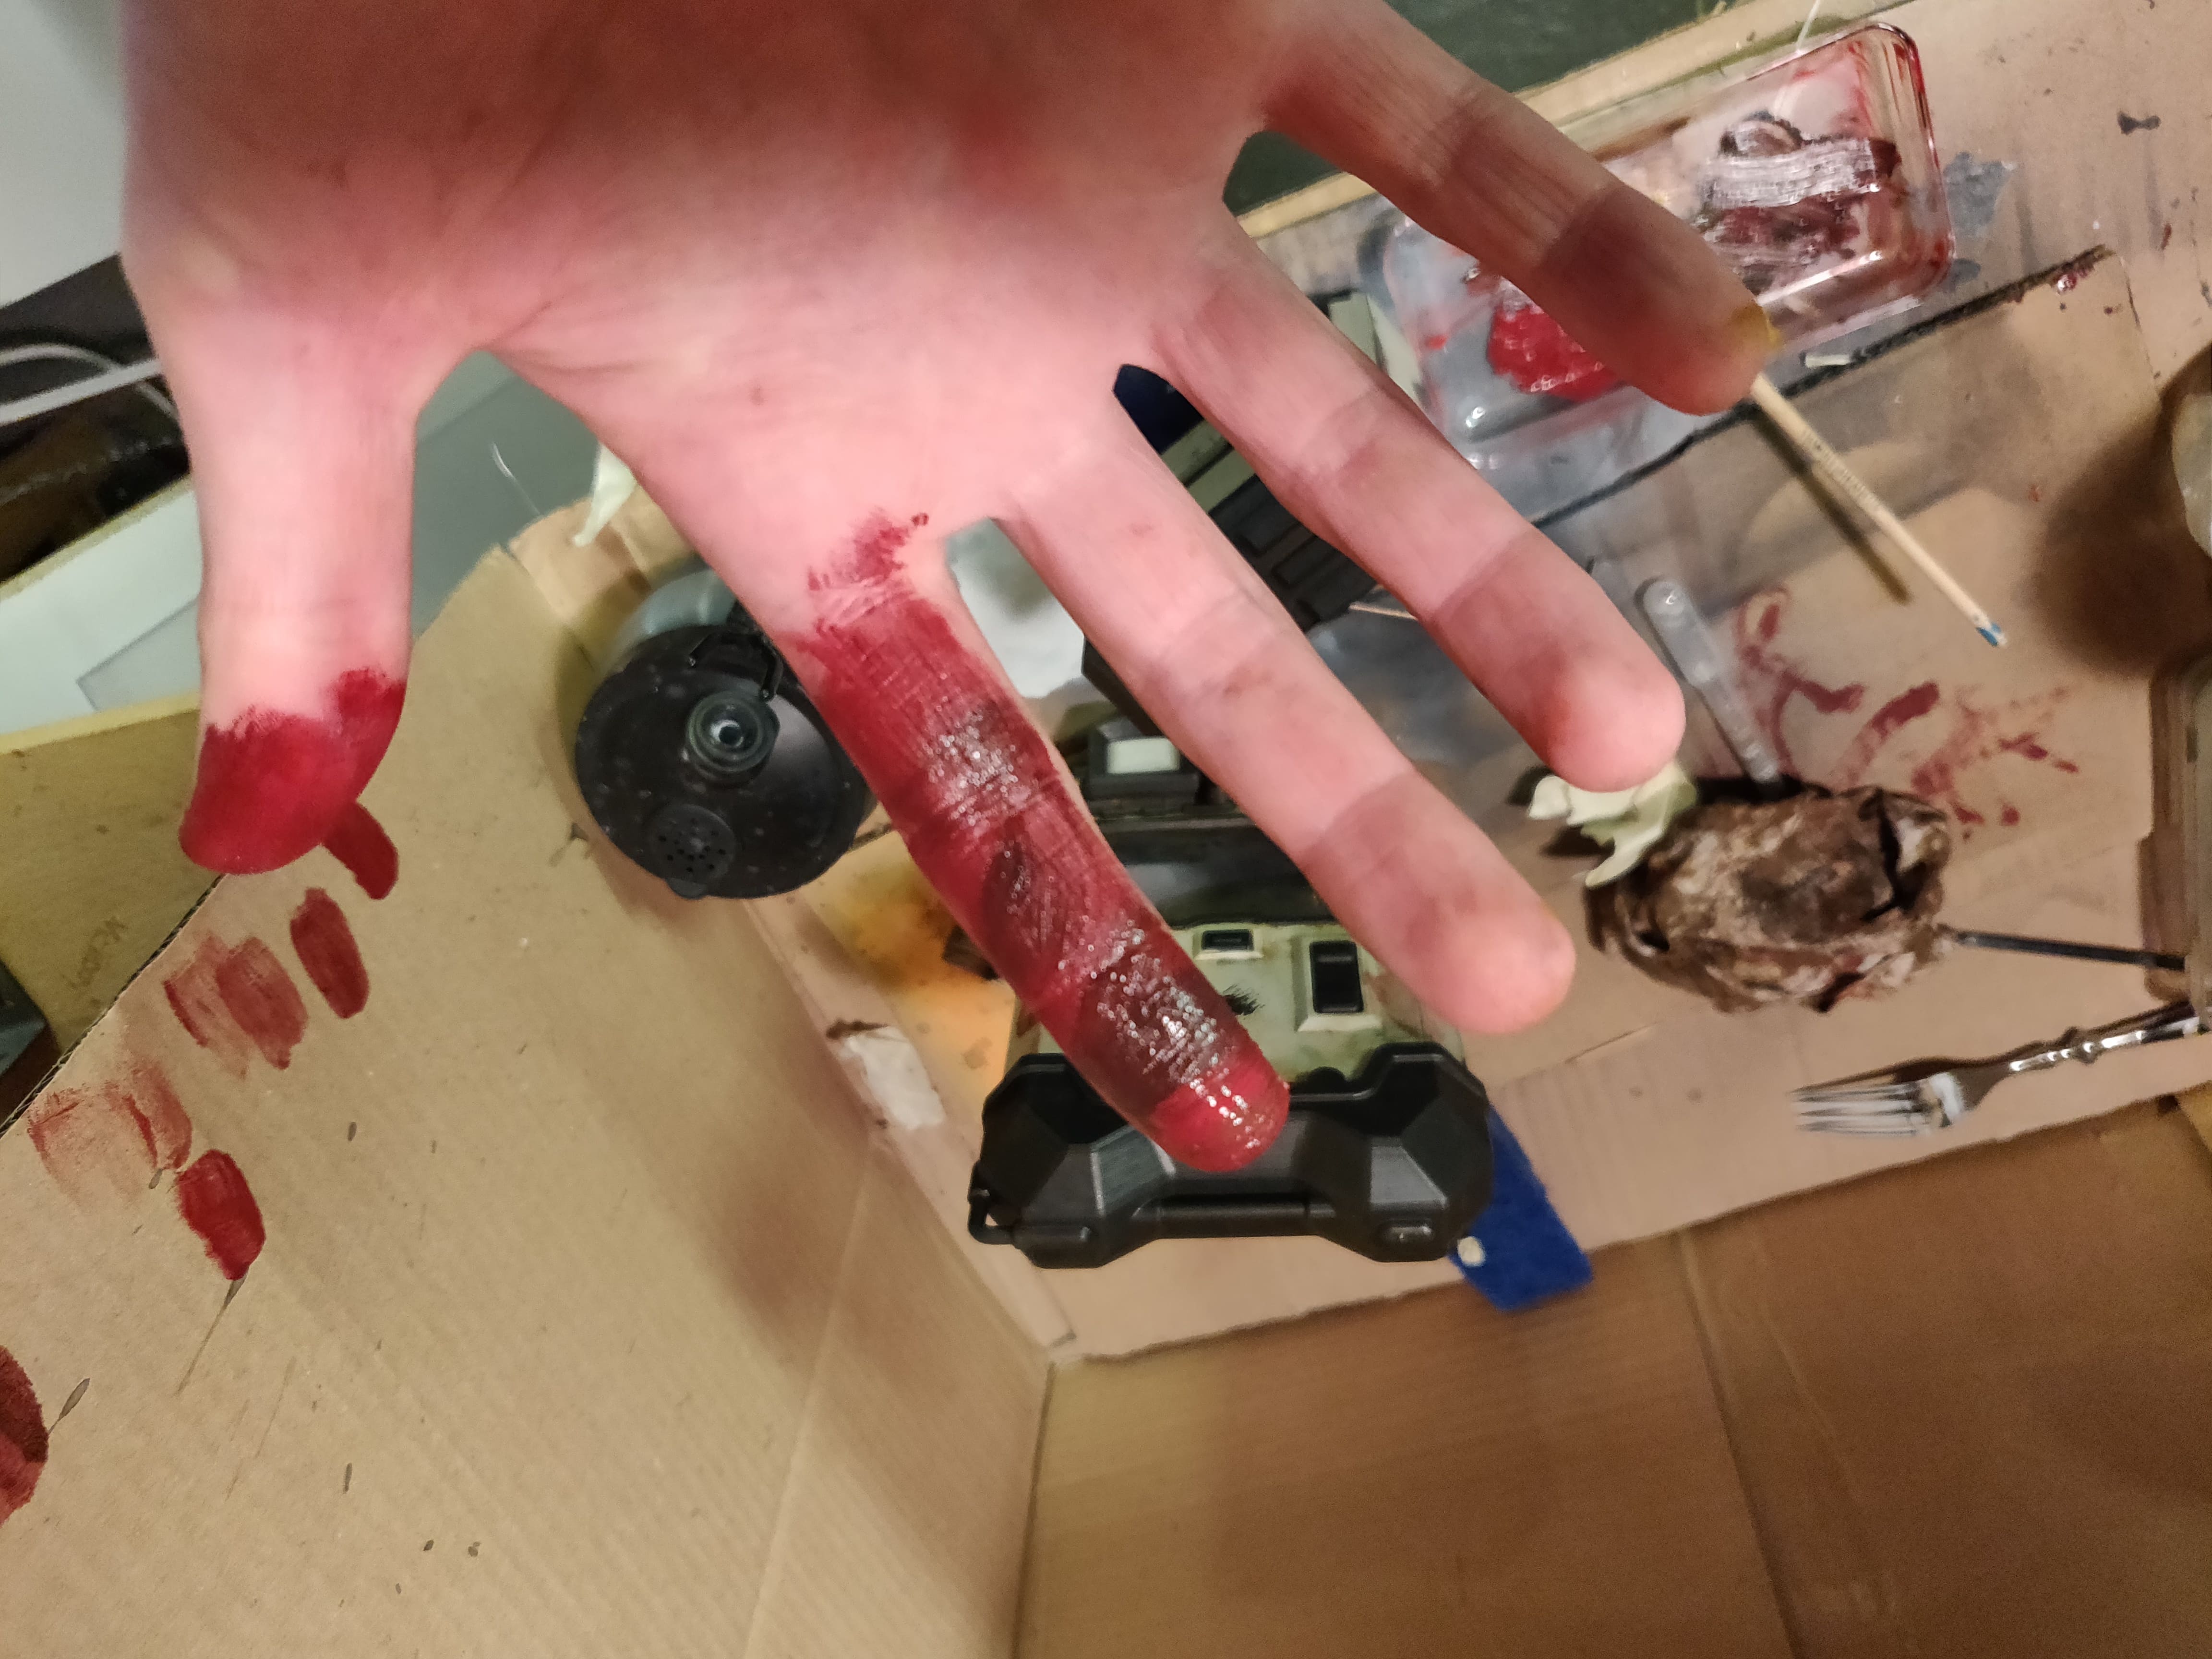
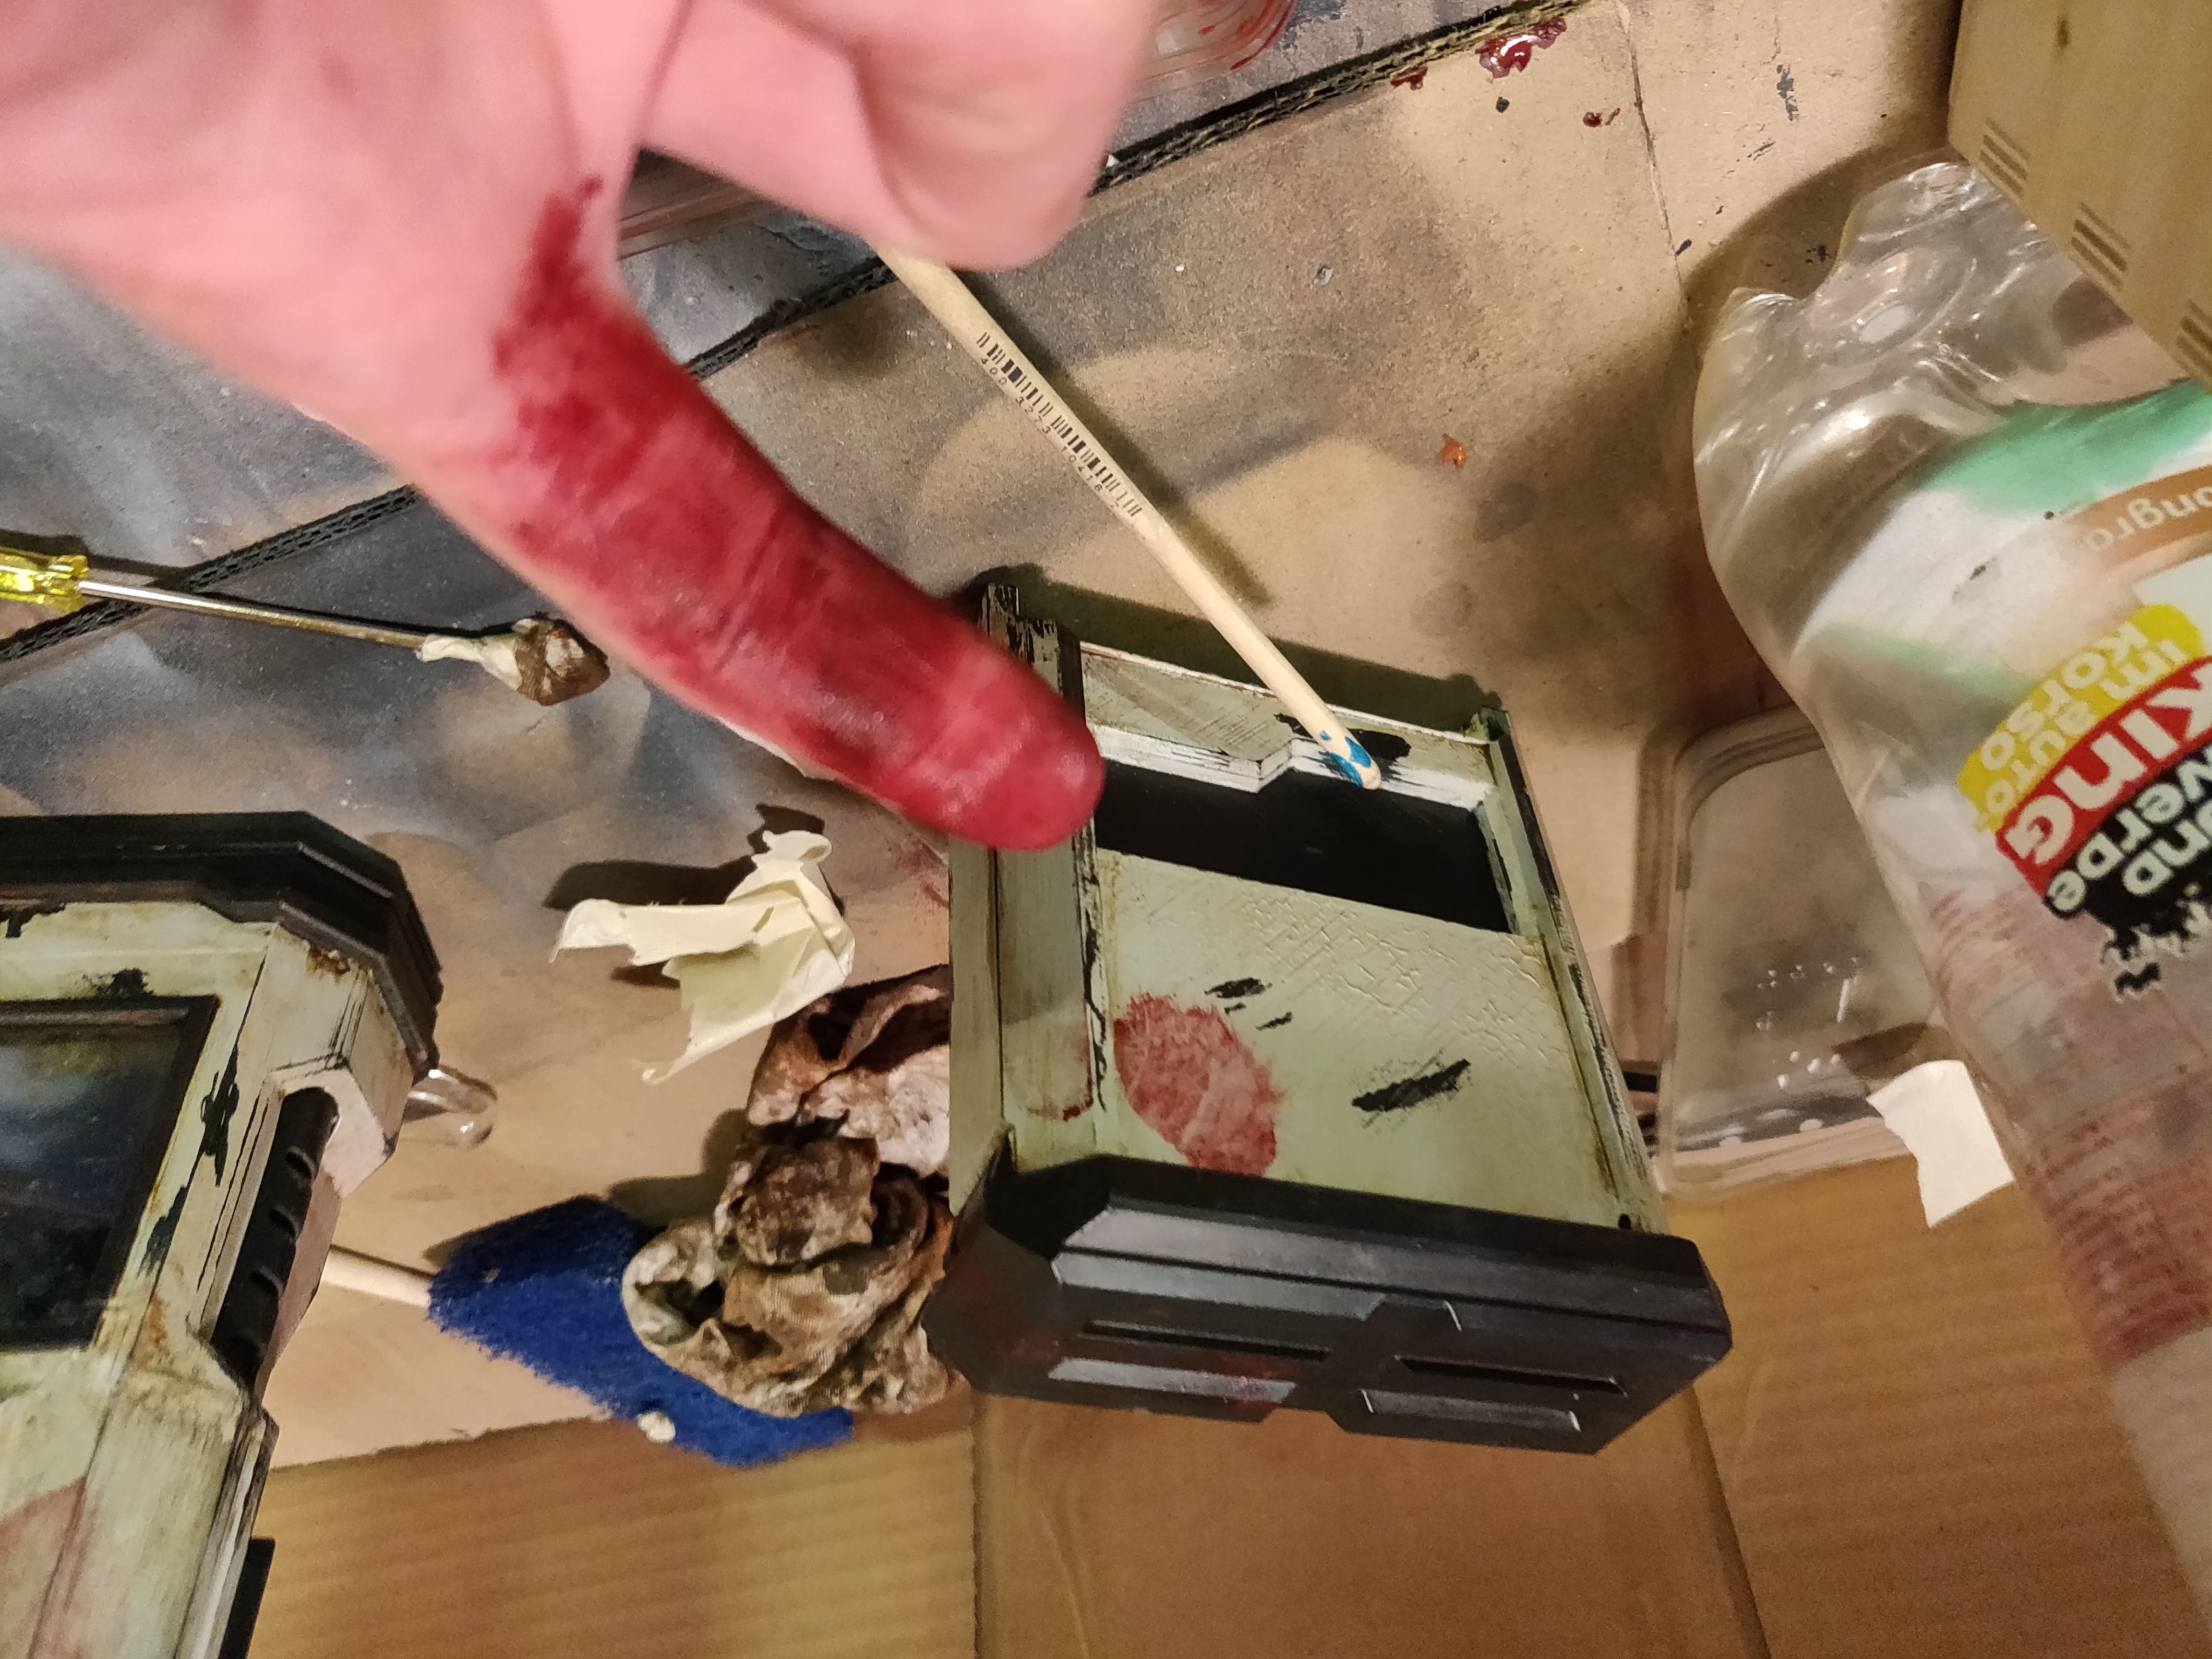
## Progress images
| | | |
| :-----------------------------------------------------------------------------------------------------------------------------------: | :-----------------------------------------------------------------------------------------------------------------------------------: | :-----------------------------------------------------------------------------------------------------------------------------------: |
| 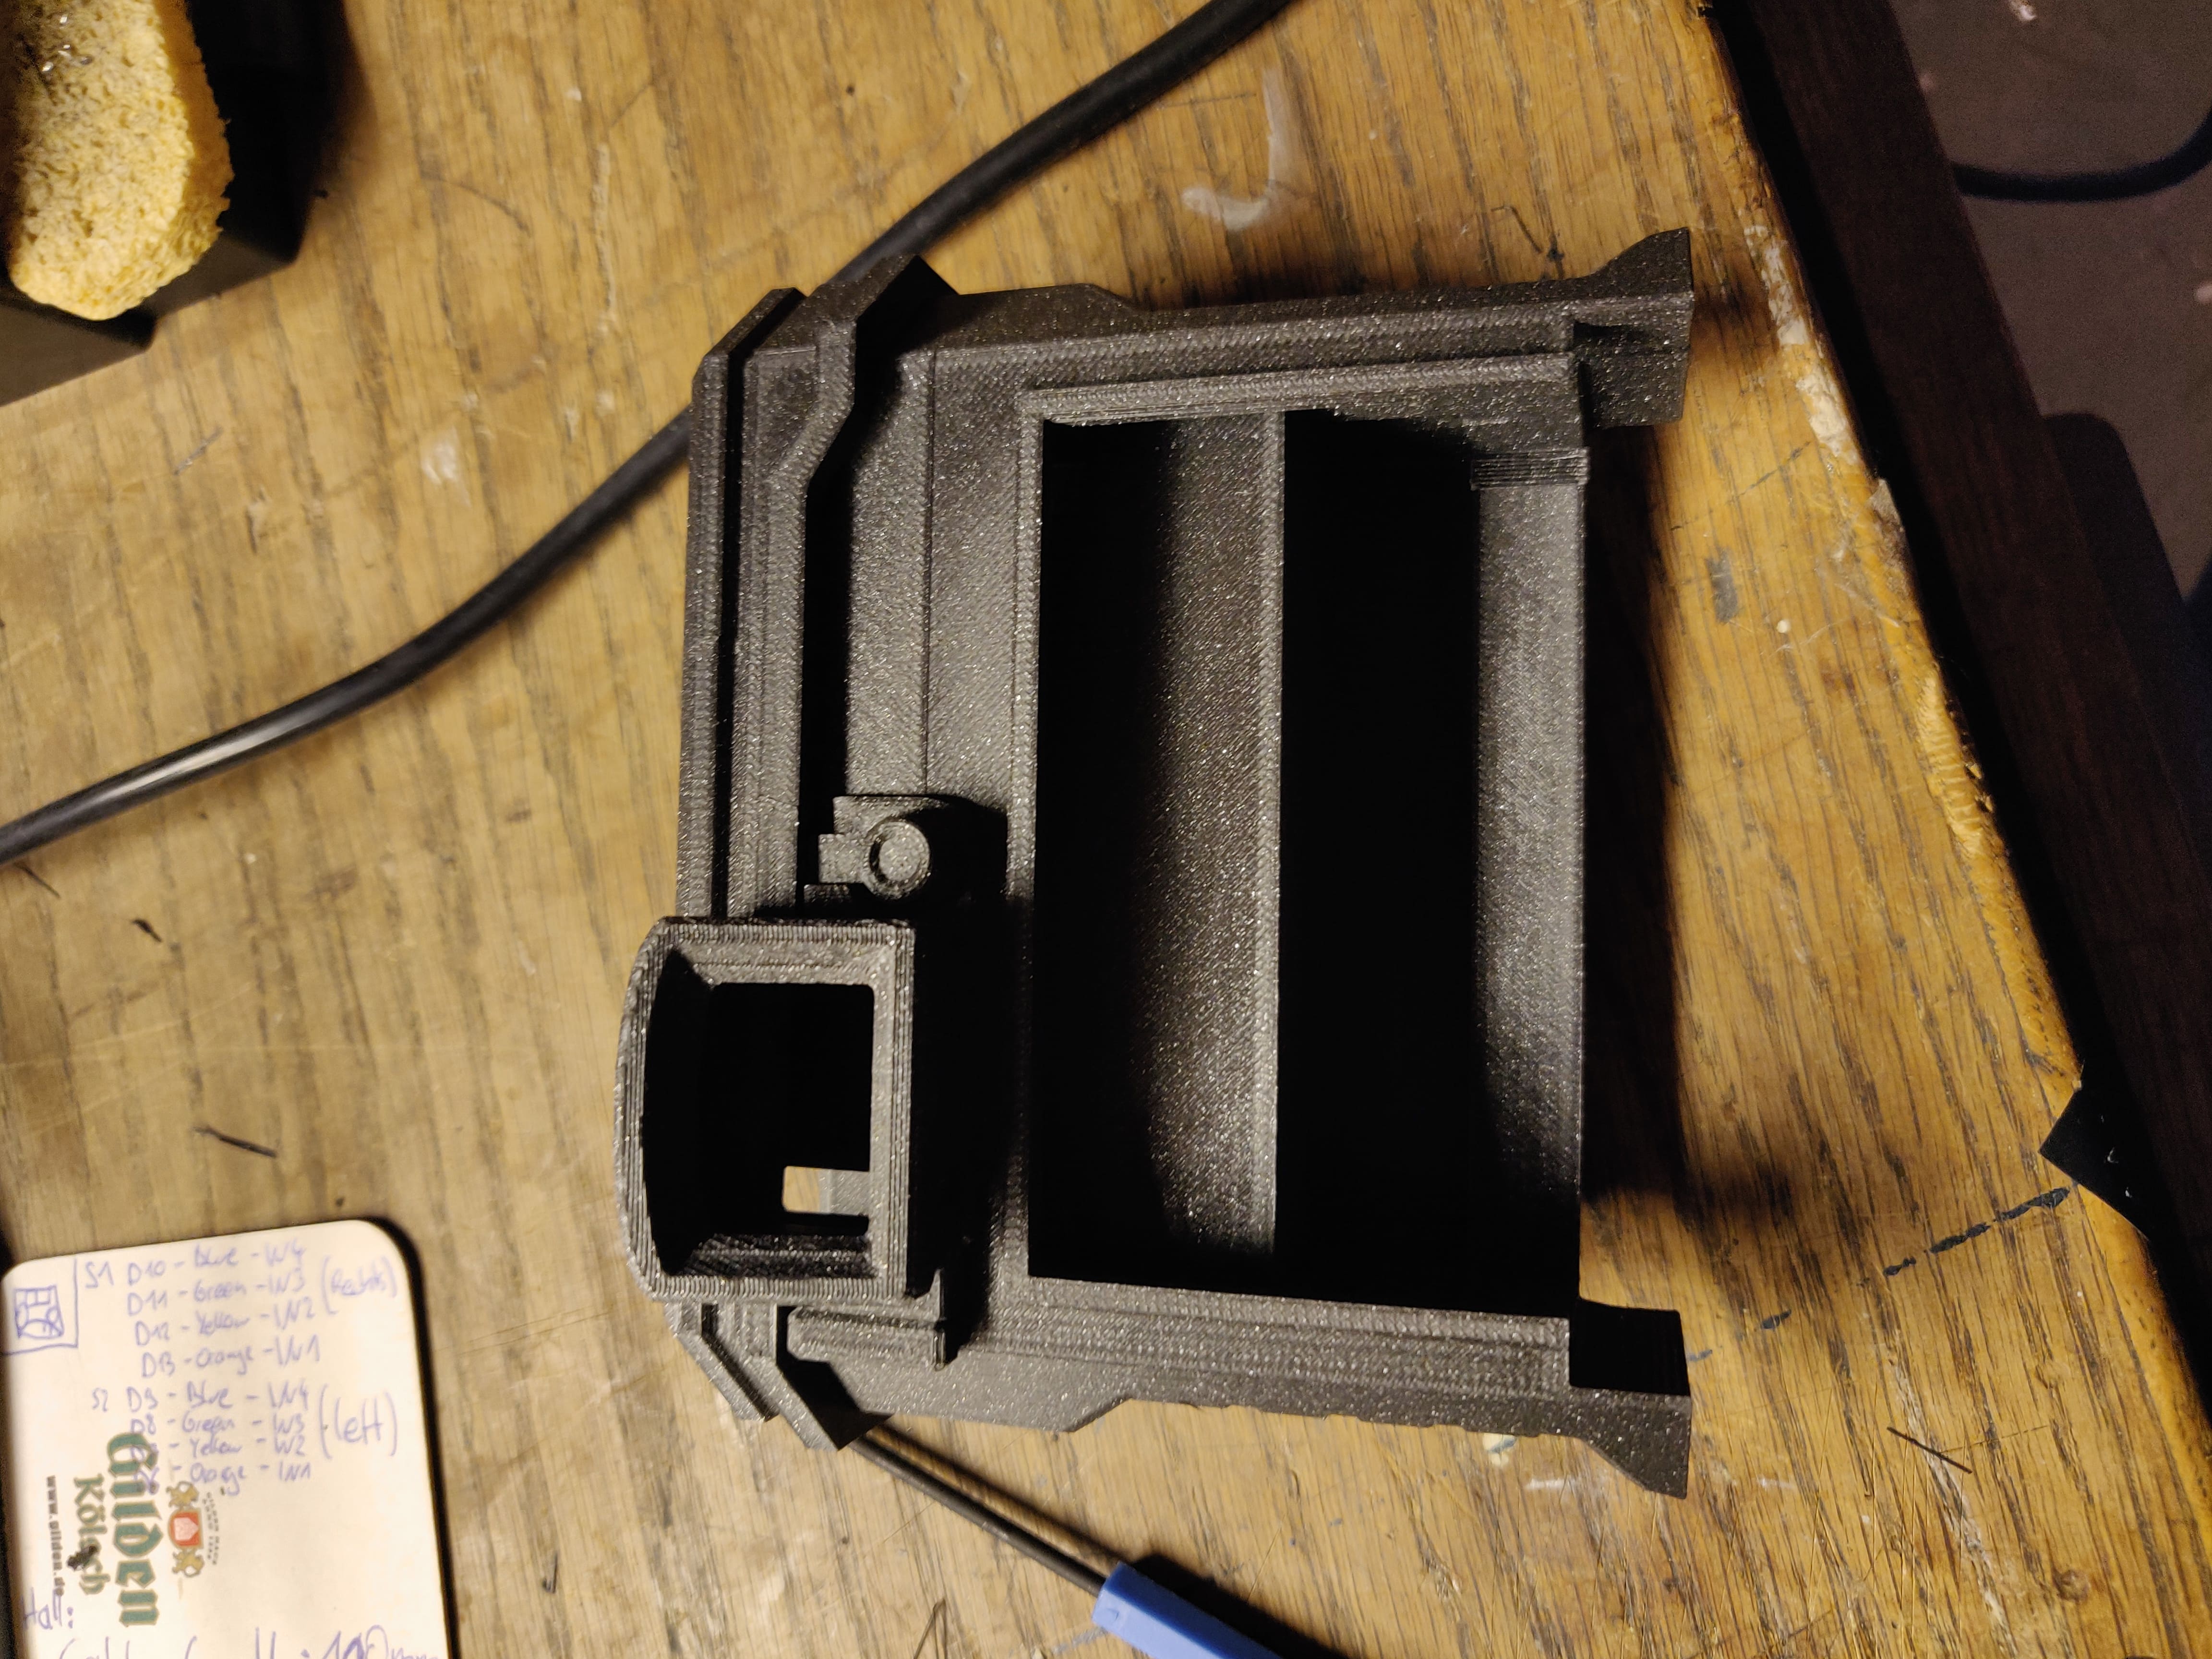 |
| 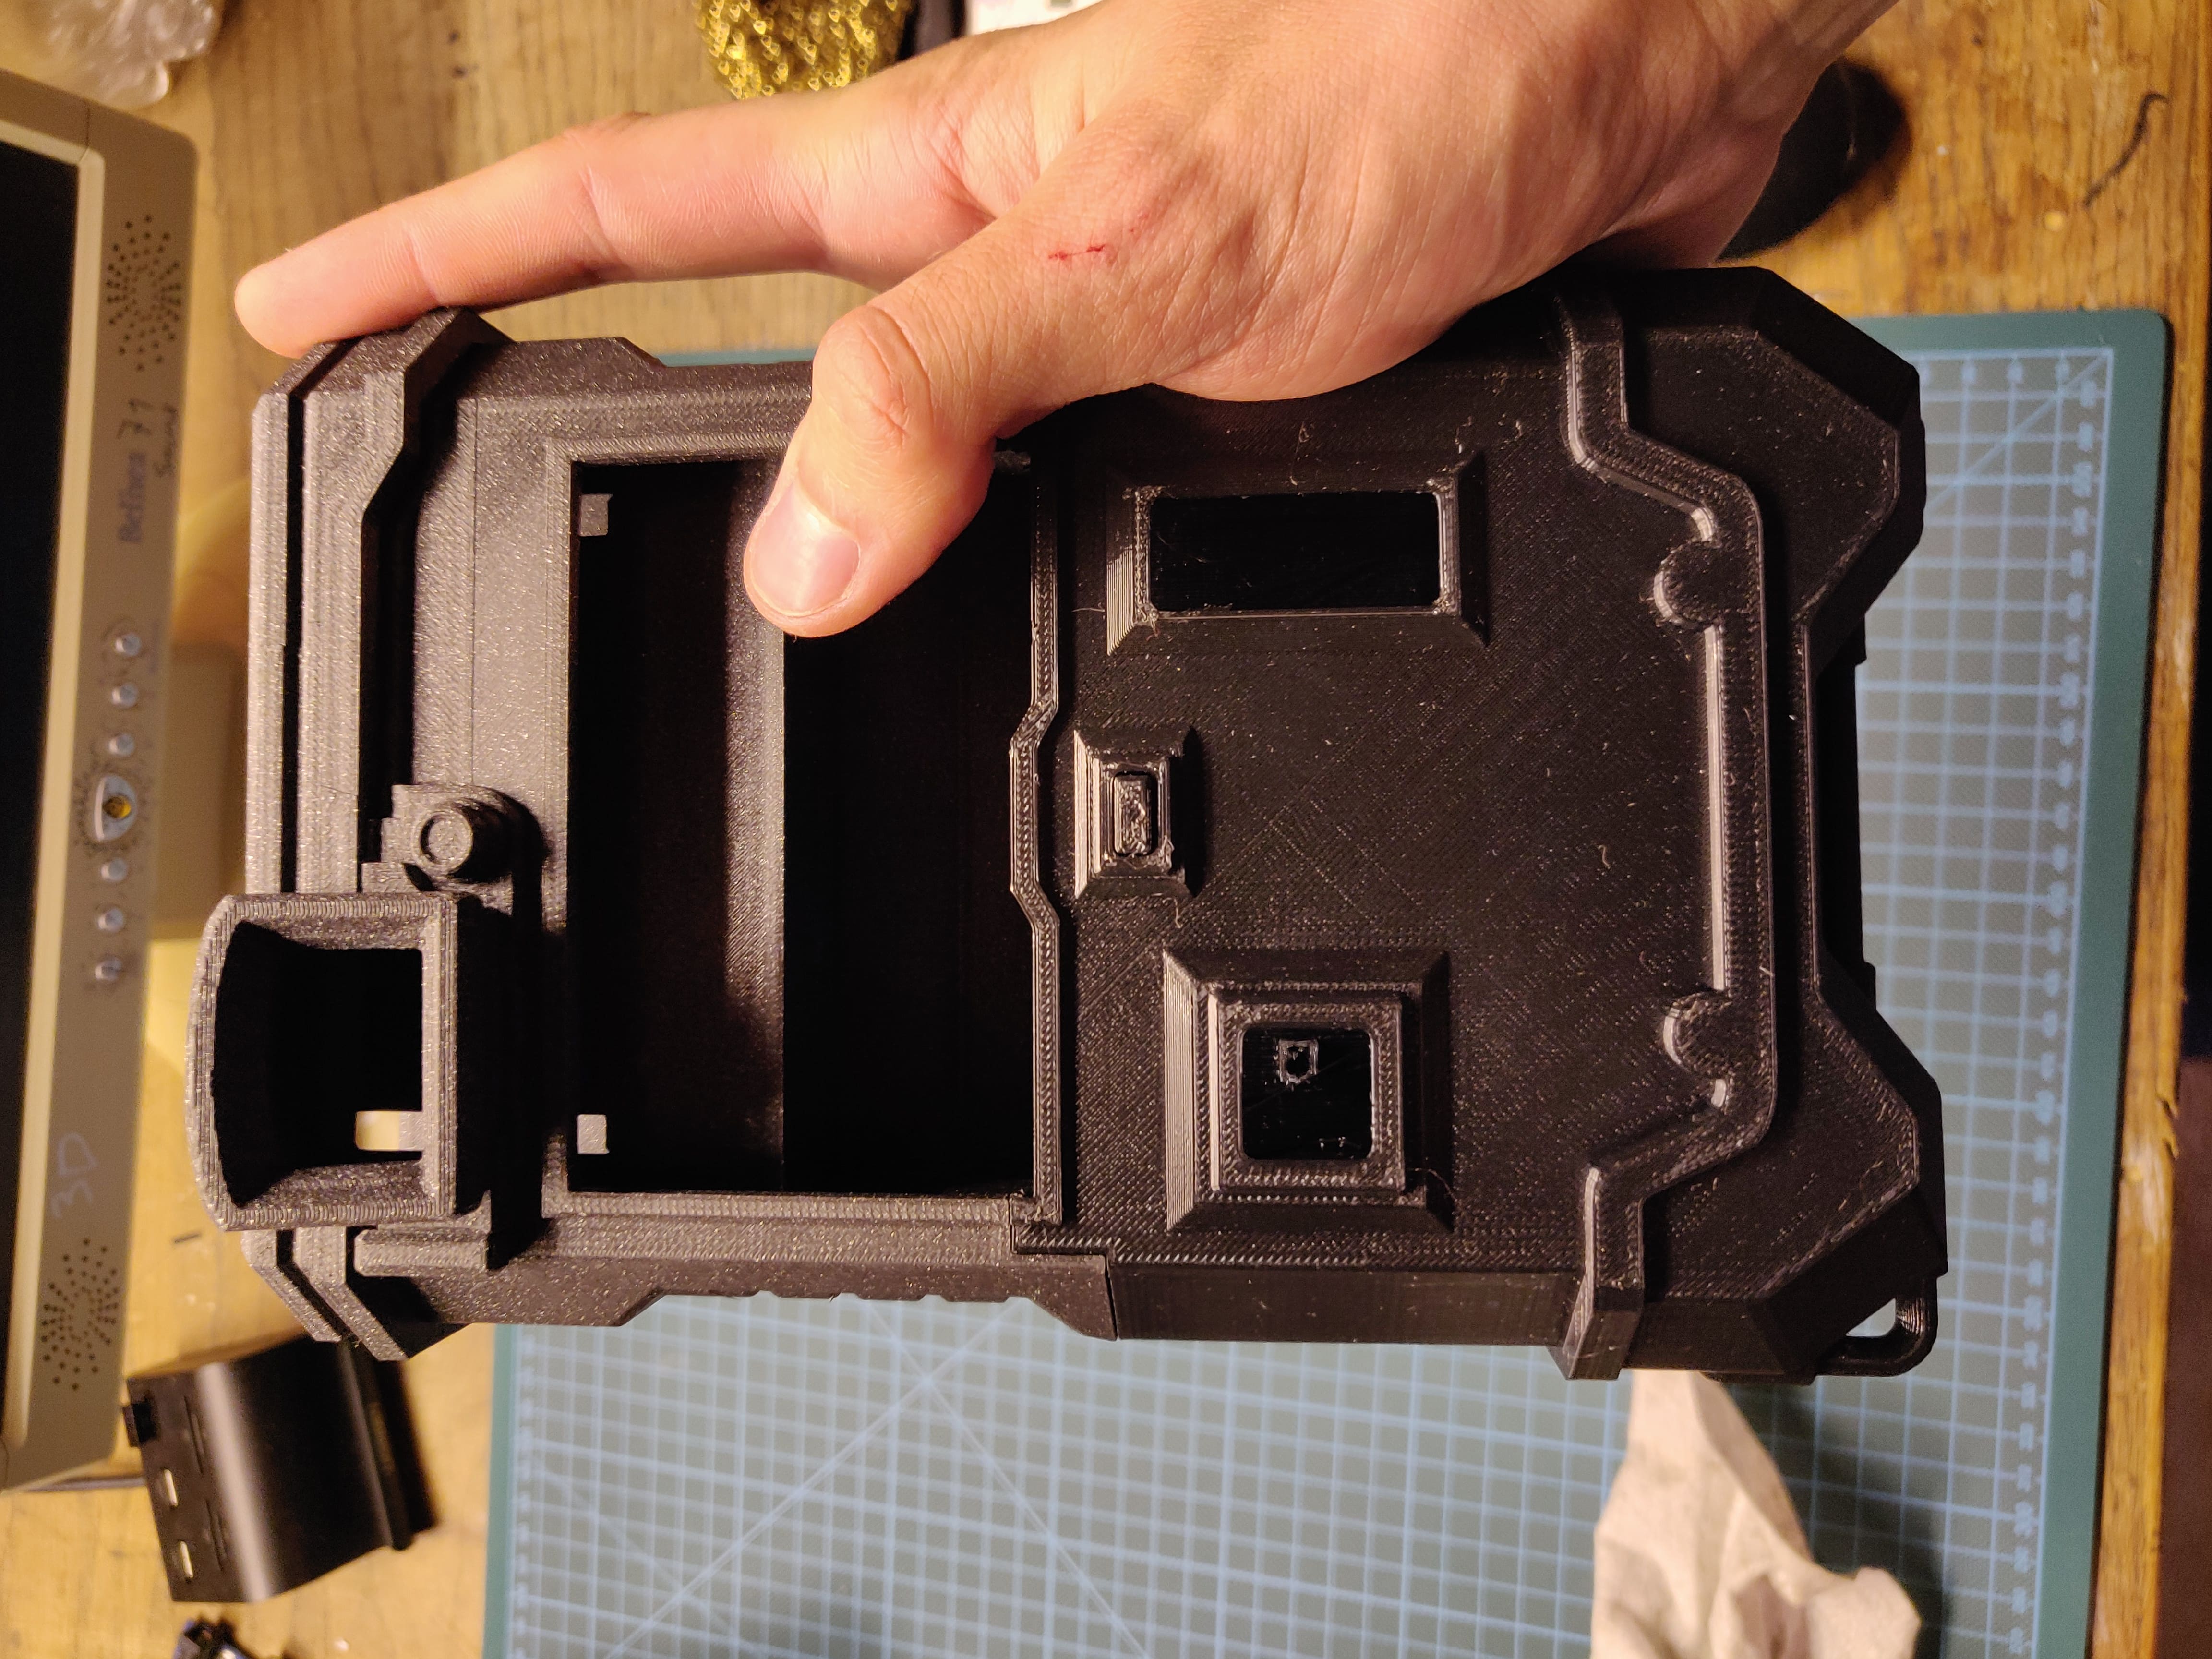 |
| 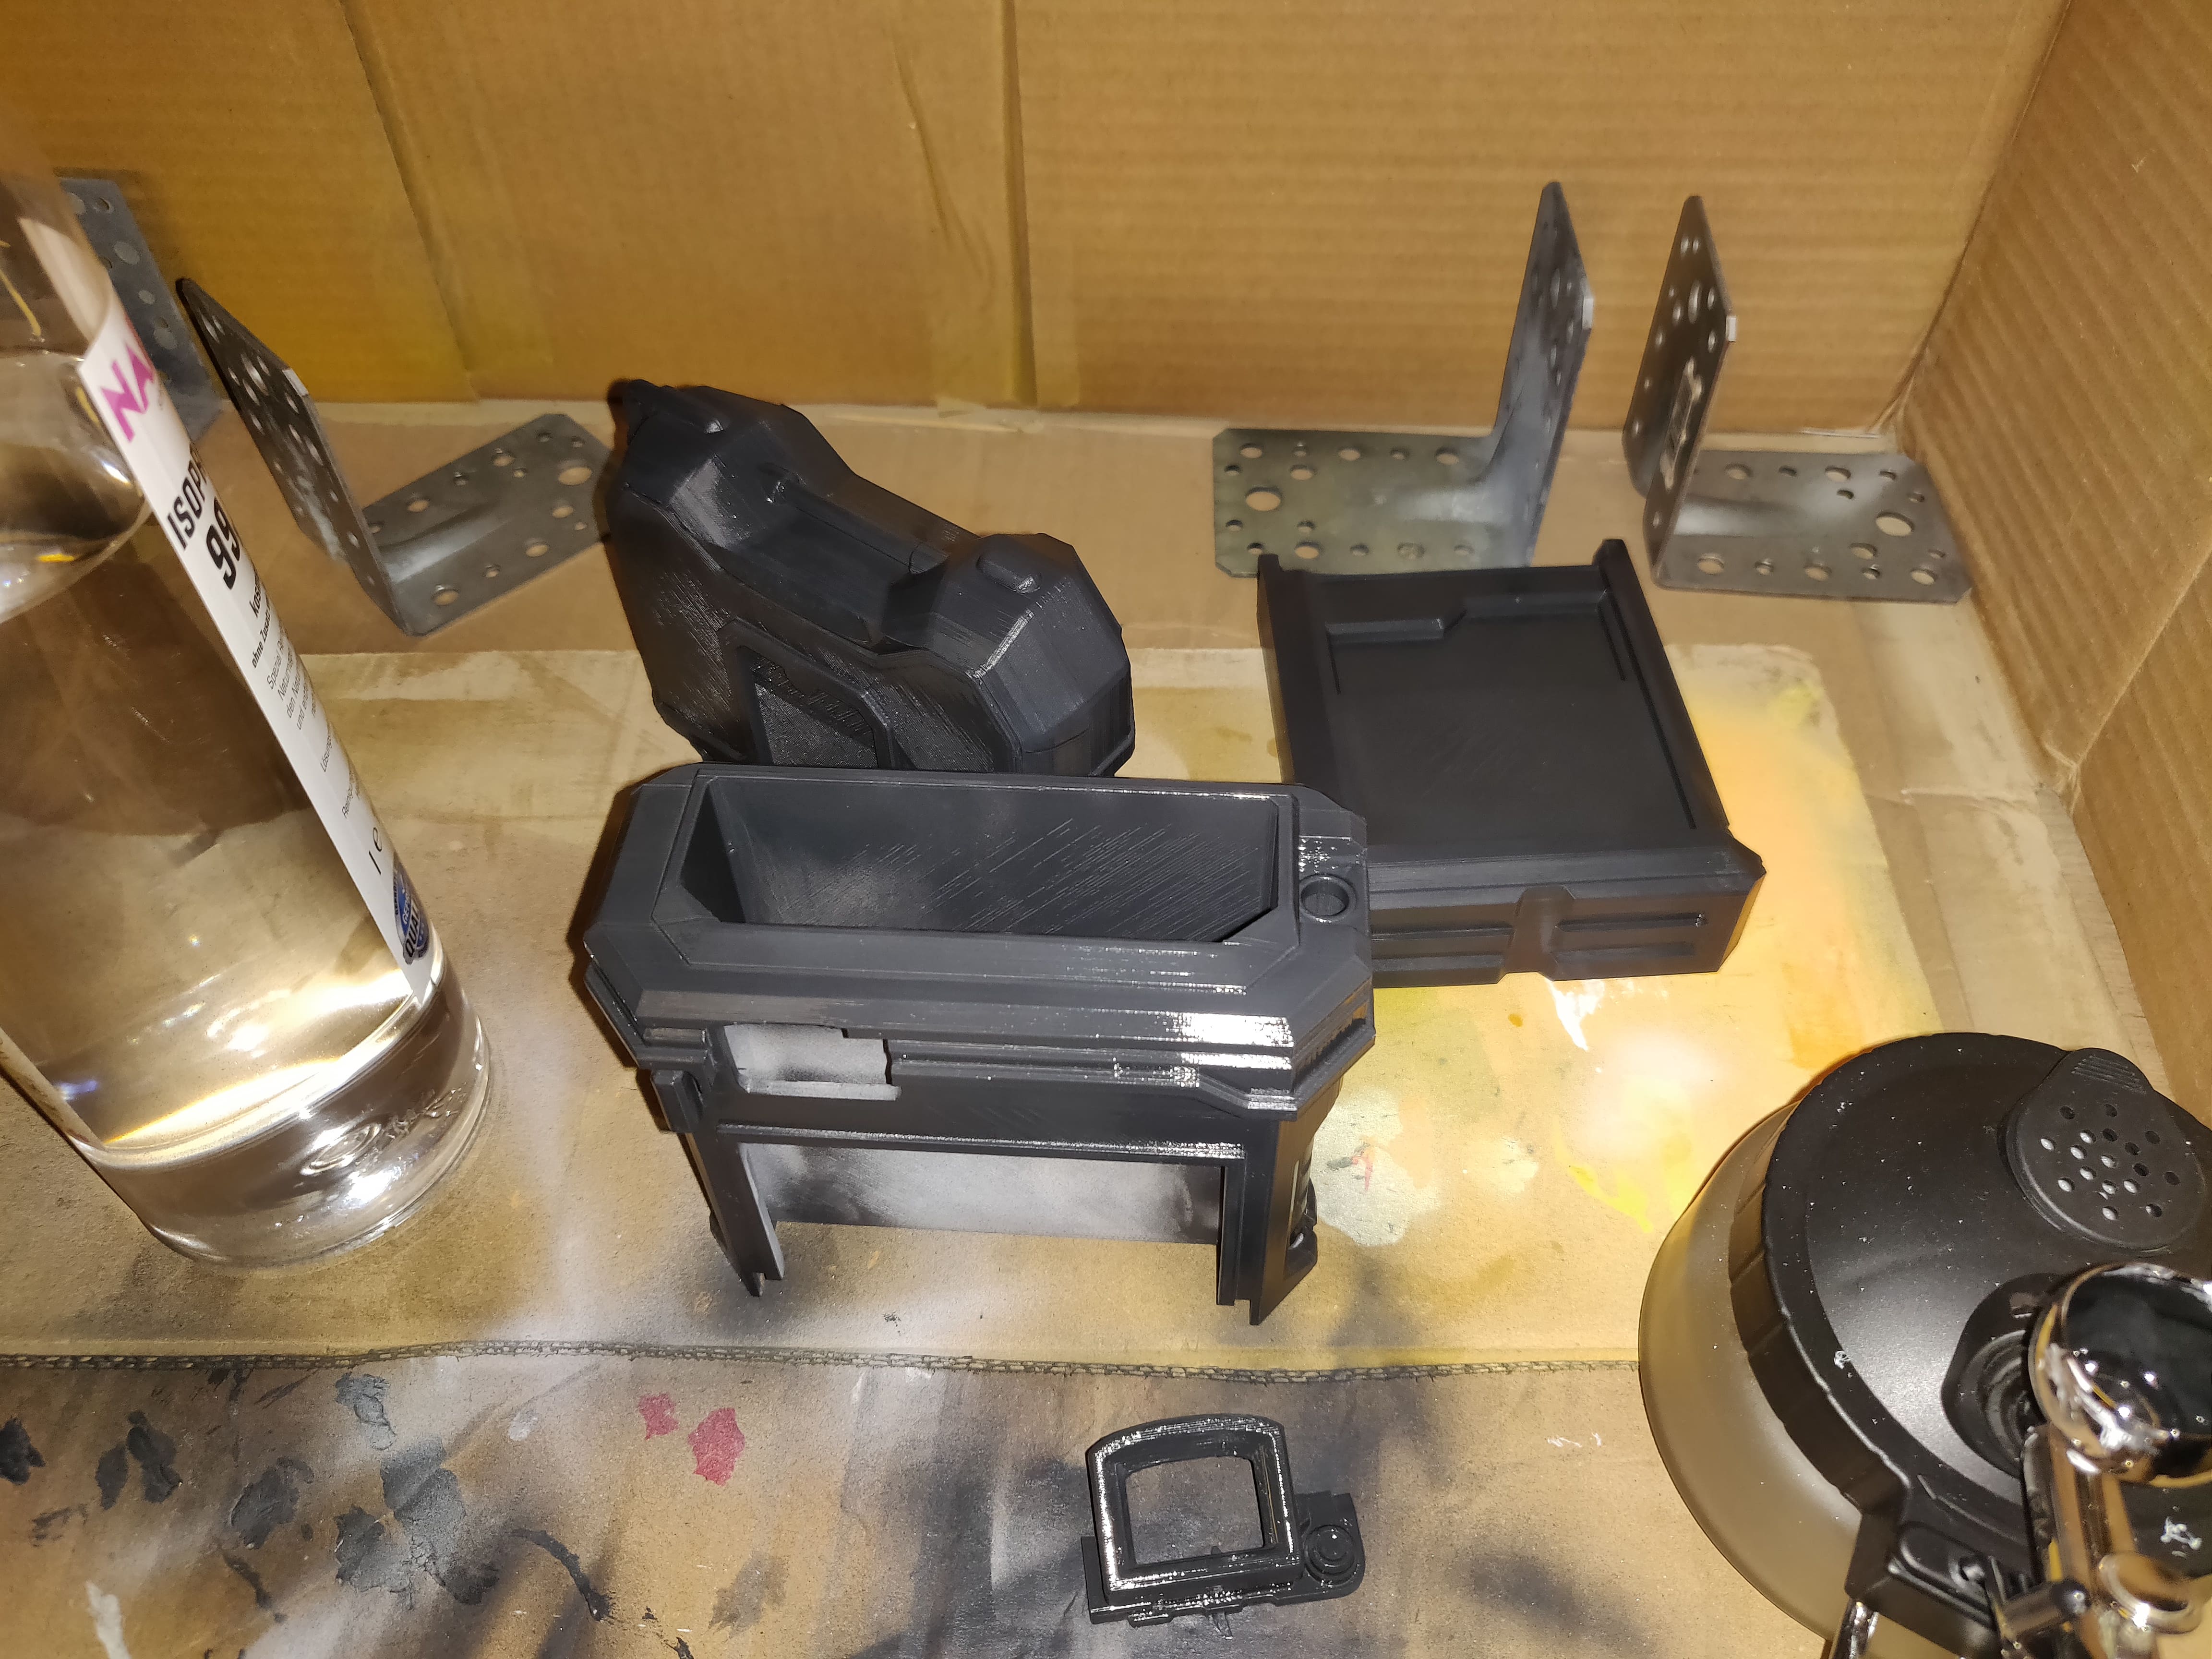 |
|
| 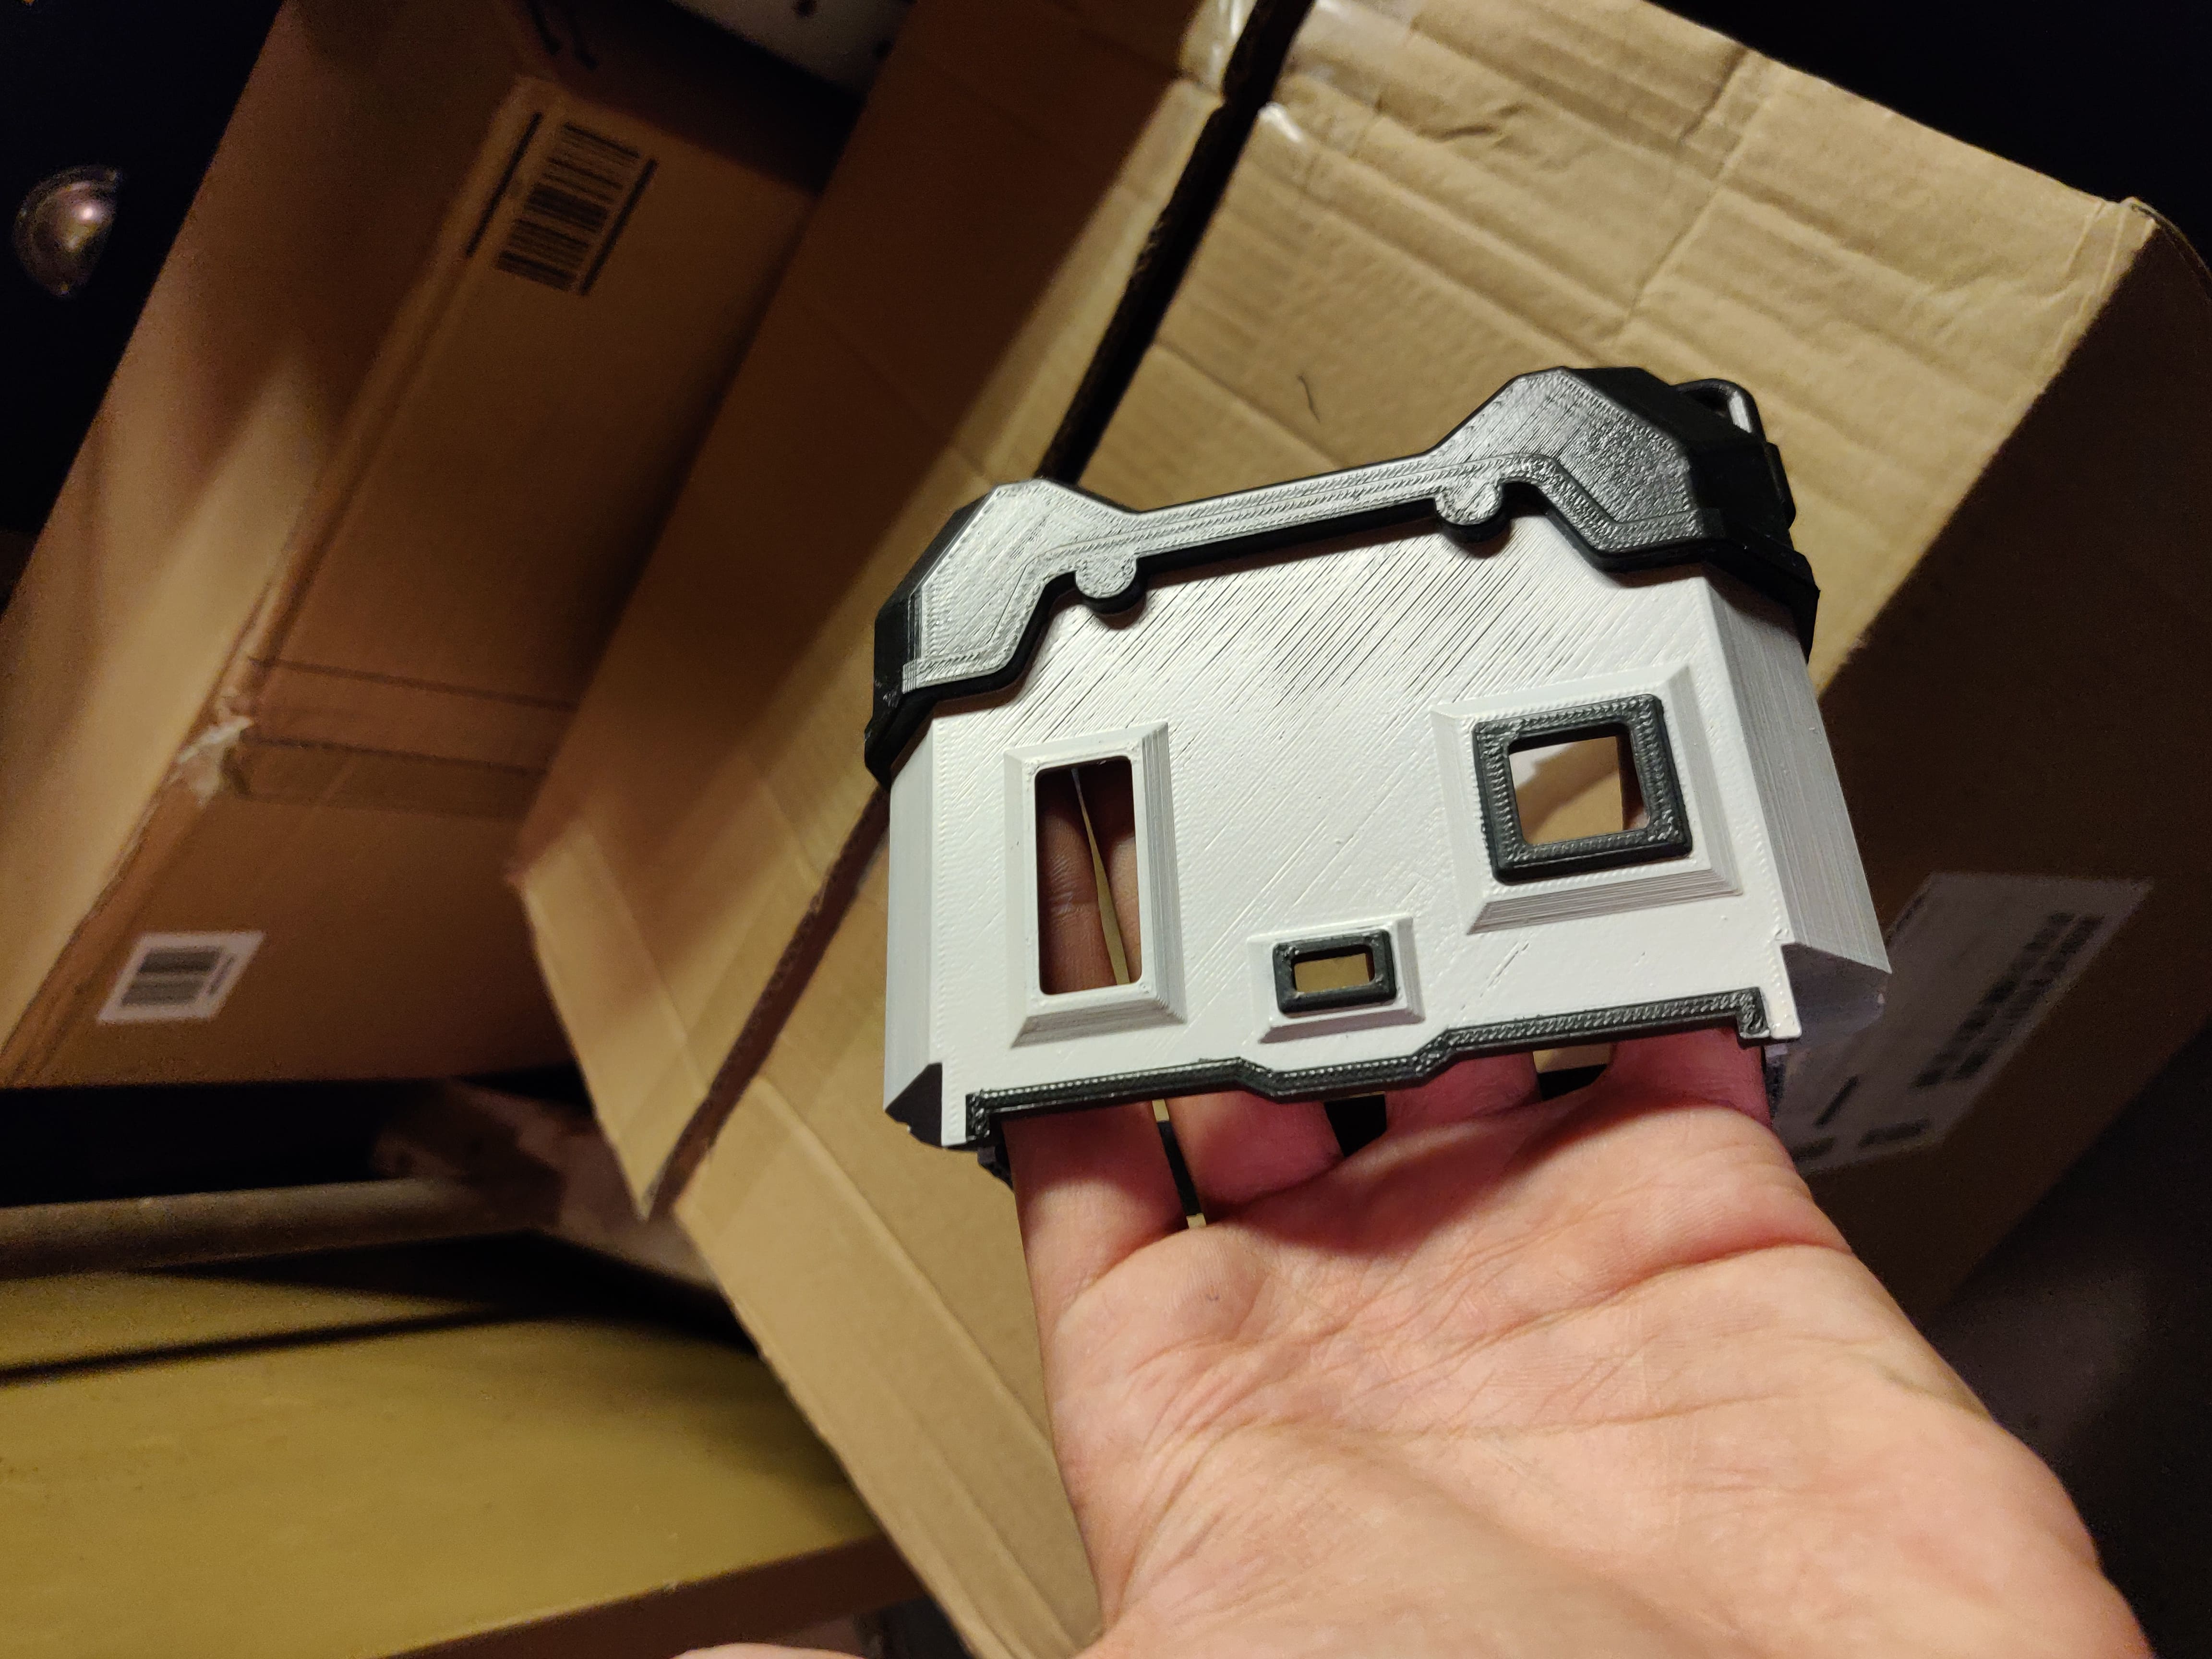 |
| 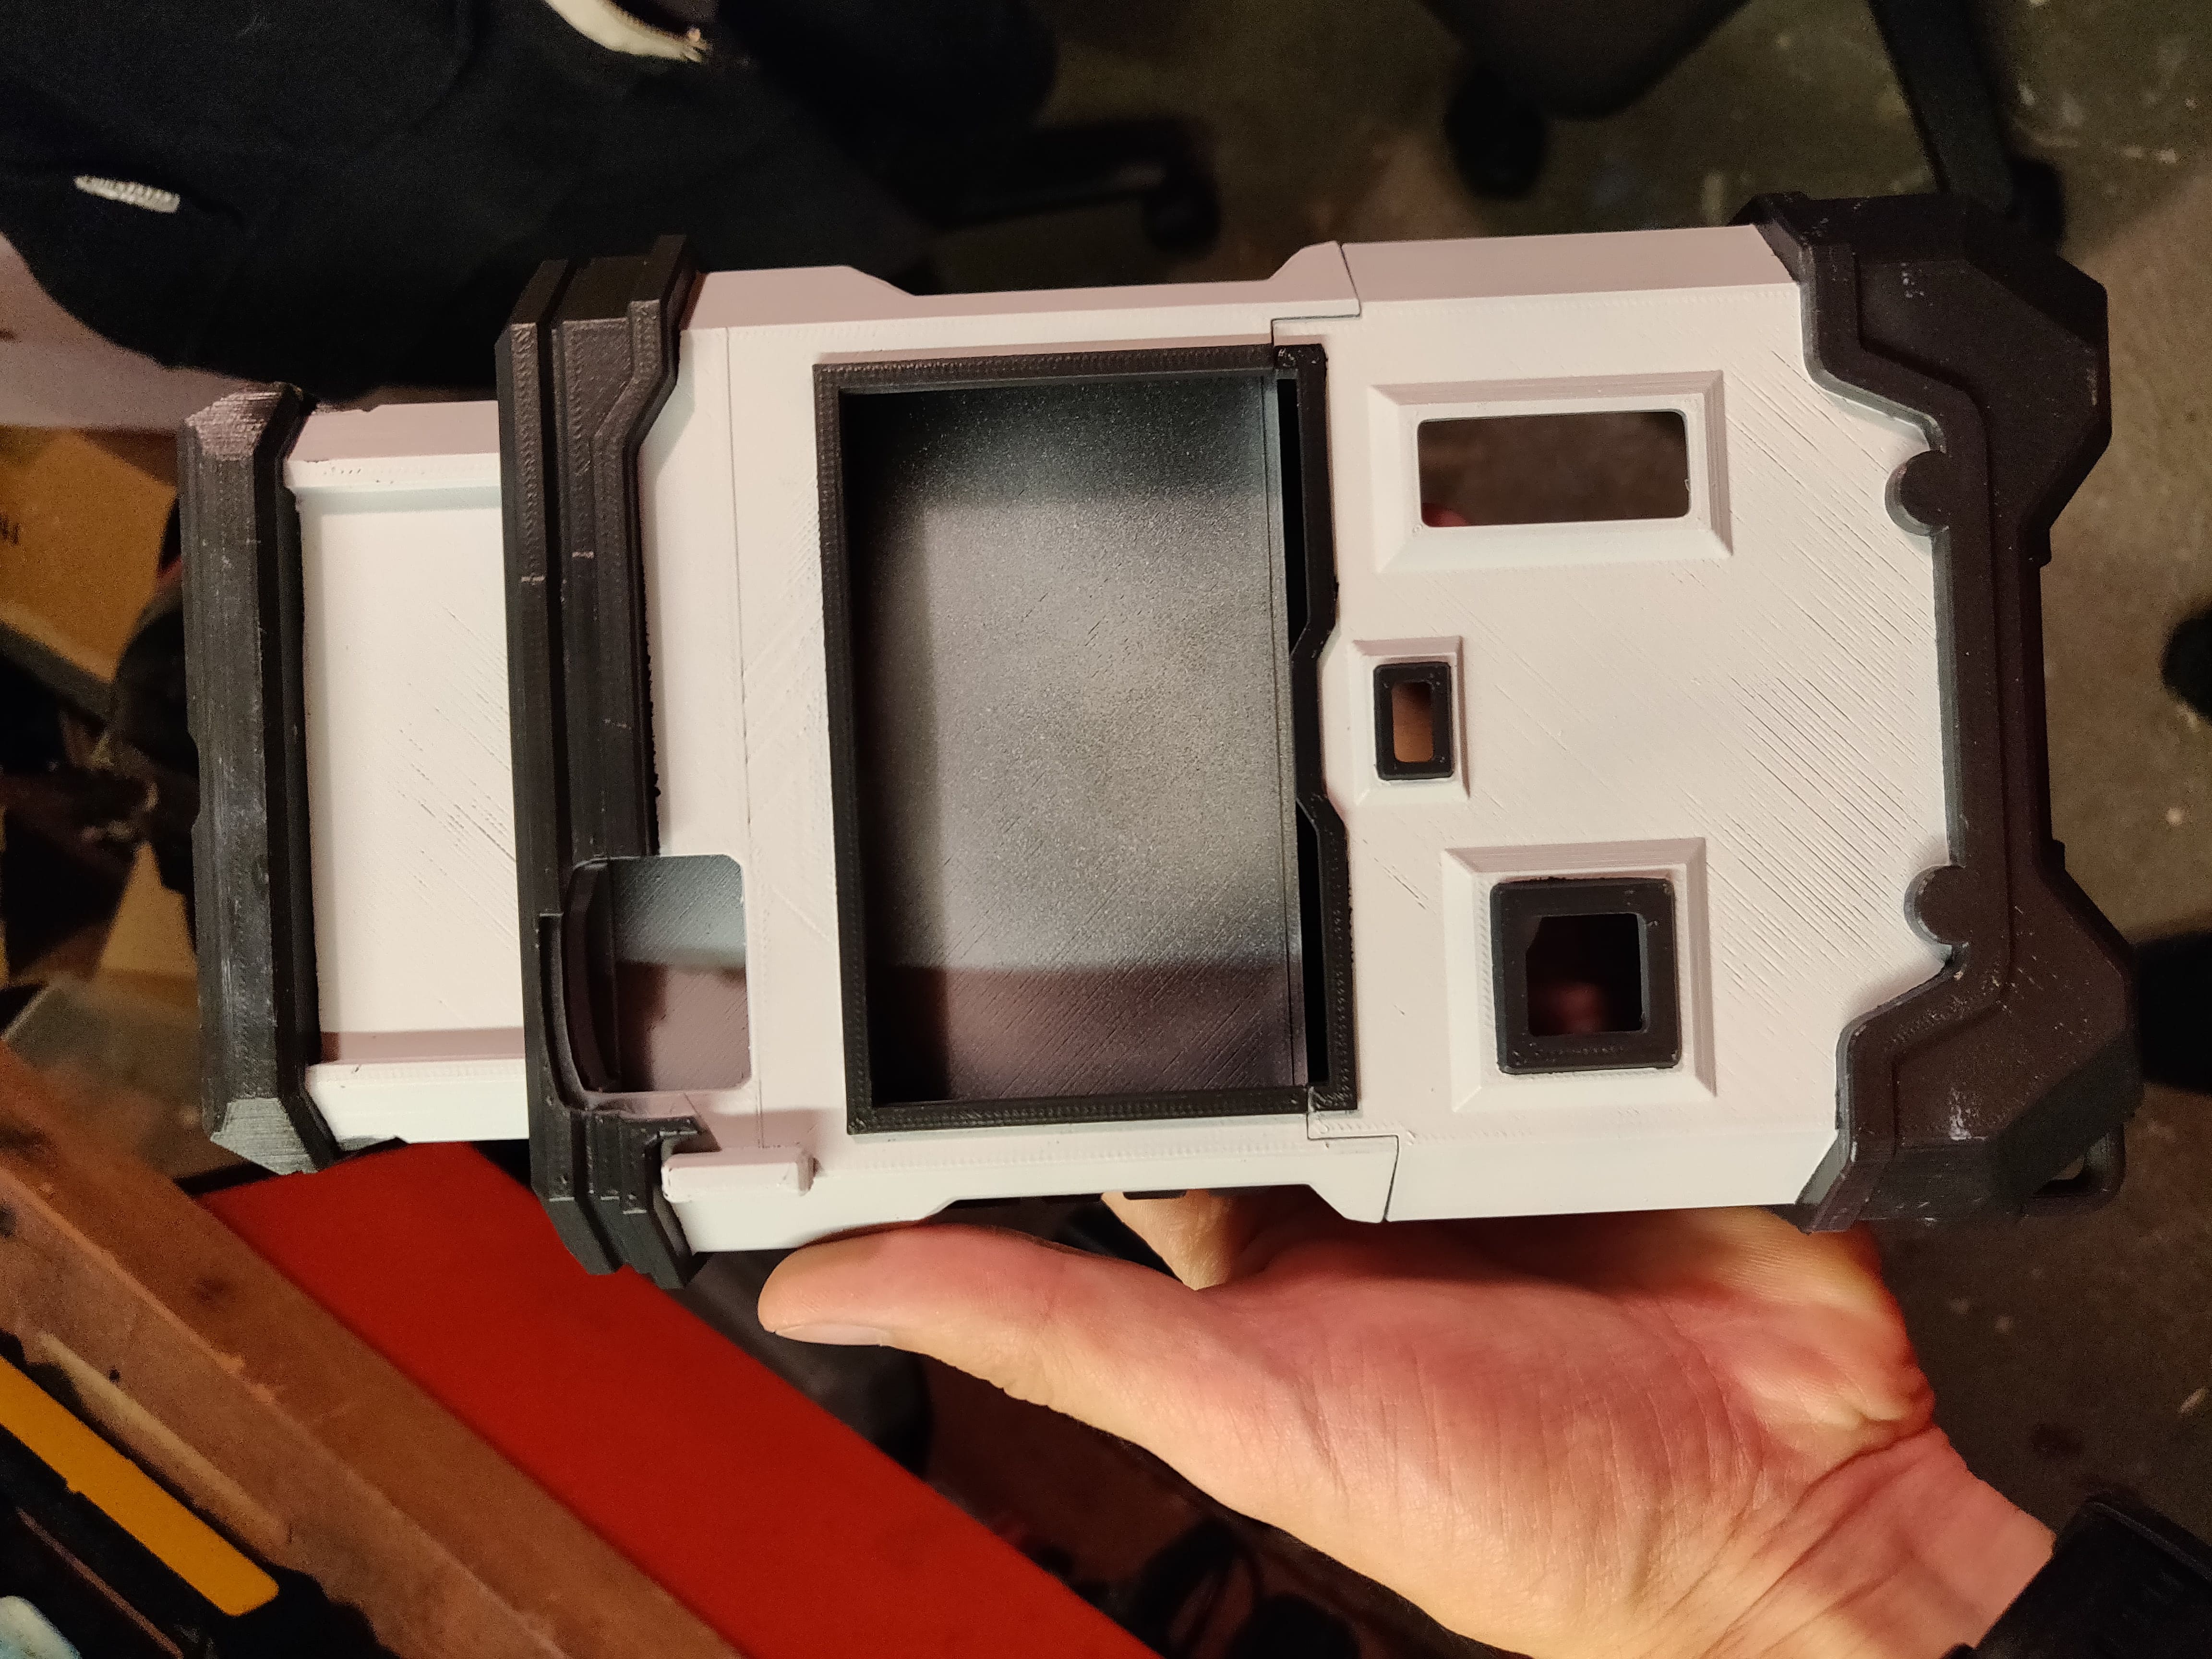 |
| 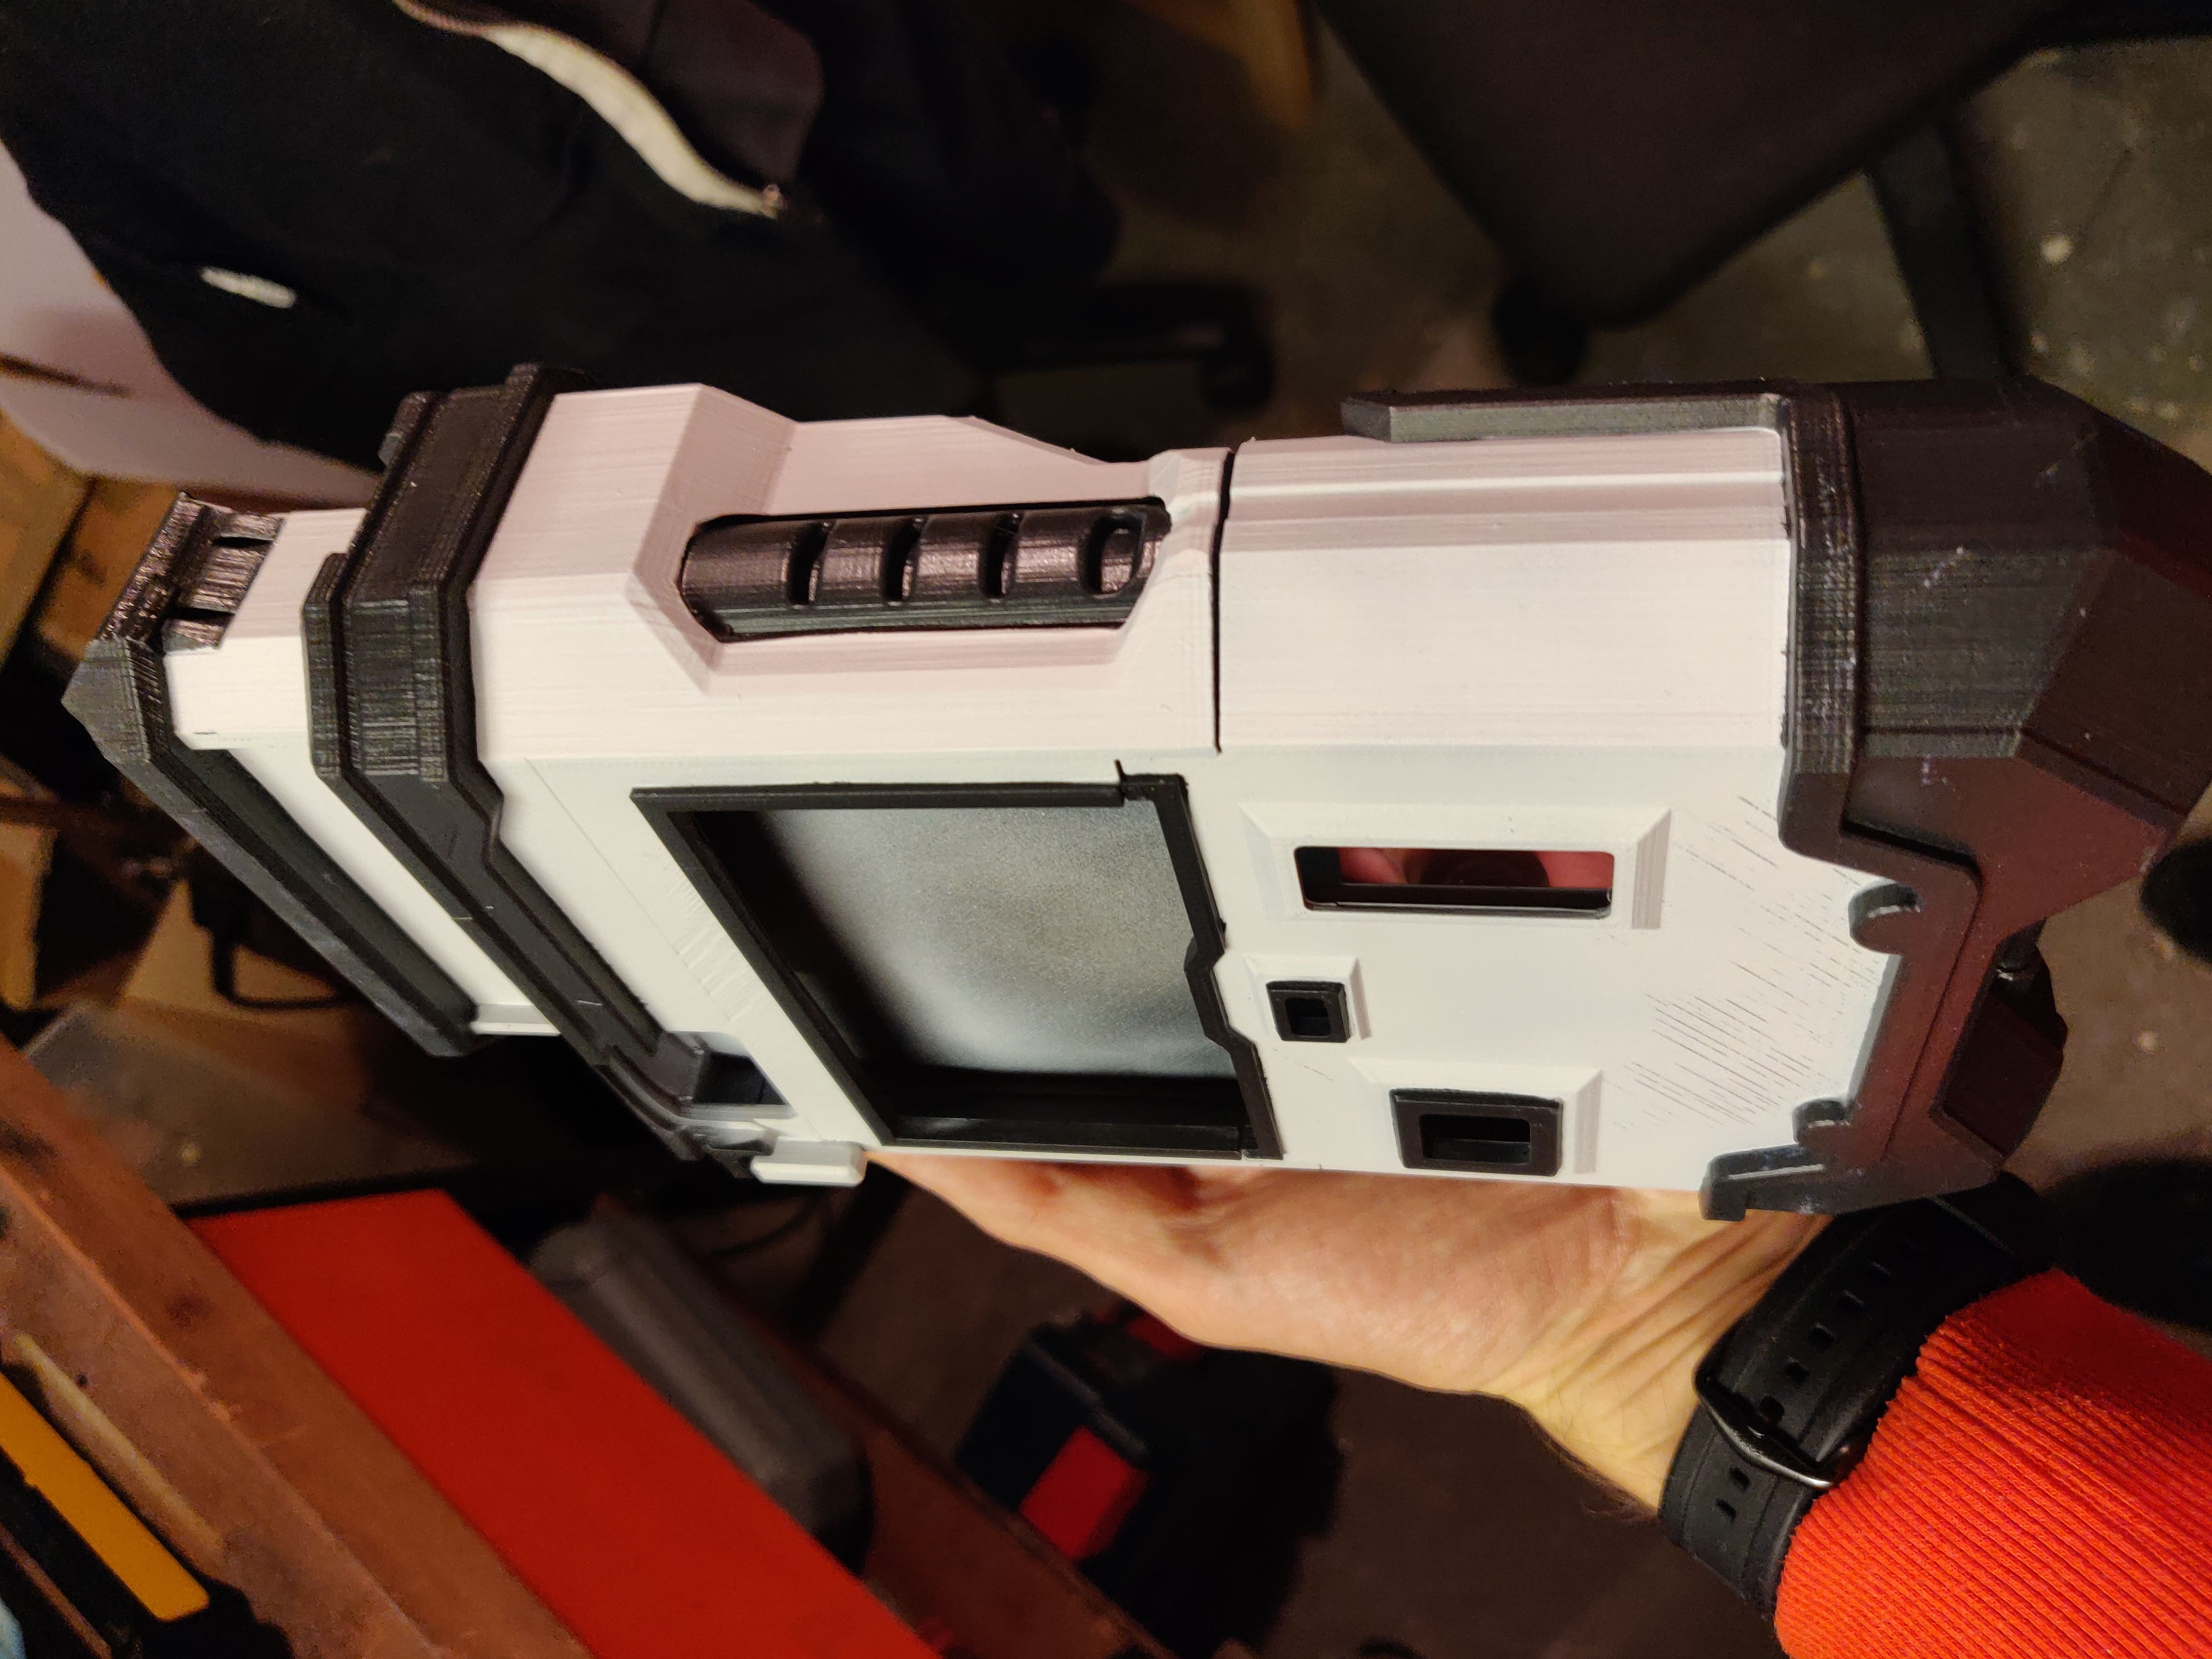 |
|
| 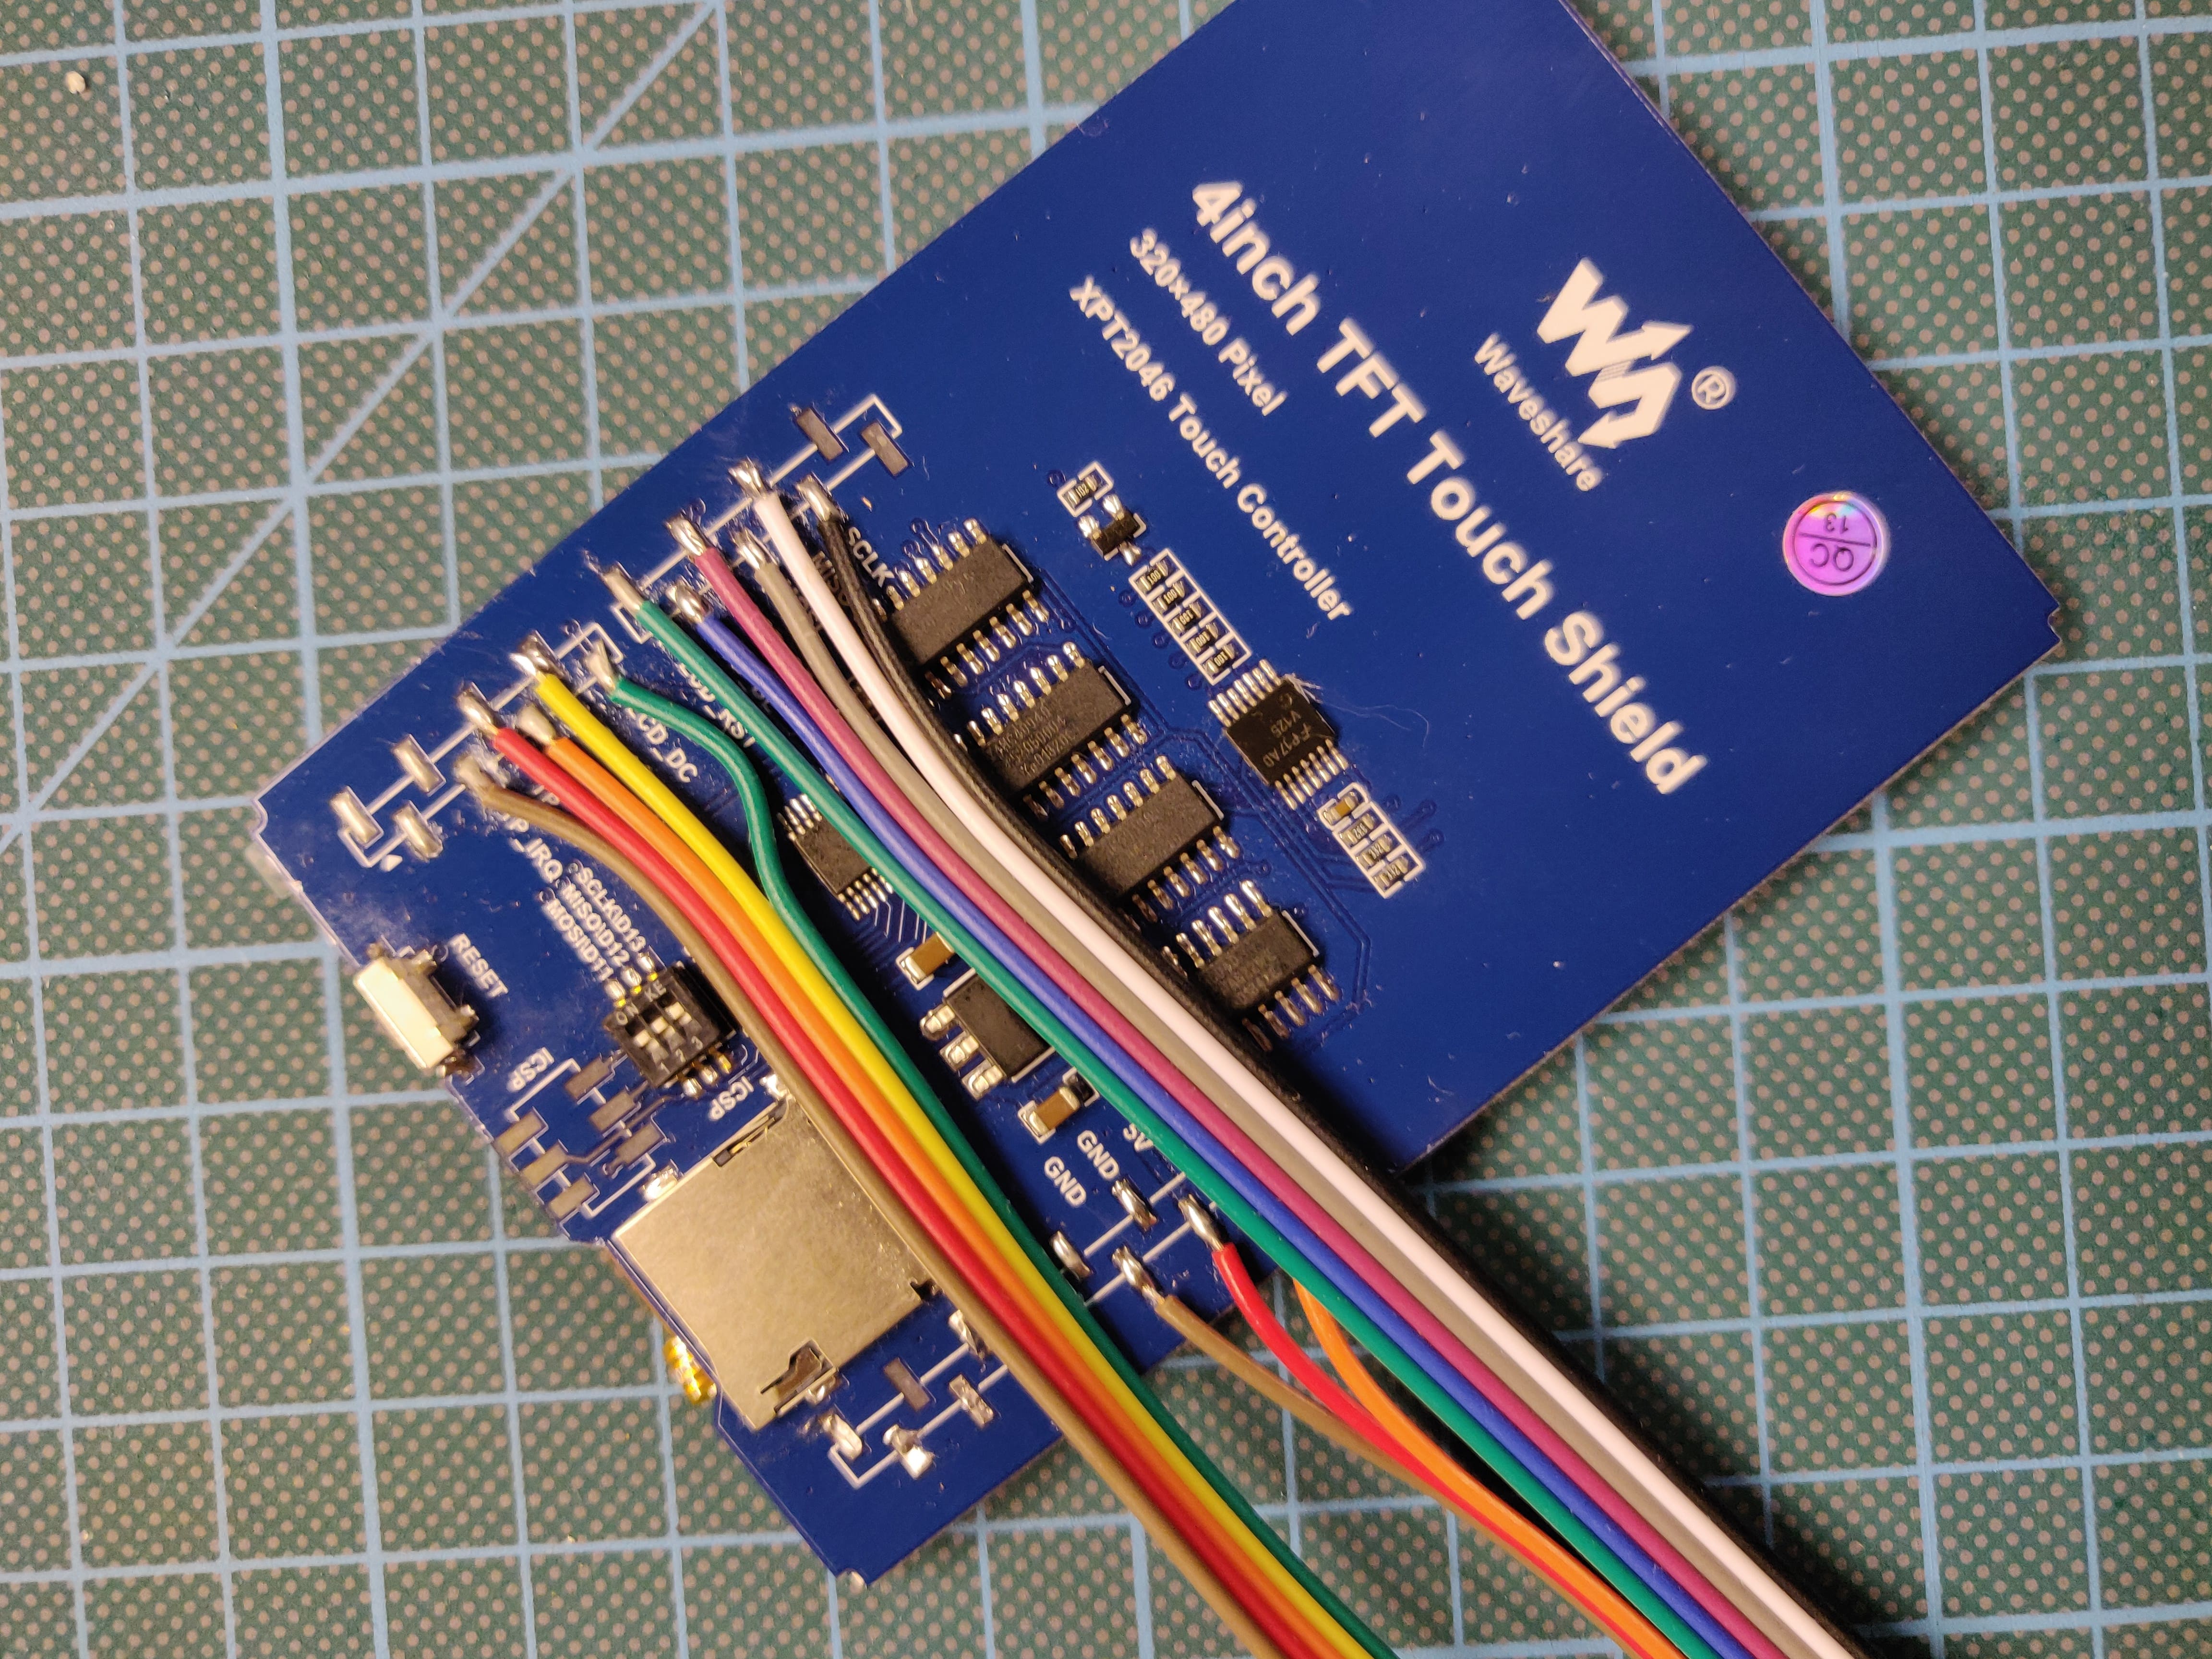 |
| 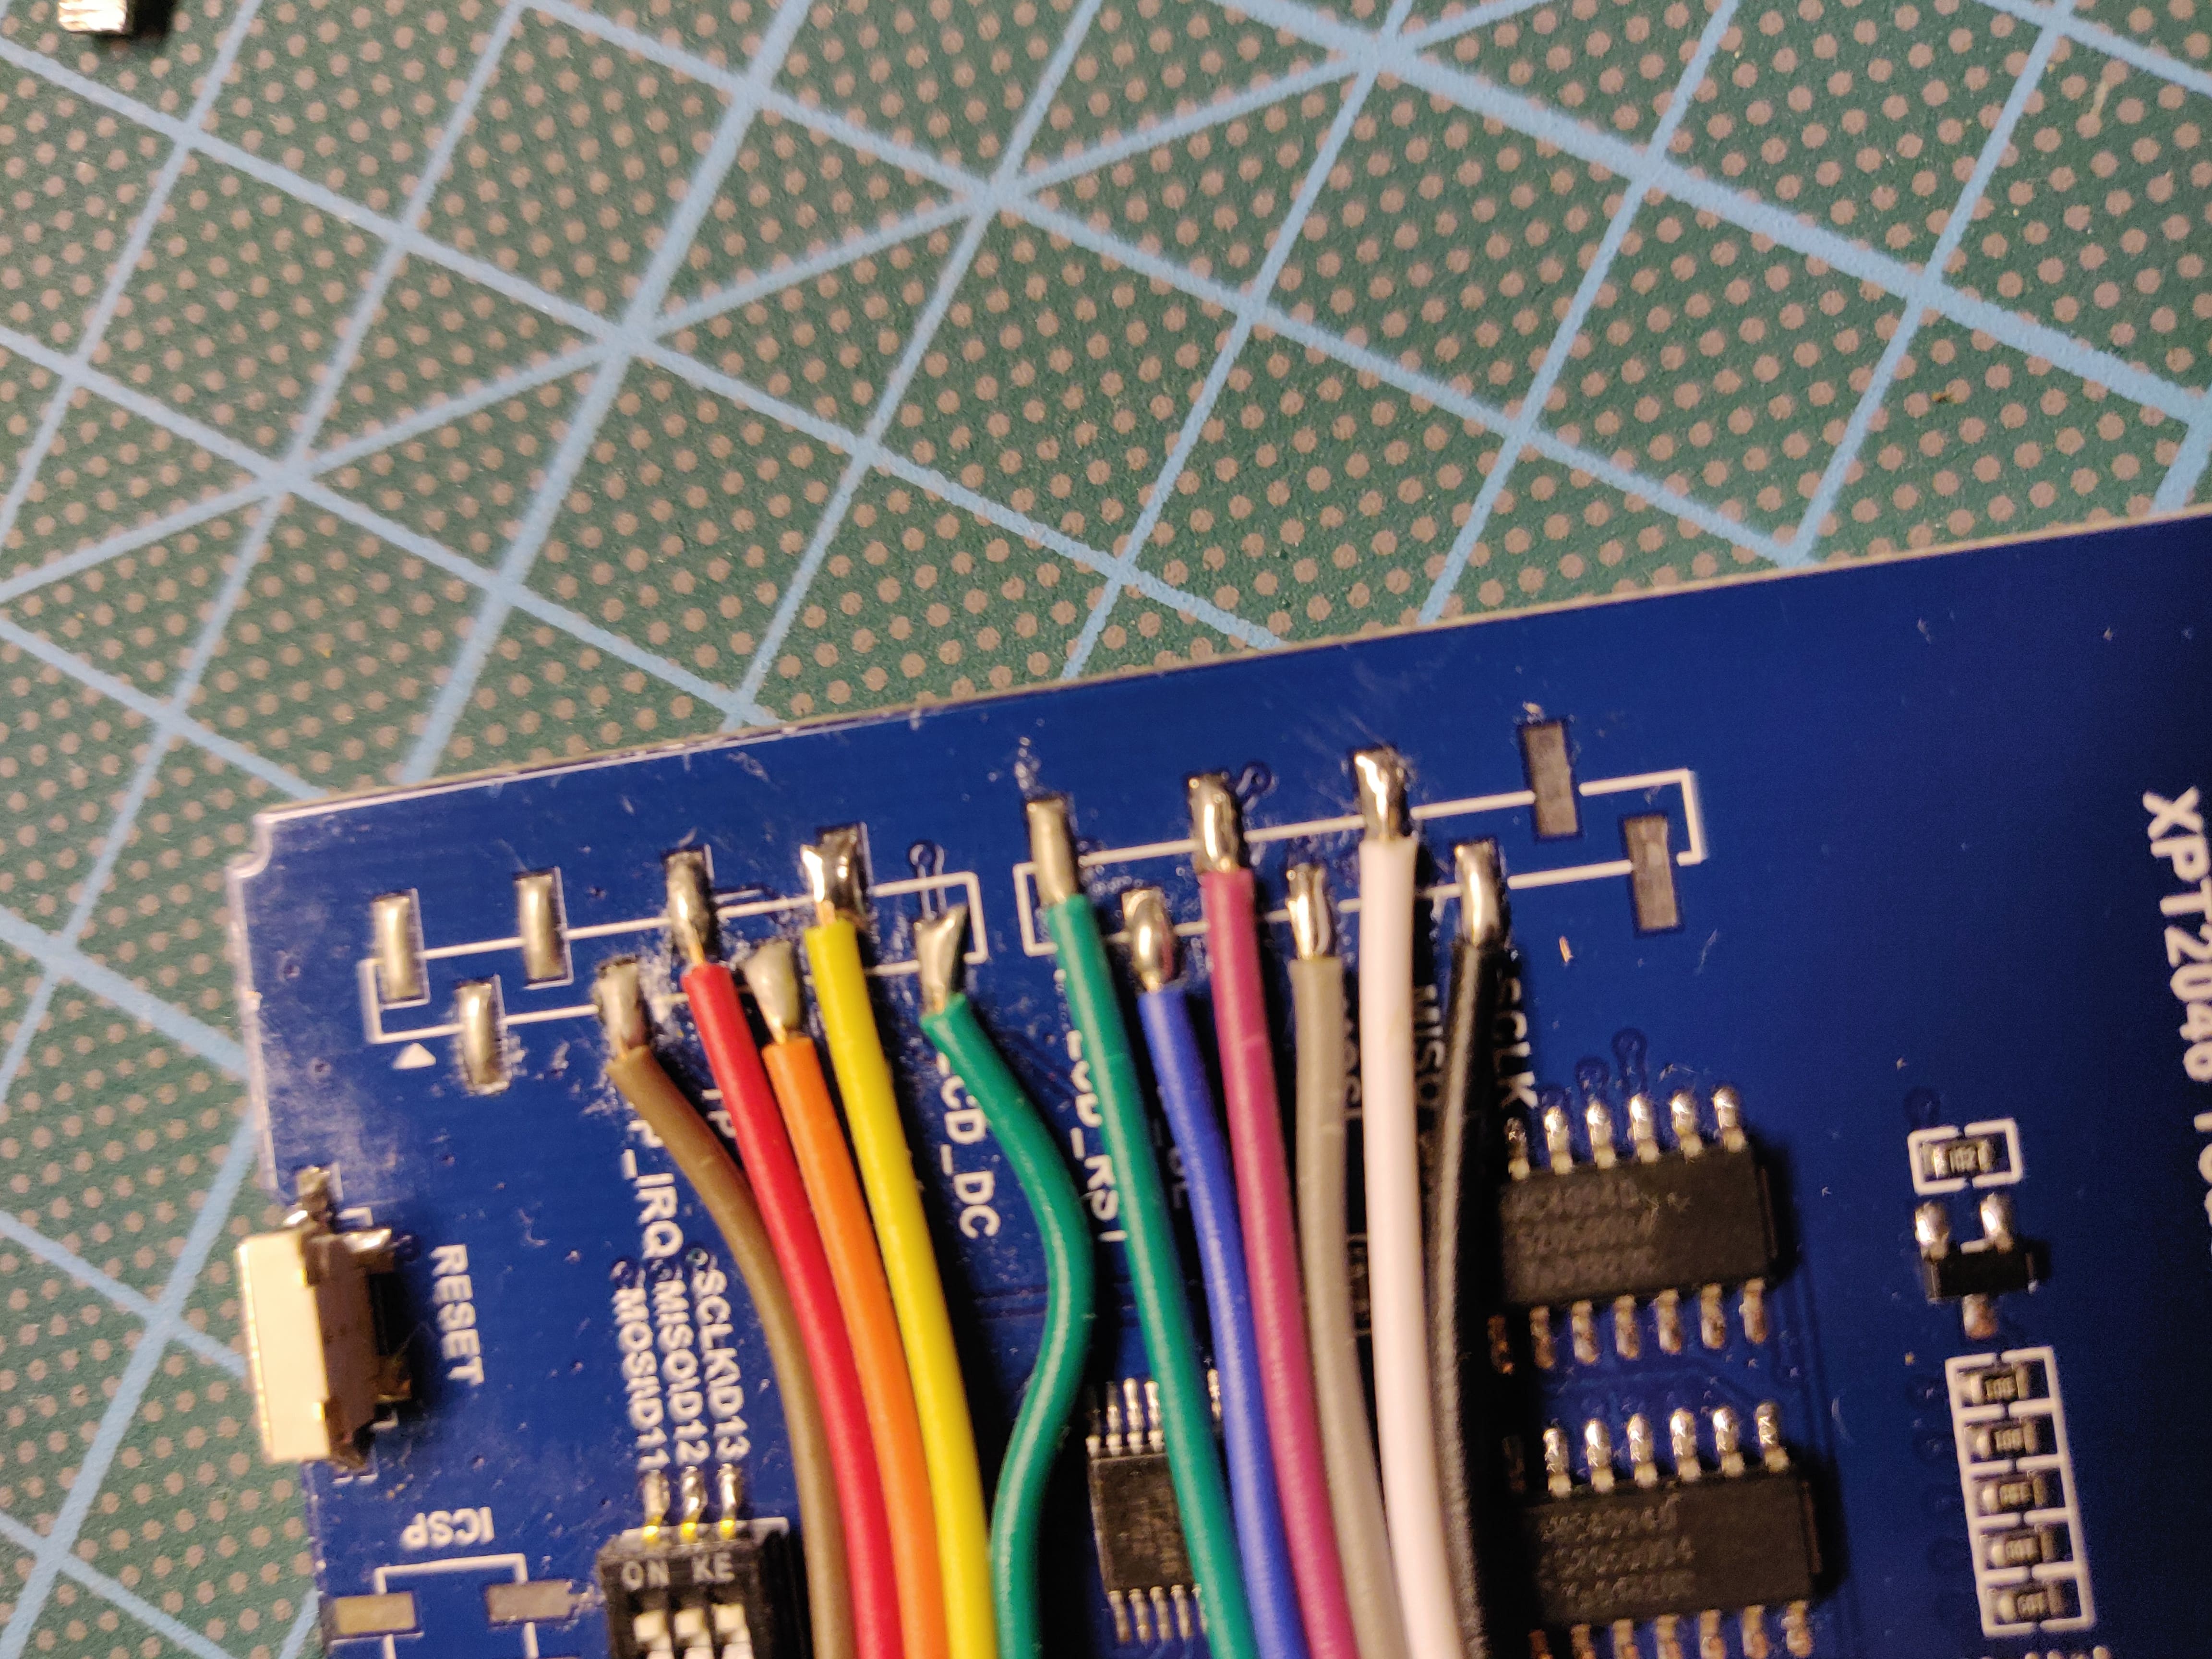 |
|  |
|
|  |
|  |
|  |
|
|  |
|  |
|  |
|
|  |
|  |
|  |
|
|  |
|  |
|  |
|
|  |
|  |
|  |
|
|  |
|  |
|  |
|
|  |
| 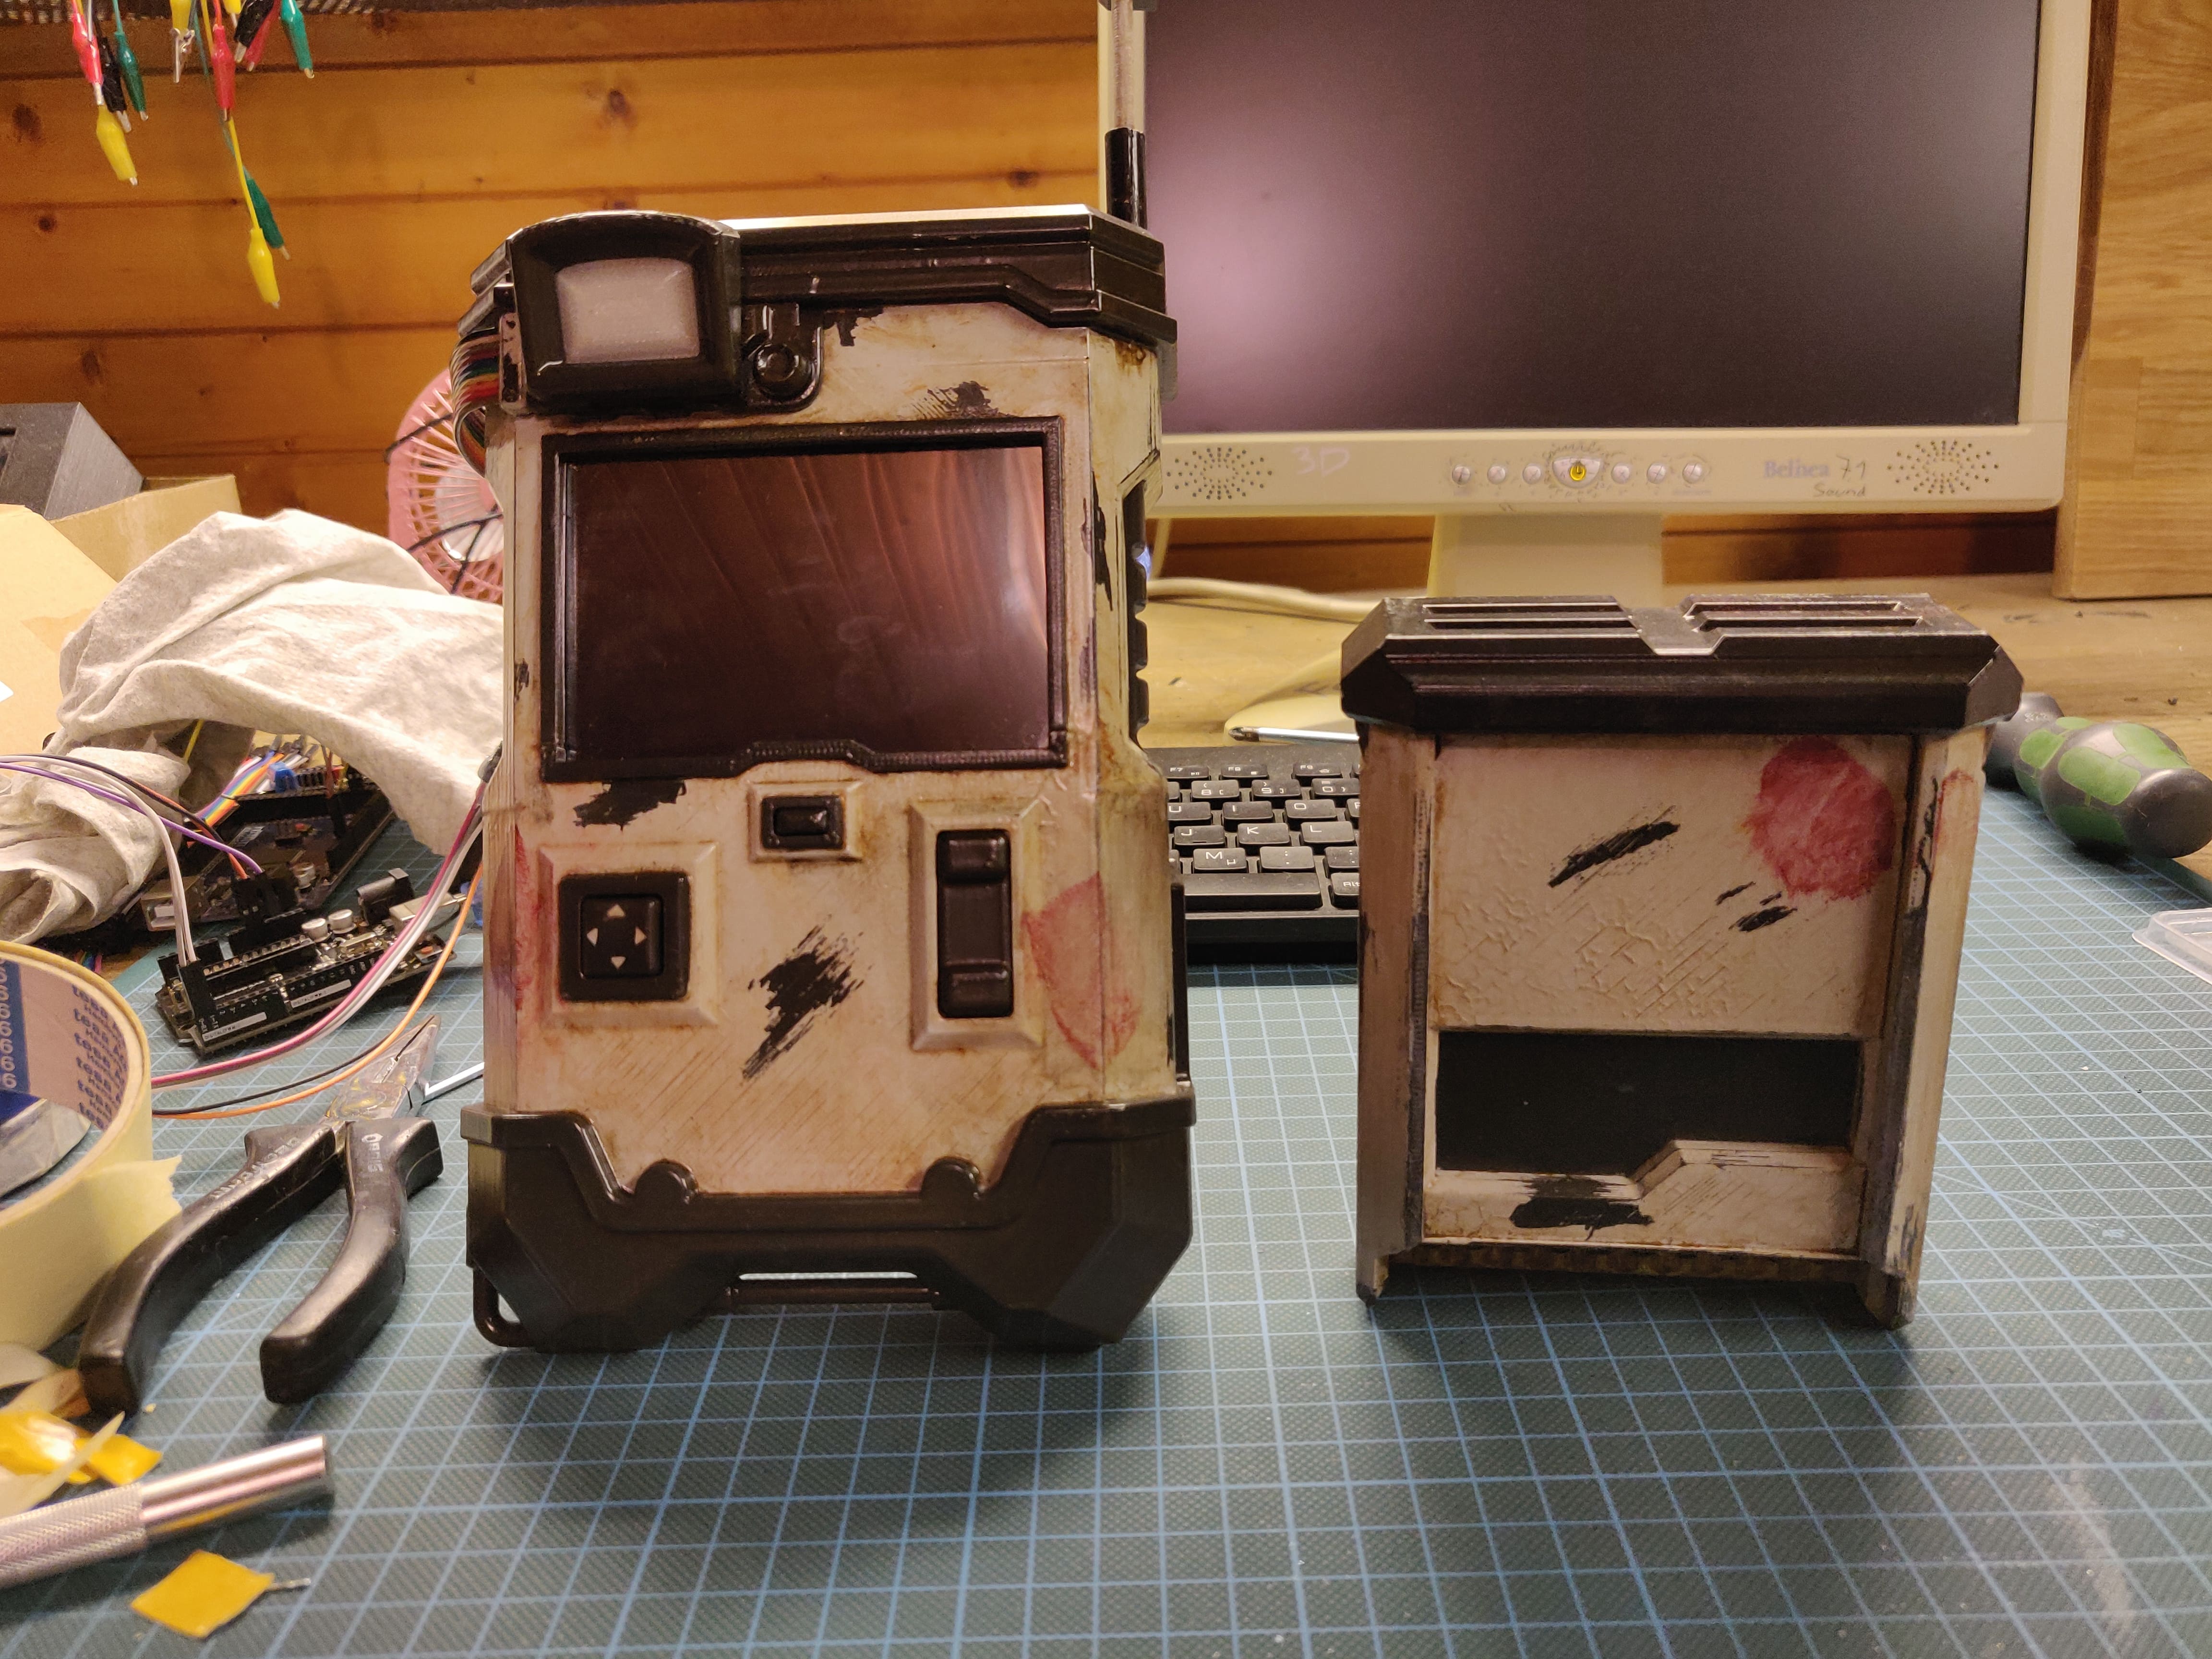 |
|