https://github.com/loftwah/tmp
bottmp
https://github.com/loftwah/tmp
Last synced: 7 months ago
JSON representation
bottmp
- Host: GitHub
- URL: https://github.com/loftwah/tmp
- Owner: loftwah
- License: gpl-2.0
- Created: 2023-03-03T12:10:17.000Z (over 2 years ago)
- Default Branch: main
- Last Pushed: 2023-03-03T12:10:31.000Z (over 2 years ago)
- Last Synced: 2025-01-31T09:45:02.278Z (8 months ago)
- Language: Python
- Size: 12.7 KB
- Stars: 2
- Watchers: 1
- Forks: 0
- Open Issues: 1
-
Metadata Files:
- Readme: README.md
- License: LICENSE
Awesome Lists containing this project
README
# ChatGPT Discord Bot
> ### Build your own Discord bot using ChatGPT
---
> **Warning**
>According to OpenAI's latest announcement, using unofficial API may result in the ban of your account. Please assess the risks yourself
>
> #### 2023-03-03 Update: Official GPT-3.5 model
> #### 2023-02-25 Update: Website ChatGPT model
> #### 2023-02-08 Update: ChatGPT API is highly unstable now
## Features
* `/chat [message]` Chat with ChatGPT!
* `/private` ChatGPT switch to private mode
* `/public` ChatGPT switch to public mode
* `/replyall` ChatGPT switch between replyall mode and default mode
* `/reset` Clear ChatGPT conversation history
* `/chat-model` Switch different chat model
- Modifying the `CHAT_MODEL` field in the `.env` file change the default model
- `OFFICIAL`: GPT-3.5 model(paid model)
- `UNOFFICIAL`: Website ChatGPT (free model)
### Chat
### Mode
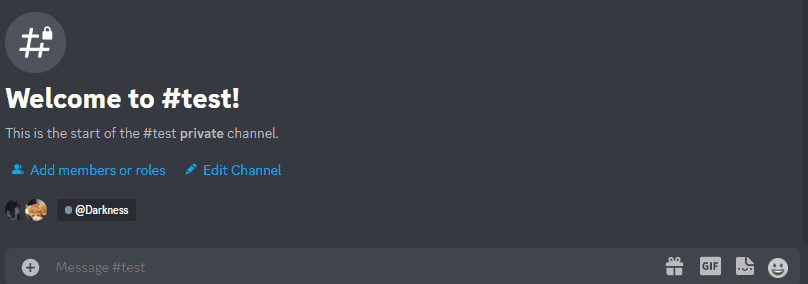
* `public mode (default)` the bot directly reply on the channel

* `private mode` the bot's reply can only be seen by the person who used the command

* `replyall mode` the bot will reply to all messages in the server without using slash commands
> **Warning**
> The bot will easily be triggered in `replyall` mode, which could cause program failures
# Setup
## Critical prerequisites to install
1. run `pip3 install -r requirements.txt`
2. **Rename the file `.env.dev` to `.env`**
## Step 1: Create a Discord bot
1. Go to https://discord.com/developers/applications create an application
2. Build a Discord bot under the application
3. Get the token from bot setting

4. Store the token to `.env` under the `DISCORD_BOT_TOKEN`

5. Turn MESSAGE CONTENT INTENT `ON`

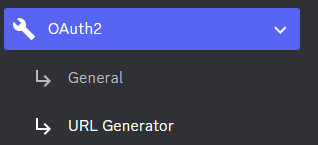
6. Invite your bot to your server via OAuth2 URL Generator
## Step 2: Official API authentication
### Geanerate an OpenAI API key
1. Go to https://beta.openai.com/account/api-keys
2. Click Create new secret key

3. Store the SECRET KEY to `.env` under the `OPENAI_API_KEY`
4. You're all set for [Step 3](#step-3-run-the-bot-on-the-desktop)
## Step 2: Website ChatGPT authentication - 2 approaches
### Email/Password authentication (Not supported for Google/Microsoft accounts)
1. Create an account on https://chat.openai.com/chat
2. Save your email into `.env` under `OPENAI_EMAIL`
3. Save your password into `.env` under `OPENAI_PASSWORD`
4. You're all set for [Step 3](#step-3-run-the-bot-on-the-desktop)
### Session token authentication
1. Go to https://chat.openai.com/chat log in
2. Open console with `F12`
2. Open `Application` tab > Cookies
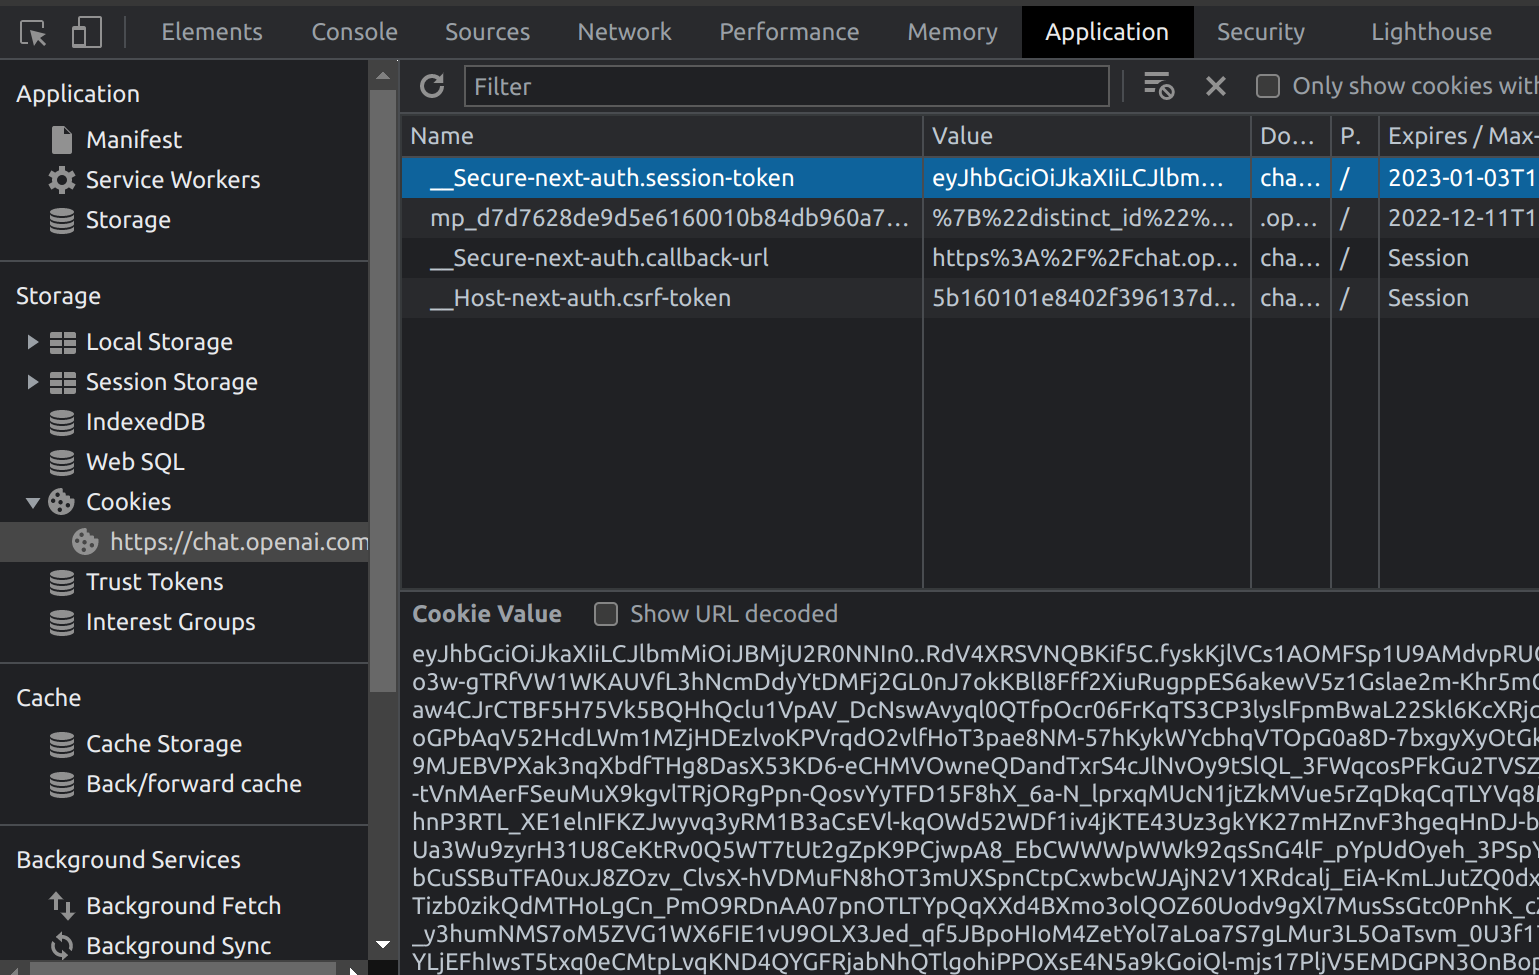
3. Copy the value for `__Secure-next-auth.session-token` from cookies and paste it into `.env` under `SESSION_TOKEN`
4. You're all set for [Step 3](#step-3-run-the-bot-on-the-desktop)
## Step 3: Run the bot on the desktop
1. Open a terminal or command prompt
2. Navigate to the directory where you installed the ChatGPT Discord bot
3. Run `python3 main.py` to start the bot
## Step 3: Run the bot with Docker
1. Build the Docker image & Run the Docker container `docker compose up -d`
2. Inspect whether the bot works well `docker logs -t chatgpt-discord-bot`
### Stop the bot:
* `docker ps` to see the list of running services
* `docker stop ` to stop the running bot
### Have a good chat!
## Optional: Disable logging
* Set the value of `LOGGING` in the `.env` to False
## Optional: Setup starting prompt
* A starting prompt would be invoked when the bot is first started or reset
* You can set it up by modifying the content in `starting-prompt.txt`
* All the text in the file will be fired as a prompt to the bot
* Get the first message from ChatGPT in your discord channel!
1. Right-click the channel you want to recieve the message, `Copy ID`

2. paste it into `.env` under `DISCORD_CHANNEL_ID`