https://github.com/logsmith/log-flume
Sync media from WordPress to Amazon S3
https://github.com/logsmith/log-flume
aws-creds s3 s3-bucket sync wordpress wordpress-development wordpress-plugin
Last synced: 3 months ago
JSON representation
Sync media from WordPress to Amazon S3
- Host: GitHub
- URL: https://github.com/logsmith/log-flume
- Owner: logsmith
- Created: 2017-03-15T15:46:12.000Z (almost 9 years ago)
- Default Branch: master
- Last Pushed: 2018-05-27T15:57:26.000Z (over 7 years ago)
- Last Synced: 2025-01-29T08:41:35.775Z (about 1 year ago)
- Topics: aws-creds, s3, s3-bucket, sync, wordpress, wordpress-development, wordpress-plugin
- Language: PHP
- Homepage:
- Size: 101 KB
- Stars: 5
- Watchers: 4
- Forks: 0
- Open Issues: 2
-
Metadata Files:
- Readme: Readme.md
- Changelog: changelog.md
Awesome Lists containing this project
README

This allows developers to sync WordPress media libraries between machines over Amazon S3.
It can also be used for backing up websites or even moving websites between servers
### How Log Flume talks to S3
The setup will ask you to add these constants to your wp-config.php file:
- LOG_FLUME_REGION
- LOG_FLUME_ACCESS_KEY_ID
- LOG_FLUME_SECRET_ACCESS_KEY
You can obtain these details by creating an IAM user. Here is [our guide](https://github.com/logsmith/log-flume/wiki/Getting-AWS-credentials) on how to setup an IAM Amazon user and get the access and secret key that you need.
## Installation
#### 1. Add the Wordpress plugin to your composer file by navigating to your project and running this inside a terminal:
```
composer require logsmith/log-flume
```
#### 2. Activate the plugin via the admin interface, or just run:
```
wp plugin activate log-flume
```
#### 3. Add your credentials to your wp-config file.
And these constants to your wp-config file:
```
define('LOG_FLUME_REGION','eu-west-2'); //London
define('LOG_FLUME_ACCESS_KEY_ID','');
define('LOG_FLUME_SECRET_ACCESS_KEY','');
```
#### 4. Then finally run (you will need the constants above):
```
wp logflume check_credentials
```
#### 5. If the check is successful, you can start the log flume setup:
```
wp logflume create_bucket
```
`bucket_name` is usually the address of the site you are currently working on ('website.local')
You will also be asked `Create bucket? [y/n]` - supply 'y' if this is a fresh setup. Select N to not do that.
#### 6. Time to sync!
```
wp logflume sync
```
Bucket name is usually the address of the site you are currently using
## Using log-flume to backup a live website
Log-flume can be used to backup a live site as well as sync development assets.
#### 1. Install and setup log-flume
Get log-flume running on local version of the site (using the 'Installation' guide above).
#### 2. Log into the live env
SSH into the live environment and navigate to your WordPress installation.
#### 3. Check local credential work in live env
```
wp logflume check_credentials
```
Run to find any issues.
#### 4. Setup a bucket for the live env
It's always good to separate the dev and live environments.
```
wp logflume create_bucket
```
Create a fresh bucket with the live URL as the bucket name. For example:
```
wp logflume create_bucket atomicsmash.co.uk
```
#### 5. Setup auto-deletion of SQL files
Depending on how often you run this command, the SQL files will start to build up quickly. You can setup an S3 folder lifecycle to auto-delete files older than X number of days.
```
wp logflume autodelete_sql
```
We usually usually retain backups for 30 days:
```
wp logflume autodelete_sql 30
```
#### 6. Setting up auto-backup (cron job)
To get the backup command to run on a regular basis, you need to setup a cron job. Use something similar to this:
```
/usr/local/bin/wp logflume backup_wordpress --path=/path/to/www.website.co.uk/
```
If you are using composer in your project then your WordPress core files might be inside a subfolder, please modify the path to reflect this. If WordPress lives inside "/wp/" then the cron job would look like this:
```
/usr/local/bin/wp logflume backup_wordpress --path=/path/to/www.website.co.uk/wp
```
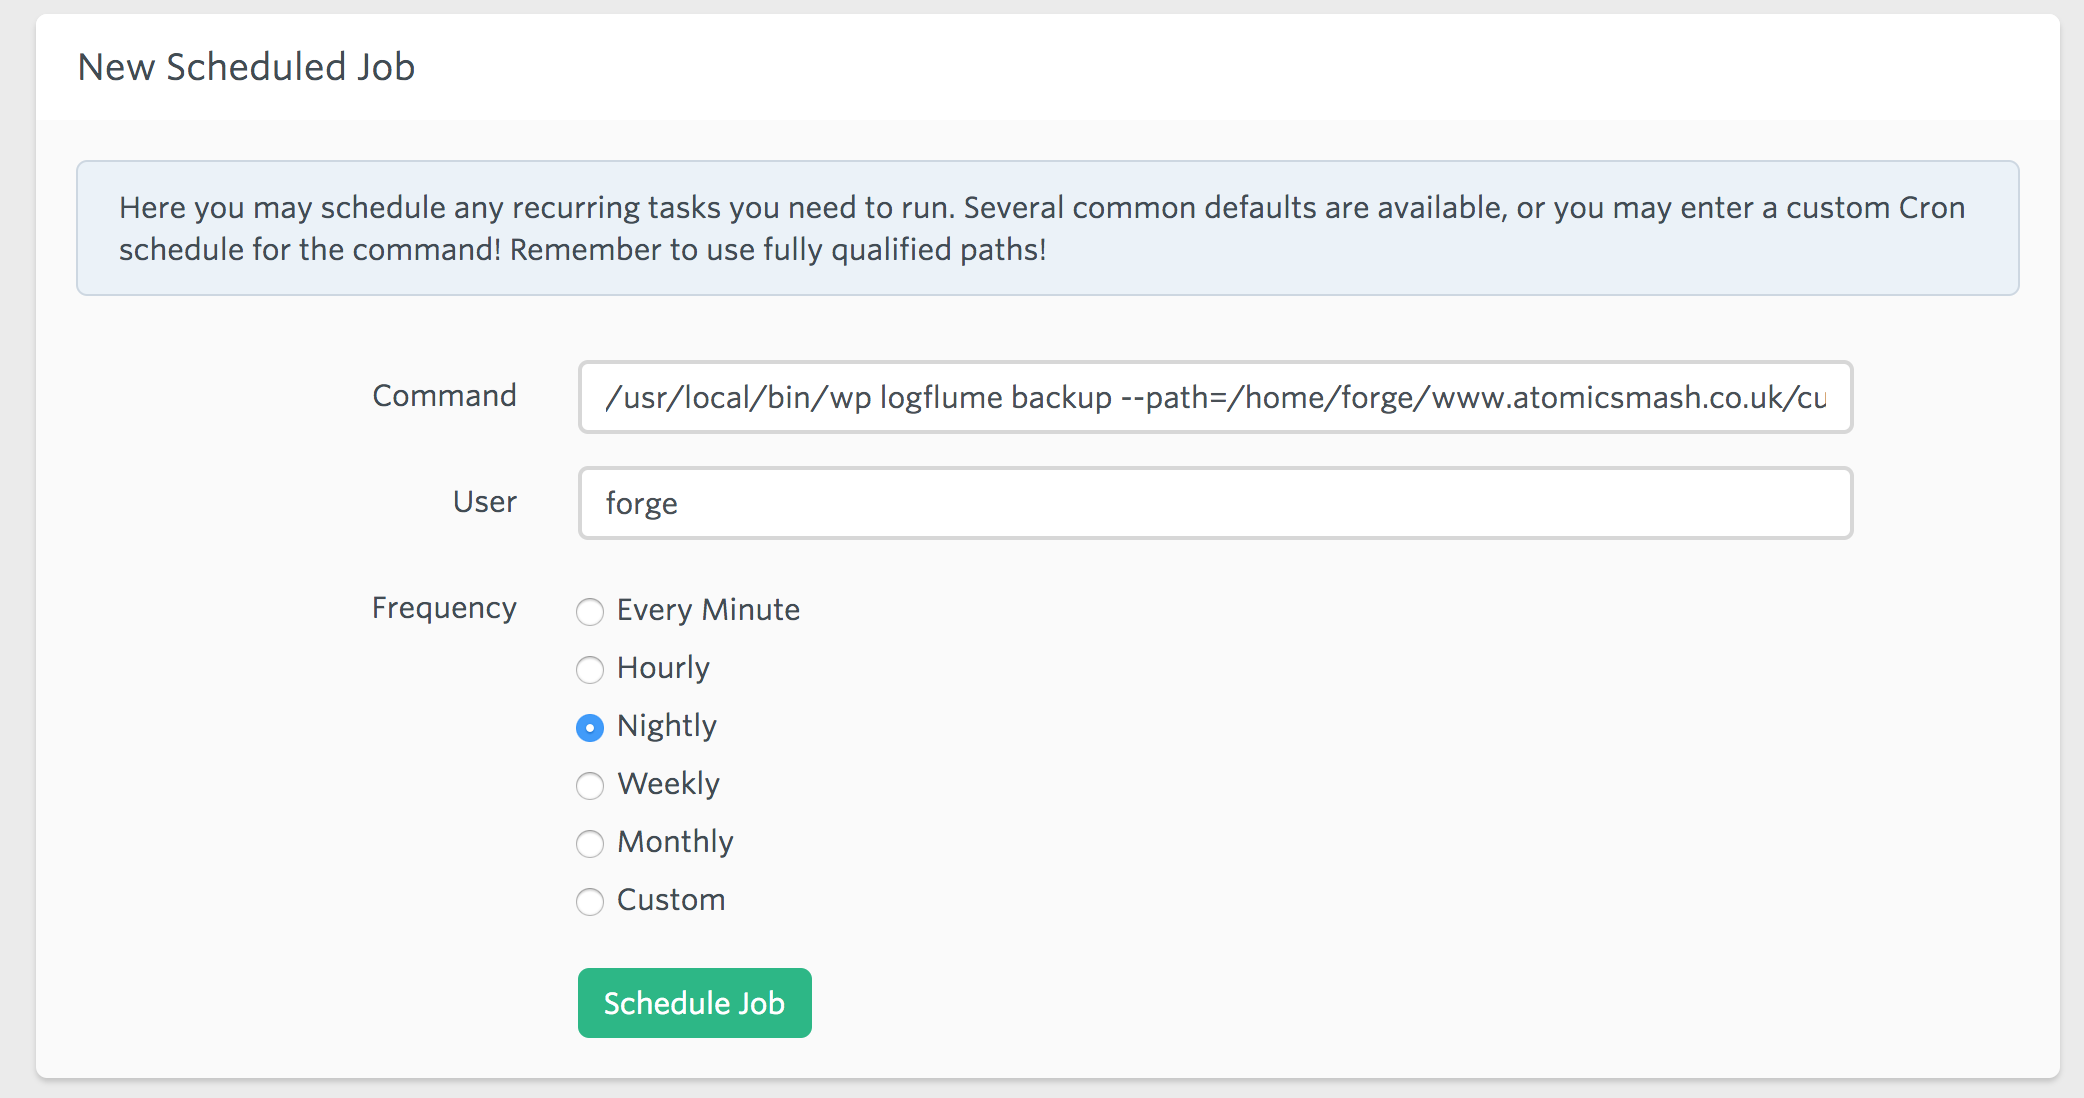
If you are using forge, then simply add to the server scheduling panel:

## Functions
**logflume sync [--direction=]**
> This function runs `sync` **and** a DB backup.
**logflume backup_wordpress**
> This function runs `sync` **and** a DB backup.
**logflume create_bucket **
> Created the required bucket and bucket settings for handling media on S3. It's good to use the current hostname.
**logflume select_bucket **
> Use this to change the bucket that log-flume is currently sync to.
**logflume check_credentials**
> Performs a simple S3 function to make sure it can access the selected bucket
**logflume autodelete_sql**
> Setup a S3 lifecycle to auto-delete from the SQL folder after a number of days.
## Troubleshooting
Are you receiving an error similar to `PHP Fatal error: Uncaught Error: Class 'Aws\S3\S3Client' not found in /path/to/file`
Make sure you are requiring your autoload.php generated by composer. We usually add this to the top of our wp-config file:
```
require( dirname( __FILE__ ) . '/vendor/autoload.php' );
```