https://github.com/longshilin/wiki
https://github.com/longshilin/wiki
Last synced: 3 months ago
JSON representation
- Host: GitHub
- URL: https://github.com/longshilin/wiki
- Owner: longshilin
- License: mit
- Created: 2023-07-28T11:21:52.000Z (over 2 years ago)
- Default Branch: main
- Last Pushed: 2023-08-14T05:08:57.000Z (about 2 years ago)
- Last Synced: 2025-03-03T20:41:01.932Z (8 months ago)
- Homepage: https://longshilin.com/wiki/#/
- Size: 867 KB
- Stars: 0
- Watchers: 1
- Forks: 0
- Open Issues: 0
-
Metadata Files:
- Readme: README.md
- Changelog: CHANGELOG.md
- License: LICENSE
- Code of conduct: CODE_OF_CONDUCT.md
Awesome Lists containing this project
README
# Docsify Open Publishing Starter Kit
[](https://docsify.js.org/)
[](https://github.com/hibbitts-design/docsify-open-publishing-starter-kit/blob/main/LICENSE)

> This is a starter kit to quickly create Markdown-based article, portfolio and documentation websites with the site generator [Docsify](https://docsify.js.org). Global navigation elements can be hidden for seamlessly embedding pages into other platforms or shared as standalone pages. Includes an optional "Edit this Page" link.
📸 Docsify Open Publishing Screenshots
---
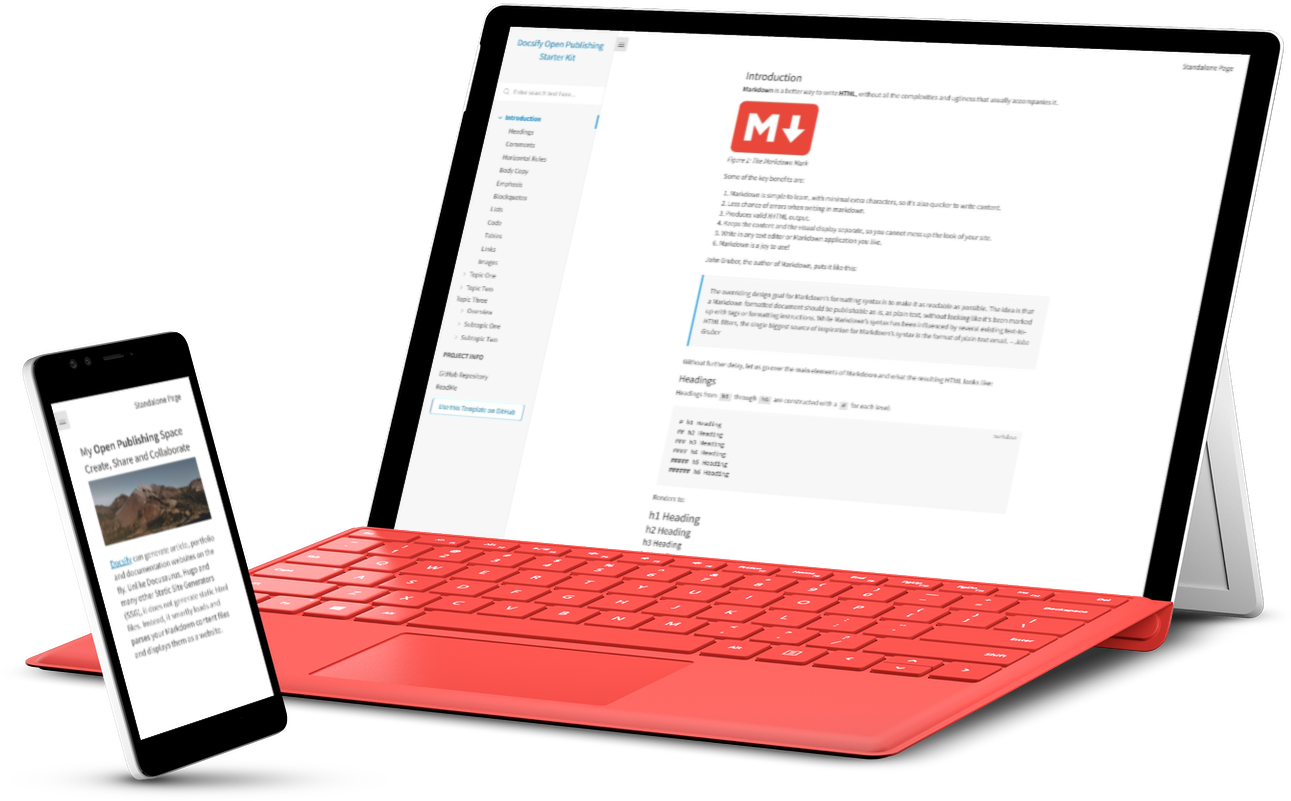
_Figure 1. Docsify Open Publishing Starter Kit. Explore a demo at [hibbitts-design.github.io/demo-docsify-open-publishing-starter-kit/](https://hibbitts-design.github.io/demo-docsify-open-publishing-starter-kit/#/)_
🚀 GitHub Pages Quickstart
---
**Pre-flight Checklist**
1. GitHub account
**Installation and Deployment**
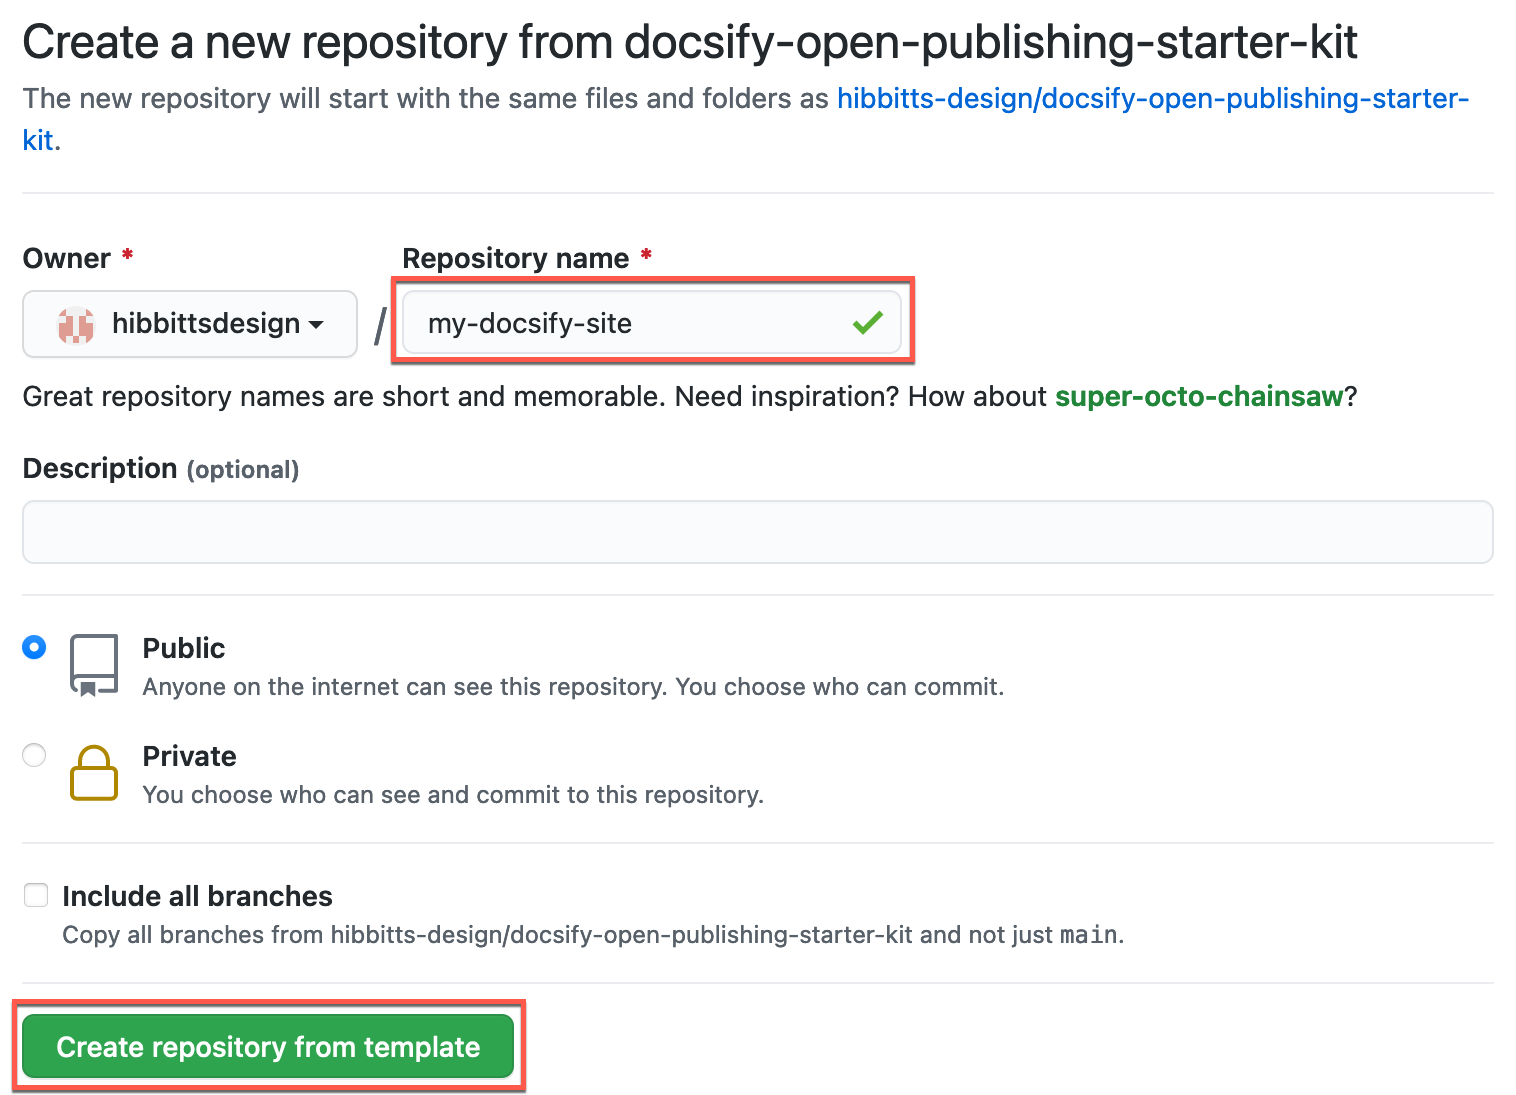
1. Tap **Use this template** on the source repository (upper-right green button) and then choose **Create a new repository**

2. Choose the name for your new repository to contain the copied site files and then tap **Create repository from template**
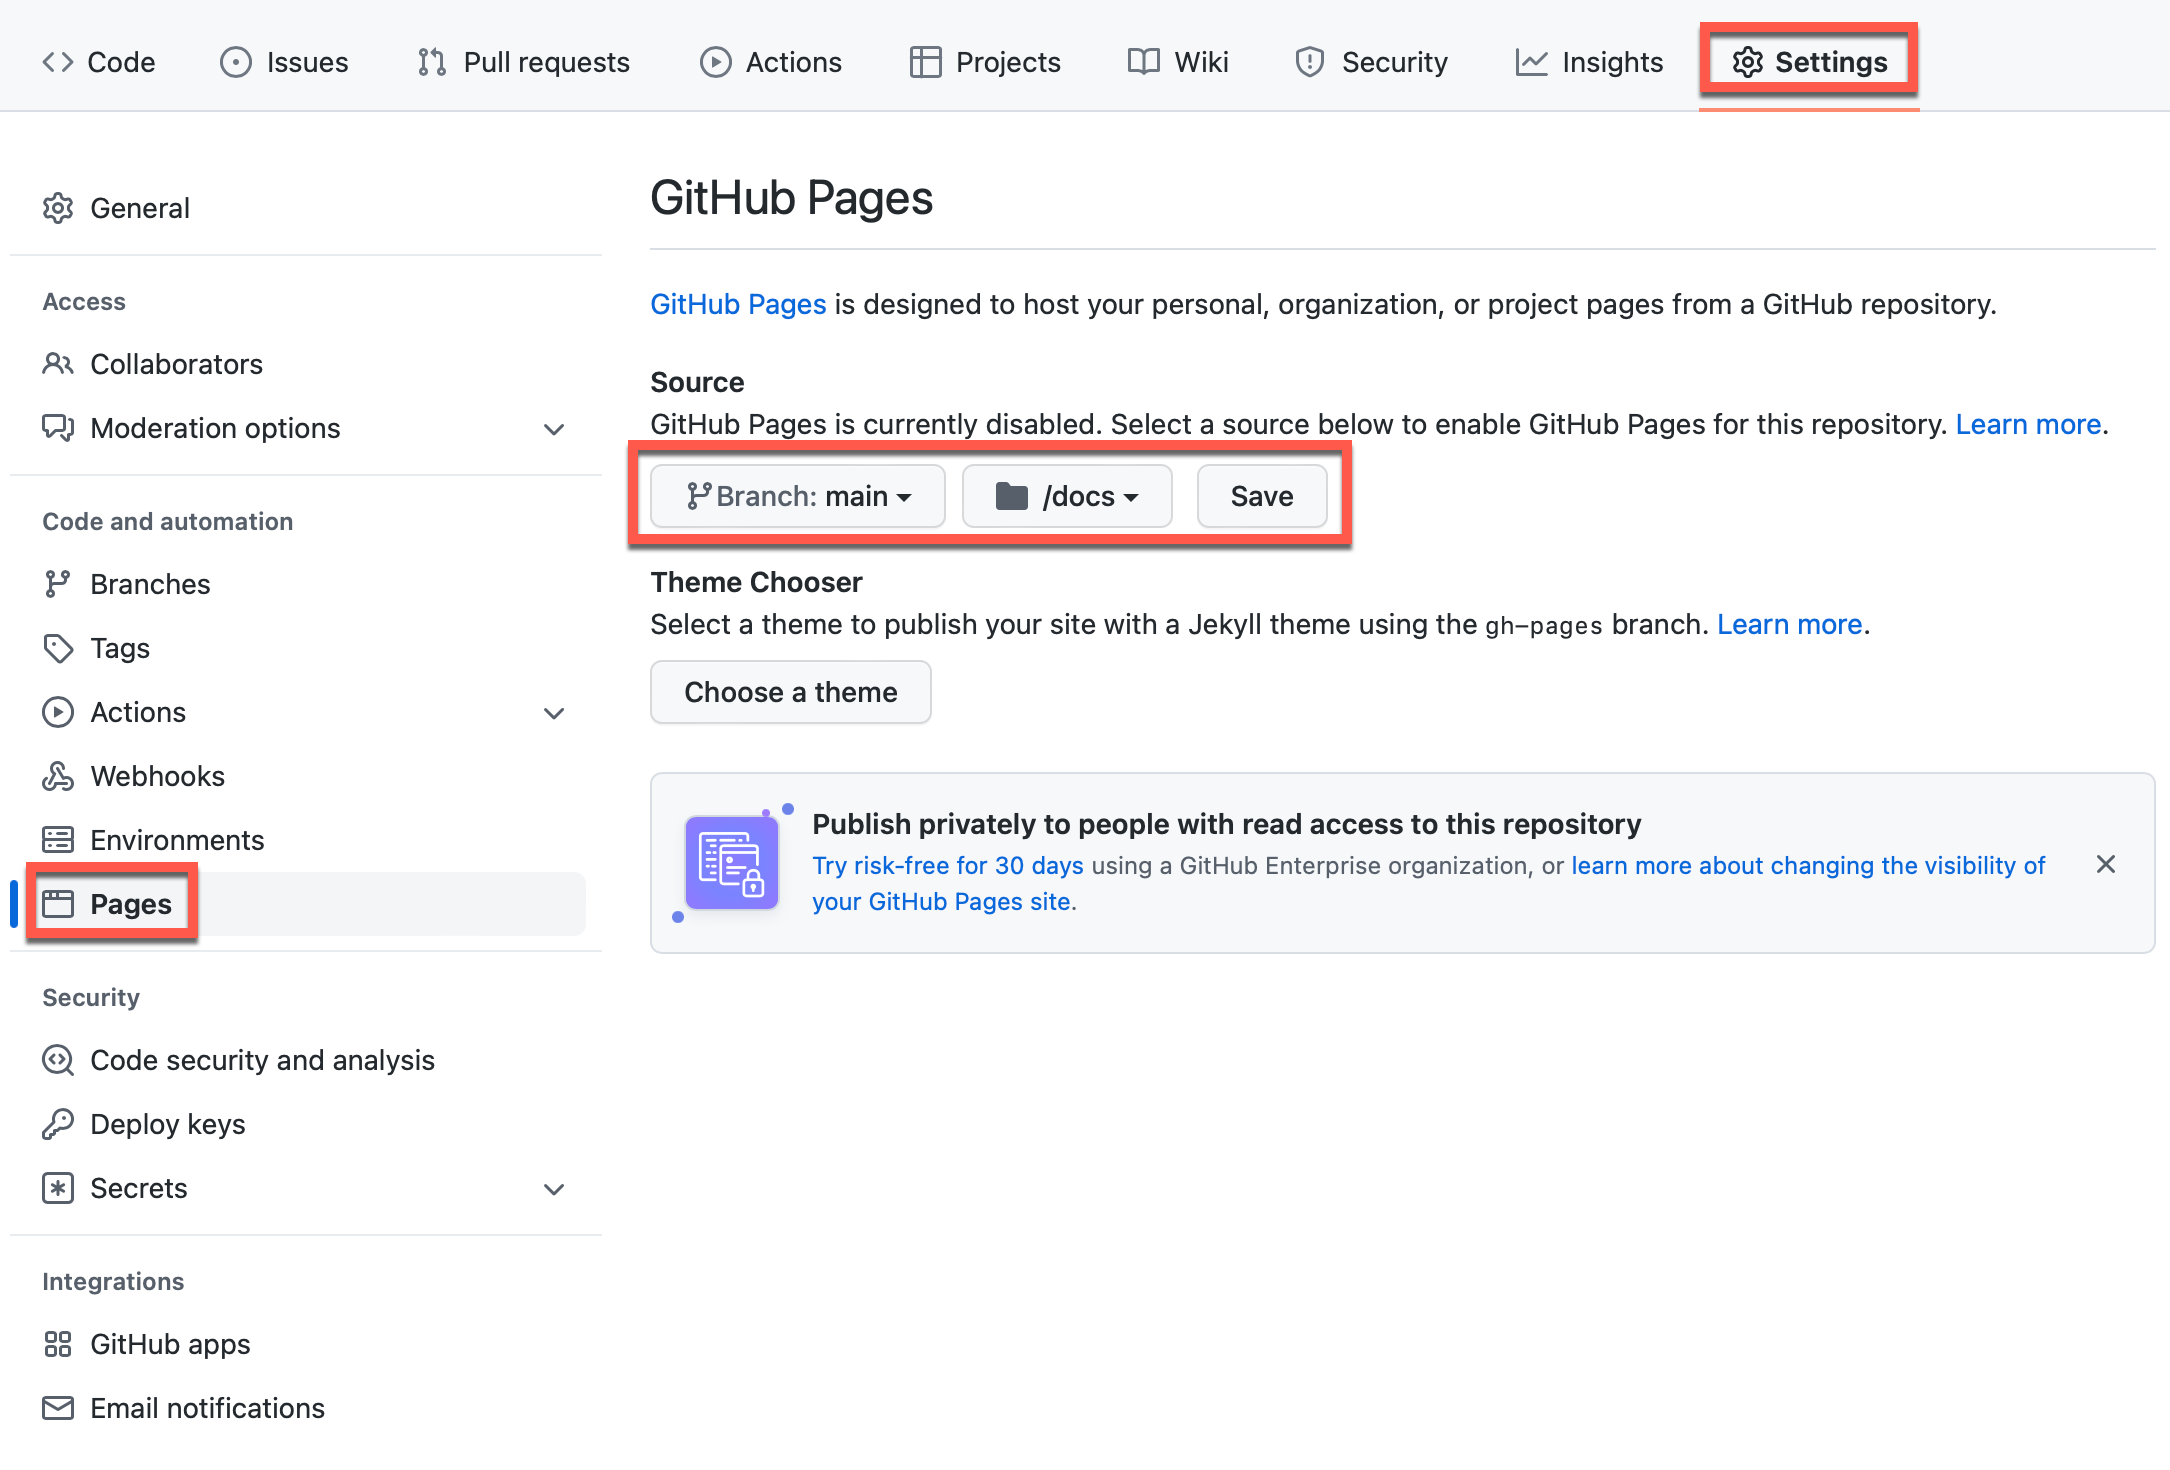
3. Go to **Settings** of your newly created repository, tap the **Pages** tab (on the left-hand side), choose **main branch**, then **docs folder** and finally tap the **Save** button (see more details in the [Docsify documentation](https://docsify.js.org/#/deploy?id=github-pages))
4. And you're done! (view your new site using the provided URL on the **Pages** tab - it can take up to 10 minutes for your site to be initially available)

Do you use GitLab? You can also use Docsify with [GitLab Pages](https://docsify.js.org/#/deploy?id=gitlab-pages)!
✏️ Editing Your Docsify Site Pages on GitHub
---
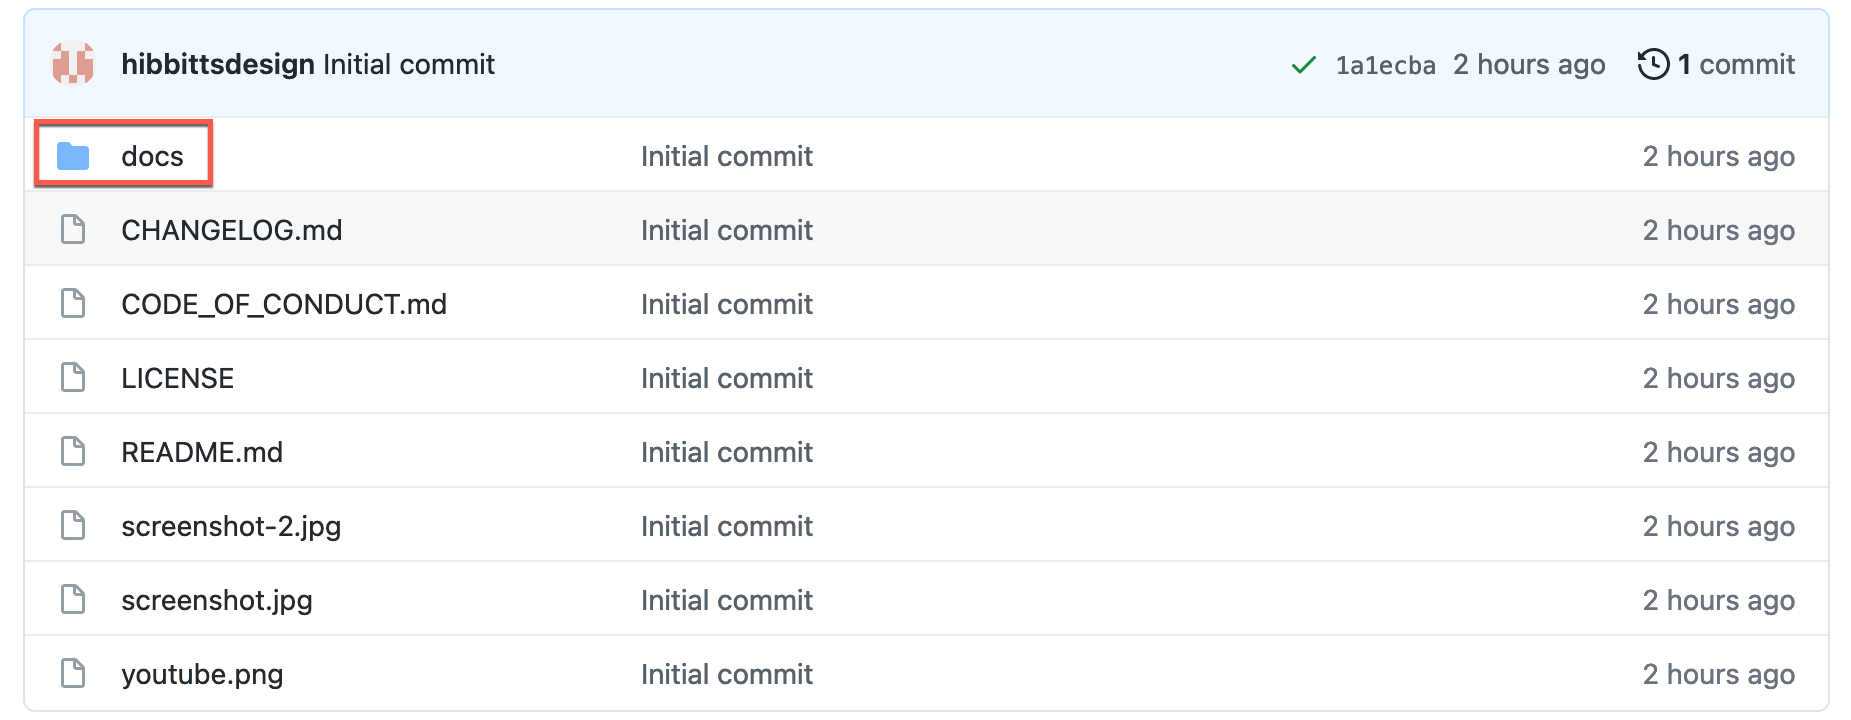
1. Go to the Docsify Markdown (.md) page in the `docs` folder of your repository you want to edit

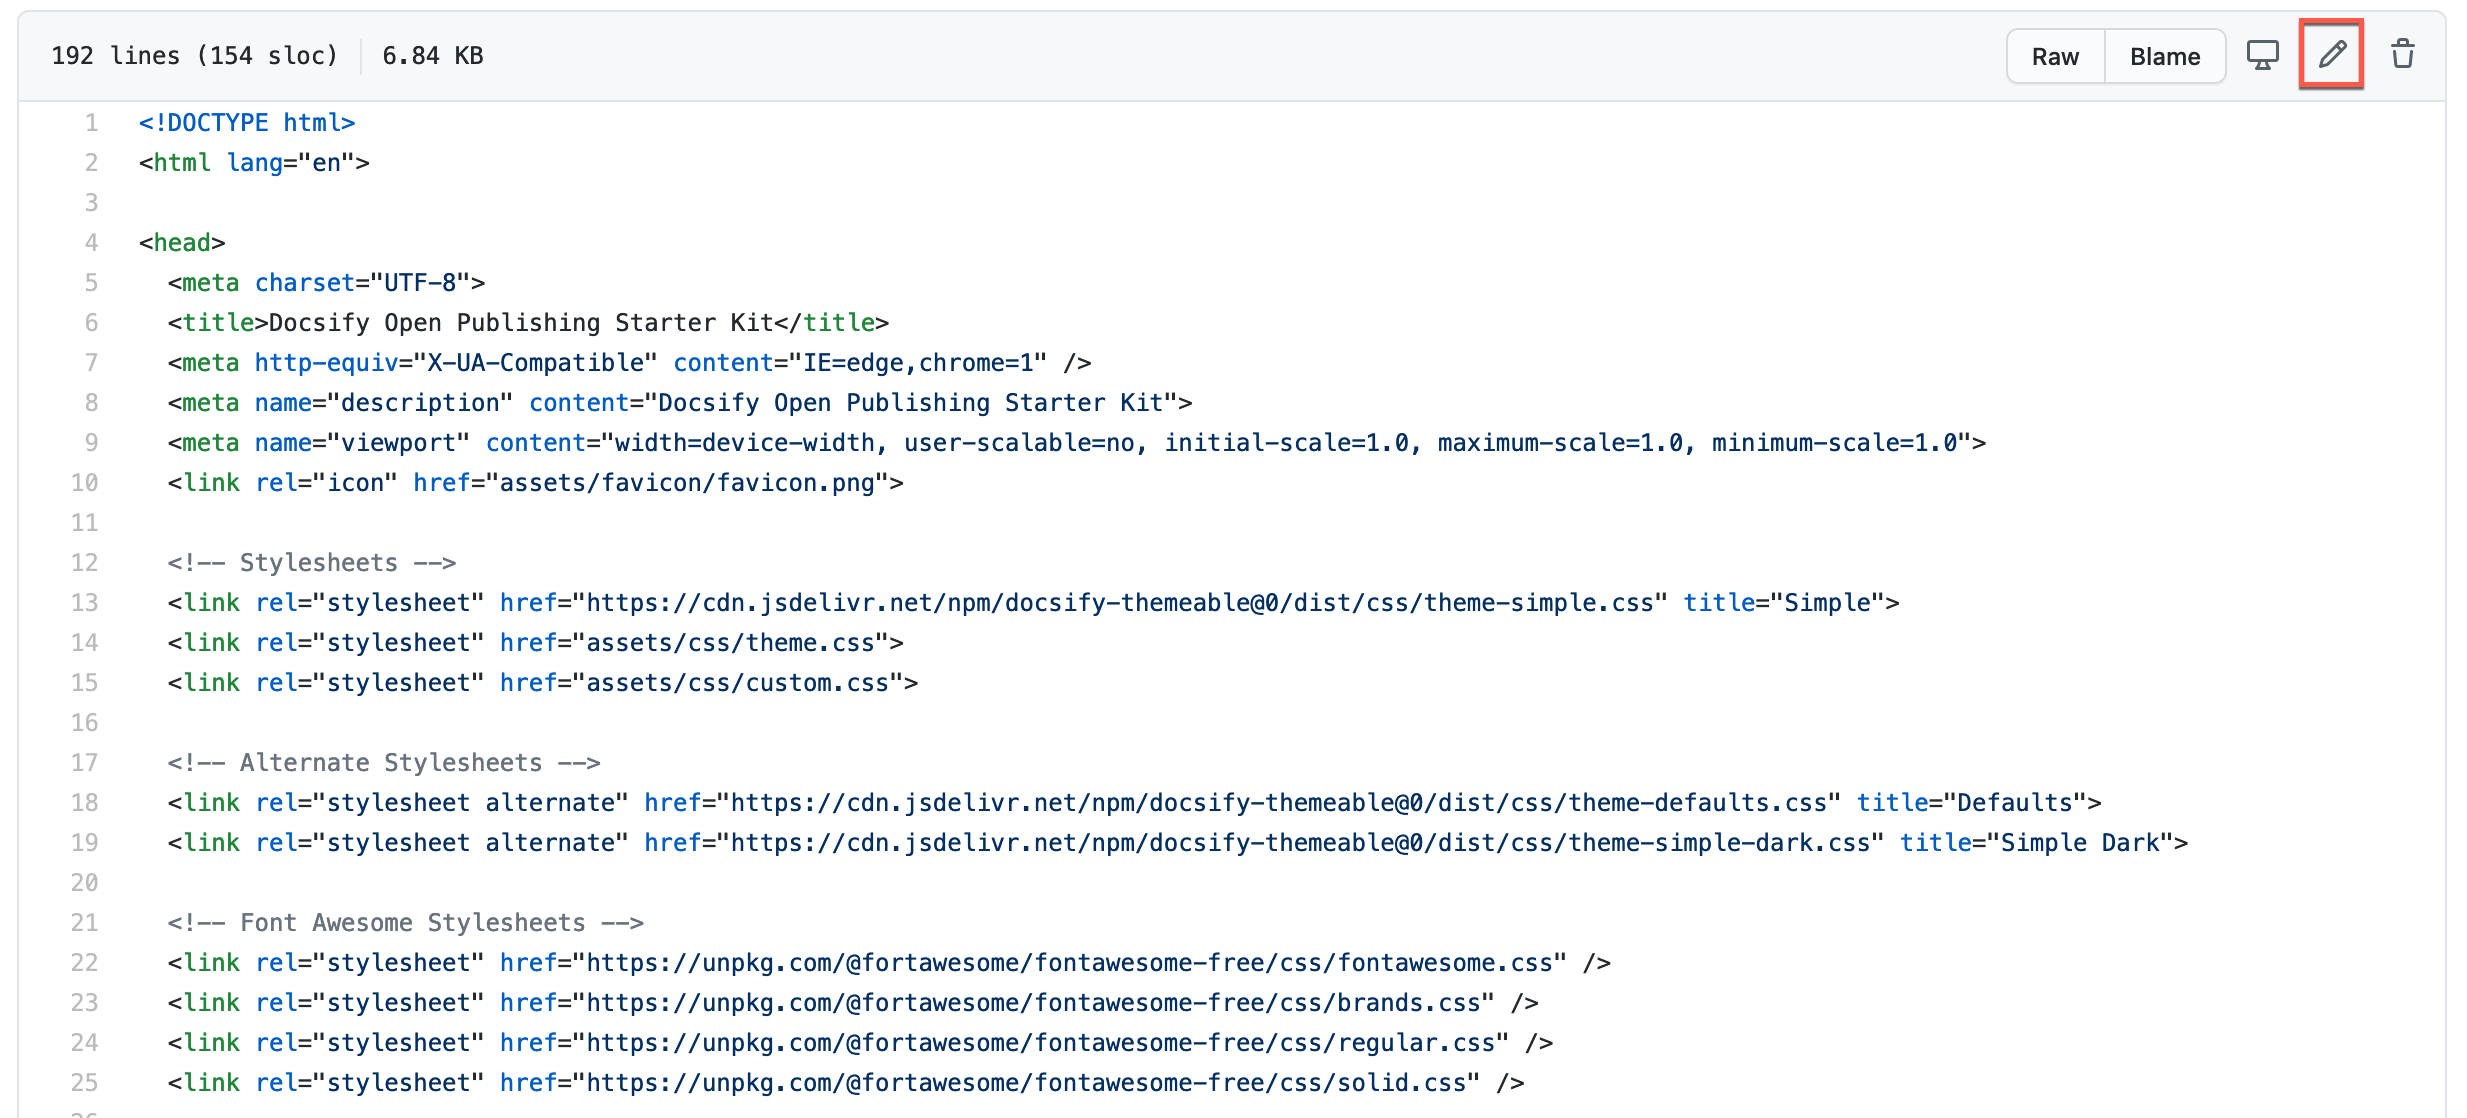
2. Tap the **Pencil Icon** (top left-hand toolbar area) to start the editor

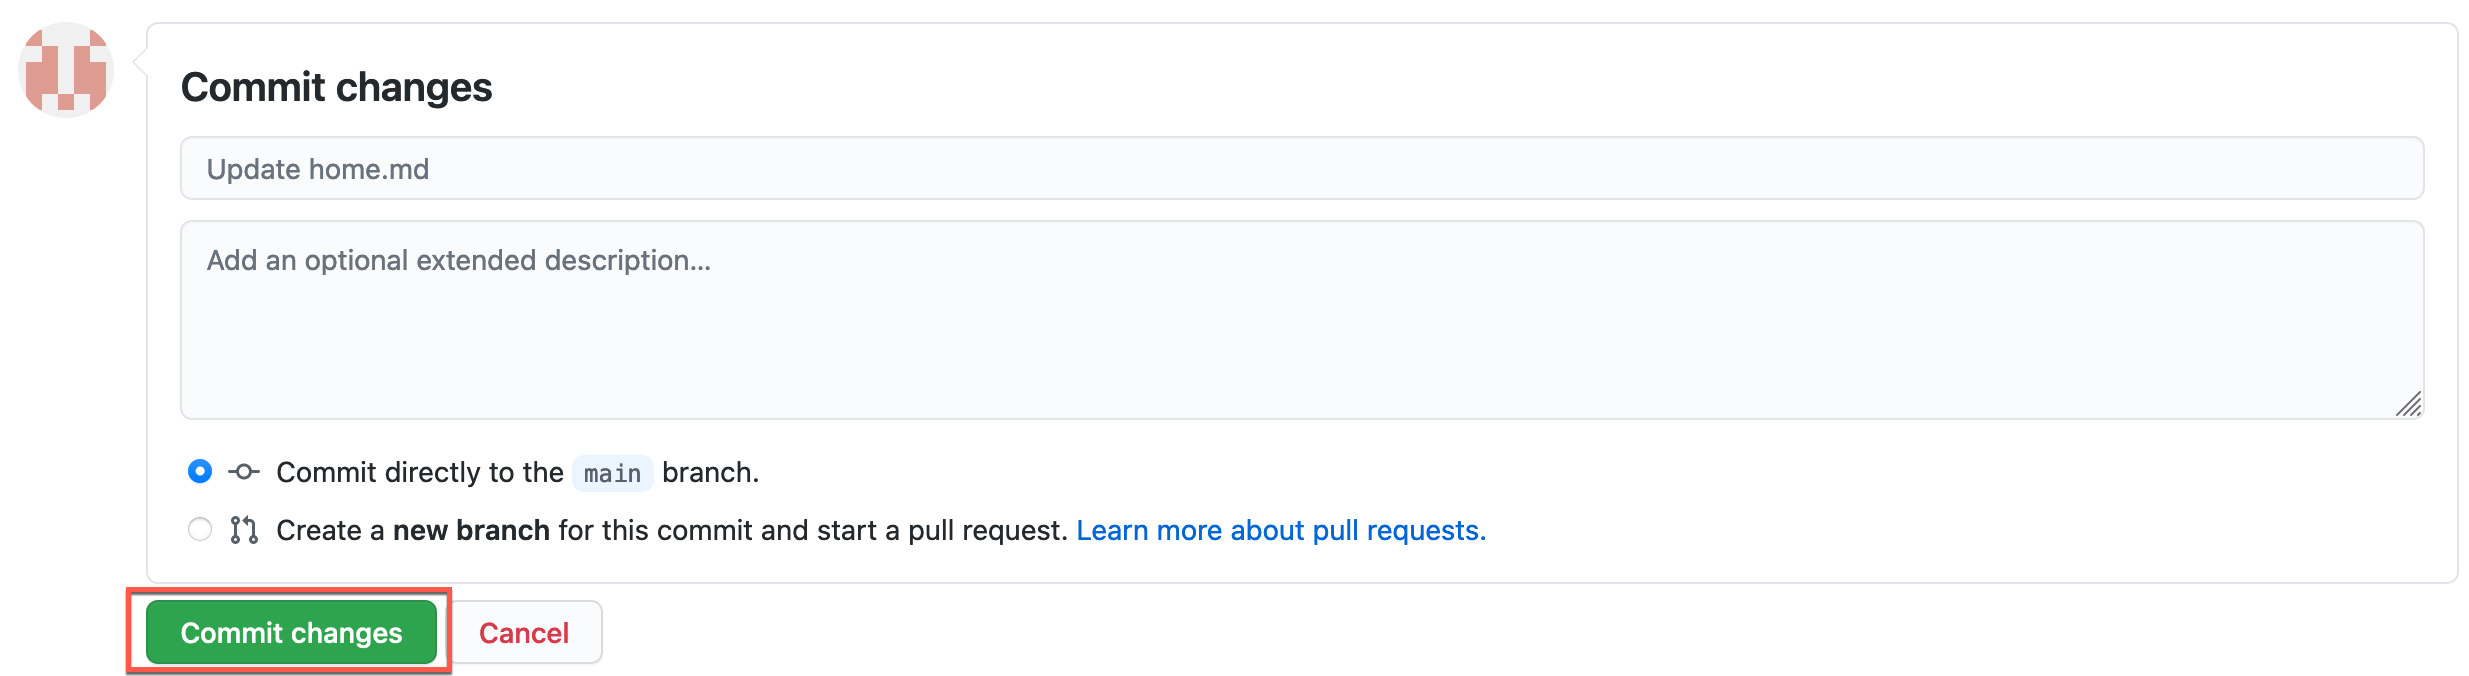
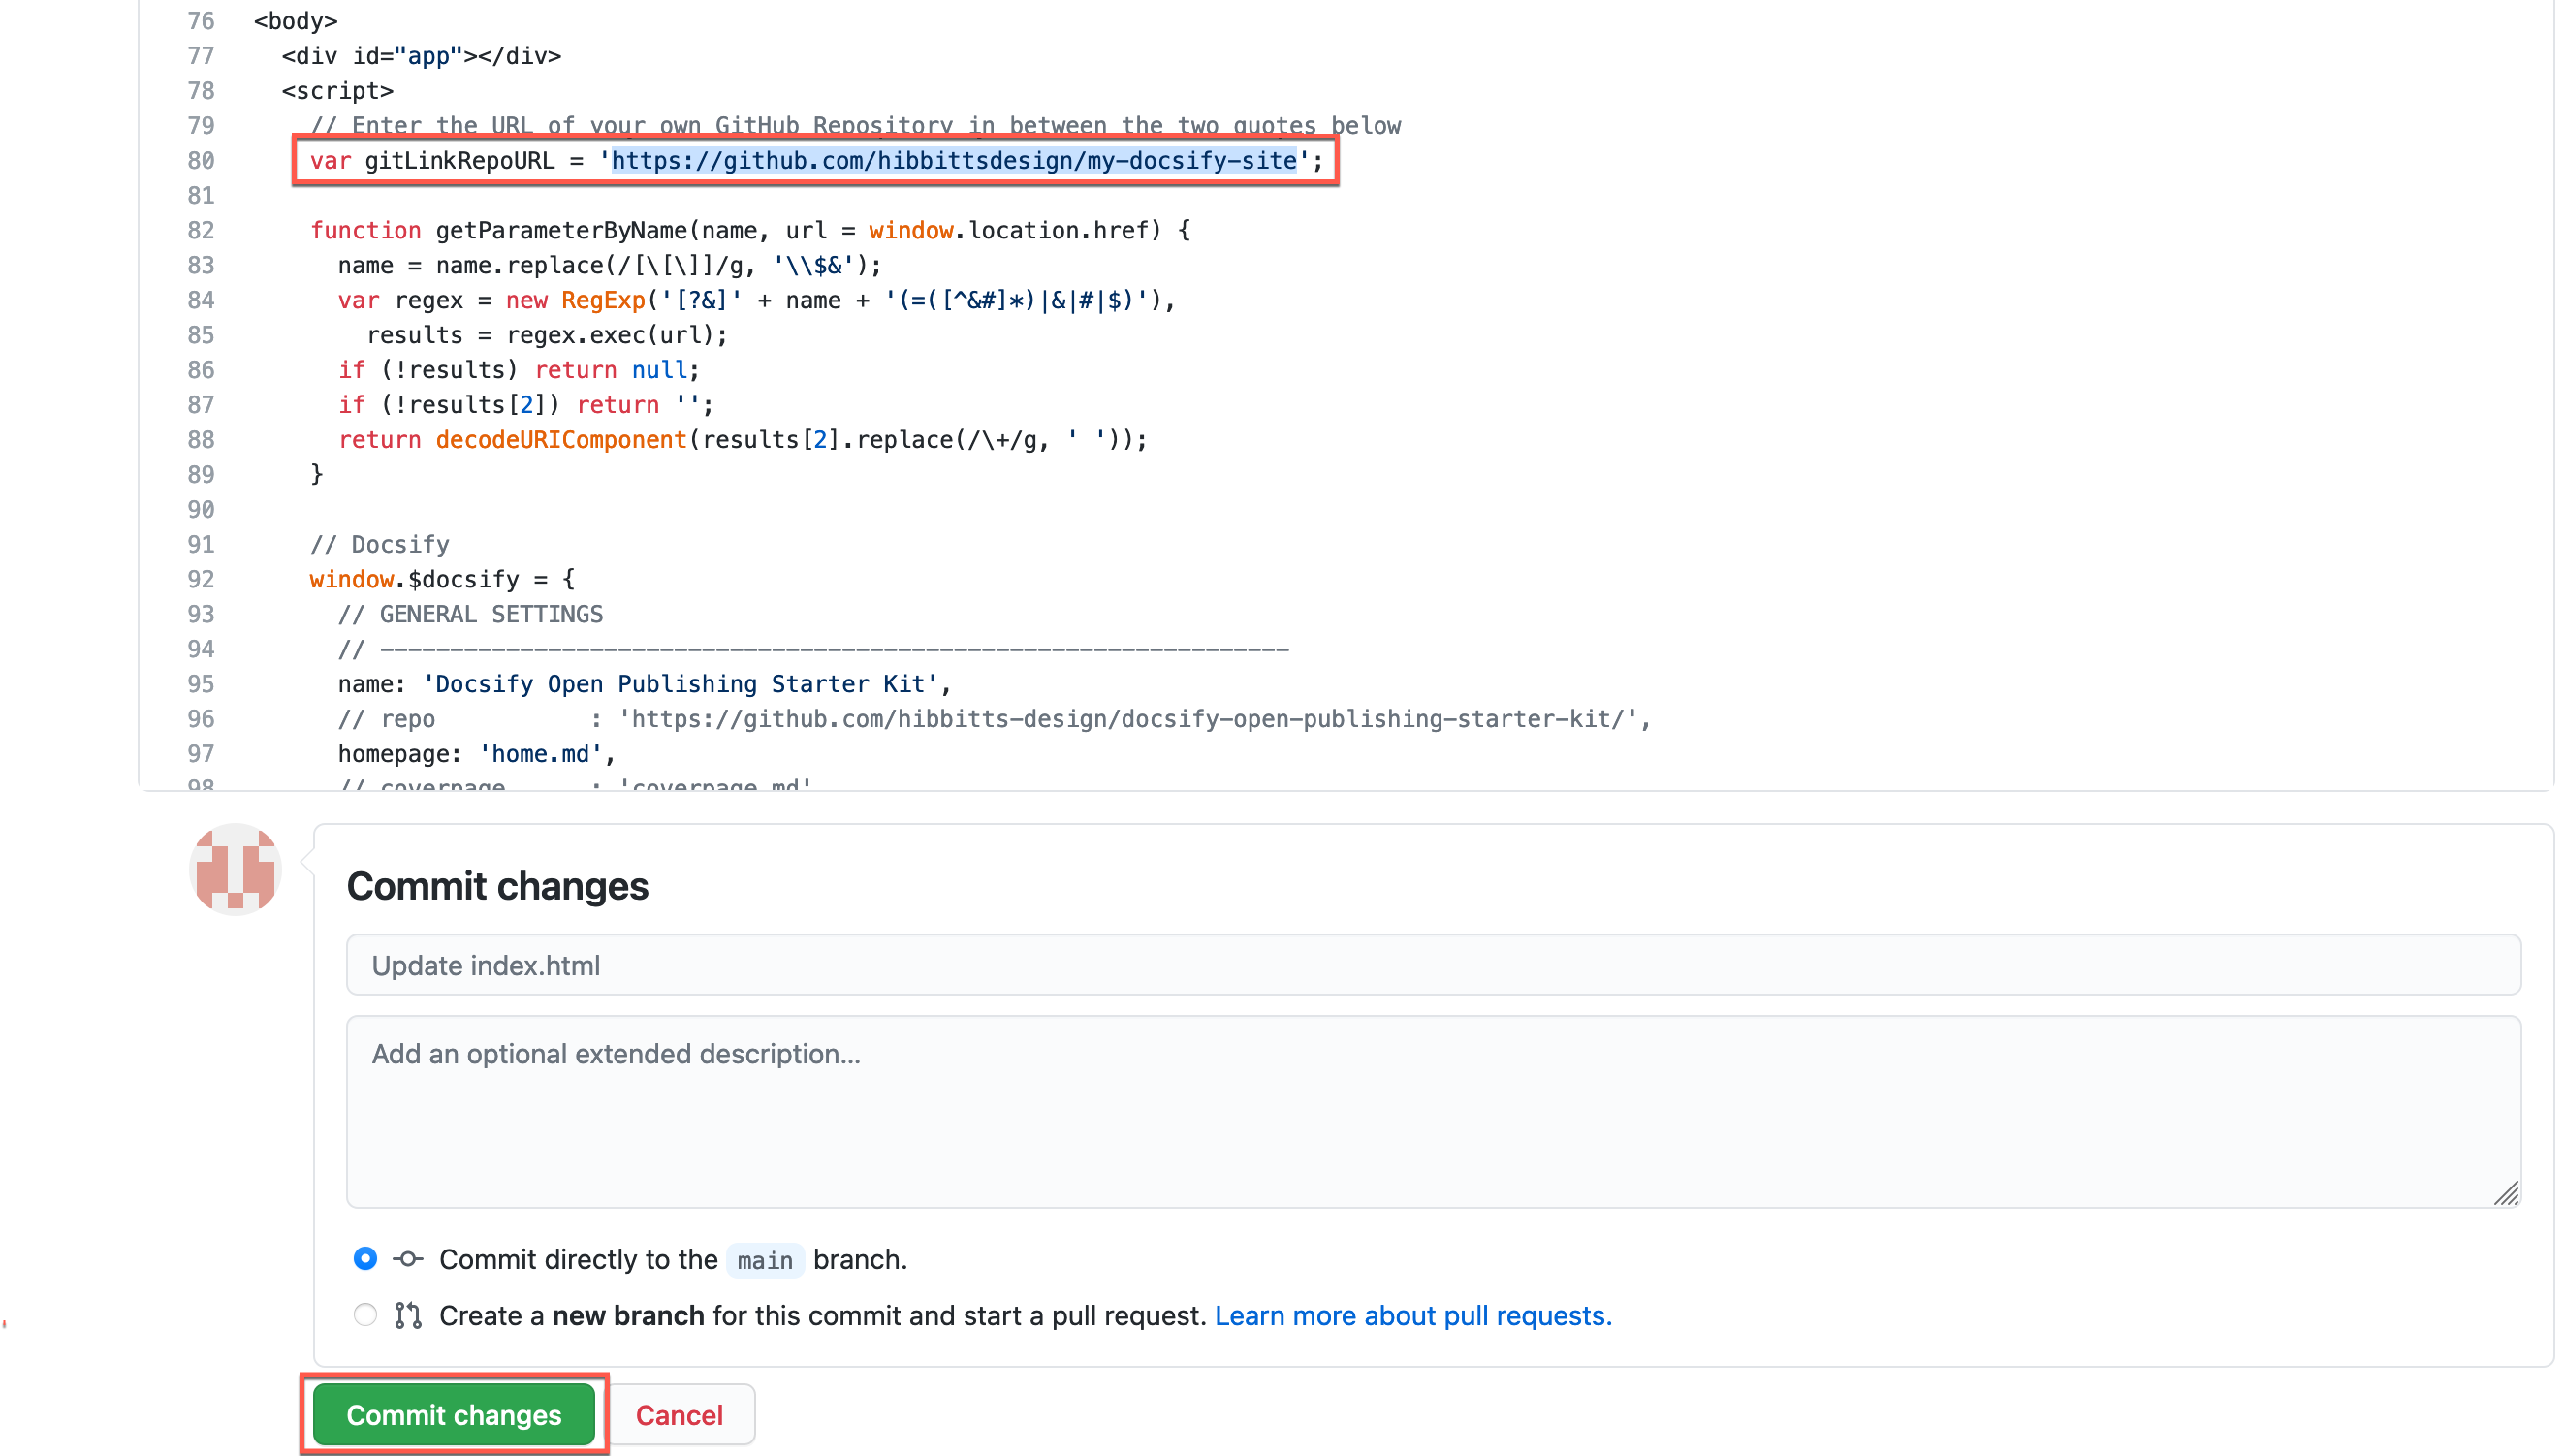
3. Scroll down to the bottom of the page and tap the **Commit changes** button to save your changes
[Learn more about creating pages in Docsify.](https://docsify.js.org/#/more-pages)
🔗 Activating the “Edit this Page” on Your Docsify Site
---
1. At the top-level of your GitHub Repository copy the URL

2. Tap on the **docs** folder
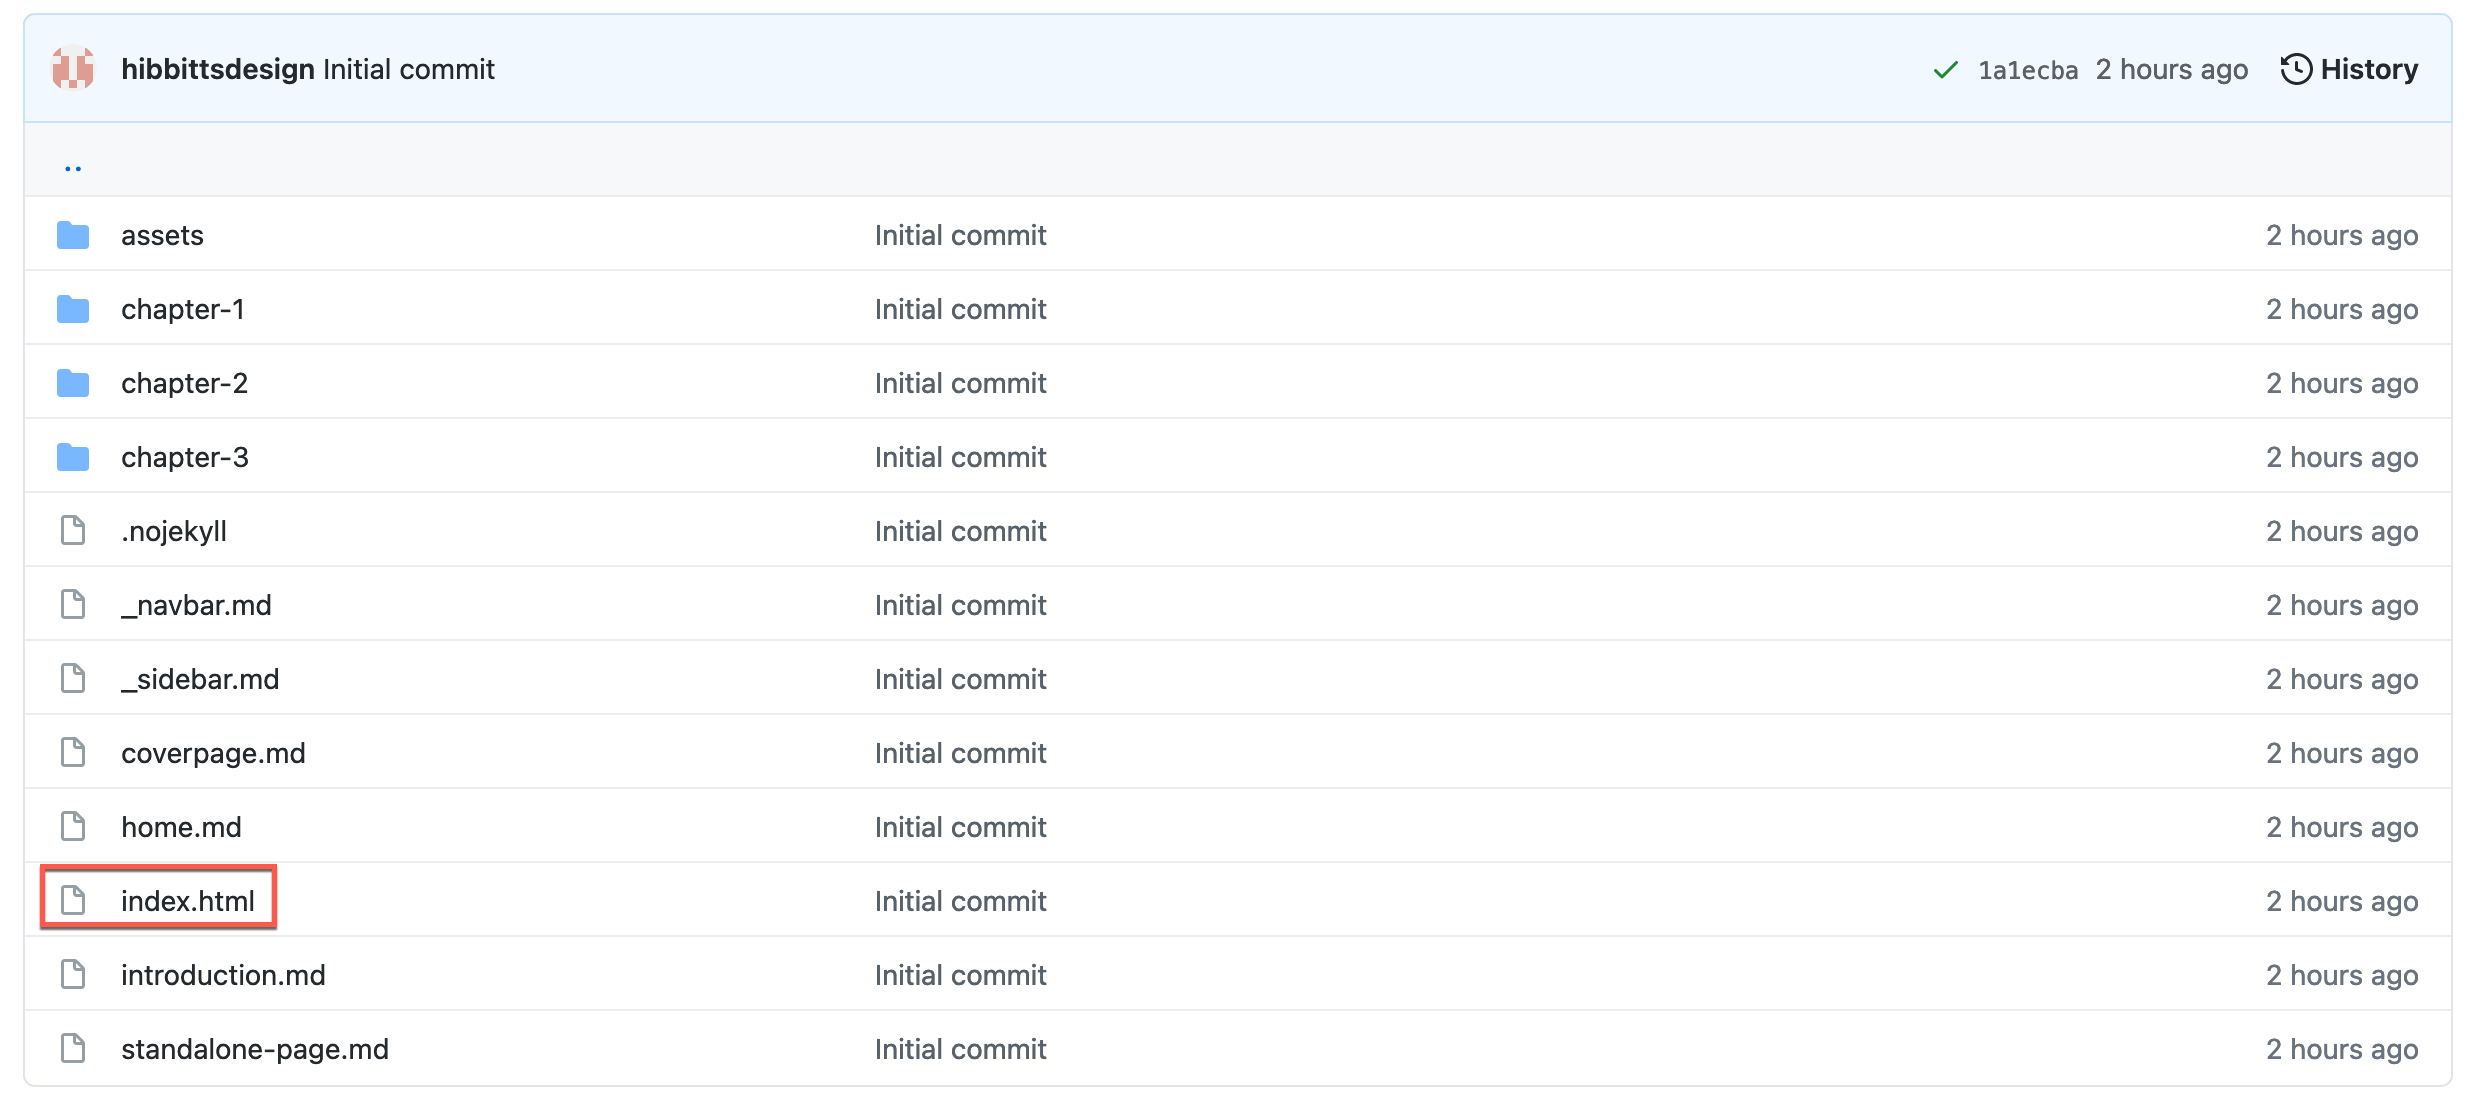
2. Tap on the **index.html** file
3. Tap the **Pencil Icon** (top left-hand toolbar area) to start the editor
4. Find the line `var gitLinkRepoURL = '';` and enter the URL of your own GitHub Repository between the two quotes and then scroll down to the bottom of the page and tap the **Commit changes** button to save your changes
💻 Locally Editing Your Docsify Site Pages
---
**Editing Your Docsify Site Pages on Your Desktop**
1. Tap **Code** on your repository (upper-right green button)
2. Choose **Open Desktop** and follow the prompts, installing [GitHub Desktop](https://desktop.github.com/) if not already present
3. You will now be able to edit your Docsify site (in the `docs` folder) using the desktop editor of your choice (e.g. [Atom](https://atom.io/))
4. Use GitHub Desktop to push any changes to your repository.
[Learn more about using GitHub Desktop](https://help.github.com/en/desktop/contributing-to-projects/committing-and-reviewing-changes-to-your-project).
You can also clone (i.e download) a copy of your repository to your computer and [run Docsify locally](https://docsify.js.org/#/quickstart) to preview your site. See the below video for details.
🧩 Using your Docsify Page Content with Other Systems
---
_Figure 2. Docsify Open Publishing page ready for embedding or linking as standalone content_
The optional `embedded` (all lowercase) URL parameter hides a site’s sidebar for seamlessly embedding Docsify page content within another platform such as Canvas LMS, Moodle, Microsoft Teams or being displayed in an existing or new Browser tab. The parameter `standalone` is supported as an alias for `embedded`.
To only display Docsify page content, add the following to a Docsify page URL:
`?embedded=true`
Example standard Docsify page:
https://hibbitts-design.github.io/demo-docsify-open-publishing-starter-kit/#/
Example Docsify page displaying only page content (i.e., no sidebar is shown):
https://hibbitts-design.github.io/demo-docsify-open-publishing-starter-kit/#/?embedding=true
To optionally show a page Table of Contents (based on included Headers), use the following:
`?embedded=true&toc=true`
Example Docsify page displaying only page content:
https://hibbitts-design.github.io/demo-docsify-open-publishing-starter-kit/#/introduction?embedding=true
Example Docsify page displaying only page content with a page Table of Contents included:
https://hibbitts-design.github.io/demo-docsify-open-publishing-starter-kit/#/introduction?embedding=true&toc=true
To optionally override the hiding of the navbar when displaying only page content, use the following:
`?embedded=true&navbar=true`
Example Docsify page displaying only page content:
https://hibbitts-design.github.io/demo-docsify-open-publishing-starter-kit/#/introduction?embedded=true
Example Docsify page displaying only page content with the navbar still displayed:
https://hibbitts-design.github.io/demo-docsify-open-publishing-starter-kit/#/introduction?embedded=true&navbar=true
To optionally hide the 'Edit this Page' link, use the following:
`?embedded=true&hidegitlink=true`
Example Docsify page displaying only page content:
https://hibbitts-design.github.io/demo-docsify-open-publishing-starter-kit/#/introduction?embedding=true
Example Docsify page displaying only page content with the 'Edit this Page' link hidden:
https://hibbitts-design.github.io/demo-docsify-open-publishing-starter-kit/#/introduction?embedding=true&hidegitlink=true
To optionally show the footer ('_footer.md' file), use the following:
`?embedded=true&footer=true`
Example Docsify page without footer:
https://hibbitts-design.github.io/demo-docsify-open-publishing-starter-kit/#/introduction?embedded=true
Example Docsify page with footer shown:
https://hibbitts-design.github.io/demo-docsify-open-publishing-starter-kit/#/introduction?embedded=true&footer=true
🖼 Presenting your Docsify Page Content as Standalone Webpages
---
In addition to using URL parameters when embedding Docsify page content into other systems, it is possible to permanently display all pages as standalone, and to also always display a page Table of Contents.
**To Display all Pages as Standalone**
1. Open the `index.html` file for editing.
2. Locate the line `var standalone = false;` and change it to `var standalone = true;`.
3. Save the `index.html` file and reload site.
**To Display Page Table of Contents**
1. Open the `index.html` file for editing.
2. Locate the line `var ToC = false;` and change it to `var showToC = true;`.
3. Save the `index.html` file and reload site.
Please note a page must have a series of Headings (#, ##, ###) for the Table of Contents to be displayed correctly.
📚 Docsify and Markdown Resources
---
**Docsify**
[Docsify Documentation](https://docsify.js.org/#/?id=docsifyg)
[Docsify Basics by MichaelCurrin](https://michaelcurrin.github.io/docsify-js-tutorial/#/?id=docsify-basics)
**Docsify Themable**
[Docsify Themeable Documentation](https://jhildenbiddle.github.io/docsify-themeable/#/introduction)
[Docsify Themeable GitHub](https://github.com/jhildenbiddle/docsify-themeable)
**Markdown**
[Markdown Here Cheatsheet](https://github.com/adam-p/markdown-here/wiki/Markdown-Here-Cheatsheet)
[Markdown Guide](https://www.markdownguide.org/)
🧰 Useful Markdown CSS Classes
---
`badge`
```html
Tue Jun 12th 11:59pm PDT
```
```html
[Tue May 16 2:30pm PT](https://www.timeanddate.com/worldclock/fixedtime.html?msg=CMPT-363+Blackboard+Mini-lectures+and+Activities&iso=20220516T1430&p1=256&ah=1&am=50)
```
`banner-image`
```markdown

```
`banner-tall-image`
```markdown

```
`button`
```markdown
[Required Reading Quiz due Jun 4th](https://canvas.sfu.ca/courses/44038/quizzes/166553 ':class=button')
```
`embedly-card` (for linked article previews, embedded slides/videos, etc.)
```markdown
Defining usability
```
`banner-image` (cropped to height of 250px on large screens, 125px on small screens)
```markdown

```
`banner-tall-image` (cropped to height of 350px on large screens, 175px on small screens)
```markdown

```
`header-image-fade` (suggested width of 1200px to 2000px)
```markdown

```
`header-image-full-width` (suggested size of 1200px to 2000px width and 400px to 600px height, and display of Table of Contents is not available)
```markdown

```
`image-75` (scale image to 75%)
```markdown

```
`image-50` (scale image to 50%)
```markdown

```
`image-25` (scale image to 25%)
```markdown

```
`image-75-border`
```markdown

```
`image-50-border`
```markdown

```
`image-25-border`
```markdown

```
`image-border`
```markdown

```
`image-border-rounded`
```markdown

```
`navpill`
```markdown
[GitHub](https://github.com/hibbitts-design/docsify-this ':class=navpill')
```
```html
GitHub
```
`row` & `column`
```html
Lorem ipsum dolor sit amet, consectetur adipiscing elit.
Lorem ipsum dolor sit amet, consectetur adipiscing elit.
```
`video-container-4by3`
```html
```
`video-container-16by9`
Automatically added to all iFrames with the source domains 'youtube.com' or 'docs.google.com'.
```html
```
🌐 Using MAMP to View Docsify Sites Locally
---
An alternative to installing Docsify locally (as described following this section) is to use MAMP to view your Docsify sites locally on your own computer.
1. Download [MAMP](https://www.mamp.info/)
2. Move your local Docsify site to the **htdocs** folder of MAMP
3. Turn MAMP on, tap **WebStart** and then tap **My Website**
4. Tap on the folder containing your local Docsify site and then tap on the **docs** folder
📼 Video Walkthrough of Local Docsify Install/Config
---
[](https://www.youtube.com/watch?v=TV88lp7egMw)
_Video 1. Generating Documentation Sites with GitHub and Docsify - Alysson Alvaran_
🙇Credits and Special Thanks
---
[Docsify Themeable](https://github.com/jhildenbiddle/docsify-themeable)
[Beau Shaw](https://github.com/DaddyWarbucks) for his [Remote Docsify](https://github.com/DaddyWarbucks/remote-docsify) example.