https://github.com/lucaong/nerves_thermal_camera
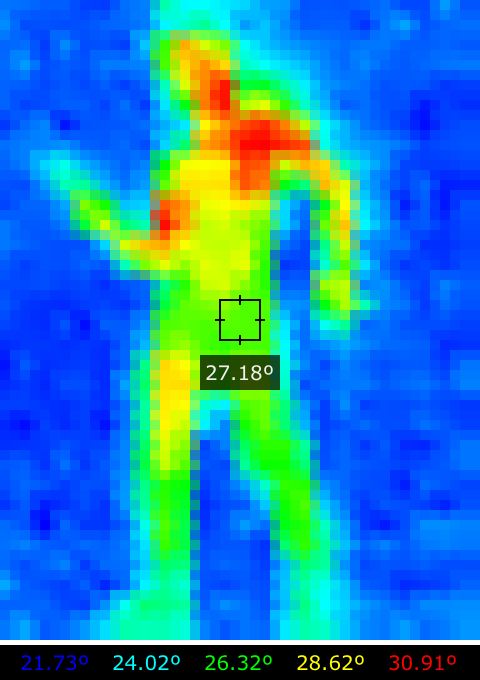
Thermal camera imaging with Elixir, Nerves, Raspberry Pi, and a MLX90640 sensor
https://github.com/lucaong/nerves_thermal_camera
elixir iot nerves raspberry-pi thermal-camera
Last synced: 29 days ago
JSON representation
Thermal camera imaging with Elixir, Nerves, Raspberry Pi, and a MLX90640 sensor
- Host: GitHub
- URL: https://github.com/lucaong/nerves_thermal_camera
- Owner: lucaong
- License: mit
- Created: 2018-11-03T18:15:36.000Z (almost 7 years ago)
- Default Branch: master
- Last Pushed: 2023-09-27T15:36:46.000Z (about 2 years ago)
- Last Synced: 2025-04-04T01:02:42.149Z (6 months ago)
- Topics: elixir, iot, nerves, raspberry-pi, thermal-camera
- Language: Elixir
- Size: 2.02 MB
- Stars: 36
- Watchers: 4
- Forks: 8
- Open Issues: 8
-
Metadata Files:
- Readme: README.md
- License: LICENSE.md
Awesome Lists containing this project
README
# Nerves Thermal Camera
This project is an Elixir Nerves firmware that implements a thermal camera using
the Melexis MLX90640 sensor. It is tested on a Raspberry Pi Zero W, but it
should work on other WiFi-enabled Raspberri Pi models too.
Other platforms supported by Nerves _should_ work too, but may need
modifications.

# Build and installation
The pre-requisite is that you have installed the [Elixir
language](https://elixir-lang.org), [Nerves](https://nerves-project.org), and
[Node.js](https://nodejs.org/en/). You can find installation guides on their
respective websites.
Then:
1. Clone or download the repository and open your terminal
2. `cd` into the project directory and set the following environment variables:
```bash
export MIX_TARGET=rpi0 # (or another Nerves target like `rpi3`)
export MIX_ENV=prod
# In the following two commands, replace `your_ssid` with your WiFi SSID
# and `your_psk` with your WiFi password
export THERMALCAM_SSID=your_ssid
export THERMALCAM_PSK=your_psk
```
Optionally, you can also set these environment variables:
`THERMALCAM_NET_REG_DOMAIN` for the regulatory domain of the network
(default to `DE`), and `THERMALCAM_KEY_MGMT` for the key management
(default to `wpa_psk`).
3. Run `make firmware` to build the firmware
4. Insert the SD card in your computer and, from the same terminal window as
before, run `make firmware.burn` to burn the firmware on the SD card.
The SD card should now be ready.
# Usage
1. Follow the instructions above to burn a firmware image on the SD card
2. Wire the MLX90640 to the Raspberry Pi
3. Turn on the Raspberry Pi and wait for it to connect to the WiFi network
4. From another device (computer or smartphone) connected to the same WiFi,
visit http://thermalcam.local