https://github.com/lucatosc/fantastic-chatroom
Real-time chat app using Firebase, React, TailwindCSS, MongoDB, Node/Express, and Socket.io
https://github.com/lucatosc/fantastic-chatroom
express firebase mern-stack mongodb nodejs react real-time-chat-app socketio tailwindcss
Last synced: 5 months ago
JSON representation
Real-time chat app using Firebase, React, TailwindCSS, MongoDB, Node/Express, and Socket.io
- Host: GitHub
- URL: https://github.com/lucatosc/fantastic-chatroom
- Owner: lucatosc
- Created: 2024-11-05T10:19:56.000Z (over 1 year ago)
- Default Branch: main
- Last Pushed: 2024-11-06T02:07:31.000Z (over 1 year ago)
- Last Synced: 2025-03-29T17:22:24.818Z (over 1 year ago)
- Topics: express, firebase, mern-stack, mongodb, nodejs, react, real-time-chat-app, socketio, tailwindcss
- Language: JavaScript
- Homepage:
- Size: 76.2 KB
- Stars: 2
- Watchers: 1
- Forks: 0
- Open Issues: 0
-
Metadata Files:
- Readme: README.md
Awesome Lists containing this project
README
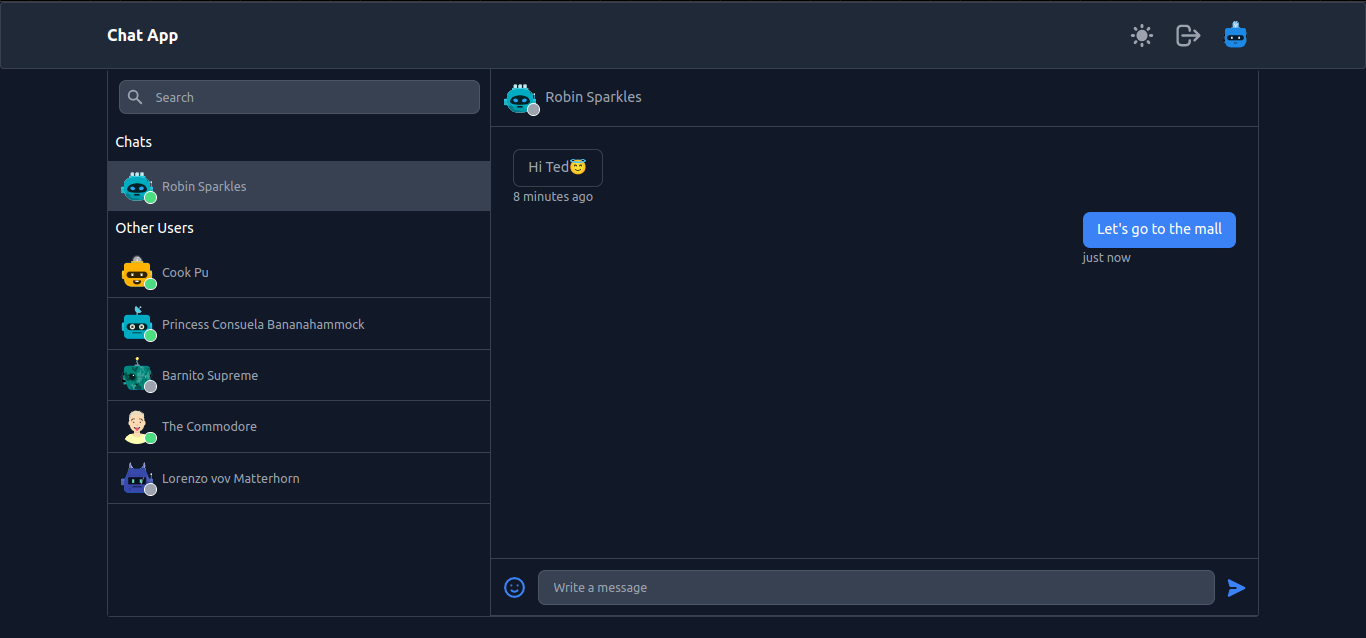
# Let's Chat
A real-time chat application. Another fun side project :)

GIFs are attached at the end.
## Technologies Used
- React and TailwindCSS for the frontend
- Firebase for authentication
- Node/Express for creating API endpoints
- MongoDB for storing chat room members and their messages
- Socket.io for making the app real-time
## Basic Features
- Users can register/login via email and password.
- Profile page where users can update their avatar and display name.
- Generate random avatars using [DiceBear API](https://avatars.dicebear.com/docs/http-api)
- Users can create a room to chat with others.
- Users can see online status.
- Search functionality.
- Chatting is real-time.
- Emoji picker is also integrated.
- Dark mode can be enabled.
## Getting Started
To run this project locally, follow these steps:
1. Clone the repository.
2. Install the dependencies:
- Navigate to the `frontend` directory and run `npm install`.
- Navigate to the `server` directory and run `npm install`.
3. Set up Firebase:
- Go to the [Firebase Console](https://console.firebase.google.com/).
- Create a new project or select an existing one.
- Go to the project settings or service accounts section.
- Click on "Generate new private key" or a similar option.
- Save the downloaded JSON file as `serviceAccountKey.json`.
- Place the downloaded `serviceAccountKey.json` file in the `server/config` directory.
4. Set up Environment Variables:
- In the `frontend` directory, create a new file named `.env` based on the `.env.example` file.
- Update the values of the environment variables in the `.env` file with your Firebase configuration details.
- In the root directory, create a new file named `.env` based on the `.env.example` file.
- Update the values of the environment variables in the `.env` file according to your preferences. For example, set the `PORT` variable to specify the desired port for the server and set `MONGO_URI` to your MongoDB connection URI.
5. Run the server:
- Navigate to the `server` directory and run `npm run start`.
6. Run the client:
- Navigate to the `frontend` directory and run `npm start`.
7. The application will be accessible at `http://localhost:3000`.
Please make sure to keep the `serviceAccountKey.json` file and sensitive information secure and not commit them to version control.
## GIFs