https://github.com/lukas-blecher/automask
Automatic Rotoscoping/Masking tool powered with Machine Learning for Blender (WIP)
https://github.com/lukas-blecher/automask
blender blender-addon blender-python deep-learning machine-learning mask-segment masking motion-tracking pytorch rotoscoping
Last synced: 3 months ago
JSON representation
Automatic Rotoscoping/Masking tool powered with Machine Learning for Blender (WIP)
- Host: GitHub
- URL: https://github.com/lukas-blecher/automask
- Owner: lukas-blecher
- License: mit
- Created: 2019-12-30T17:20:41.000Z (almost 6 years ago)
- Default Branch: master
- Last Pushed: 2020-12-17T18:42:55.000Z (almost 5 years ago)
- Last Synced: 2025-05-09T17:51:09.387Z (5 months ago)
- Topics: blender, blender-addon, blender-python, deep-learning, machine-learning, mask-segment, masking, motion-tracking, pytorch, rotoscoping
- Language: Python
- Homepage:
- Size: 2.86 MB
- Stars: 172
- Watchers: 15
- Forks: 21
- Open Issues: 3
-
Metadata Files:
- Readme: README.md
- License: LICENSE
Awesome Lists containing this project
README
# AutoMask - a Blender Add-on for automatic rotoscoping
This repository contains a Blender 2.8x Add-on that can mask an object in the `Movie Clip Editor` with the help of Machine Learning.
AutoMask is the communication between Blender and SiamMask.
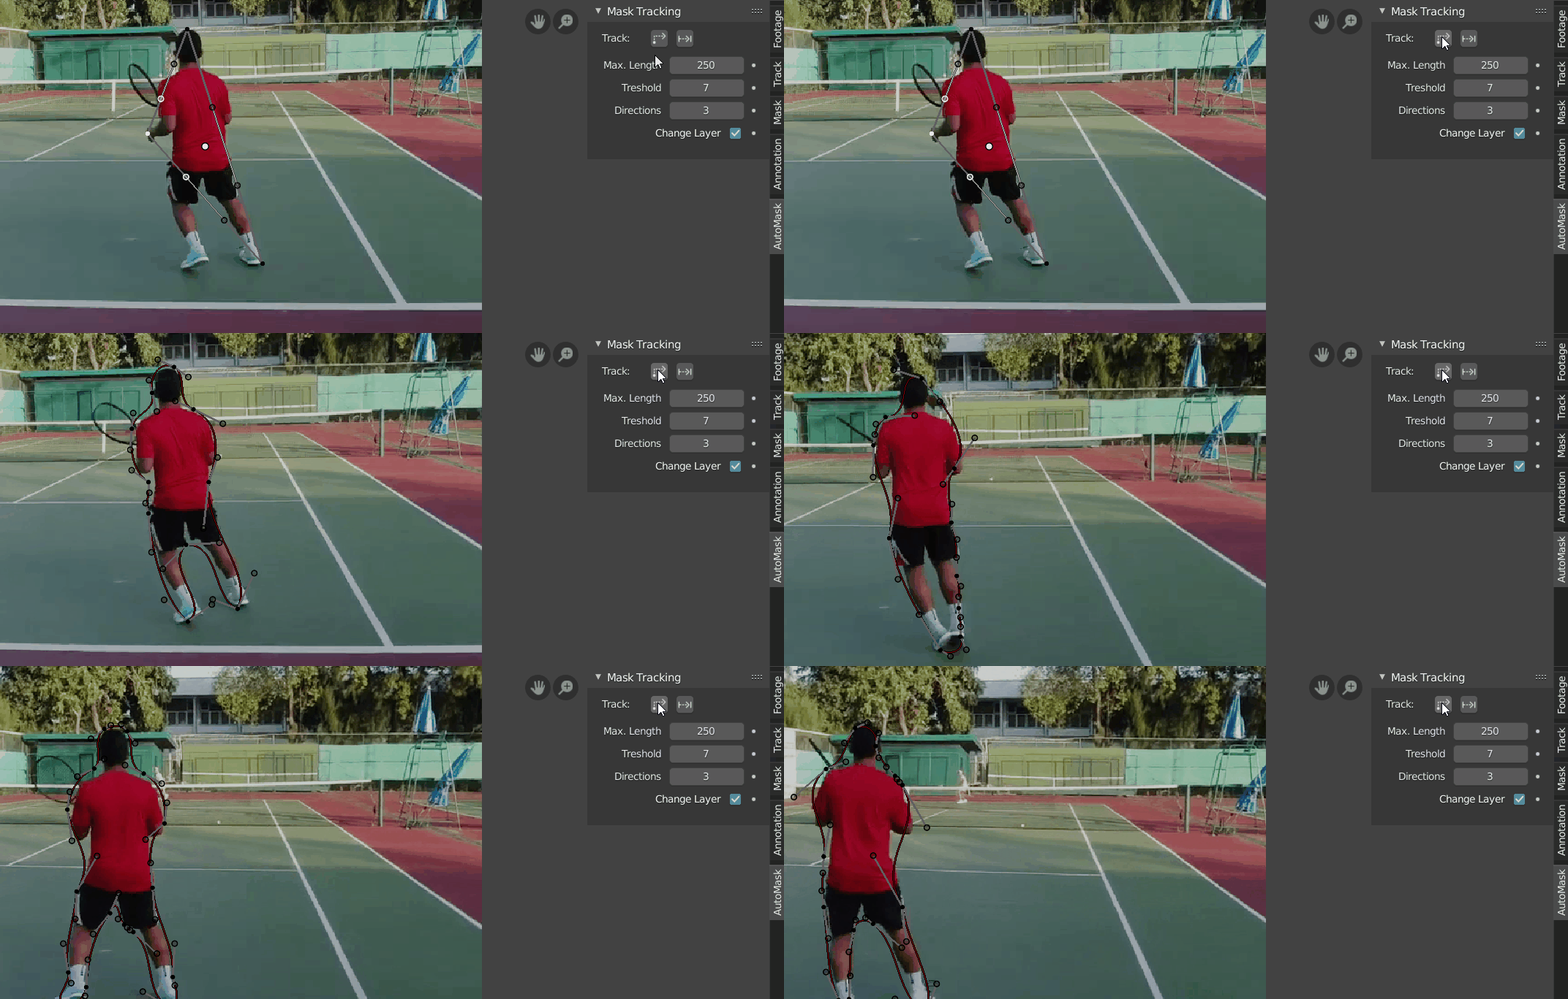
Here is an example for the usage of AutoMask.

## Usage
First select a bounding box of the object. Then hit one of the track buttons.
The masks for every frame will be saved in a separate and new Mask Layer. If you are using the single step masking as a starting point for your mask you can also
### Parameters
* **Max. Length** is the roughly the maximum amount of pixels a mask segment can trace. The lower this value is the closer the final mask will be to the network output. Bear in mind that the network output is by no means a perfect mask. But it can be a great starting point.
* **Directions** is the amount of directions (of 8 possible) one mask segment can cover. 2 will produce more controll points but a closer match in the mask, but the [S-Curves ](https://docs.blender.org/manual/en/latest/movie_clip/masking/scurve.html) can also handle 3 different directions.
* **Threshold** is the amount of pixels that can go in another direction than the rest of a given segment.
## Installation
1. Download the repository:
Download the repository as `.zip` file and extract it or clone it to your computer.
2. Python:
To use this Add-on, several 3rd party libraries are required (see `requirements.txt`). You can either install the dependencies to
the Blender python or if python is already installed on the system and the python version is compatible with the Blender python version you can also install the dependencies on your system.
3. Adding the Project to the Python path:
Open `automask.py` in your favorite text editor and replace `PYTHON_PATH` with the path to you python site-packages if needed and `PROJECT_DIR` with the path to the directory you downloaded this repository to.
4. Install Dependencies:
* PyTorch
The neural network that does the heavy lifting is written for [PyTorch](https://pytorch.org/).
A Nvidia GPU is recommended but not necessarily required. However, it does speed up the process significantly. If you have a supported GPU install pytorch with GPU support.
* Other Requirements
Most of the required libraries are standard and easy to install.
```pip install -r requirements.txt```
5. Model:
The model weights for SiamMask can be downloaded from [http://www.robots.ox.ac.uk/~qwang/SiamMask_VOT.pth](http://www.robots.ox.ac.uk/~qwang/SiamMask_VOT.pth). Save the file to the subfolder `trackers/SiamMask` under the name `model.pth`.
6. Add to Blender:

## Acknowledgements
[SiamMask](https://github.com/foolwood/SiamMask), [THOR](https://github.com/xl-sr/THOR)