https://github.com/marktawa/blog-strapi
Blog website using Strapi for the backend and Next.js for the frontend
https://github.com/marktawa/blog-strapi
blog jamstack nextjs strapi webdev
Last synced: 6 months ago
JSON representation
Blog website using Strapi for the backend and Next.js for the frontend
- Host: GitHub
- URL: https://github.com/marktawa/blog-strapi
- Owner: Marktawa
- License: mit
- Created: 2023-06-15T10:43:32.000Z (over 2 years ago)
- Default Branch: main
- Last Pushed: 2024-02-29T10:26:42.000Z (almost 2 years ago)
- Last Synced: 2025-04-13T10:12:05.911Z (8 months ago)
- Topics: blog, jamstack, nextjs, strapi, webdev
- Language: TypeScript
- Homepage: https://strapi.io/blog/build-a-blog-with-next-react-js-strapi
- Size: 22.9 MB
- Stars: 47
- Watchers: 2
- Forks: 26
- Open Issues: 0
-
Metadata Files:
- Readme: README.md
- License: LICENSE
Awesome Lists containing this project
README
# Blog using Next.js and Strapi
[**TUTORIAL LINK**](https://strapi.io/blog/build-a-blog-with-next-react-js-strapi)
> **NOTE:**
>
> *This project is based on the [Strapi Starter Next 13, Tailwind, Typescript, and Strapi]() made by [Trecia](https://github.com/TreciaKS), [Daniel](https://github.com/malgamves) and [Paul](https://github.com/PaulBratslavsky) from the Strapi Team.*
## Introduction
This project is a code repo for the Strapi blog article [Build a blog with Next.js and Strapi](https://strapi.io/blog/build-a-blog-with-next-react-js-strapi).
## Getting Started
1. Clone the repo locally:
```bash
git clone https://github.com/Marktawa/blog-strapi
```
2. Set up backend dependencies:
```bash
cd blog-strapi
cd backend
yarn
```
3. Set up environment variables:
```bash
cp .env.example .env
```
4. Start your project by running the following command:
```bash
yarn build
yarn develop
```
Create your first admin user.

## Seeding the Data
At the root of our project, we have our `seed-schema.tar` file. We will use it to update the schema for our Strapi app.
1. Go back to your terminal and stop your Strapi backend server by pressing `CTRL` plus `C` on your keyboard.
2. Run the following command in the root of your project folder `blog-strapi` to update the schema:
```bash
tar xvf seed-schema.tar -C backend
```
3. Import data into your backend's database:
```bash
cd backend
yarn strapi import -f ../seed-data.tar.gz
```
Answer `y` to `The import will delete all assets and data in your database. Are you sure you want to proceed? (y/N)`
4. After a successful import, rerun your Strapi backend server.
```bash
yarn develop
```
In your browser, log in to your admin panel. You should see the newly imported `content` and `collection types`.

## Frontend Setup
1. Open up a new terminal session and navigate into your `frontend` folder. Set up frontend dependencies:
```bash
cd frontend
yarn
```
2. Create `.env` file:
```bash
touch .env
```
3. Paste in the following.
```yaml
NEXT_PUBLIC_STRAPI_API_TOKEN=your-api-token
NEXT_PUBLIC_PAGE_LIMIT=6
NEXT_PUBLIC_STRAPI_API_URL=http://127.0.0.1:1337
```
4. Before starting our Next JS app we need to go inside our Strapi Admin and create a token that we will be using for displaying our **content**.
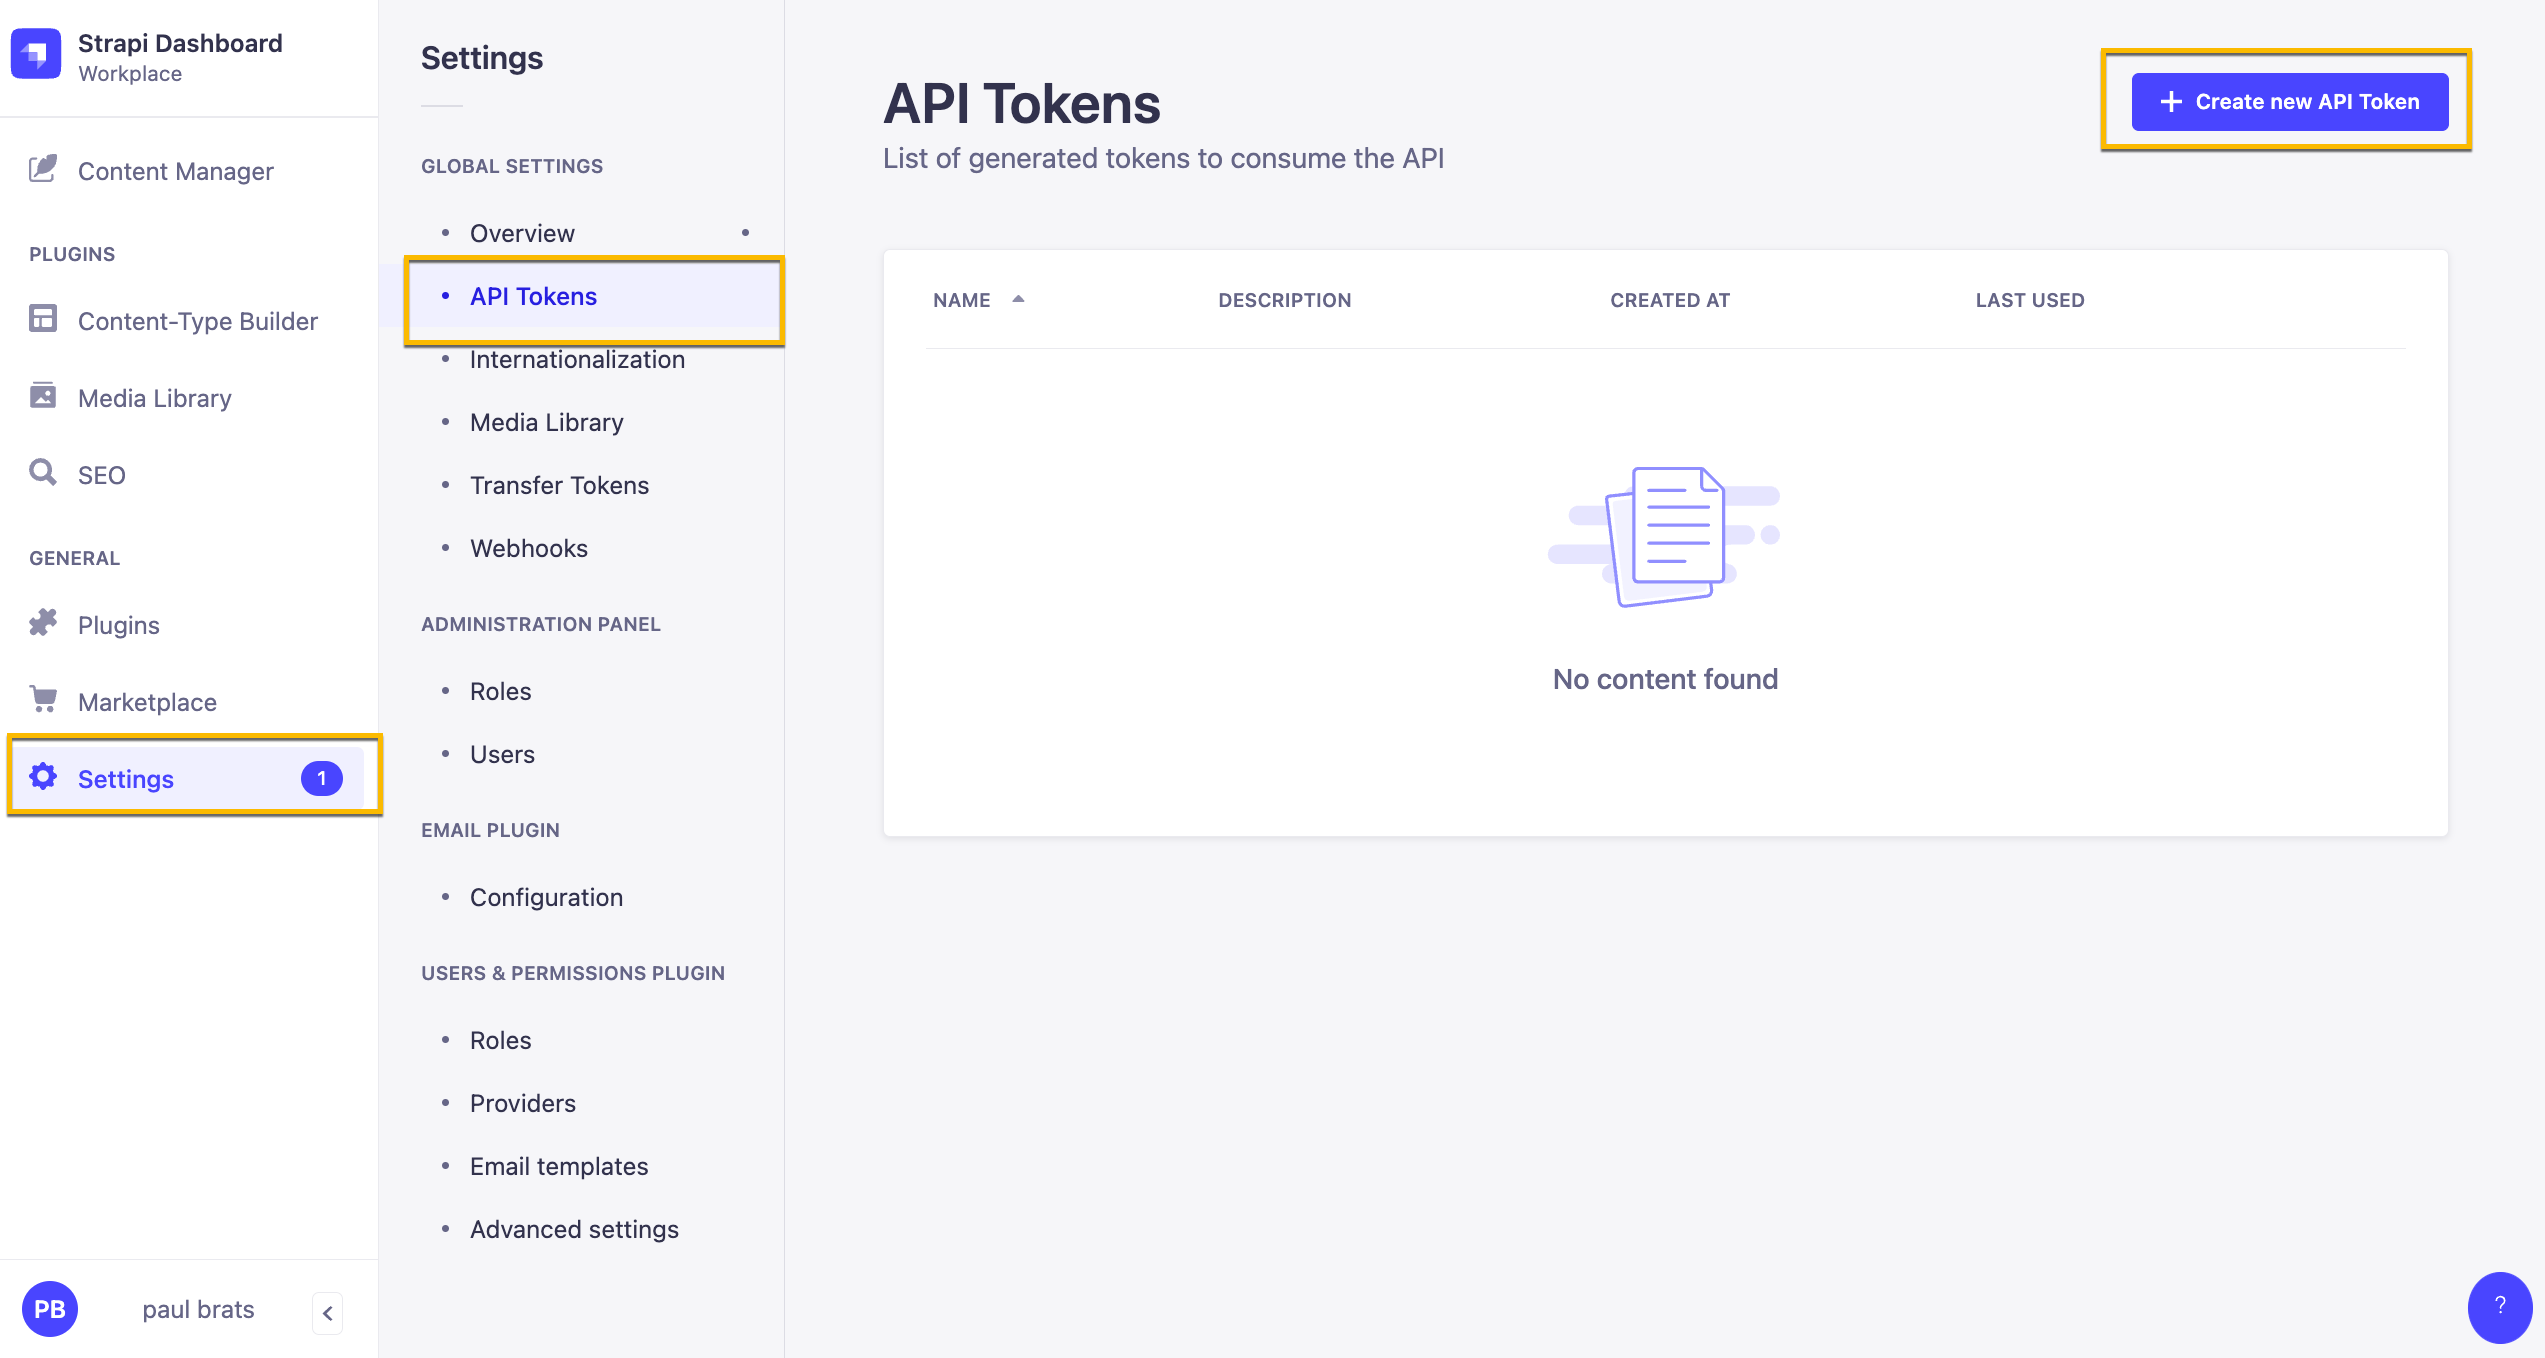
Inside your Strapi Admin Panel navigate to `Settings` -> `API Tokens` and click on the `Create new API Token`.

Here are our Token Settings
Name: Public API Token Content
Description: Access to public content.
Token duration: Unlimited
Token type: Custom
In Permissions let's give the following access.
| Content | Permissions |
| --------------- | :--------------: |
| Article | find and findOne |
| Author | find and findOne |
| Category | find and findOne |
| Global | find |
| Page | find and findOne |
| Product-feature | find and findOne |

Once you have your token add it to your `NEXT_PUBLIC_STRAPI_API_TOKEN` variable name in the `.env` file.
5. Start your frontend
```bash
yarn dev
```