https://github.com/matrixrex/list-dock
A sleek beautiful Chrome Extension for managing your tasks directly in the side panel
https://github.com/matrixrex/list-dock
browser-extension chrome-extension dark-mode framer-motion modern-ui offline productivity react side-panel sidebar tailwindcss-v4 task-manager todo-list typescript vite zustand
Last synced: 3 days ago
JSON representation
A sleek beautiful Chrome Extension for managing your tasks directly in the side panel
- Host: GitHub
- URL: https://github.com/matrixrex/list-dock
- Owner: MatrixRex
- License: mit
- Created: 2025-12-28T06:11:06.000Z (6 months ago)
- Default Branch: main
- Last Pushed: 2026-06-12T16:47:51.000Z (5 days ago)
- Last Synced: 2026-06-12T18:16:45.187Z (5 days ago)
- Topics: browser-extension, chrome-extension, dark-mode, framer-motion, modern-ui, offline, productivity, react, side-panel, sidebar, tailwindcss-v4, task-manager, todo-list, typescript, vite, zustand
- Language: TypeScript
- Homepage:
- Size: 8.36 MB
- Stars: 1
- Watchers: 0
- Forks: 0
- Open Issues: 0
-
Metadata Files:
- Readme: README.md
- License: LICENSE
- Agents: AGENTS.md
Awesome Lists containing this project
README
# List Dock 📋
A sleek, high-performance Chrome Extension for managing your tasks directly in the side panel. Built with a focus on speed, premium aesthetics, and a seamless user experience.
[](https://github.com/MatrixRex/List-Dock/releases/latest)

▶ Click to watch the demo (YouTube)
## ✨ Key Features
### ✅ Task Features
- **Smooth Management**: Add, edit, delete tasks.
- **Drag & Drop**: Rerrange tasks using drag & drop, and move them to folder.
- **Deep Nesting**: Create subtasks within any task to break down complex projects.
- **Multi-Select Drag & Drop**: Select multiple tasks using `Ctrl/Cmd + Click` and move/delete them as a group.
- **Smart Sorting**: Active, uncompleted tasks are automatically pinned to the top for better focus.
- **Context Actions**: Convert a task (with its subtasks) into a full folder directly from the context menu.
### 📂 Folder Features
- **Grid Layout**: View and organize your major categories in a clean, visual grid.
- **Drag & Drop**: Reorder your folders within the root view to prioritize your workflows.
- **Isolated Views**: Dive into a folder to focus solely on its tasks and subtasks.
- **Local Search**: Fast, specific search that filters only within the current folder.
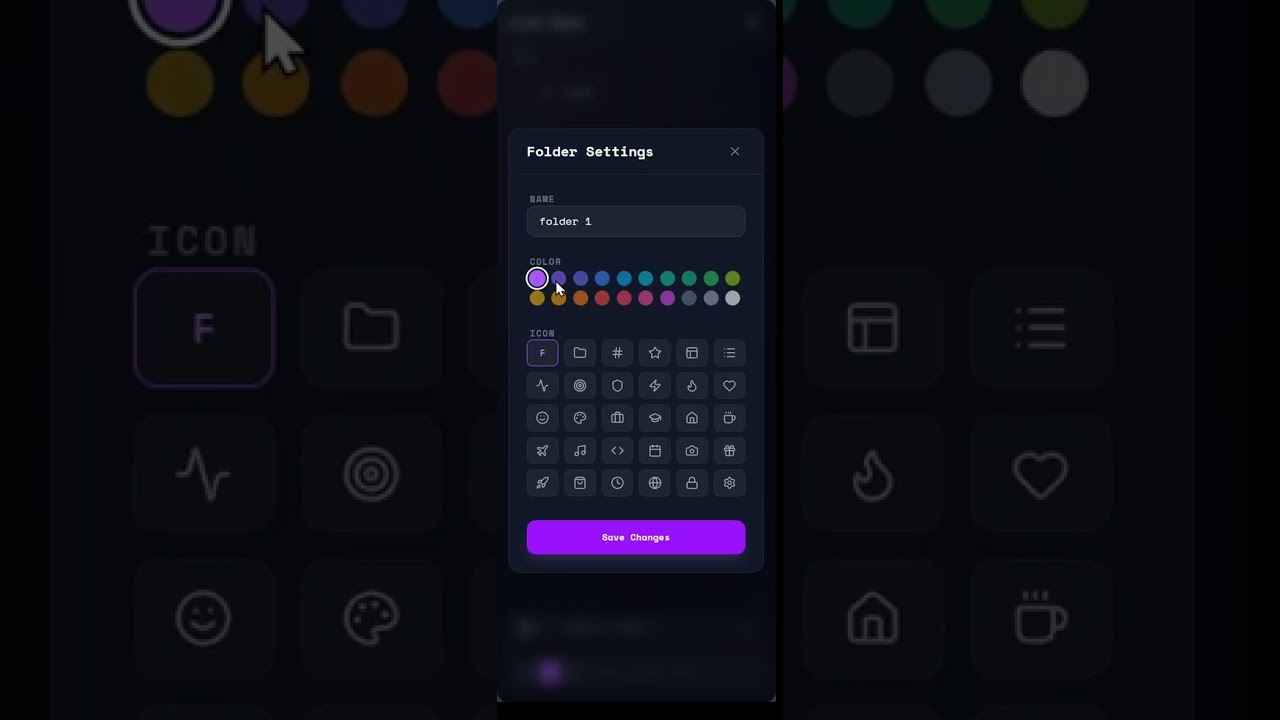
- **Customization**: Adjust folder colors and icons to match your preferences.
### ⌨️ Combo Input Features
- **All-in-One Field**: A single, context-aware input area for all your creation commands.
- **Task Mode**: Default mode to create new tasks.
- **Subtask Mode**: When a task is selected, the input automatically switches to "Subtask" mode.
- **Folder Mode**: Toggle the folder icon to create new high-level categories.
- **Global Search**: When in root view, search across your entire workspace (including nested tasks) with real-time results.
- **Folder Search**: When in a folder view, search only within the current folder.
### 🛠️ Other Features
- **10-Step Undo Stack**: A persistent history of your recent actions to easily recover from mistakes.
- **Global Shortcuts**: Copy, paste, undo shortcuts support.
- **Glassmorphism UI**: High-fidelity sci-fi design.
- **Fluid Animations**: Smooth transitions and vertical expansions powered by Framer Motion.
- **Local-First**: All data is stored securely on your machine via `chrome.storage.local`.
---
## 📦 Installation
To install List Dock in your browser:
1. **Download the Latest Release**: Head to the [Latest Release](https://github.com/MatrixRex/List-Dock/releases/latest) page and download the `list-dock.zip` file.
2. **Unzip the file**: Extract the contents to a folder on your computer.
3. **Load in Chrome**:
- Open Chrome and navigate to `chrome://extensions/`.
- Enable **Developer mode** (top right toggle).
- Click **Load unpacked**.
- Select the folder you extracted in step 2.
- **Do not delete** the folder after loading.
---
## 📖 How to Use
- **Toggle Sidebar**: Click the List Dock icon  in your browser toolbar.
- **Bulk Actions**: Select multiple items with `Ctrl` and drag them to reparent or reorganize.
- **Accidental Deletions**: Hit `Ctrl + Z` or use the toast notification undo button.
- **Clear Selection**: Click any empty area to deselect the current task/folder.
- **Smart Paste**: Copy any list from a text editor and paste (`Ctrl + V`) directly into the sidebar to auto-generate tasks and subtasks.
---
## ⌨️ Keyboard Shortcuts
| Shortcut | Action | Description |
| :--- | :--- | :--- |
| `Ctrl + Z` | **Undo** | Recover deleted items or revert your last action (up to 10 steps). |
| `Ctrl + C` | **Copy** | Copies selected task names. If enabled in settings, includes all subtasks in a formatted list. |
| `Ctrl + V` | **Smart Paste** | Paste text to auto-generate tasks. Supports markdown, bullets, and indentation for subtasks. |
| `Ctrl + Click` | **Multi-Select** | Select multiple tasks or folders for bulk moving or deletion. |
| `Shift + Click` | **Range Select** | Select a range of tasks between the last selection and the current click. |
| `Esc` | **Deselect** | Clear all current selections. |
---
## 🛠️ Tech Stack
- **Core**: React 19, TypeScript
- **Build**: Vite + CRXJS
- **State**: Zustand
- **Styling**: Tailwind CSS 4
- **Animations**: Framer Motion
- **Icons**: Lucide React
- **Search**: Fuse.js
- **Toasts**: React Hot Toast
---
## 🛠️ Local Development
Follow these steps to set up the project locally for development:
1. **Clone the Repository**:
```bash
git clone https://github.com/MatrixRex/List-Dock.git
cd List-Dock
```
2. **Install Dependencies**:
```bash
pnpm install
```
3. **Run Development Server**:
```bash
pnpm dev
```
This will generate a `dist` folder.
5. **Load in Chrome**:
Follow the [Installation](#-installation) steps but select the `dist` folder instead of an unzipped release.
## 🏷️ Release & Versioning
The project includes an automated release system that handles versioning and creates GitHub releases with the compiled extension.
### 1. Versioning Wizard
To start a new release, run the following command and follow the interactive prompts:
```bash
pnpm release
```
This wizard will:
- Update the version in `package.json` and `manifest.json`.
- Create a new git tag formatted as `vX.X.X`.
- Push the changes and the tag to your GitHub repository.
### 2. Automated GitHub Workflow
Once a tag following the `v*` pattern (e.g., `v1.4.0`) is pushed, a GitHub Action (`.github/workflows/release.yml`) is automatically triggered. This workflow:
- Installs dependencies and runs the production build.
- Packages the `dist` directory into a `list-dock.zip` file.
- Creates a new GitHub Release with the zip file attached and auto-generated changelogs.
### ⚙️ Setup for Forked Repositories
If you have forked this repository and want to use the automated release system for your own versions:
1. **Enable Actions**: Go to the **Actions** tab of your forked repository and click the button to enable workflows.
2. **Configure Permissions**:
- Navigate to `Settings > Actions > General`.
- Scroll down to **Workflow permissions**.
- Select **Read and write permissions**. This is required for the action to create the release and upload the asset.
- Check **Allow GitHub Actions to create and approve pull requests** (optional but recommended).
3. **Verify Tags**: Ensure your tag pushes include the `v` prefix to match the workflow trigger pattern.
---
## 🤝 Contributing
Contributions are welcome! If you have a feature request, bug report, or want to contribute code:
1. **Fork the Repository**.
2. **Create a Feature Branch** (`git checkout -b feature/AmazingFeature`).
3. **Commit Your Changes** (`git commit -m 'Add some AmazingFeature'`).
4. **Push to the Branch** (`git push origin feature/AmazingFeature`).
5. **Open a Pull Request**.
Please ensure your code follows the existing style and includes proper documentation for new features.
## 📄 License
This project is **Open Source** and available under the [MIT License](LICENSE).