https://github.com/maximbilan/ios-mapkit-tutorial
iOS MapKit Getting Started
https://github.com/maximbilan/ios-mapkit-tutorial
ios ios-mapkit location location-services map mapkit mkmapview swift tutorial
Last synced: about 1 year ago
JSON representation
iOS MapKit Getting Started
- Host: GitHub
- URL: https://github.com/maximbilan/ios-mapkit-tutorial
- Owner: maximbilan
- License: mit
- Created: 2016-01-08T14:09:30.000Z (over 10 years ago)
- Default Branch: master
- Last Pushed: 2018-09-22T09:24:28.000Z (almost 8 years ago)
- Last Synced: 2025-04-14T07:02:00.713Z (about 1 year ago)
- Topics: ios, ios-mapkit, location, location-services, map, mapkit, mkmapview, swift, tutorial
- Language: Swift
- Homepage:
- Size: 1.84 MB
- Stars: 26
- Watchers: 3
- Forks: 7
- Open Issues: 0
-
Metadata Files:
- Readme: README.md
- License: LICENSE
Awesome Lists containing this project
README
# iOS MapKit Getting Started
Hi, I would like to tell how to work with MapKit in iOS using Swift. This post for beginners, I will try to tell as detailed as possible.
Apple provides MKMapView class for working with map. This class displays maps and provides interface to navigate map content. Detailed documentation about this class you can found here. Let's start.
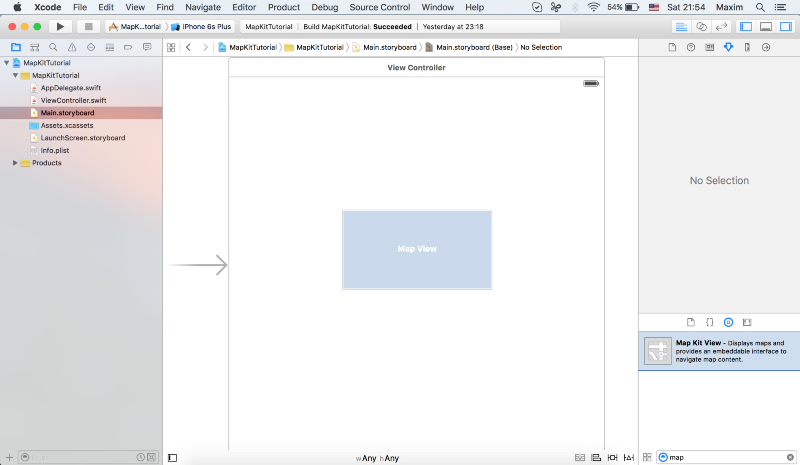
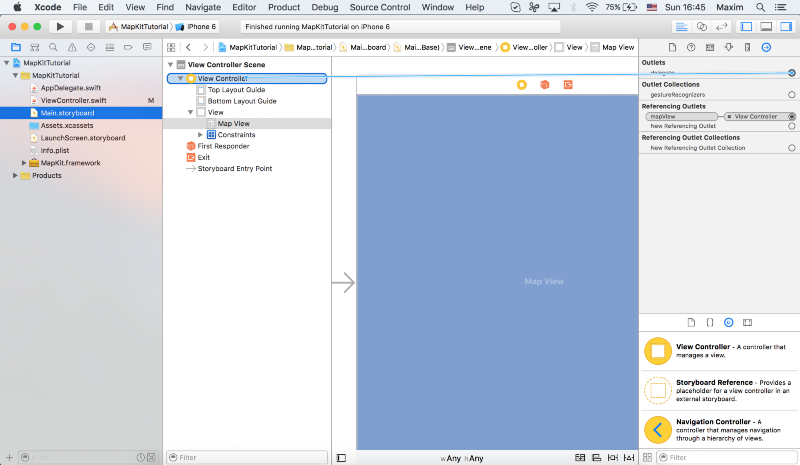
First of all add the map view to your storyboard or xib, or create from the code. In this sample I will create a simple storyboard with one UIViewController which will contain a map view.
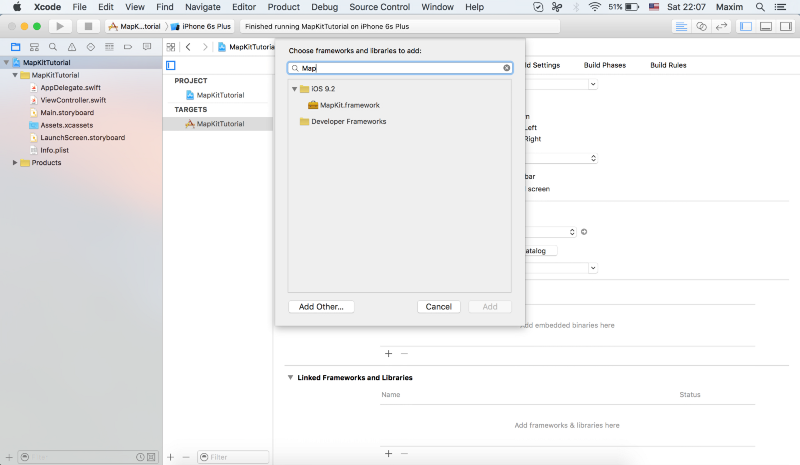
The second main part, you need to add MapKit framework to your project.
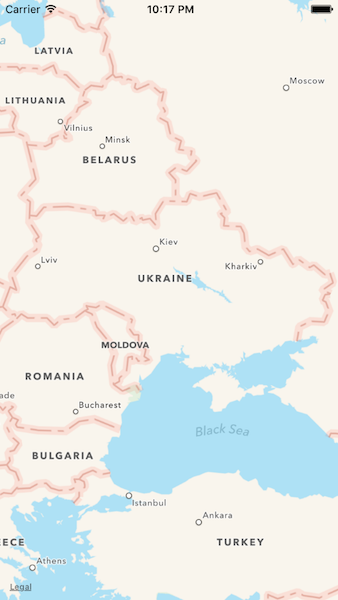
If you see the map when you run the application, then you are on the right way.
Please add an outlet of map view object to your UIViewController. Also you need to import MapKit module in the UIViewController.
import MapKit
Apple provides MKMapViewDelegate and CLLocationManagerDelegate delegates for developers. The MKMapViewDelegate protocol defines a set of optional methods that you can use to receive map-related update messages. Because many map operations require the MKMapView class to load data asynchronously, the map view calls these methods to notify your application when specific operations complete. The map view also uses these methods to request annotation and overlay views and to manage interactions with those views. More details you can found here. The CLLocationManagerDelegate protocol defines the methods used to receive location and heading updates from a CLLocationManager object. More details here.
Don’t forget set up a delegate in your code.
import MapKit
class ViewController: UIViewController, MKMapViewDelegate {
@IBOutlet weak var mapView: MKMapView!
override func viewDidLoad() {
super.viewDidLoad()
mapView.delegate = self
}
}
Or via Interface Builder.
For CLLocationManagerDelegate the same:
locationManager.delegate = self
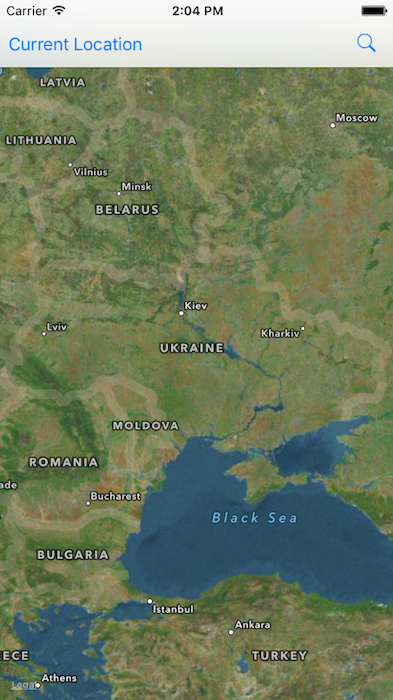
Let’s try to add a button for detecting the current location:
let currentLocationButton = UIBarButtonItem(title: "Current Location", style: UIBarButtonItemStyle.Plain, target: self, action: "currentLocationButtonAction:")
self.navigationItem.leftBarButtonItem = currentLocationButton
Then implement currentLocationButtonAction method:
func currentLocationButtonAction(sender: UIBarButtonItem) {
if (CLLocationManager.locationServicesEnabled()) {
if locationManager == nil {
locationManager = CLLocationManager()
}
locationManager?.requestWhenInUseAuthorization()
locationManager.delegate = self
locationManager.desiredAccuracy = kCLLocationAccuracyBest
locationManager.requestAlwaysAuthorization()
locationManager.startUpdatingLocation()
}
}
After that when you requested the location, you need to implement didUpdateLocations from CLLocationManagerDelegate, and here you can add a location to mapView. Please see the next code:
func locationManager(manager: CLLocationManager, didUpdateLocations locations: [CLLocation]) {
let location = locations.last
let center = CLLocationCoordinate2D(latitude: location!.coordinate.latitude, longitude: location!.coordinate.longitude)
let region = MKCoordinateRegion(center: center, span: MKCoordinateSpan(latitudeDelta: 0.01, longitudeDelta: 0.01))
self.mapView.setRegion(region, animated: true)
if self.mapView.annotations.count != 0 {
annotation = self.mapView.annotations[0]
self.mapView.removeAnnotation(annotation)
}
let pointAnnotation = MKPointAnnotation()
pointAnnotation.coordinate = location!.coordinate
pointAnnotation.title = ""
mapView.addAnnotation(pointAnnotation)
}
Important note: The current authorization status for location data is available from the authorizationStatus class method of CLLocationManager. In requesting authorization in iOS 8 and later, you must use the requestWhenInUseAuthorization or requestAlwaysAuthorization method and include the NSLocationWhenInUseUsageDescription or NSLocationAlwaysUsageDescription key in your Info.plist file to indicate the level of authorization you require.
Let’s continue…
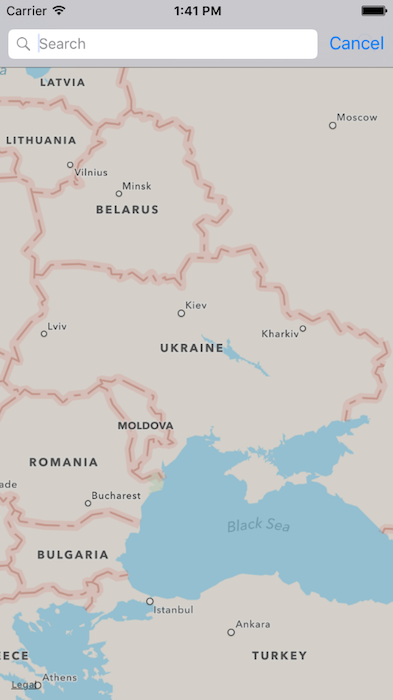
Now I will tell how to do a simple search.
First of all you need to add UISearchBarDelegate to your UIViewController. The UISearchBarDelegate protocol defines the optional methods you implement to make a UISearchBar control functional. A UISearchBar object provides the user interface for a search field on a bar, but it’s the application’s responsibility to implement the actions when buttons are tapped. At a minimum, the delegate needs to perform the actual search when text is entered in the text field.
Please add the following variables to your class:
private var searchController: UISearchController!
private var localSearchRequest: MKLocalSearchRequest!
private var localSearch: MKLocalSearch!
private var localSearchResponse: MKLocalSearchResponse!
And then we add a search navigation bar button:
let searchButton = UIBarButtonItem(barButtonSystemItem: UIBarButtonSystemItem.Search, target: self, action: "searchButtonAction:")
self.navigationItem.rightBarButtonItem = searchButton
Implementation of the search button action:
func searchButtonAction(button: UIBarButtonItem) {
if searchController == nil {
searchController = UISearchController(searchResultsController: nil)
}
searchController.hidesNavigationBarDuringPresentation = false
self.searchController.searchBar.delegate = self
presentViewController(searchController, animated: true, completion: nil)
}
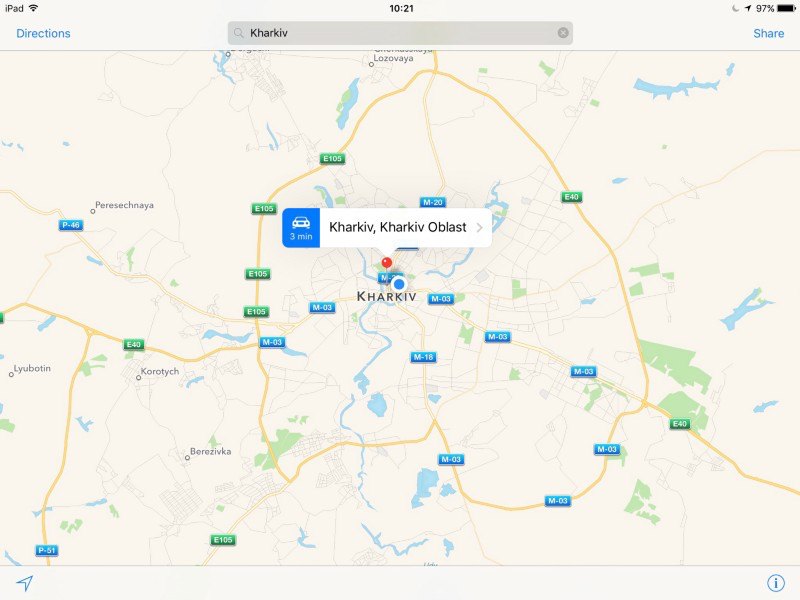
And the last point, we need to implement searchBarSearchButtonClicked method from UISearchBarDelegate:
func searchBarSearchButtonClicked(searchBar: UISearchBar) {
searchBar.resignFirstResponder()
dismissViewControllerAnimated(true, completion: nil)
if self.mapView.annotations.count != 0 {
annotation = self.mapView.annotations[0]
self.mapView.removeAnnotation(annotation)
}
localSearchRequest = MKLocalSearchRequest()
localSearchRequest.naturalLanguageQuery = searchBar.text
localSearch = MKLocalSearch(request: localSearchRequest)
localSearch.startWithCompletionHandler { [weak self] (localSearchResponse, error) -> Void in
if localSearchResponse == nil {
let alert = UIAlertView(title: nil, message: “Place not found”, delegate: self, cancelButtonTitle: “Try again”)
alert.show()
return
}
let pointAnnotation = MKPointAnnotation()
pointAnnotation.title = searchBar.text
pointAnnotation.coordinate = CLLocationCoordinate2D(latitude: localSearchResponse!.boundingRegion.center.latitude, longitude: localSearchResponse!.boundingRegion.center.longitude)
let pinAnnotationView = MKPinAnnotationView(annotation: pointAnnotation, reuseIdentifier: nil)
self!.mapView.centerCoordinate = pointAnnotation.coordinate
self!.mapView.addAnnotation(pinAnnotationView.annotation!)
}
}
The code is simple and I think you will figure out very easily. One small thing which I would like to share, it is a map type. MapView object has mapType property with next values, which you can easily set up:
Standard
Satellite
Hybrid
That’s all, I hope these tutorials help you to start developing apps using MapKit.