https://github.com/mcp-use/mcp-use
The fullstack MCP framework to develop MCP Apps for ChatGPT / Claude & MCP Servers for AI Agents.
https://github.com/mcp-use/mcp-use
agentic-framework ai apps-sdk chatgpt claude-code llms mcp mcp-apps mcp-client mcp-gateway mcp-host mcp-inspector mcp-server mcp-servers mcp-tools mcp-ui model-context-protocol modelcontextprotocol openclaw skills
Last synced: 26 days ago
JSON representation
The fullstack MCP framework to develop MCP Apps for ChatGPT / Claude & MCP Servers for AI Agents.
- Host: GitHub
- URL: https://github.com/mcp-use/mcp-use
- Owner: mcp-use
- License: mit
- Created: 2025-03-28T10:06:31.000Z (over 1 year ago)
- Default Branch: main
- Last Pushed: 2026-05-21T00:25:40.000Z (2 months ago)
- Last Synced: 2026-05-21T04:53:01.867Z (2 months ago)
- Topics: agentic-framework, ai, apps-sdk, chatgpt, claude-code, llms, mcp, mcp-apps, mcp-client, mcp-gateway, mcp-host, mcp-inspector, mcp-server, mcp-servers, mcp-tools, mcp-ui, model-context-protocol, modelcontextprotocol, openclaw, skills
- Language: TypeScript
- Homepage: https://manufact.com
- Size: 118 MB
- Stars: 9,979
- Watchers: 88
- Forks: 1,296
- Open Issues: 80
-
Metadata Files:
- Readme: README.md
- Contributing: CONTRIBUTING.md
- License: LICENSE
- Code of conduct: CODE_OF_CONDUCT.md
- Security: SECURITY.md
Awesome Lists containing this project
- awesome-mcp-servers - mcp-use Framework - Full-stack Model Context Protocol framework for developing MCP Apps for ChatGPT/Claude and MCP Servers for AI Agents, supporting both Python and TypeScript with built-in agent capabilities and rich UI components. ([Read more](/details/mcp-use-framework.md)) `Framework` `Python` `Typescript` (Development Tools Mcp Servers)
- skillshare-hub - **chatgpt-app-builder** - low](https://img.shields.io/badge/risk-low-green) — Build ChatGPT-powered applications with MCP integration (Skills Catalog / Agent (45))
- awesome-openclaw-money-maker - **MCP-Use** - Easiest way to interact with MCP servers using custom agents. Agent-first MCP client. (MCP Servers & Tools / Infrastructure)
- awesome-mcp-enterprise - mcp-use - Open-source toolkit to connect any LLM to any MCP server and build custom MCP agents with tool access. 🆓 (Build Tools & Frameworks)
- awesome-github-repos - mcp-use/mcp-use - The fullstack MCP framework to develop MCP Apps for ChatGPT / Claude & MCP Servers for AI Agents. (TypeScript)
- awesome-github-projects - mcp-use - The fullstack MCP framework to develop MCP Apps for ChatGPT / Claude & MCP Servers for AI Agents. ⭐10,252 `TypeScript` 🔥 (🤖 AI & Machine Learning)
- awesome-mcp-servers - <div align="center"><img src="https://raw.githubusercontent.com/pietrozullo/mcp-use/refs/heads/main/docs/favicon.svg" height="20"/></div> - use](https://github.com/pietrozullo/mcp-use) | [mcp-use x MCP](https://docs.mcp-use.io/introduction) | (Supported Clients)
- awesome-ChatGPT-repositories - mcp-use - mcp-use is the easiest way to interact with mcp servers with custom agents (The latest additions 🎉)
- awesome-mcp-servers - **mcp-use** - mcp-use is the easiest way to interact with mcp servers with custom agents `python` `agent` `agents` `ai` `mcp` `pip install git+https://github.com/mcp-use/mcp-use` (🤖 AI/ML)
- awesome-starts - mcp-use/mcp-use - mcp-use is the easiest way to interact with mcp servers with custom agents (python)
- StarryDivineSky - mcp-use/mcp-use - use项目旨在简化与MCP服务器的交互,特别是使用自定义代理的情况。它提供了一种简单易用的方式来连接和操作MCP服务器。该项目的核心优势在于其易用性,使得用户可以快速上手并进行自定义代理的集成。具体实现原理可能涉及网络通信、协议解析以及代理配置等技术。通过mcp-use,开发者可以更高效地构建和管理基于MCP服务器的应用程序,降低开发和维护成本。项目可能包含示例代码和详细文档,方便用户理解和使用。总体来说,mcp-use是一个方便开发者与MCP服务器交互的实用工具,尤其适用于需要自定义代理的场景。 (A01_文本生成_文本对话 / 大语言对话模型及数据)
- metorial-index - MCP-Use - Connects LLMs to various tools, enabling web browsing and file operations for building custom AI agents. Facilitates the integration of diverse capabilities into applications without relying on proprietary solutions. (Content Creation)
- awesome-mcp-lists - GitHub
- awesome-claude-multi-agent - mcp-use - Framework for building MCP apps and connecting agents to any MCP server, with Claude support. (Skills, Hooks, and MCP for Coordination)
- awesome-mcp-registry - mcp-use/mcp-use
- awesome-ai-agents - mcp-use/mcp-use - mcp-use is an open-source unified client library that enables seamless integration of any LangChain-supported LLM with MCP servers to build custom agents with tool access. (Agent Integration & Deployment Tools / AI Agent Operating System)
- awesome-claude-code - mcp-use/mcp-use - use/mcp-use?style=flat-square&logo=github) | Connect any LLM to MCP servers with agents, clients, and inspector in 6 lines | (MCP Ecosystem / Core & Frameworks)
- awesome-mcp-devtools - mcp-use - Open source python library to very easily connect any LLM to any MCP server both locally and remotely. (SDKs / Python)
- awesome-rainmana - mcp-use/mcp-use - The fullstack MCP framework to develop MCP Apps for ChatGPT / Claude & MCP Servers for AI Agents. (TypeScript)
- awesome-mcp-devtools - mcp-use - Open source python library to very easily connect any LLM to any MCP server both locally and remotely. (SDKs / Python)
- awesome-claude-code - MCP Use - Fullstack MCP framework to develop MCP apps for ChatGPT, Claude, and AI agents.  (MCP Servers / MCP Frameworks and Tooling)
- awesome - mcp-use/mcp-use - The fullstack MCP framework to develop MCP Apps for ChatGPT / Claude & MCP Servers for AI Agents. (TypeScript)
- awesome-ai-tools - mcp-use - source library to connect any LLM to MCP servers. `#opensource` (🛠️ Developer Infrastructure / Model Context Protocol (MCP))
- awesome-agent-frameworks - MCP-use - use/mcp-use?style=social) - MCP-use is a growing MCP framework providing a full-stack toolkit for building and connecting to MCP servers. (Tool / protocol / connector layer)
- claude-code-skills-zh - mcp-use
- awesome-openclaw-skills - mcp-use/mcp-use
- awesome-agent-evolution - **mcp-use** - The fullstack MCP framework to develop MCP Apps for ChatGPT/Claude and MCP Servers for AI Agents. by [@mcp-use](https://github.com/mcp-use) (10,266 stars) (Agent-to-Agent Protocols)
- awesome-context-engineering - mcp-use - use`)  mcp-use is the easiest way to interact with mcp servers with custom agents (🔎 Select Context / MCP Frameworks)
- awesome-agent-harness - GitHub - 10126-f4b400?style=flat-square)](https://github.com/mcp-use/mcp-use) | mcp, framework, apps | Full-stack MCP framework for building MCP apps for ChatGPT and Claude and MCP servers for AI agents. | (Catalog / Protocols, Tool Interfaces & Agent Contracts)
- awesome-mcp - mcp-use/mcp-use - mcp-use is an open-source client library that enables easy connection of any tool-capable LLM to MCP servers for building custom agents with diverse tool access. (MCP Frameworks and libraries / Python)
- awesome-openclaw - mcp-use
- awesome-mcp-zh - mcp-use
- awesome-agent-swarm - **mcp-use** - Fullstack MCP framework to develop MCP applications for ChatGPT, Claude, and AI agents. by [@mcp-use](https://github.com/mcp-use) (10,140 stars) (Agent Communication and Protocols)
README


## About
mcp-use is the fullstack MCP framework
to build MCP Apps for ChatGPT / Claude & MCP Servers for AI Agents.
- **Build** with mcp-use SDK ([ts](https://www.npmjs.com/package/mcp-use) | [py](https://pypi.org/project/mcp_use/)): MCP Servers and MCP Apps
- **Preview** on mcp-use MCP Inspector ([online](https://inspector.mcp-use.com/inspector) | [oss](https://github.com/mcp-use/mcp-use/tree/main/libraries/typescript/packages/inspector)): Test and debug your MCP Servers and Apps
- **Deploy** on [Manufact MCP Cloud](https://manufact.com): Connect your GitHub repo and have your MCP Server and App up and running in production with observability, metrics, logs, branch-deployments, and more
## Documentation
Visit our [docs](https://mcp-use.com/docs) or jump to a quickstart ([TypeScript](https://mcp-use.com/docs/typescript/getting-started/quickstart) | [Python](https://mcp-use.com/docs/python/getting-started/quickstart))
### Skills for Coding Agents
> **Using Claude Code, Codex, Cursor or other AI coding agents?**
>
> **[Install mcp-use skill for MCP Apps](https://skills.sh/mcp-use/mcp-use/mcp-apps-builder)**
## Quickstart: MCP Servers and MCP Apps
###  TypeScript
Build your first MCP Server or MPC App:
```bash
npx create-mcp-use-app@latest
```
Or create a server manually:
```typescript
import { MCPServer, text } from "mcp-use/server";
import { z } from "zod";
const server = new MCPServer({
name: "my-server",
version: "1.0.0",
});
server.tool({
name: "get_weather",
description: "Get weather for a city",
schema: z.object({ city: z.string() }),
}, async ({ city }) => {
return text(`Temperature: 72°F, Condition: sunny, City: ${city}`);
});
await server.listen(3000);
// Inspector at http://localhost:3000/inspector
```
[**→ Full TypeScript Server Documentation**](https://mcp-use.com/docs/typescript/server)
## MCP Apps
MCP Apps let you build interactive widgets that work across Claude, ChatGPT, and other MCP clients — write once, run everywhere.
**Server**: define a tool and point it to a widget:
```typescript
import { MCPServer, widget } from "mcp-use/server";
import { z } from "zod";
const server = new MCPServer({
name: "weather-app",
version: "1.0.0",
});
server.tool({
name: "get-weather",
description: "Get weather for a city",
schema: z.object({ city: z.string() }),
widget: "weather-display", // references resources/weather-display/widget.tsx
}, async ({ city }) => {
return widget({
props: { city, temperature: 22, conditions: "Sunny" },
message: `Weather in ${city}: Sunny, 22°C`,
});
});
await server.listen(3000);
```
**Widget**: create a React component in `resources/weather-display/widget.tsx`:
```tsx
import { useWidget, type WidgetMetadata } from "mcp-use/react";
import { z } from "zod";
const propSchema = z.object({
city: z.string(),
temperature: z.number(),
conditions: z.string(),
});
export const widgetMetadata: WidgetMetadata = {
description: "Display weather information",
props: propSchema,
};
const WeatherDisplay: React.FC = () => {
const { props, isPending, theme } = useWidget>();
const isDark = theme === "dark";
if (isPending) return
Loading...;
return (
{props.city}
{props.temperature}° — {props.conditions}
);
};
export default WeatherDisplay;
```
Widgets in `resources/` are **auto-discovered** — no manual registration needed.
Visit [**MCP Apps Documentation**](https://mcp-use.com/docs/typescript/server/mcp-apps)
## Templates
Ready-to-use MCP Apps you can deploy in one click or remix as your own.
| Preview | Name | Tools | Demo URL | Repo | Deploy |
| --- | --- | --- | --- | --- | --- |
| 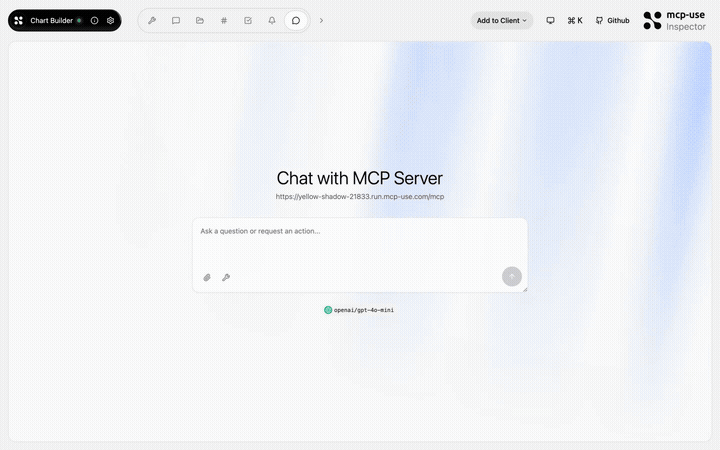 | Chart Builder | `create-chart` | [Open URL](https://yellow-shadow-21833.run.mcp-use.com/mcp) | [mcp-use/mcp-chart-builder](https://github.com/mcp-use/mcp-chart-builder) | [](https://mcp-use.com/deploy/start?repository-url=https%3A%2F%2Fgithub.com%2Fmcp-use%2Fmcp-chart-builder&branch=main&project-name=mcp-chart-builder&port=3000&runtime=node&base-image=node%3A20) |
| 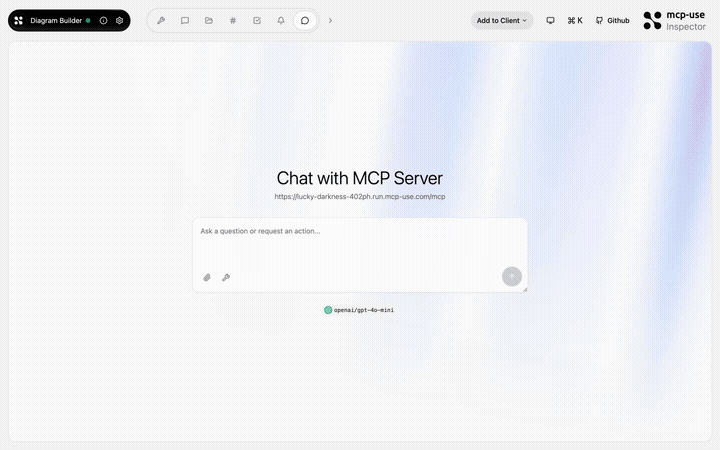 | Diagram Builder | `create-diagram`, `edit-diagram` | [Open URL](https://lucky-darkness-402ph.run.mcp-use.com/mcp) | [mcp-use/mcp-diagram-builder](https://github.com/mcp-use/mcp-diagram-builder) | [](https://mcp-use.com/deploy/start?repository-url=https%3A%2F%2Fgithub.com%2Fmcp-use%2Fmcp-diagram-builder&branch=main&project-name=mcp-diagram-builder&port=3000&runtime=node&base-image=node%3A20) |
| 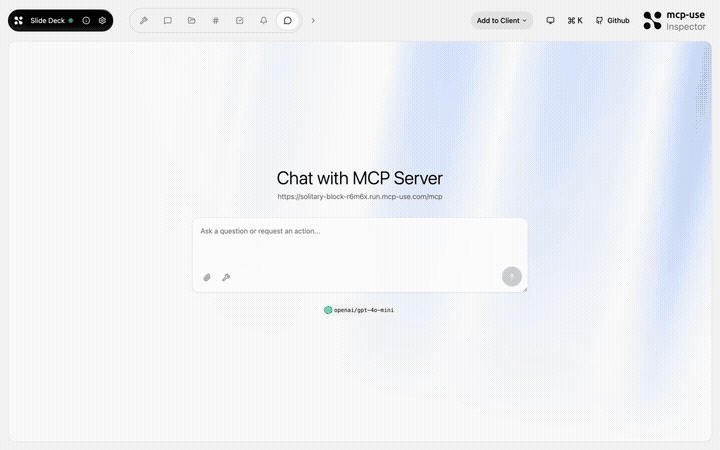 | Slide Deck | `create-slides`, `edit-slide` | [Open URL](https://solitary-block-r6m6x.run.mcp-use.com/mcp) | [mcp-use/mcp-slide-deck](https://github.com/mcp-use/mcp-slide-deck) | [](https://mcp-use.com/deploy/start?repository-url=https%3A%2F%2Fgithub.com%2Fmcp-use%2Fmcp-slide-deck&branch=main&project-name=mcp-slide-deck&port=3000&runtime=node&base-image=node%3A20) |
|  | Maps Explorer | `show-map`, `get-place-details`, `add-markers` | [Open URL](https://super-night-ttde2.run.mcp-use.com/mcp) | [mcp-use/mcp-maps-explorer](https://github.com/mcp-use/mcp-maps-explorer) | [](https://mcp-use.com/deploy/start?repository-url=https%3A%2F%2Fgithub.com%2Fmcp-use%2Fmcp-maps-explorer&branch=main&project-name=mcp-maps-explorer&port=3000&runtime=node&base-image=node%3A20) |
| 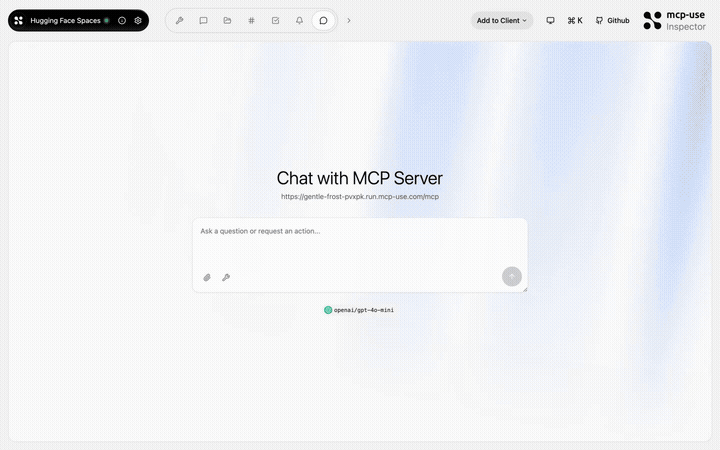 | Hugging Face Spaces | `search-spaces`, `show-space`, `trending-spaces` | [Open URL](https://gentle-frost-pvxpk.run.mcp-use.com/mcp) | [mcp-use/mcp-huggingface-spaces](https://github.com/mcp-use/mcp-huggingface-spaces) | [](https://mcp-use.com/deploy/start?repository-url=https%3A%2F%2Fgithub.com%2Fmcp-use%2Fmcp-huggingface-spaces&branch=main&project-name=mcp-huggingface-spaces&port=3000&runtime=node&base-image=node%3A20) |
| 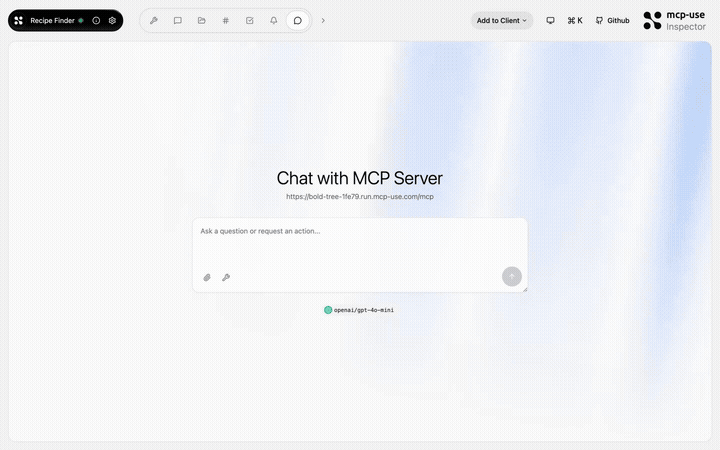 | Recipe Finder | `search-recipes`, `get-recipe`, `meal-plan`, `recipe-suggestion` | [Open URL](https://bold-tree-1fe79.run.mcp-use.com/mcp) | [mcp-use/mcp-recipe-finder](https://github.com/mcp-use/mcp-recipe-finder) | [](https://mcp-use.com/deploy/start?repository-url=https%3A%2F%2Fgithub.com%2Fmcp-use%2Fmcp-recipe-finder&branch=main&project-name=mcp-recipe-finder&port=3000&runtime=node&base-image=node%3A20) |
|  | Widget Gallery | `show-react-widget`, `html-greeting`, `mcp-ui-poll`, `programmatic-counter`, `detect-client` | [Open URL](https://wandering-lake-mmxhs.run.mcp-use.com/mcp) | [mcp-use/mcp-widget-gallery](https://github.com/mcp-use/mcp-widget-gallery) | [](https://mcp-use.com/deploy/start?repository-url=https%3A%2F%2Fgithub.com%2Fmcp-use%2Fmcp-widget-gallery&branch=main&project-name=mcp-widget-gallery&port=3000&runtime=node&base-image=node%3A20) |
| 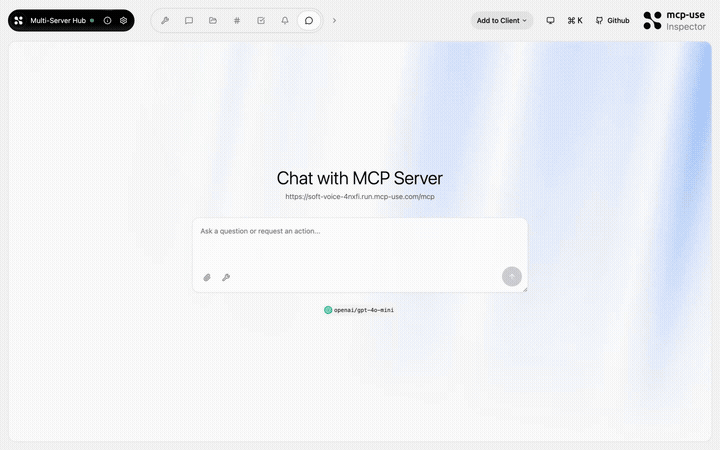 | Multi Server Hub | `hub-status`, `hub-config-example`, `audit-log` | [Open URL](https://soft-voice-4nxfi.run.mcp-use.com/mcp) | [mcp-use/mcp-multi-server-hub](https://github.com/mcp-use/mcp-multi-server-hub) | [](https://mcp-use.com/deploy/start?repository-url=https%3A%2F%2Fgithub.com%2Fmcp-use%2Fmcp-multi-server-hub&branch=main&project-name=mcp-multi-server-hub&port=3000&runtime=node&base-image=node%3A20) |
| 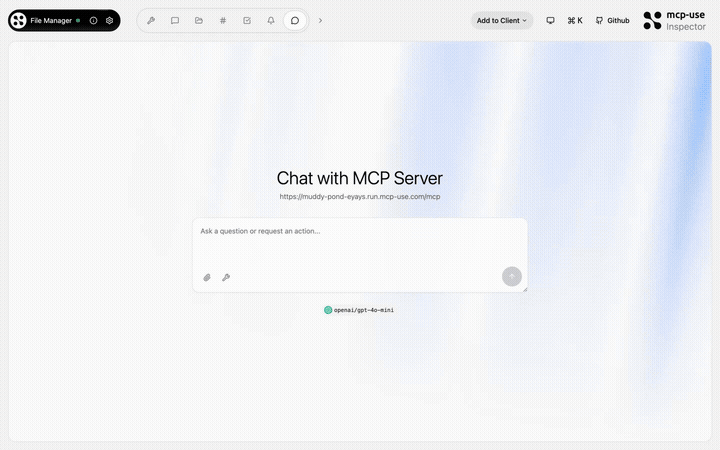 | File Manager | `open-vault`, `get-file`, `list-files` | [Open URL](https://muddy-pond-eyays.run.mcp-use.com/mcp) | [mcp-use/mcp-file-manager](https://github.com/mcp-use/mcp-file-manager) | [](https://mcp-use.com/deploy/start?repository-url=https%3A%2F%2Fgithub.com%2Fmcp-use%2Fmcp-file-manager&branch=main&project-name=mcp-file-manager&port=3000&runtime=node&base-image=node%3A20) |
| 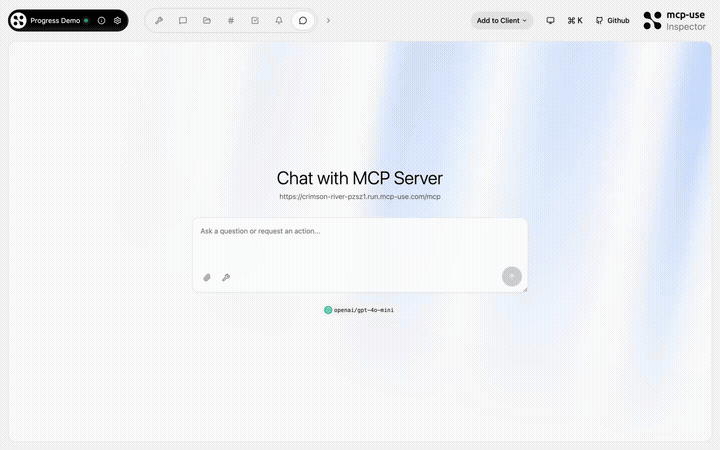 | Progress Demo | `process-data`, `fetch-report`, `delete-dataset`, `search-external`, `failing-tool` | [Open URL](https://crimson-river-pzsz1.run.mcp-use.com/mcp) | [mcp-use/mcp-progress-demo](https://github.com/mcp-use/mcp-progress-demo) | [](https://mcp-use.com/deploy/start?repository-url=https%3A%2F%2Fgithub.com%2Fmcp-use%2Fmcp-progress-demo&branch=main&project-name=mcp-progress-demo&port=3000&runtime=node&base-image=node%3A20) |
| 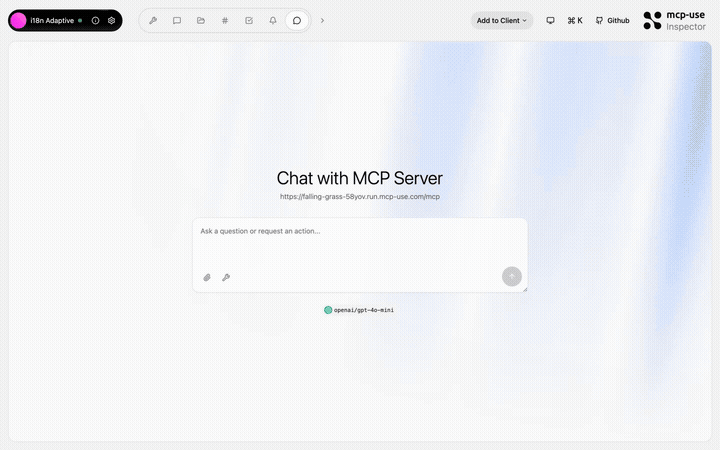 | i18n Adaptive | `show-context`, `detect-caller` | [Open URL](https://falling-grass-58yov.run.mcp-use.com/mcp) | [mcp-use/mcp-i18n-adaptive](https://github.com/mcp-use/mcp-i18n-adaptive) | [](https://mcp-use.com/deploy/start?repository-url=https%3A%2F%2Fgithub.com%2Fmcp-use%2Fmcp-i18n-adaptive&branch=main&project-name=mcp-i18n-adaptive&port=3000&runtime=node&base-image=node%3A20) |
| 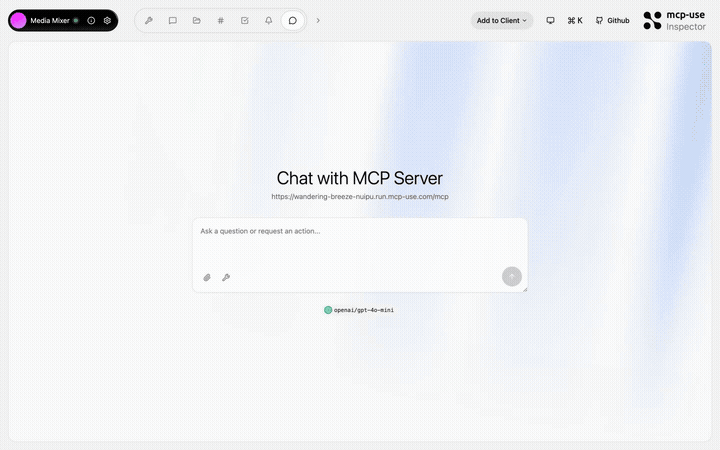 | Media Mixer | `generate-image`, `generate-audio`, `generate-pdf`, `get-report`, `get-html-snippet`, `get-xml-config`, `get-stylesheet`, `get-script`, `get-data-array` | [Open URL](https://wandering-breeze-nuipu.run.mcp-use.com/mcp) | [mcp-use/mcp-media-mixer](https://github.com/mcp-use/mcp-media-mixer) | [](https://mcp-use.com/deploy/start?repository-url=https%3A%2F%2Fgithub.com%2Fmcp-use%2Fmcp-media-mixer&branch=main&project-name=mcp-media-mixer&port=3000&runtime=node&base-image=node%3A20) |
| 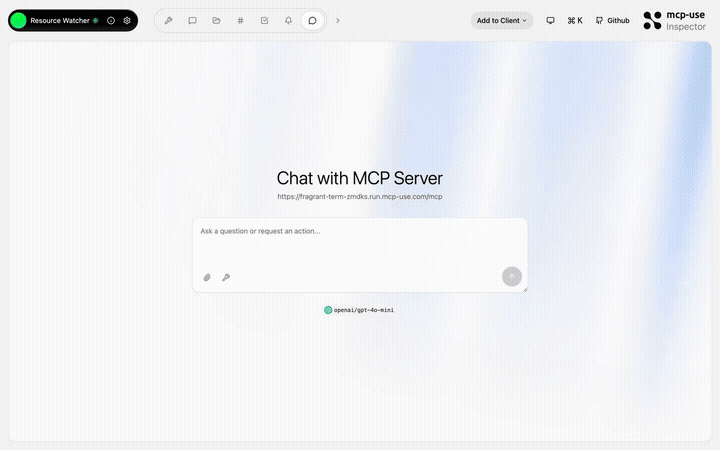 | Resource Watcher | `show-config`, `update-config`, `toggle-feature`, `list-roots` | [Open URL](https://fragrant-term-zmdks.run.mcp-use.com/mcp) | [mcp-use/mcp-resource-watcher](https://github.com/mcp-use/mcp-resource-watcher) | [](https://mcp-use.com/deploy/start?repository-url=https%3A%2F%2Fgithub.com%2Fmcp-use%2Fmcp-resource-watcher&branch=main&project-name=mcp-resource-watcher&port=3000&runtime=node&base-image=node%3A20) |
---
###  Python
```bash
pip install mcp-use
```
```python
from typing import Annotated
from mcp.types import ToolAnnotations
from pydantic import Field
from mcp_use import MCPServer
server = MCPServer(name="Weather Server", version="1.0.0")
@server.tool(
name="get_weather",
description="Get current weather information for a location",
annotations=ToolAnnotations(readOnlyHint=True, openWorldHint=True),
)
async def get_weather(
city: Annotated[str, Field(description="City name")],
) -> str:
return f"Temperature: 72°F, Condition: sunny, City: {city}"
# Start server with auto-inspector
server.run(transport="streamable-http", port=8000)
# 🎉 Inspector at http://localhost:8000/inspector
```
[**→ Full Python Server Documentation**](https://mcp-use.com/docs/python/server/index)
---
## Inspector
The mcp-use Inspector lets you test and debug your MCP servers interactively.
**Auto-included** when using `server.listen()`:
```typescript
server.listen(3000);
// Inspector at http://localhost:3000/inspector
```
**Online** when connecting to hosted MCP servers:
>Visit https://inspector.mcp-use.com
**Standalone**: inspect any MCP server:
```bash
npx @mcp-use/inspector --url http://localhost:3000/mcp
```
Visit [**Inspector Documentation**](https://mcp-use.com/docs/inspector/index)
---
## Deploy
Deploy your MCP server to production:
```bash
npx @mcp-use/cli login
npx @mcp-use/cli deploy
```
Or connect your GitHub repo on [manufact.com](https://manufact.com) — production-ready with observability, metrics, logs, and branch-deployments.
---
## Package Overview
This monorepo contains multiple packages for both Python and TypeScript:
### Python Packages
| Package | Description | Version |
| ----------- | ------------------------------------- | --------------------------------------------------------------------------------------- |
| **mcp-use** | Complete MCP server and MCP agent SDK | [](https://pypi.org/project/mcp_use/) |
### TypeScript Packages
| Package | Description | Version |
| ---------------------- | ----------------------------------------------- | --------------------------------------------------------------------------------------------------------------- |
| **mcp-use** | Core framework for MCP servers, MCP apps, and MCP agents | [](https://www.npmjs.com/package/mcp-use) |
| **@mcp-use/cli** | Build tool with hot reload and auto-inspector | [](https://www.npmjs.com/package/@mcp-use/cli) |
| **@mcp-use/inspector** | Web-based previewer and debugger for MCP servers | [](https://www.npmjs.com/package/@mcp-use/inspector) |
| **create-mcp-use-app** | Project scaffolding tool | [](https://www.npmjs.com/package/create-mcp-use-app) |
---
## Also: MCP Agent & Client
mcp-use also provides a full MCP Agent and Client implementation.
Build an AI Agent
### Python
```bash
pip install mcp-use langchain-openai
```
```python
import asyncio
from langchain_openai import ChatOpenAI
from mcp_use import MCPAgent, MCPClient
async def main():
config = {
"mcpServers": {
"filesystem": {
"command": "npx",
"args": ["-y", "@modelcontextprotocol/server-filesystem", "/tmp"]
}
}
}
client = MCPClient.from_dict(config)
llm = ChatOpenAI(model="gpt-4o")
agent = MCPAgent(llm=llm, client=client)
result = await agent.run("List all files in the directory")
print(result)
asyncio.run(main())
```
[**→ Full Python Agent Documentation**](./libraries/python/README.md#quick-start)
### TypeScript
```bash
npm install mcp-use @langchain/openai
```
```typescript
import { ChatOpenAI } from "@langchain/openai";
import { MCPAgent, MCPClient } from "mcp-use";
async function main() {
const config = {
mcpServers: {
filesystem: {
command: "npx",
args: ["-y", "@modelcontextprotocol/server-filesystem", "/tmp"],
},
},
};
const client = MCPClient.fromDict(config);
const llm = new ChatOpenAI({ modelName: "gpt-4o" });
const agent = new MCPAgent({ llm, client });
const result = await agent.run("List all files in the directory");
console.log(result);
}
main();
```
[**→ Full TypeScript Agent Documentation**](./libraries/typescript/README.md#-quick-start)
Use MCP Client
### Python
```python
import asyncio
from mcp_use import MCPClient
async def main():
config = {
"mcpServers": {
"calculator": {
"command": "npx",
"args": ["-y", "@modelcontextprotocol/server-everything"]
}
}
}
client = MCPClient.from_dict(config)
await client.create_all_sessions()
session = client.get_session("calculator")
result = await session.call_tool(name="add", arguments={"a": 5, "b": 3})
print(f"Result: {result.content[0].text}")
await client.close_all_sessions()
asyncio.run(main())
```
[**→ Python Client Documentation**](./libraries/python/README.md#direct-tool-calls-without-llm)
### TypeScript
```typescript
import { MCPClient } from "mcp-use";
async function main() {
const config = {
mcpServers: {
calculator: {
command: "npx",
args: ["-y", "@modelcontextprotocol/server-everything"],
},
},
};
const client = new MCPClient(config);
await client.createAllSessions();
const session = client.getSession("calculator");
const result = await session.callTool("add", { a: 5, b: 3 });
console.log(`Result: ${result.content[0].text}`);
await client.closeAllSessions();
}
main();
```
[**→ TypeScript Client Documentation**](./libraries/typescript/README.md#basic-usage)
---
## Conformance to Model Context Protocol


---
## Security
See [SECURITY.md](https://github.com/mcp-use/mcp-use/blob/main/SECURITY.md)
## Community & Support
- **Discord**: [Join our community](https://discord.gg/XkNkSkMz3V)
- **GitHub Issues**: [Report bugs or request features](https://github.com/mcp-use/mcp-use/issues)
- **Documentation**: [mcp-use.com/docs](https://mcp-use.com/docs)
- **Website**: [manufact.com](https://manufact.com)
- **X.com**: Follow [Manufact](https://x.com/manufact)
- **Contributing**: See [CONTRIBUTING.md](https://github.com/mcp-use/mcp-use/blob/main/CONTRIBUTING.md)
- **License**: MIT © [MCP-Use Contributors](https://github.com/mcp-use/mcp-use/graphs/contributors)
---
## Star History
[](https://www.star-history.com/#mcp-use/mcp-use&Date)
---
## Contributors
Thanks to all our amazing contributors!
### Core Contributors
1. **Pietro** ([@pietrozullo](https://github.com/pietrozullo))
2. **Luigi** ([@pederzh](https://github.com/pederzh))
3. **Enrico** ([@tonxxd](https://github.com/tonxxd))

---
Built with ❤️ by Manufact team and the mcp-use community
San Francisco | Zürich