https://github.com/md-abid-hussain/docquery
DocQuery: Turn your documentation markdown to knowledgebase
https://github.com/md-abid-hussain/docquery
copilotkit gemini genai langgraph-python mongodb nextjs rag shadcn-ui togetherai
Last synced: 8 months ago
JSON representation
DocQuery: Turn your documentation markdown to knowledgebase
- Host: GitHub
- URL: https://github.com/md-abid-hussain/docquery
- Owner: md-abid-hussain
- License: mit
- Created: 2025-01-20T20:00:31.000Z (over 1 year ago)
- Default Branch: main
- Last Pushed: 2025-09-14T14:55:59.000Z (10 months ago)
- Last Synced: 2025-10-02T18:59:08.277Z (9 months ago)
- Topics: copilotkit, gemini, genai, langgraph-python, mongodb, nextjs, rag, shadcn-ui, togetherai
- Language: TypeScript
- Homepage: https://docquery-ten.vercel.app
- Size: 1.65 MB
- Stars: 19
- Watchers: 1
- Forks: 3
- Open Issues: 0
-
Metadata Files:
- Readme: README.md
- License: LICENSE
- Code of conduct: CODE_OF_CONDUCT.md
Awesome Lists containing this project
README
# DocQuery
## Overview
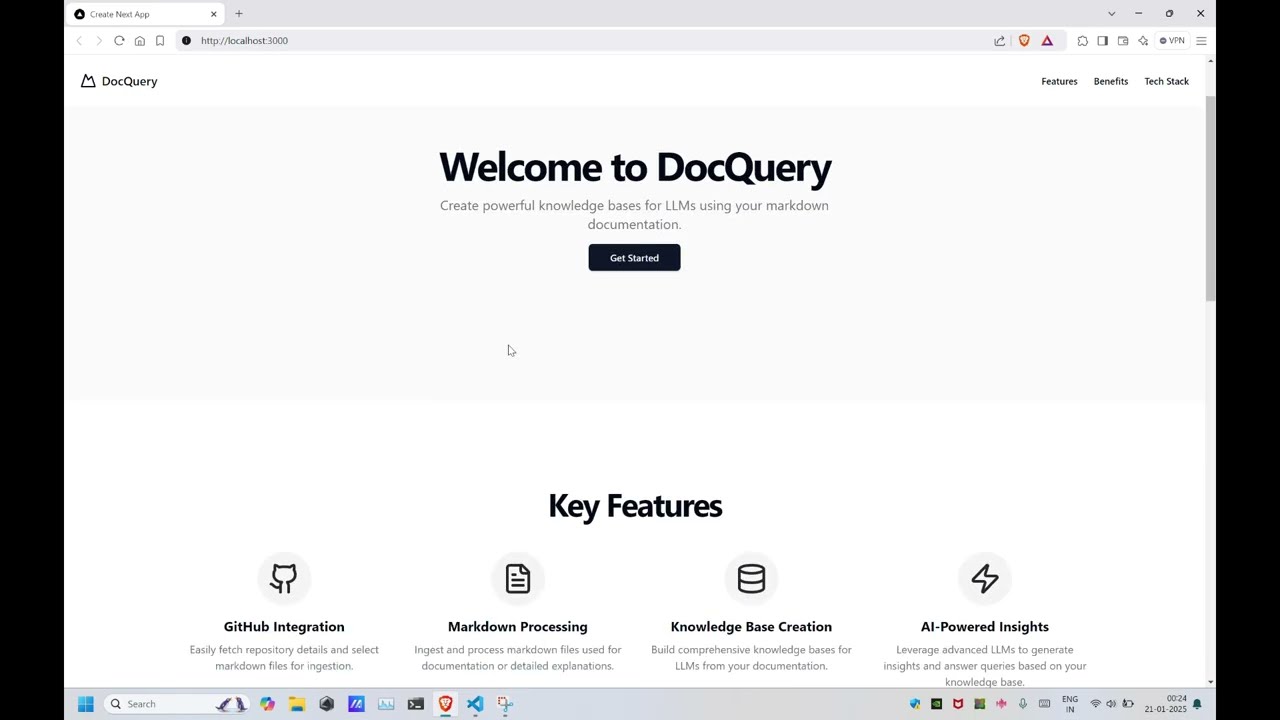
DocQuery is a comprehensive project consisting of both frontend and backend components. The frontend is built with Next.js and Tailwind CSS, providing a user-friendly interface to create powerful knowledge bases for LLMs using markdown documentation. The backend leverages FastAPI to provide endpoints for different agents built using the `langgraph` library and integrated into the FastAPI application using `CopilotKitSDK`.
## Video: Click to view
[](https://youtu.be/nYDthsB8d7I?si=uOEHGZB2A7DRpMsn)
## Setup
### Frontend
1. Clone the repository:
```sh
git clone https://github.com/md-abid-hussain/docquery.git
cd docquery-frontend
```
2. Install dependencies:
```sh
npm install
```
3. Copy the example environment file and fill in the required values:
```sh
cp .env.example .env
```
4. Start the development server:
```sh
npm run dev
```
5. The application will be available at `http://localhost:3000`.
### Backend
1. Clone the repository:
```sh
git clone
cd docquery-backend
```
2. Create and activate a virtual environment:
```sh
python -m venv venv
source venv/bin/activate # On Windows use `venv\Scripts\activate`
```
3. Install dependencies:
```sh
pip install -r requirements.txt
```
4. Copy the example environment file and fill in the required values:
```sh
cp .env.example .env
```
5. Start the FastAPI server:
```sh
uvicorn app.main:app --reload
```
6. The application will be available at `http://127.0.0.1:8000`.
## Features
### Frontend
- **GitHub Integration**: Easily fetch repository details and select markdown files for ingestion.
- **Markdown Processing**: Ingest and process markdown files used for documentation or detailed explanations.
- **Knowledge Base Creation**: Build comprehensive knowledge bases for LLMs from your documentation.
- **AI-Powered Insights**: Leverage advanced LLMs to generate insights and answer queries based on your knowledge base.
### Backend
#### Ingestion Agent
The Ingestion Agent is defined in agent.py. It consists of the following nodes:
- `Ingestion Node`
- `Verify Ingestion Node`
#### QA Agent
The QA Agent is defined in agent.py. It consists of the following nodes:
- `Retrieve Node`
- `Chat Node`
## API Endpoints
- `GET /`: Returns a simple greeting message.
- `POST /copilotkit`: Endpoint for interacting with the agents.
## Environment Variables
The application requires the following environment variables to be set:
### Frontend
- `TOGETHER_AI_API_KEY`
- `DATABASE_URL`
### Backend
- `GOOGLE_API_KEY`
- `TOGETHER_API_KEY`
- `GITHUB_PERSONAL_ACCESS_TOKEN`
- `MONGODB_ATLAS_CLUSTER_URI`
These can be set in the respective `.env` files.
## License
This project is licensed under the MIT License.