https://github.com/mdenisov/micro
Create server-rendered universal JavaScript applications with no configuration
https://github.com/mdenisov/micro
javascript reactjs typescript universal webpack
Last synced: about 1 year ago
JSON representation
Create server-rendered universal JavaScript applications with no configuration
- Host: GitHub
- URL: https://github.com/mdenisov/micro
- Owner: mdenisov
- Created: 2020-03-27T10:15:41.000Z (over 6 years ago)
- Default Branch: master
- Last Pushed: 2021-08-02T02:32:28.000Z (almost 5 years ago)
- Last Synced: 2025-04-23T13:33:04.177Z (about 1 year ago)
- Topics: javascript, reactjs, typescript, universal, webpack
- Language: JavaScript
- Homepage:
- Size: 3.31 MB
- Stars: 3
- Watchers: 2
- Forks: 0
- Open Issues: 0
-
Metadata Files:
- Readme: README.md
Awesome Lists containing this project
README
[](https://circleci.com/gh/mdenisov/micro/tree/master)
[](https://www.npmjs.com/package/create-frontend)
[](https://www.npmjs.com/package/create-frontend)
[](https://www.npmjs.com/package/create-frontend)
Universal JavaScript applications are tough to setup. Either you buy into a framework like [Next.js](https://github.com/zeit/next.js) or [react-server](https://github.com/redfin/react-server), fork a boilerplate, or set things up yourself.
**Frontend comes with the "battery-pack included"**:
- :fire: Universal Hot Module Replacement, so both the client and server update whenever you make edits. No annoying restarts necessary
- Comes with your favorite ES6 JavaScript goodies
- Comes with the same CSS setup as [create-react-app](https://github.com/facebookincubator/create-react-app)
- Works with [React](https://github.com/facebook/react)
- Escape hatches for customization via `.babelrc` and `frontend.config.js`
## Quick Start
```
npx create-frontend bootstrap my-app
cd my-app
yarn start
```
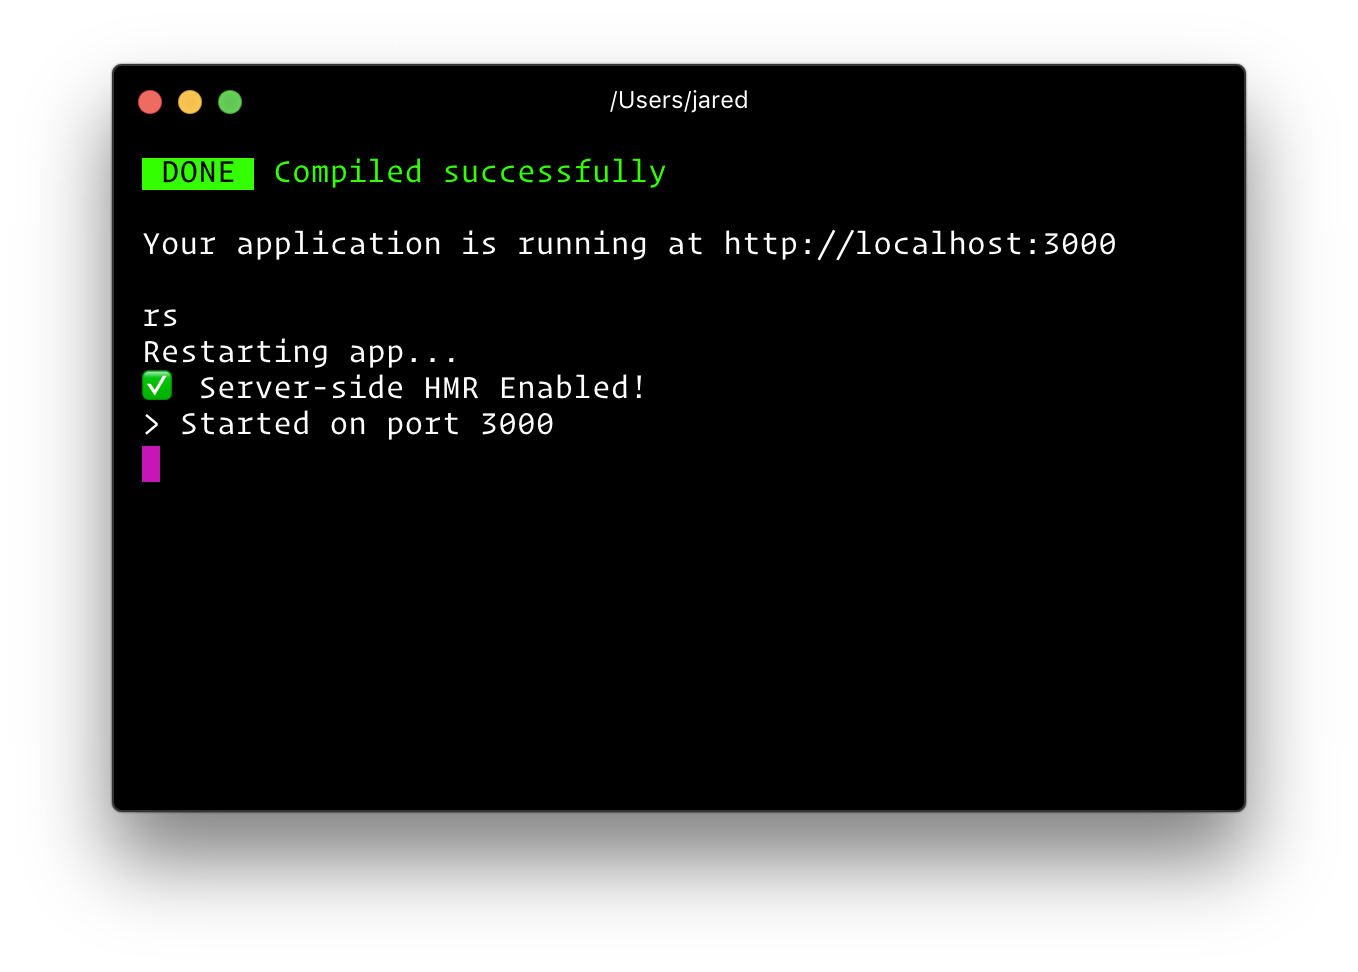
Then open http://localhost:3000/ to see your app. Your console should look like this:

**That's it**. You don't need to worry about setting up multiple webpack configs or other build tools. Just start editing `src/App.js` and go!
Below is a list of commands you will probably find useful.
### `yarn start`
Runs the project in development mode.
You can view your application at `http://localhost:3000`
The page will reload if you make edits.
### `yarn build`
Builds the app for production to the build folder.
The build is minified and the filenames include the hashes.
Your app is ready to be deployed!
### `yarn start:prod`
Runs the compiled app in production.
You can again view your application at `http://localhost:3000`
### `npm test` or `yarn test`
Runs the test watcher (Jest) in an interactive mode.
By default, runs tests related to files changed since the last commit.
### `rs`
If your application is running, and you need to manually restart your server, you do not need to completely kill and rebundle your application. Instead you can just type `rs` and press enter in terminal.
## 
## Customization
### Customizing Babel Config
Frontend comes with most of ES6 stuff you need. However, if you want to add your own babel transformations, just add a `.babelrc` file to the root of your project.
```
{
"presets": [
"stage-0"
],
"plugins": [
// additional plugins
]
}
```
A word of advice: the `.babelrc` file will replace the internal frontend babelrc template. You must include at the very minimum the default frontend/babel preset.
### Extending Webpack
You can also extend the underlying webpack config. Create a file called `frontend.config.js` in your project's root.
```
// frontend.config.js
module.exports = {
modify: (config, { target, dev }, webpack) => {
// do something to config
return config;
},
};
```
### CSS Modules
Frontend supports [CSS Modules](https://github.com/css-modules/css-modules) using Webpack's [css-loader](https://github.com/webpack-contrib/css-loader). Simply import your CSS file with the extension `.module.css` and Frontend will process the file using `css-loader`.
```
import React from 'react';
import styles from './style.module.css';
const Component = () =>
;
export default Component;
```
## Environment Variables
### Build-time Variables
**The following environment variables are embedded during the build time.**
- `process.env.PUBLIC_DIR`: Path to the public directory.
- `process.env.ASSETS_MANIFEST`: Path to a file containing compiled asset outputs
- `process.env.LOADABLE_MANIFEST`: Path to a file containing compiled react-loadable outputs
- `process.env.REACT_BUNDLE_PATH`: Relative path to where React will be bundled during development. Unless you are modifying the output path of your webpack config, you can safely ignore this. This path is used by `react-error-overlay` and webpack to power up the fancy runtime error iframe. For example, if you are using common chunks and an extra entry to create a vendor bundle with stuff like react, react-dom, react-router, etc. called `vendor.js`, and you've changed webpack's output to `[name].js` in development, you'd want to set this environment variable to `/static/js/vendor.js`. If you do not make this change, nothing bad will happen, you will simply not get the cool error overlay when there are runtime errors. You'll just see them in the console. Note: This does not impact production bundling.
- `process.env.VERBOSE`: default is false, setting this to true will not clear the console when you make edits in development (useful for debugging).
- `process.env.PORT`: default is `3000`, unless changed
- `process.env.HOST`: default is `0.0.0.0`
- `process.env.NODE_ENV`: `'development'` or `'production'`
- `process.env.BUILD_TARGET`: either `'client'` or `'server'`
- `process.env.PUBLIC_PATH`: Only in used in `frontend build`. You can alter the `webpack.config.output.publicPath` of the client assets (bundle, css, and images). This is useful if you plan to serve your assets from a CDN. Make sure to _include_ a trailing slash (e.g. `PUBLIC_PATH=https://cdn.example.com/`). If you are using React and altering the public path, make sure to also [include the `crossorigin` attribute](https://reactjs.org/docs/cdn-links.html#why-the-crossorigin-attribute) on your `` tag in `src/server.jsx`.
- `process.env.CLIENT_PUBLIC_PATH`: The `NODE_ENV=development` build's `BUILD_TARGET=client` has a different `PUBLIC_PATH` than `BUILD_TARGET=server`. Default is `http://${process.env.HOST}:${process.env.PORT + 1}/`
You can create your own custom build-time environment variables. They must start
with `FRONTEND_`. Any other variables except the ones listed above will be ignored to avoid accidentally exposing a private key on the machine that could have the same name. Changing any environment variables will require you to restart the development server if it is running.
These environment variables will be defined for you on `process.env`. For example, having an environment variable named `SECRET_CODE` will be exposed in your JS as `process.env.SECRET_CODE`.