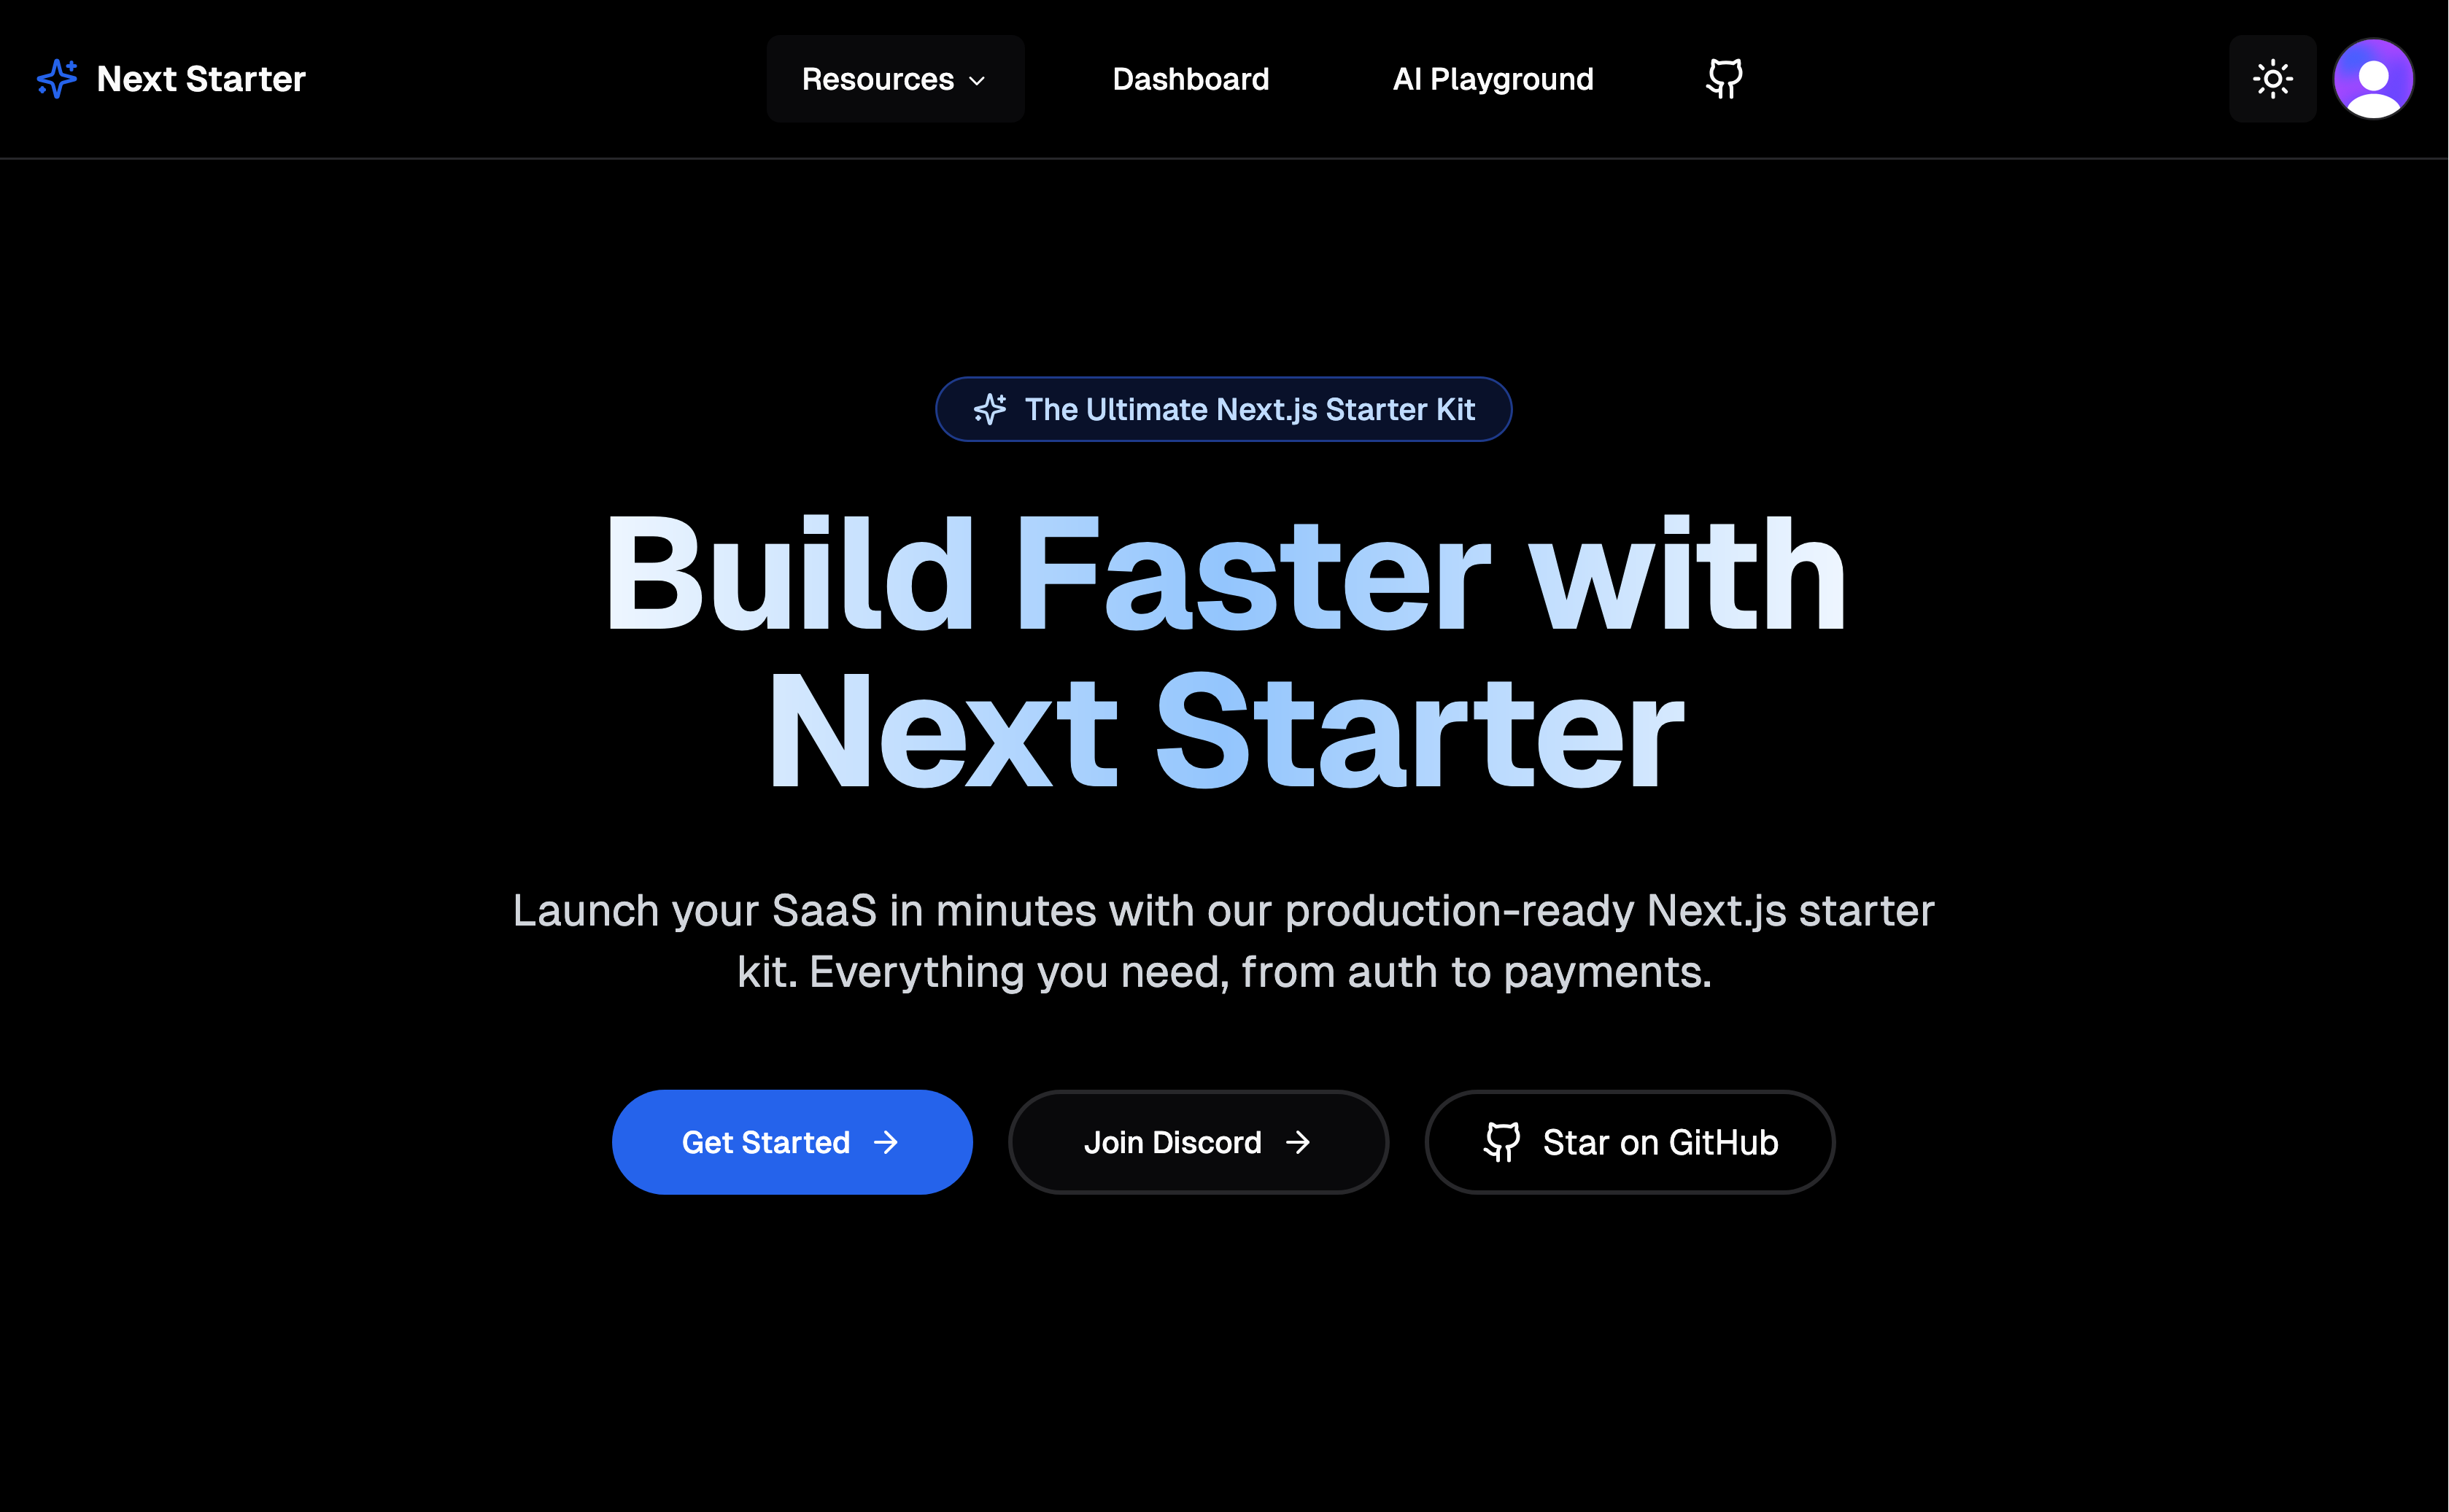
https://github.com/michaelshimeles/nextjs-starter-kit
The Ulimate Nextjs Starter Kit. Build your next SAAS product of your dreams. Batteries included.
https://github.com/michaelshimeles/nextjs-starter-kit
clerk nextjs nextjs-boilerplate nextjs-starter-kit nextjs-starter-saas nextjs-template nextjs14 starter-kit supabase upstash
Last synced: 7 months ago
JSON representation
The Ulimate Nextjs Starter Kit. Build your next SAAS product of your dreams. Batteries included.
- Host: GitHub
- URL: https://github.com/michaelshimeles/nextjs-starter-kit
- Owner: michaelshimeles
- License: mit
- Created: 2023-09-27T02:16:15.000Z (about 2 years ago)
- Default Branch: main
- Last Pushed: 2025-03-11T03:00:49.000Z (9 months ago)
- Last Synced: 2025-05-07T05:41:25.704Z (7 months ago)
- Topics: clerk, nextjs, nextjs-boilerplate, nextjs-starter-kit, nextjs-starter-saas, nextjs-template, nextjs14, starter-kit, supabase, upstash
- Language: TypeScript
- Homepage: https://www.nextstarter.xyz/
- Size: 663 KB
- Stars: 2,075
- Watchers: 31
- Forks: 492
- Open Issues: 5
-
Metadata Files:
- Readme: README.md
- License: LICENSE
Awesome Lists containing this project
- jimsghstars - michaelshimeles/nextjs-starter-kit - The Ulimate Nextjs Starter Kit. Build your next SAAS product of your dreams. Batteries included. (TypeScript)
README
# Next.js 15 Starter Kit
A modern, feature-rich starter template for building production-ready applications with Next.js 15, Tailwind CSS, and TypeScript.

## Features
### Core Technologies
- ⚡ **Next.js 15** - The latest version with App Router
- 🎨 **Tailwind CSS** - Utility-first CSS framework
- 📘 **TypeScript** - Type-safe code
- 🔒 **Authentication** - Clerk integration with persistent authorization toggle
- 🎭 **Shadcn/ui** - Beautiful and accessible components
- 💾 **Convex DB** - Real-time database with built-in file storage and serverless functions
- 💳 **Polar.sh** - Open-source solution for managing subscriptions and payments
### Performance Optimizations
- 🚀 **Route Prefetching** - Instant page transitions for dashboard, playground, and auth pages
- 🖼️ **Optimized Images** - Eager loading for critical images
- 🌓 **Dark/Light Mode** - System-aware theme switching with custom gradients
- 📱 **Responsive Design** - Mobile-first approach
- 🔄 **Real-time Updates** - Powered by Convex DB's real-time capabilities
### Developer Experience
- 🧩 **Component Library** - Pre-built, customizable components
- 🎮 **AI Playground** - Built-in AI chat interface
- 📊 **Dashboard Template** - Ready-to-use admin interface with subscription management
- 🔍 **SEO Optimized** - Meta tags and sitemap generation
## Convex DB Integration
To set up your Convex database, visit: [https://convex.link/rasmicstarter](https://convex.link/rasmicstarter)
## Quick Start
1. Clone the repository:
```bash
git clone https://github.com/michaelshimeles/nextjs14-starter-template.git
```
2. Install dependencies:
```bash
bun install
```
3. Set up environment variables:
```bash
cp .env.example .env.local
```
4. Configure your environment variables:
```env
# Authentication (Clerk)
NEXT_PUBLIC_CLERK_PUBLISHABLE_KEY=
CLERK_SECRET_KEY=
NEXT_PUBLIC_CLERK_SIGN_IN_URL=/sign-in
NEXT_PUBLIC_CLERK_SIGN_UP_URL=/sign-up
NEXT_PUBLIC_CLERK_AFTER_SIGN_IN_URL=/
NEXT_PUBLIC_CLERK_AFTER_SIGN_UP_URL=/
# Convex
NEXT_PUBLIC_CONVEX_URL=
CONVEX_DEPLOYMENT=
CONVEX_ADMIN_KEY=
# Polar.sh
POLAR_WEBHOOK_SECRET=
# Frontend
NEXT_PUBLIC_BASE_URL=http://localhost:3000
# Optional: AI Integration
OPENAI_API_KEY=
```
5. Run the development server:
```bash
bun run dev
```
Open [http://localhost:3000](http://localhost:3000) to see your application.
## Project Structure
```
├── app/
│ ├── (auth)/ # Authentication routes
│ ├── (marketing)/ # Marketing pages
│ ├── api/ # API routes
│ ├── dashboard/ # Dashboard pages
│ └── playground/ # AI Playground
├── components/
│ ├── homepage/ # Landing page components
│ ├── shared/ # Shared UI components
│ └── wrapper/ # Layout wrappers and navigation
├── config/ # Configuration files
├── convex/ # Convex DB schema and functions
├── lib/ # Utility functions
├── public/ # Static assets
│ ├── images/ # Image assets
│ └── svg/ # SVG assets
└── styles/ # Global styles
```
## Available Scripts
- `bun run dev` - Start development server
- `bun run build` - Build for production
- `bun run start` - Start production server
- `bun run lint` - Run ESLint
- `bun run format` - Format code with Prettier
## Sponsors and Supporters
Special thanks to [Convex](https://www.convex.dev/) for their sponsorship and support in making this starter kit possible. Their real-time database and file storage solutions have been instrumental in creating a powerful foundation for modern web applications.
## Contributing
1. Fork the repository
2. Create your feature branch (`git checkout -b feature/amazing-feature`)
3. Commit your changes (`git commit -m 'Add some amazing feature'`)
4. Push to the branch (`git push origin feature/amazing-feature`)
5. Open a Pull Request
## License
This project is licensed under the MIT License - see the [LICENSE](LICENSE) file for details.
## Support
If you find this template helpful, please give it a ⭐️ on GitHub!