https://github.com/mmatl/pyrender
Easy-to-use glTF 2.0-compliant OpenGL renderer for visualization of 3D scenes.
https://github.com/mmatl/pyrender
3d-graphics gltf-viewer opengl python rendering visualization
Last synced: about 1 year ago
JSON representation
Easy-to-use glTF 2.0-compliant OpenGL renderer for visualization of 3D scenes.
- Host: GitHub
- URL: https://github.com/mmatl/pyrender
- Owner: mmatl
- License: mit
- Created: 2019-01-20T00:11:18.000Z (over 7 years ago)
- Default Branch: master
- Last Pushed: 2024-08-02T02:34:11.000Z (almost 2 years ago)
- Last Synced: 2024-10-29T15:33:13.707Z (over 1 year ago)
- Topics: 3d-graphics, gltf-viewer, opengl, python, rendering, visualization
- Language: Python
- Homepage: http://pyrender.readthedocs.io/
- Size: 27.7 MB
- Stars: 1,298
- Watchers: 19
- Forks: 226
- Open Issues: 182
-
Metadata Files:
- Readme: README.md
- License: LICENSE
Awesome Lists containing this project
- Awesomelist-3d - Pyrender
README
# Pyrender
[](https://travis-ci.org/mmatl/pyrender)
[](https://pyrender.readthedocs.io/en/latest/?badge=latest)
[](https://coveralls.io/github/mmatl/pyrender?branch=master)
[](https://badge.fury.io/py/pyrender)
[](https://pepy.tech/project/pyrender)
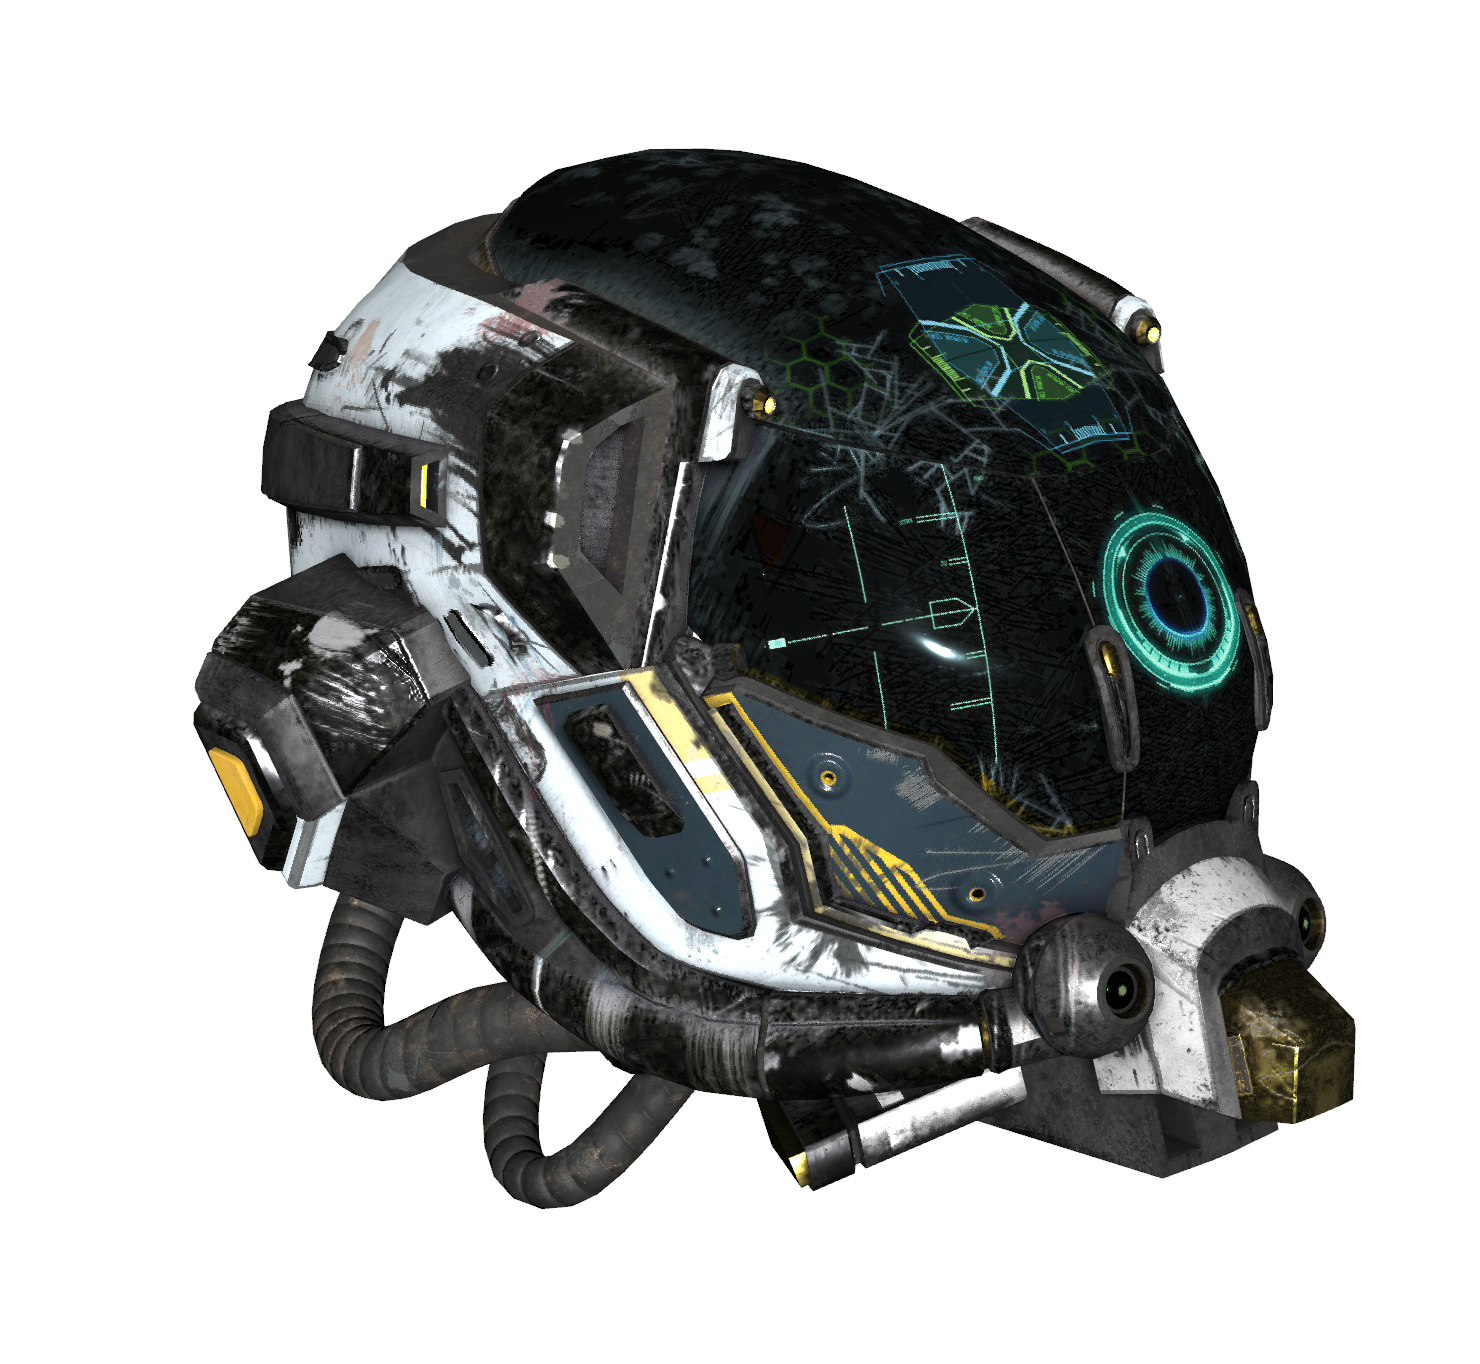
Pyrender is a pure Python (2.7, 3.4, 3.5, 3.6) library for physically-based
rendering and visualization.
It is designed to meet the [glTF 2.0 specification from Khronos](https://www.khronos.org/gltf/).
Pyrender is lightweight, easy to install, and simple to use.
It comes packaged with both an intuitive scene viewer and a headache-free
offscreen renderer with support for GPU-accelerated rendering on headless
servers, which makes it perfect for machine learning applications.
Extensive documentation, including a quickstart guide, is provided [here](https://pyrender.readthedocs.io/en/latest/).
For a minimal working example of GPU-accelerated offscreen rendering using EGL,
check out the [EGL Google CoLab Notebook](https://colab.research.google.com/drive/1pcndwqeY8vker3bLKQNJKr3B-7-SYenE?usp=sharing).
## Installation
You can install pyrender directly from pip.
```bash
pip install pyrender
```
## Features
Despite being lightweight, pyrender has lots of features, including:
* Simple interoperation with the amazing [trimesh](https://github.com/mikedh/trimesh) project,
which enables out-of-the-box support for dozens of mesh types, including OBJ,
STL, DAE, OFF, PLY, and GLB.
* An easy-to-use scene viewer with support for animation, showing face and vertex
normals, toggling lighting conditions, and saving images and GIFs.
* An offscreen rendering module that supports OSMesa and EGL backends.
* Shadow mapping for directional and spot lights.
* Metallic-roughness materials for physically-based rendering, including several
types of texture and normal mapping.
* Transparency.
* Depth and color image generation.
## Sample Usage
For sample usage, check out the [quickstart
guide](https://pyrender.readthedocs.io/en/latest/examples/index.html) or one of
the Google CoLab Notebooks:
* [EGL Google CoLab Notebook](https://colab.research.google.com/drive/1pcndwqeY8vker3bLKQNJKr3B-7-SYenE?usp=sharing)
## Viewer Keyboard and Mouse Controls
When using the viewer, the basic controls for moving about the scene are as follows:
* To rotate the camera about the center of the scene, hold the left mouse button and drag the cursor.
* To rotate the camera about its viewing axis, hold `CTRL` left mouse button and drag the cursor.
* To pan the camera, do one of the following:
* Hold `SHIFT`, then hold the left mouse button and drag the cursor.
* Hold the middle mouse button and drag the cursor.
* To zoom the camera in or out, do one of the following:
* Scroll the mouse wheel.
* Hold the right mouse button and drag the cursor.
The available keyboard commands are as follows:
* `a`: Toggles rotational animation mode.
* `c`: Toggles backface culling.
* `f`: Toggles fullscreen mode.
* `h`: Toggles shadow rendering.
* `i`: Toggles axis display mode (no axes, world axis, mesh axes, all axes).
* `l`: Toggles lighting mode (scene lighting, Raymond lighting, or direct lighting).
* `m`: Toggles face normal visualization.
* `n`: Toggles vertex normal visualization.
* `o`: Toggles orthographic camera mode.
* `q`: Quits the viewer.
* `r`: Starts recording a GIF, and pressing again stops recording and opens a file dialog.
* `s`: Opens a file dialog to save the current view as an image.
* `w`: Toggles wireframe mode (scene default, flip wireframes, all wireframe, or all solid).
* `z`: Resets the camera to the default view.
As a note, displaying shadows significantly slows down rendering, so if you're
experiencing low framerates, just kill shadows or reduce the number of lights in
your scene.