https://github.com/mohak1283/Instagram-Clone
Working Instagram Clone (Frontend + Backend) created with Flutter and Firebase
https://github.com/mohak1283/Instagram-Clone
dart flutter flutter-apps flutter-demo flutter-example-app flutter-examples instagram-clone
Last synced: 9 months ago
JSON representation
Working Instagram Clone (Frontend + Backend) created with Flutter and Firebase
- Host: GitHub
- URL: https://github.com/mohak1283/Instagram-Clone
- Owner: mohak1283
- License: bsd-2-clause
- Created: 2019-03-15T10:21:28.000Z (over 6 years ago)
- Default Branch: master
- Last Pushed: 2023-01-06T10:01:23.000Z (almost 3 years ago)
- Last Synced: 2023-11-07T17:25:30.397Z (about 2 years ago)
- Topics: dart, flutter, flutter-apps, flutter-demo, flutter-example-app, flutter-examples, instagram-clone
- Language: Dart
- Homepage:
- Size: 219 KB
- Stars: 715
- Watchers: 67
- Forks: 296
- Open Issues: 17
-
Metadata Files:
- Readme: README.md
- Funding: .github/FUNDING.yml
- License: LICENSE
Awesome Lists containing this project
README
# Instagram_clone
Instagram Clone (Both frontend and backend) created with Flutter and Firebase.
[](https://saythanks.io/to/mohak1283)
## Show some :heart: and star the repo to support the project.
## Note
This repository is still under development and I will continue to add more features to it.
## Features
* Custom photo feed based on who you follow
* Post photo posts from camera or gallery
* Like posts
* View all likes on a post
* Comment on posts
* View all comments on a post
* Search for users
* Search screen showing all images except your own
* Search based on usernames
* Profile Screen
* Follow / Unfollow Users
* Change image view from grid layout to feed layout
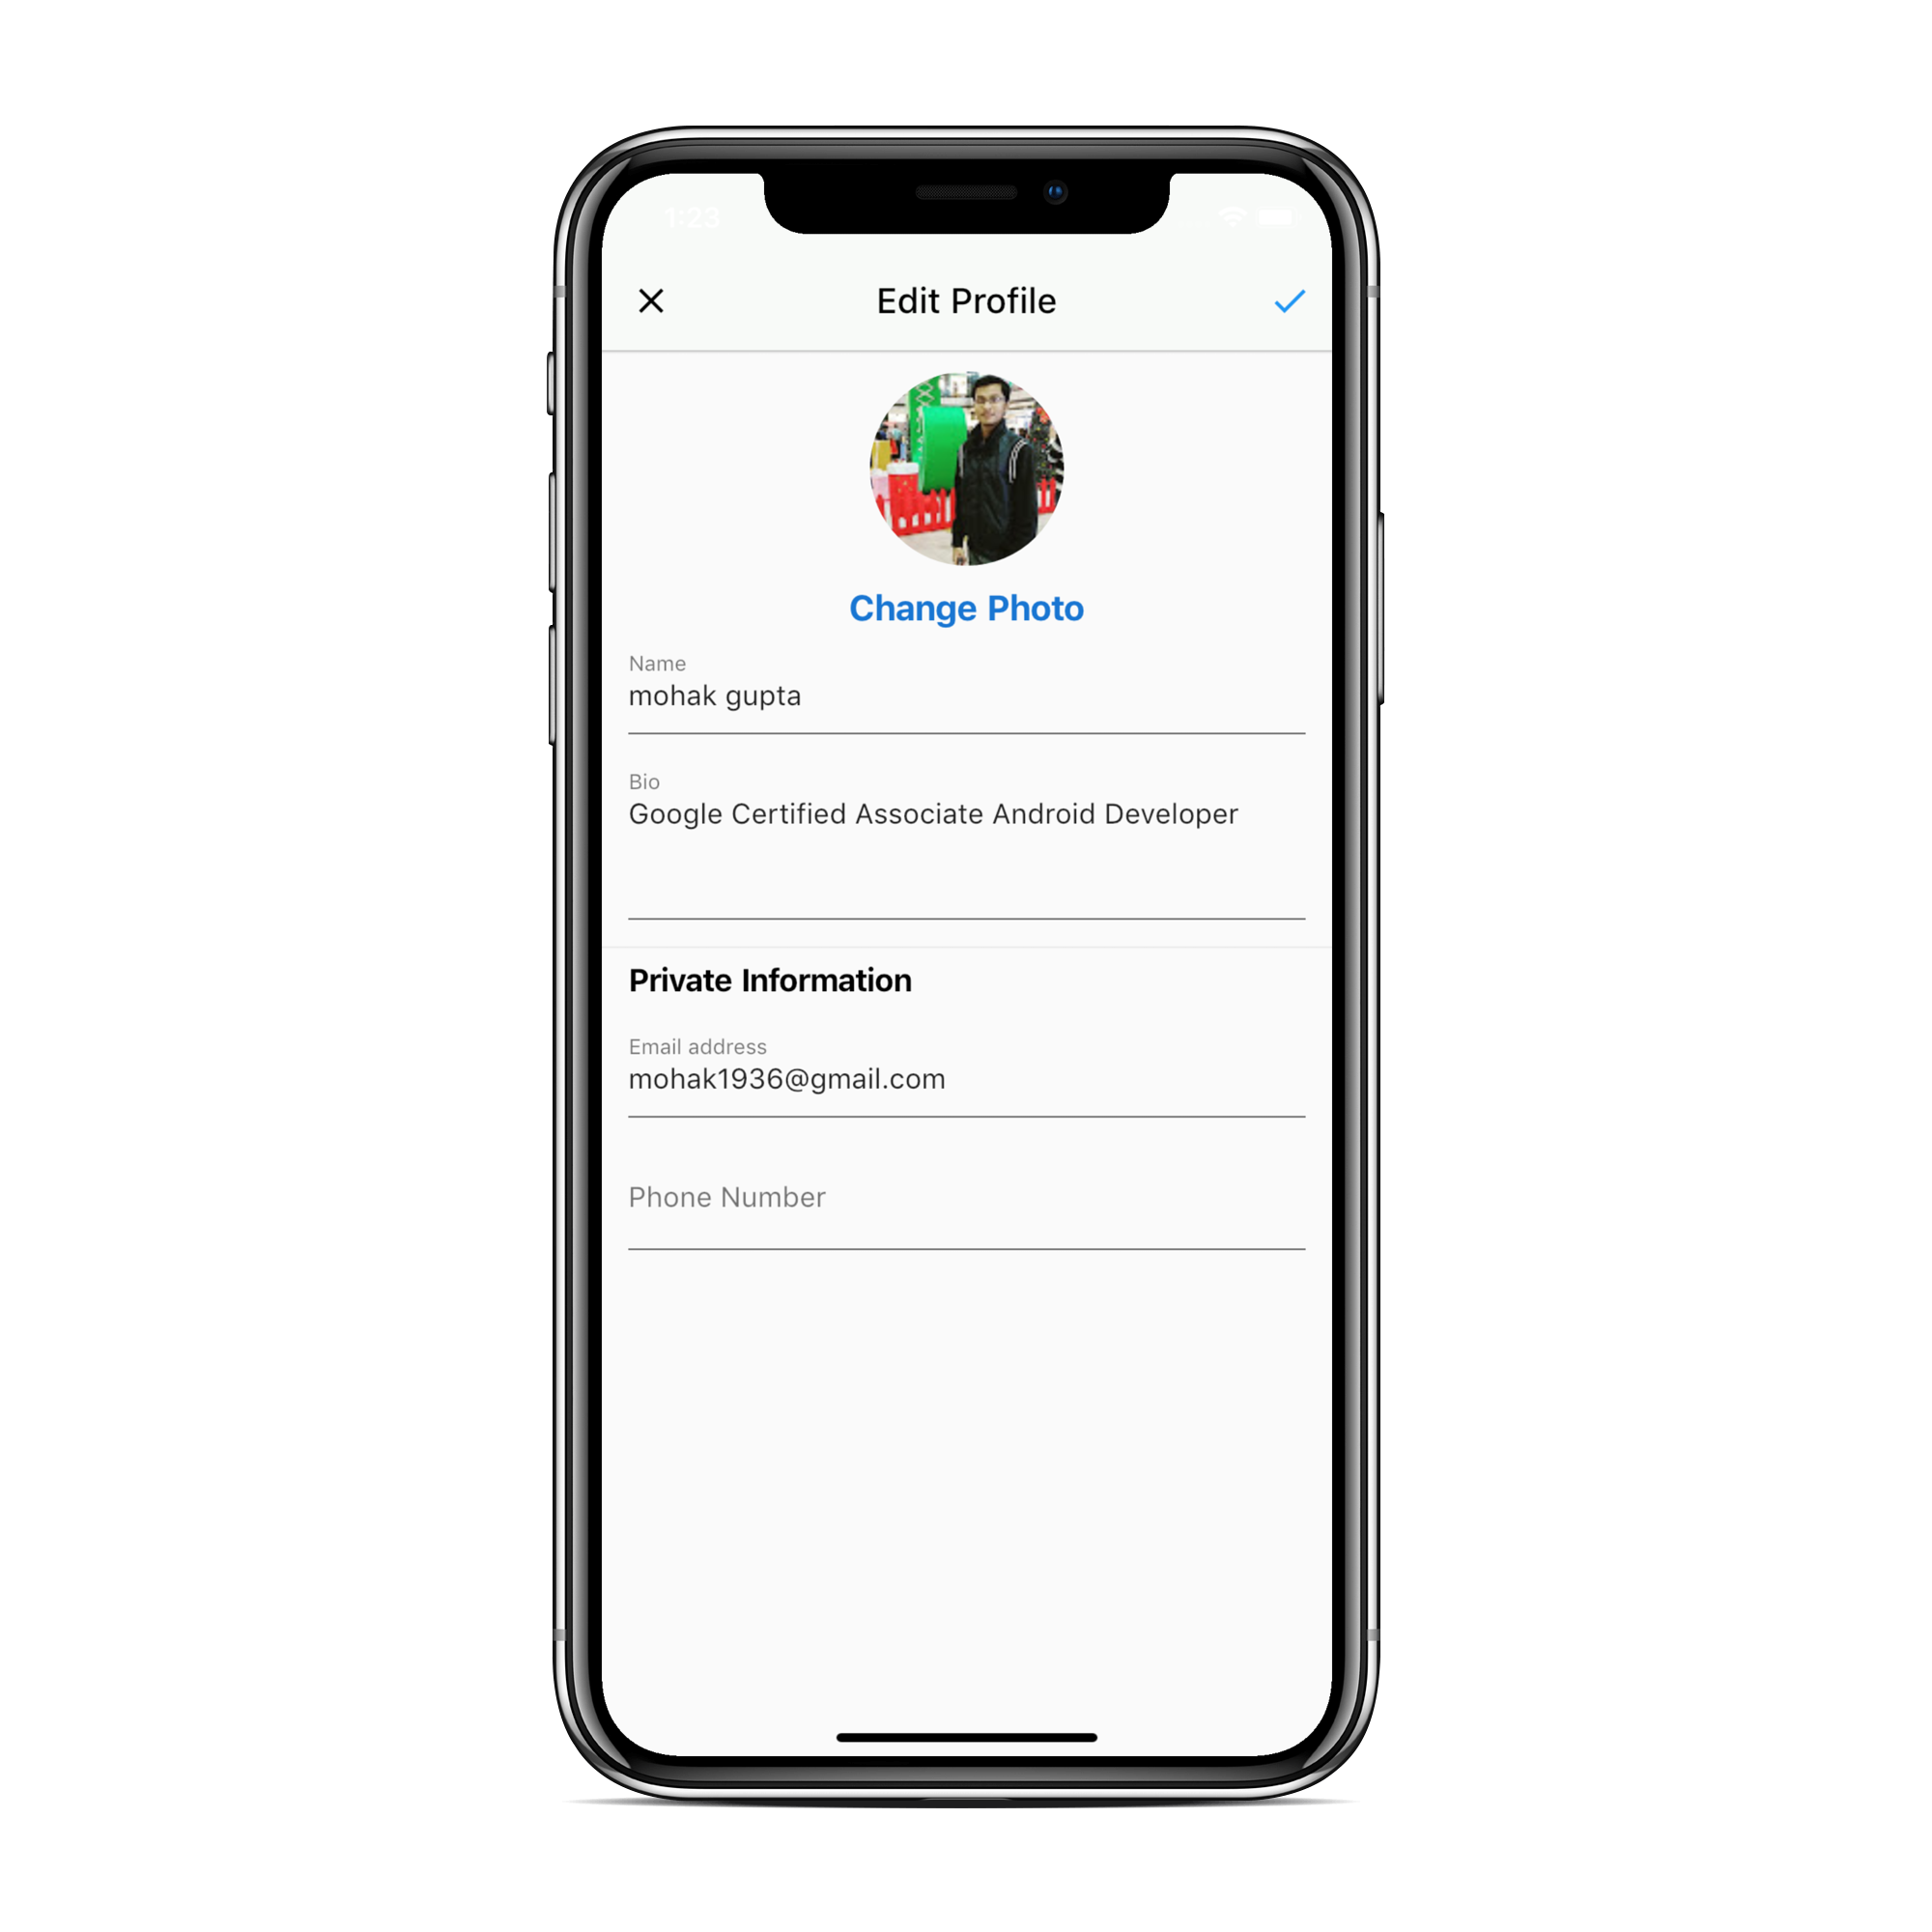
* Edit profile
* Chat Screen
* Chat with any user
* Share images while chatting
## Screenshots

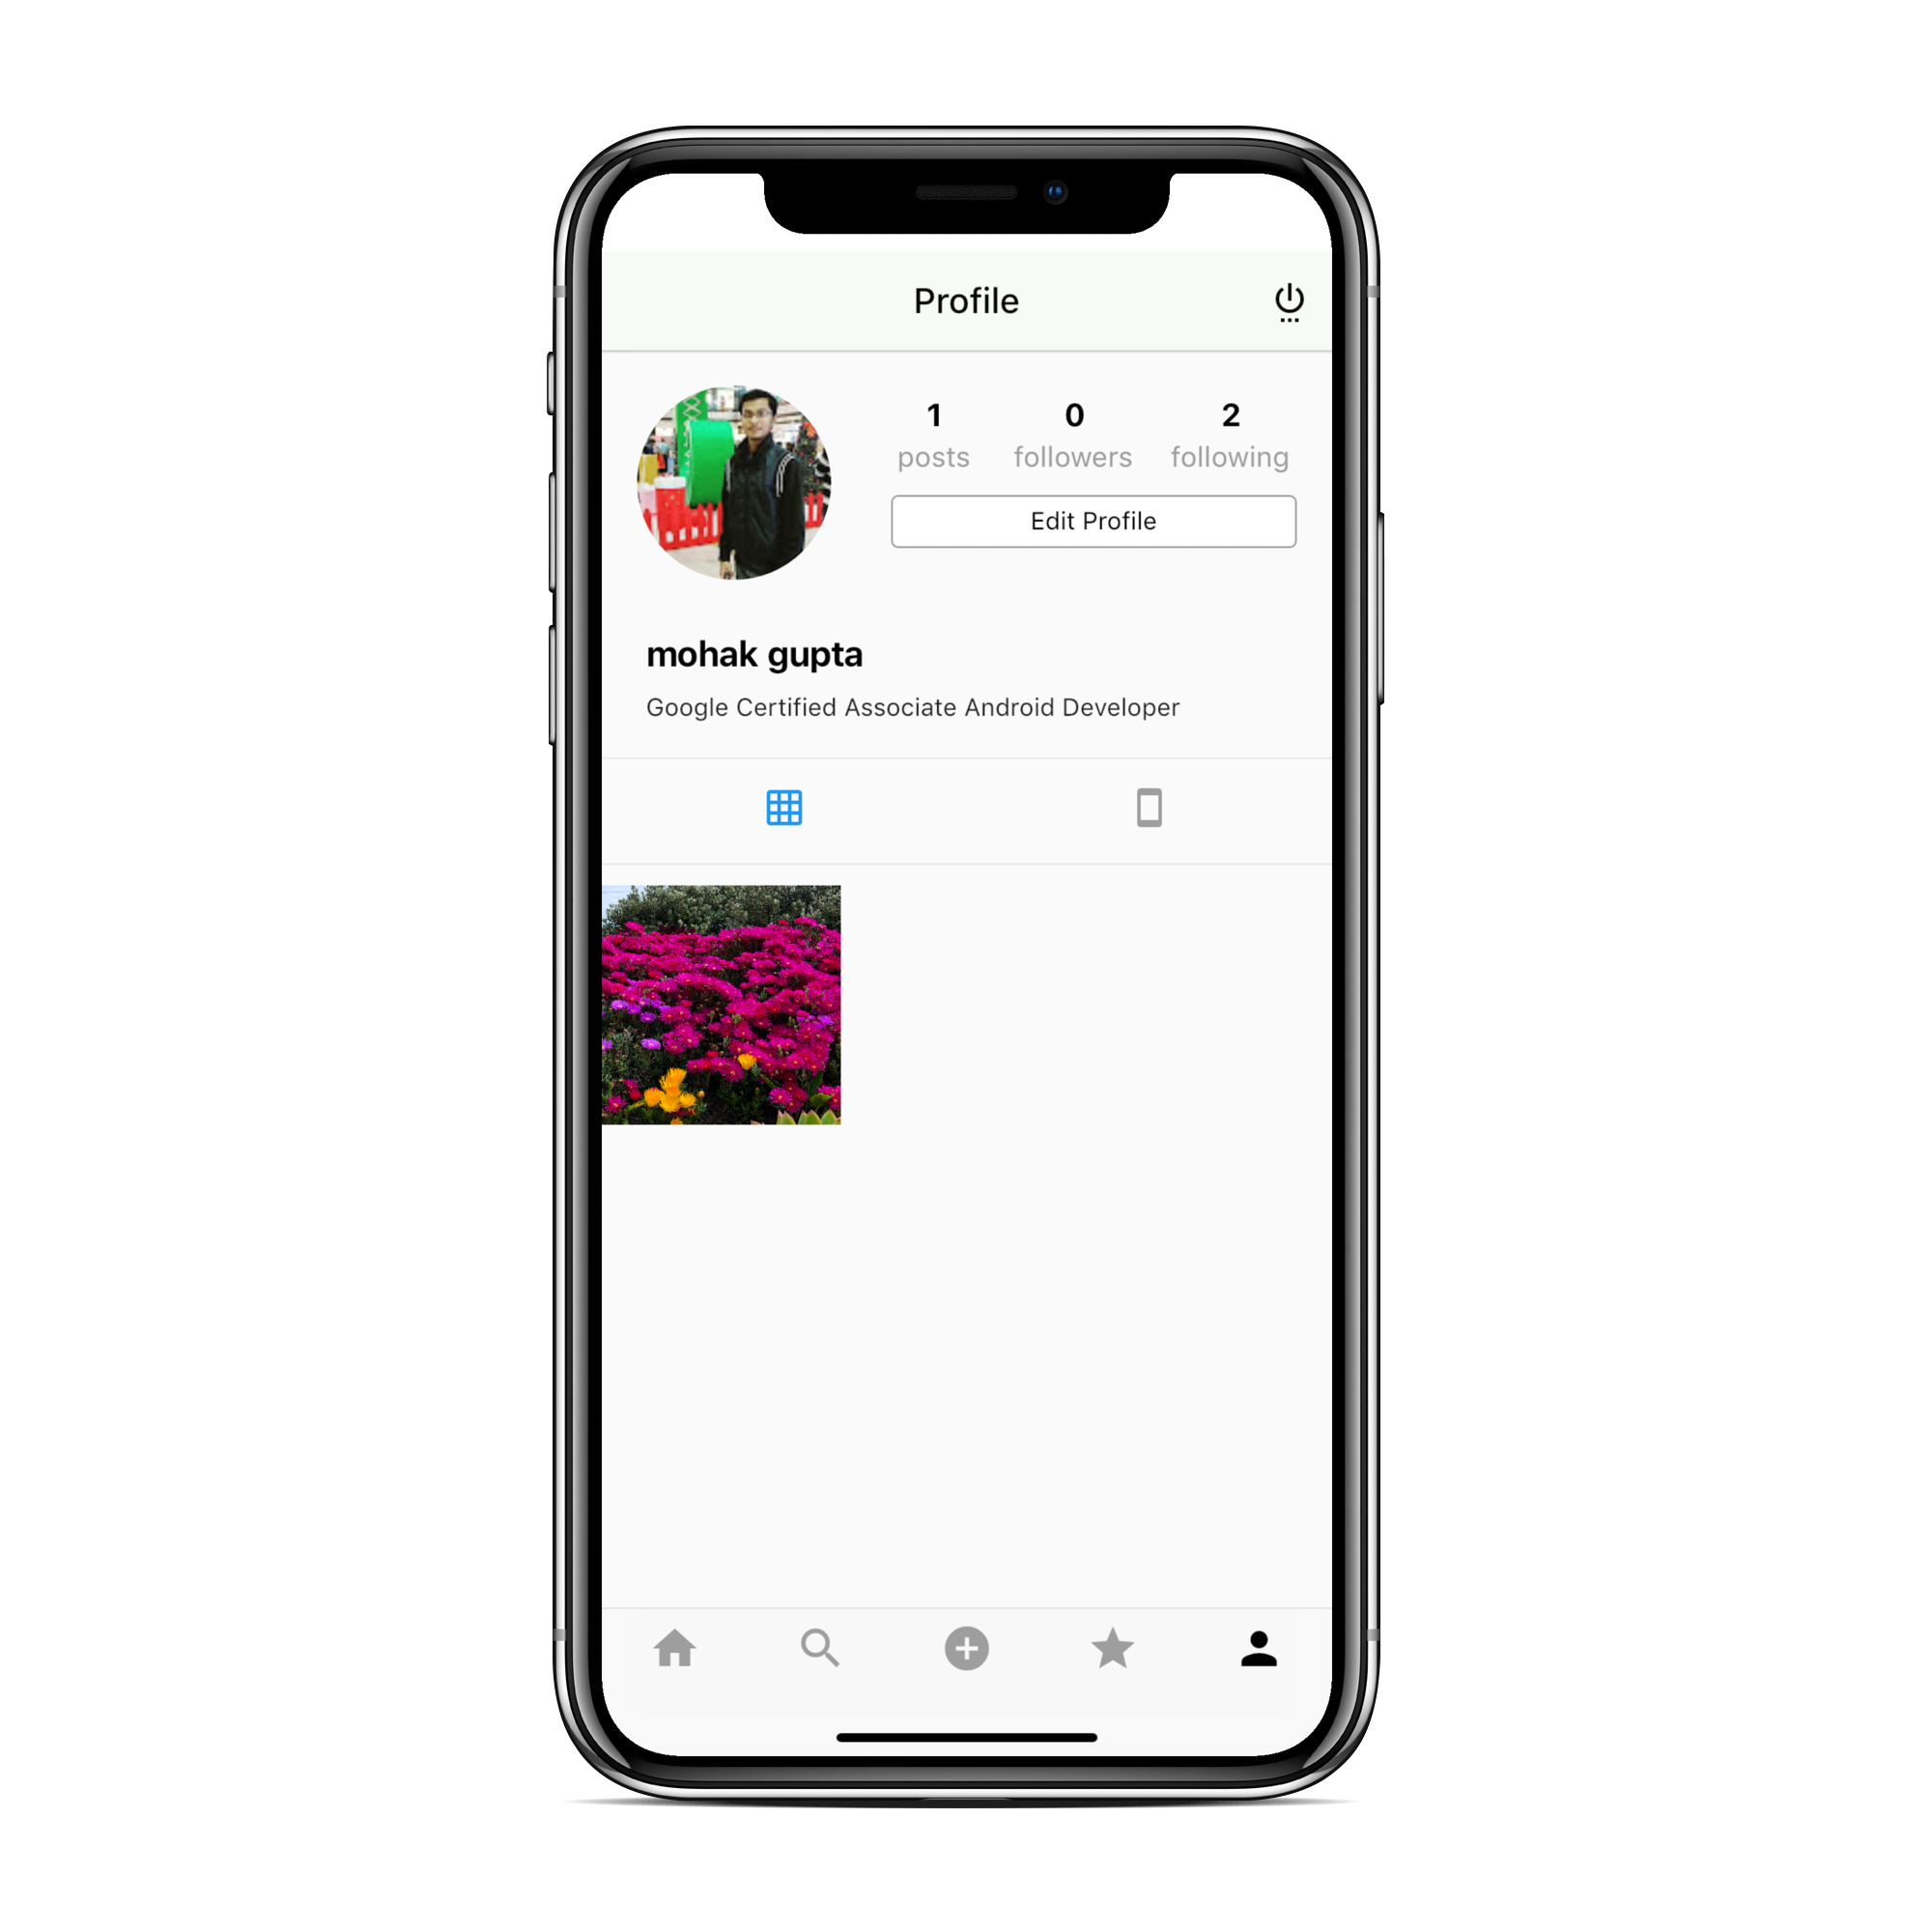
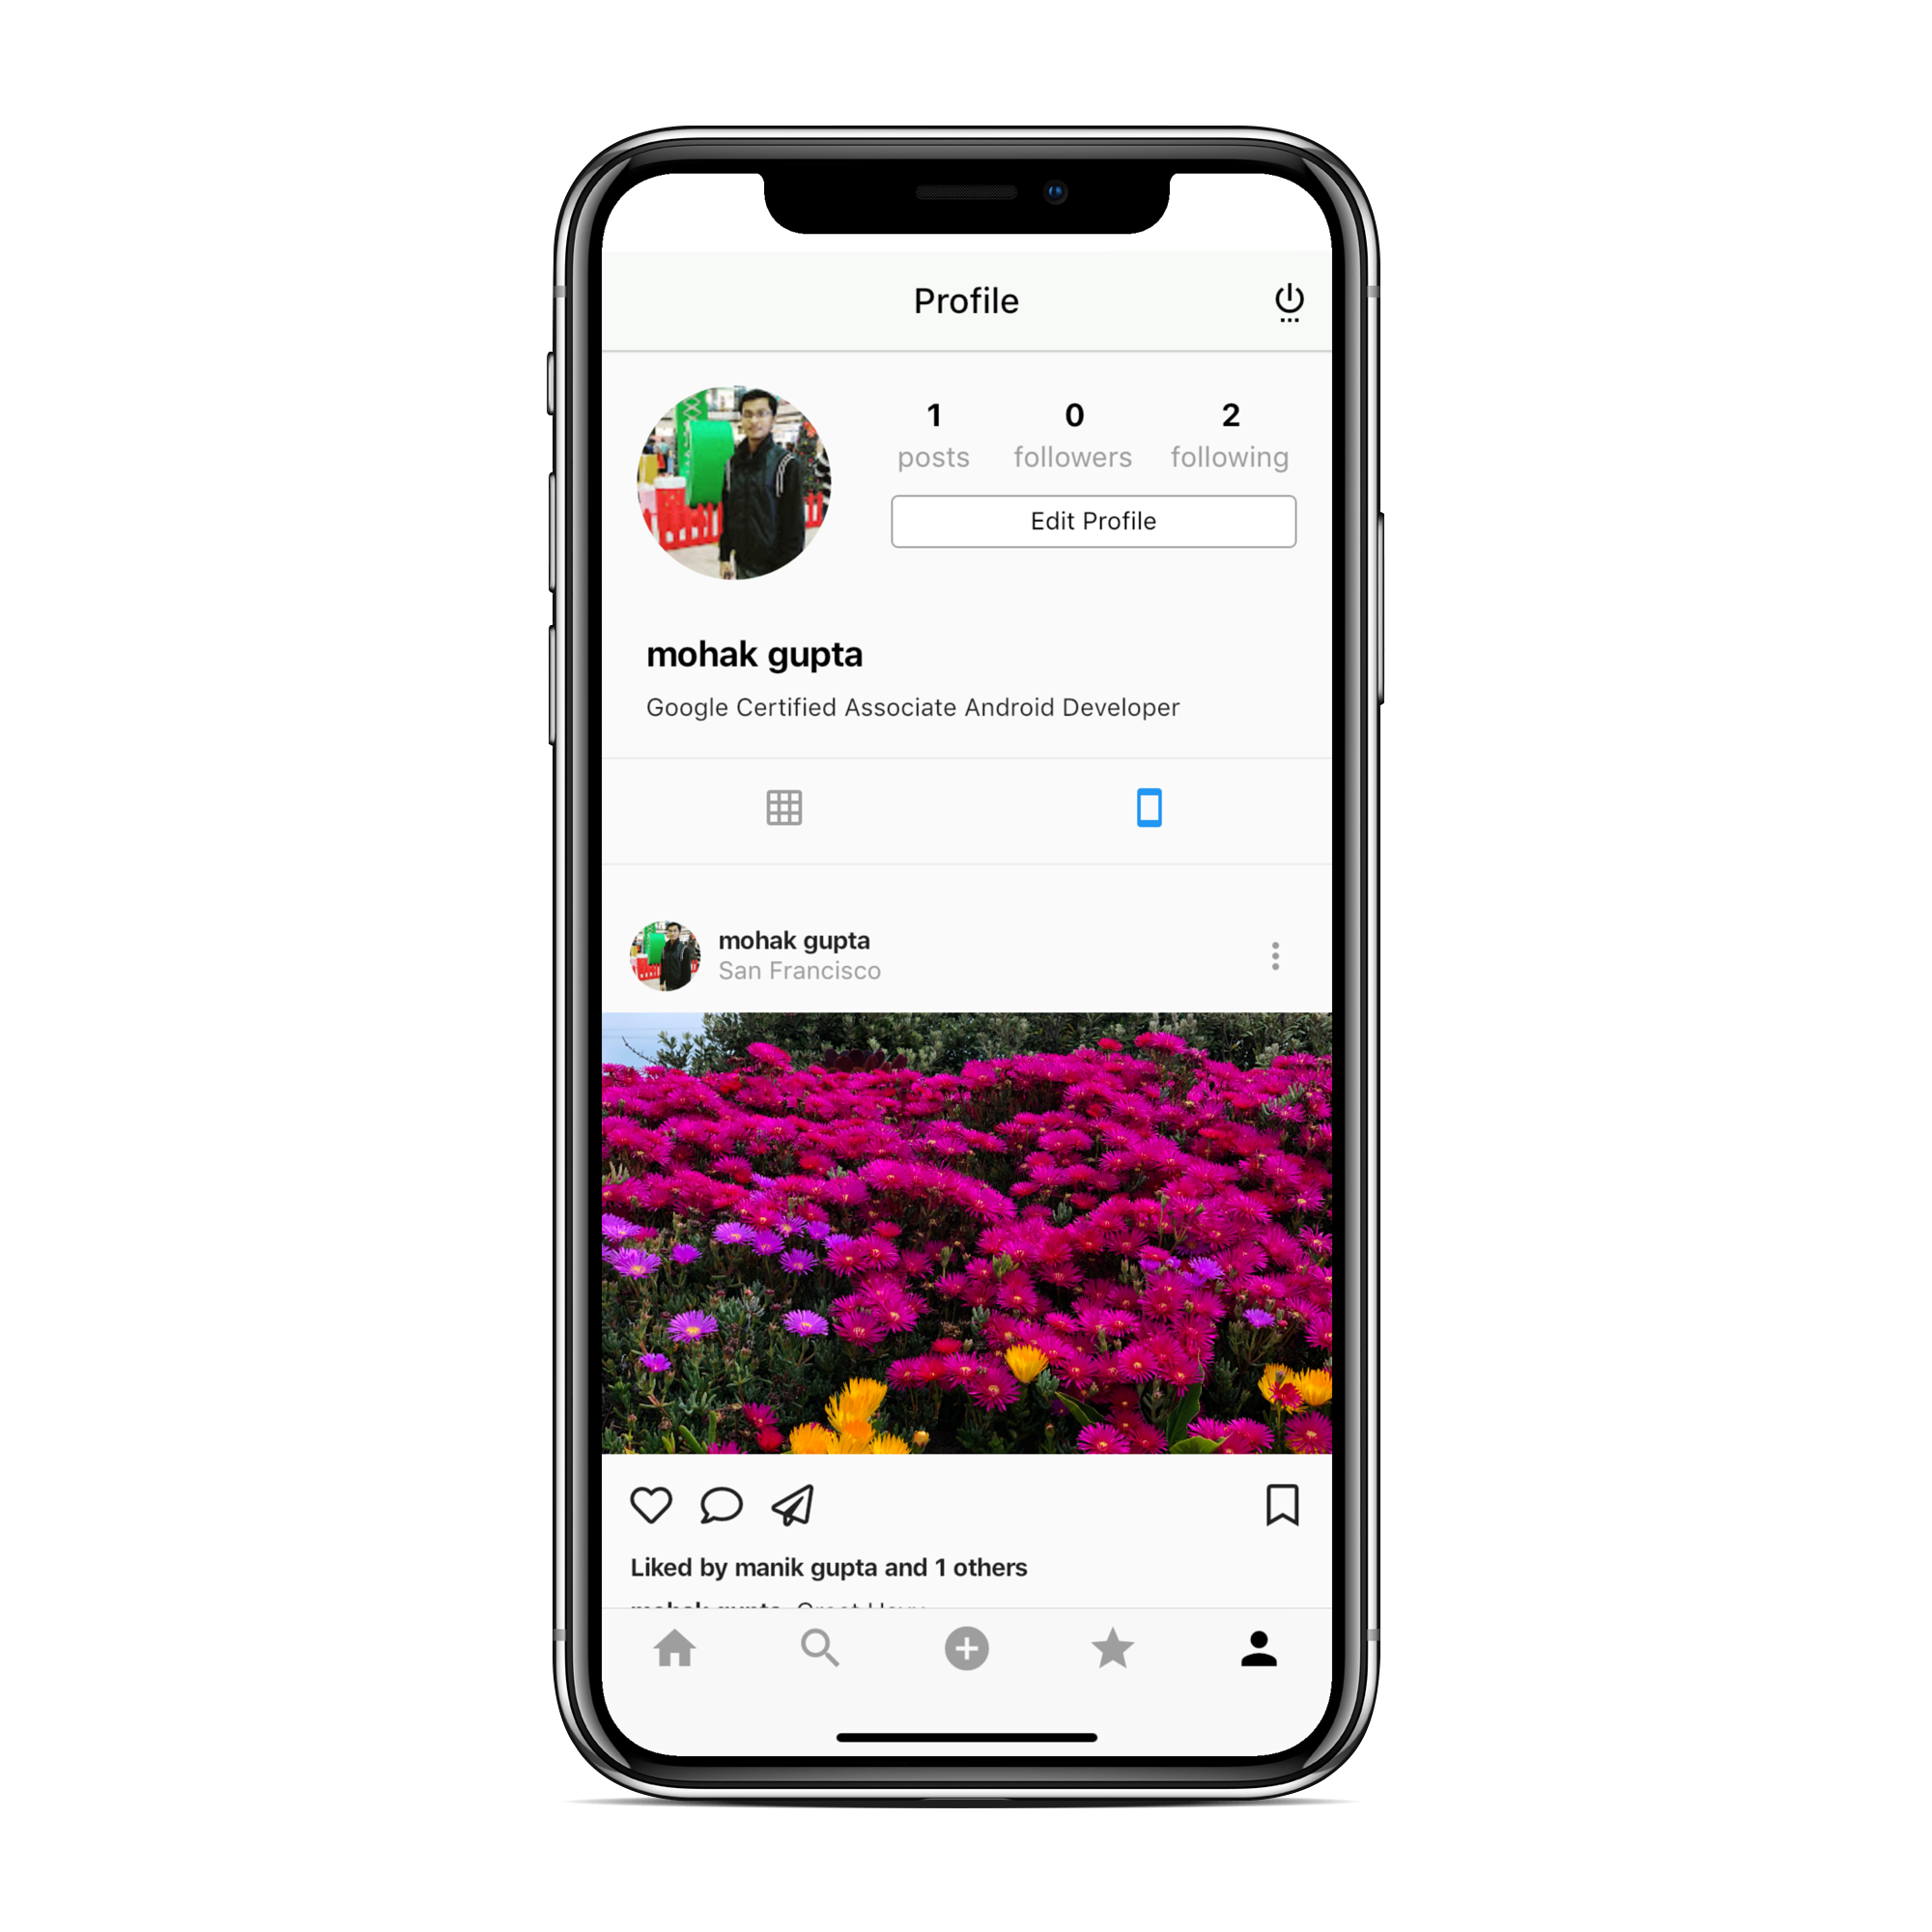
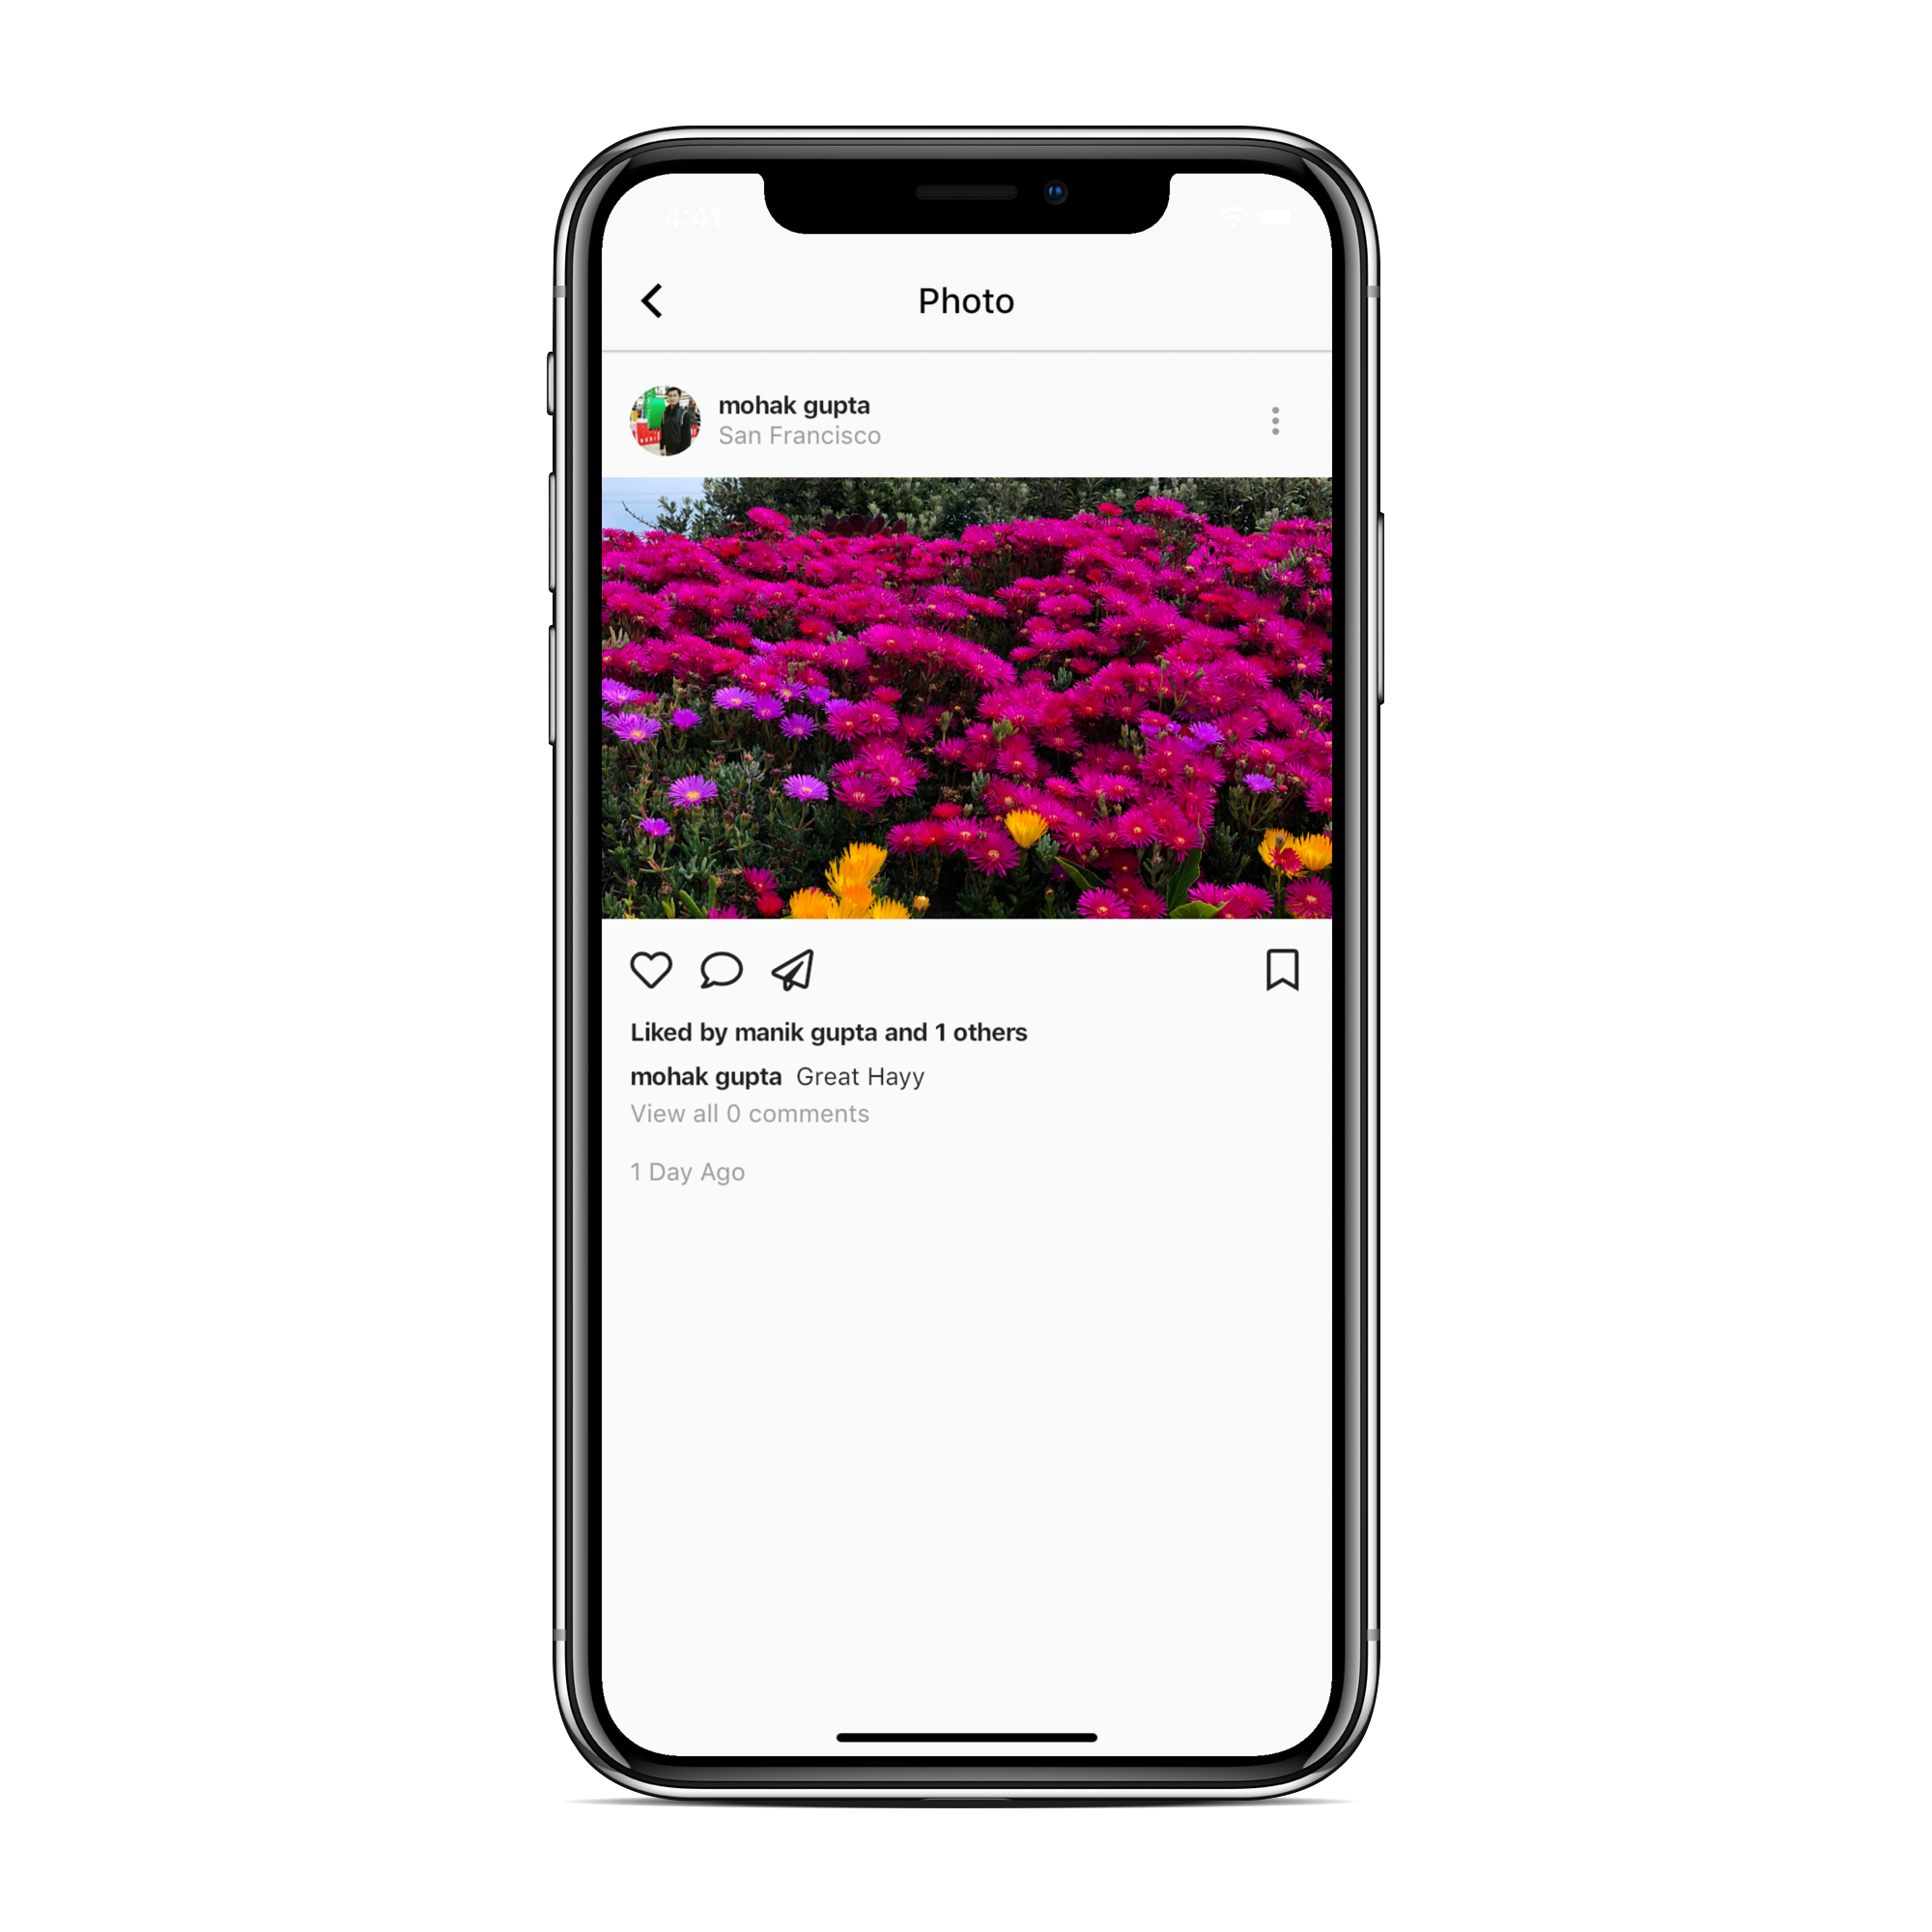


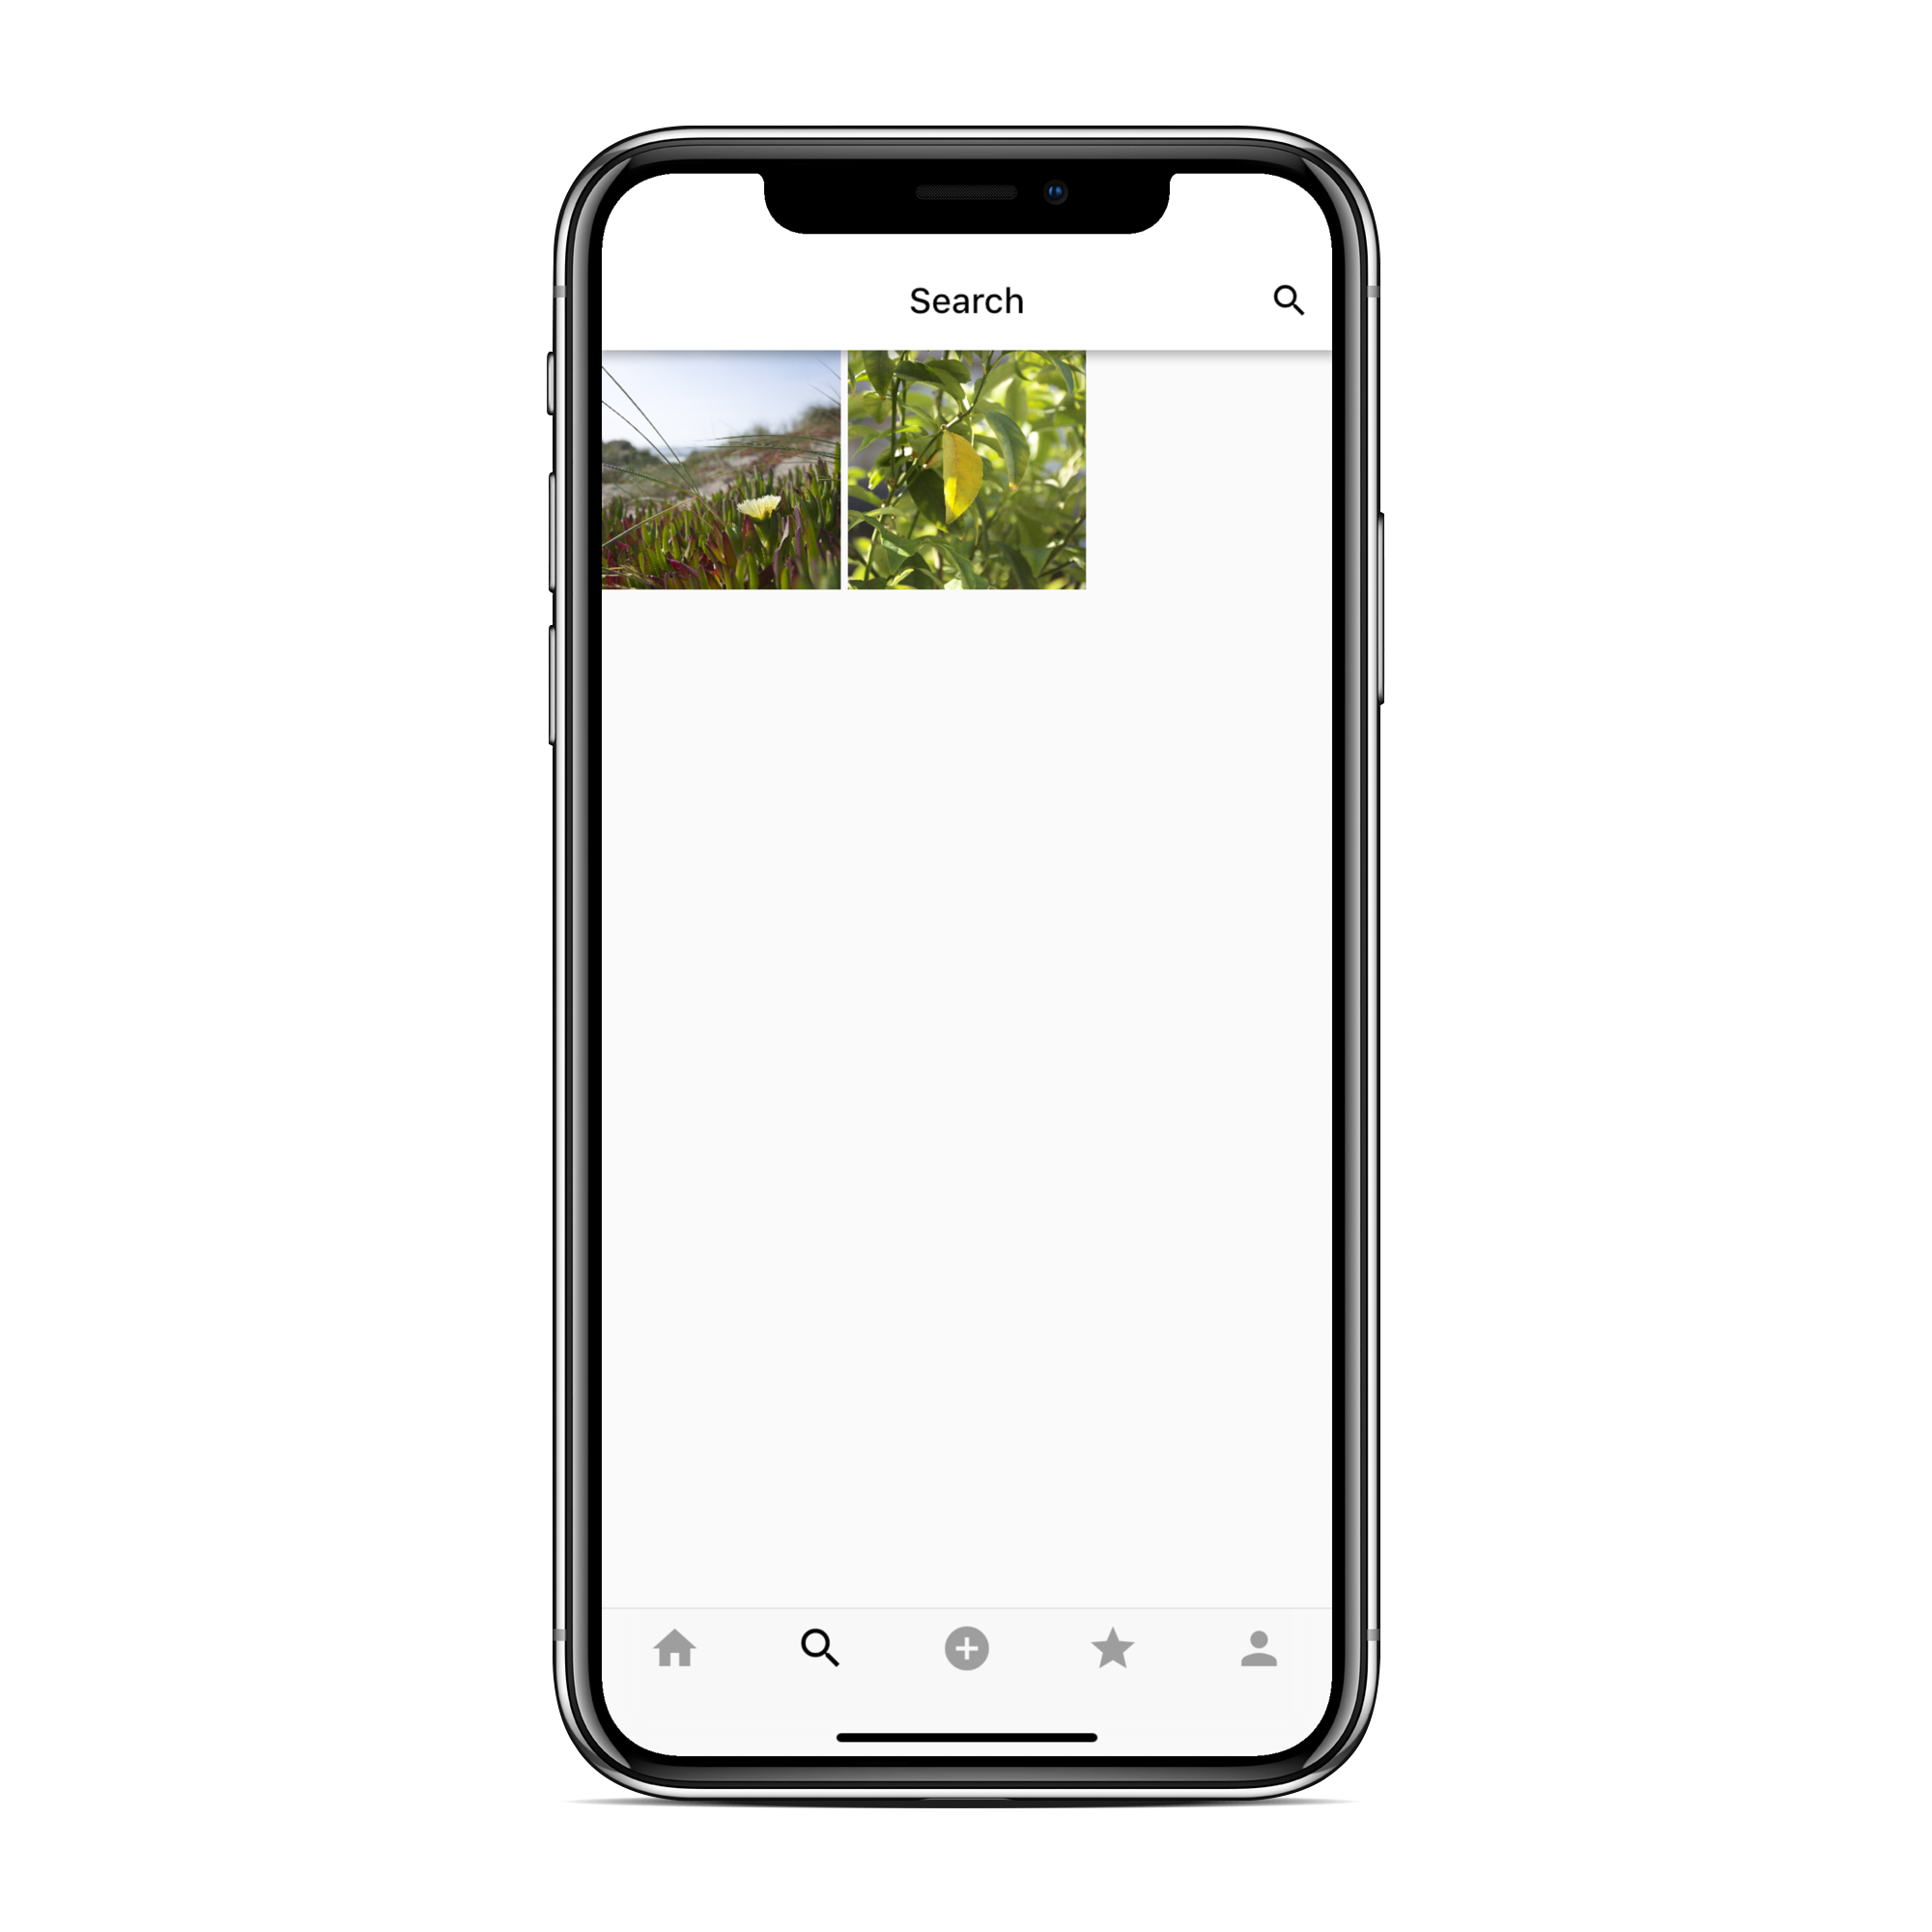


## Getting started
#### 1. [Setup Flutter](https://flutter.io/setup/)
#### 2. Clone the repo
```sh
$ git clone https://github.com/mohak1283/Instagram-Clone
$ cd Instagram-Clone/
```
#### 3. Setup the firebase app
1. You'll need to create a Firebase instance. Follow the instructions at https://console.firebase.google.com.
2. Once your Firebase instance is created, you'll need to enable anonymous authentication.
* Go to the Firebase Console for your new instance.
* Click "Authentication" in the left-hand menu
* Click the "sign-in method" tab
* Click "Google" and enable it
4. Enable the Firebase Database
* Go to the Firebase Console
* Click "Database" in the left-hand menu
* Click the Cloudstore "Create Database" button
* Select "Start in test mode" and "Enable"
5. (skip if not running on Android)
* Create an app within your Firebase instance for Android, with package name com.mohak.instagram
* Run the following command to get your SHA-1 key:
```
keytool -exportcert -list -v \
-alias androiddebugkey -keystore ~/.android/debug.keystore
```
* In the Firebase console, in the settings of your Android app, add your SHA-1 key by clicking "Add Fingerprint".
* Follow instructions to download google-services.json
* place `google-services.json` into `/android/app/`.
6. (skip if not running on iOS)
* Create an app within your Firebase instance for iOS, with your app package name
* Follow instructions to download GoogleService-Info.plist
* Open XCode, right click the Runner folder, select the "Add Files to 'Runner'" menu, and select the GoogleService-Info.plist file to add it to /ios/Runner in XCode
* Open /ios/Runner/Info.plist in a text editor. Locate the CFBundleURLSchemes key. The second item in the array value of this key is specific to the Firebase instance. Replace it with the value for REVERSED_CLIENT_ID from GoogleService-Info.plist
Double check install instructions for both
- Google Auth Plugin
- https://pub.dartlang.org/packages/firebase_auth
- Firestore Plugin
- https://pub.dartlang.org/packages/cloud_firestore
# Upcoming Features
- Notificaitons for likes, comments, follows, etc
- Caching of Profiles, Images, Etc.
- Filters support for images
- Videos support
- Custom Camera Implementation
- Heart Animation when liking image
- Delete Posts
- Stories
- Send post to chats
## Questions?🤔
Hit me on


## How to Contribute
1. Fork the the project
2. Create your feature branch (git checkout -b my-new-feature)
3. Make required changes and commit (git commit -am 'Add some feature')
4. Push to the branch (git push origin my-new-feature)
5. Create new Pull Request
## License
Copyright (c) 2019 Mohak Gupta
Permission is hereby granted, free of charge, to any person obtaining a copy of this software and associated documentation files (the "Software"), to deal in the Software without restriction, including without limitation the rights to use, copy, modify, merge, publish, distribute, sublicense, and/or sell copies of the Software, and to permit persons to whom the Software is furnished to do so, subject to the following conditions:
The above copyright notice and this permission notice shall be included in all copies or substantial portions of the Software.
THE SOFTWARE IS PROVIDED "AS IS", WITHOUT WARRANTY OF ANY KIND, EXPRESS OR IMPLIED, INCLUDING BUT NOT LIMITED TO THE WARRANTIES OF MERCHANTABILITY, FITNESS FOR A PARTICULAR PURPOSE AND NONINFRINGEMENT. IN NO EVENT SHALL THE AUTHORS OR COPYRIGHT HOLDERS BE LIABLE FOR ANY CLAIM, DAMAGES OR OTHER LIABILITY, WHETHER IN AN ACTION OF CONTRACT, TORT OR OTHERWISE, ARISING FROM, OUT OF OR IN CONNECTION WITH THE SOFTWARE OR THE USE OR OTHER DEALINGS IN THE SOFTWARE.