https://github.com/mohamedsadiq/lightup
AI Genius annotations for every page on the web.
https://github.com/mohamedsadiq/lightup
ai artificial-intelligence chrome chrome-browser chrome-extension chrome-extensions chrome-plugin extension extensions giminai javascipt javascript llm lmstudio machine-learning openai popup react typescript
Last synced: about 1 year ago
JSON representation
AI Genius annotations for every page on the web.
- Host: GitHub
- URL: https://github.com/mohamedsadiq/lightup
- Owner: mohamedsadiq
- License: apache-2.0
- Created: 2024-11-06T03:51:51.000Z (over 1 year ago)
- Default Branch: main
- Last Pushed: 2025-04-03T16:35:54.000Z (about 1 year ago)
- Last Synced: 2025-04-03T17:22:35.982Z (about 1 year ago)
- Topics: ai, artificial-intelligence, chrome, chrome-browser, chrome-extension, chrome-extensions, chrome-plugin, extension, extensions, giminai, javascipt, javascript, llm, lmstudio, machine-learning, openai, popup, react, typescript
- Language: TypeScript
- Homepage: https://www.boimaginations.com/lightup
- Size: 57.3 MB
- Stars: 31
- Watchers: 2
- Forks: 3
- Open Issues: 2
-
Metadata Files:
- Readme: README.md
- License: LICENSE
Awesome Lists containing this project
README
## LightUp : AI-Powered Annotations for every page on the web.
## ✨ Meet LightUp
Seamless AI assistance that lives in your browser. No new tabs. No context switching. No interruptions. Just highlight any text and instantly get AI-powered insights.
## 🚀 Quick Start
1. **Download LightUp**
- Visit our [Releases page](https://github.com/lightup/releases) or
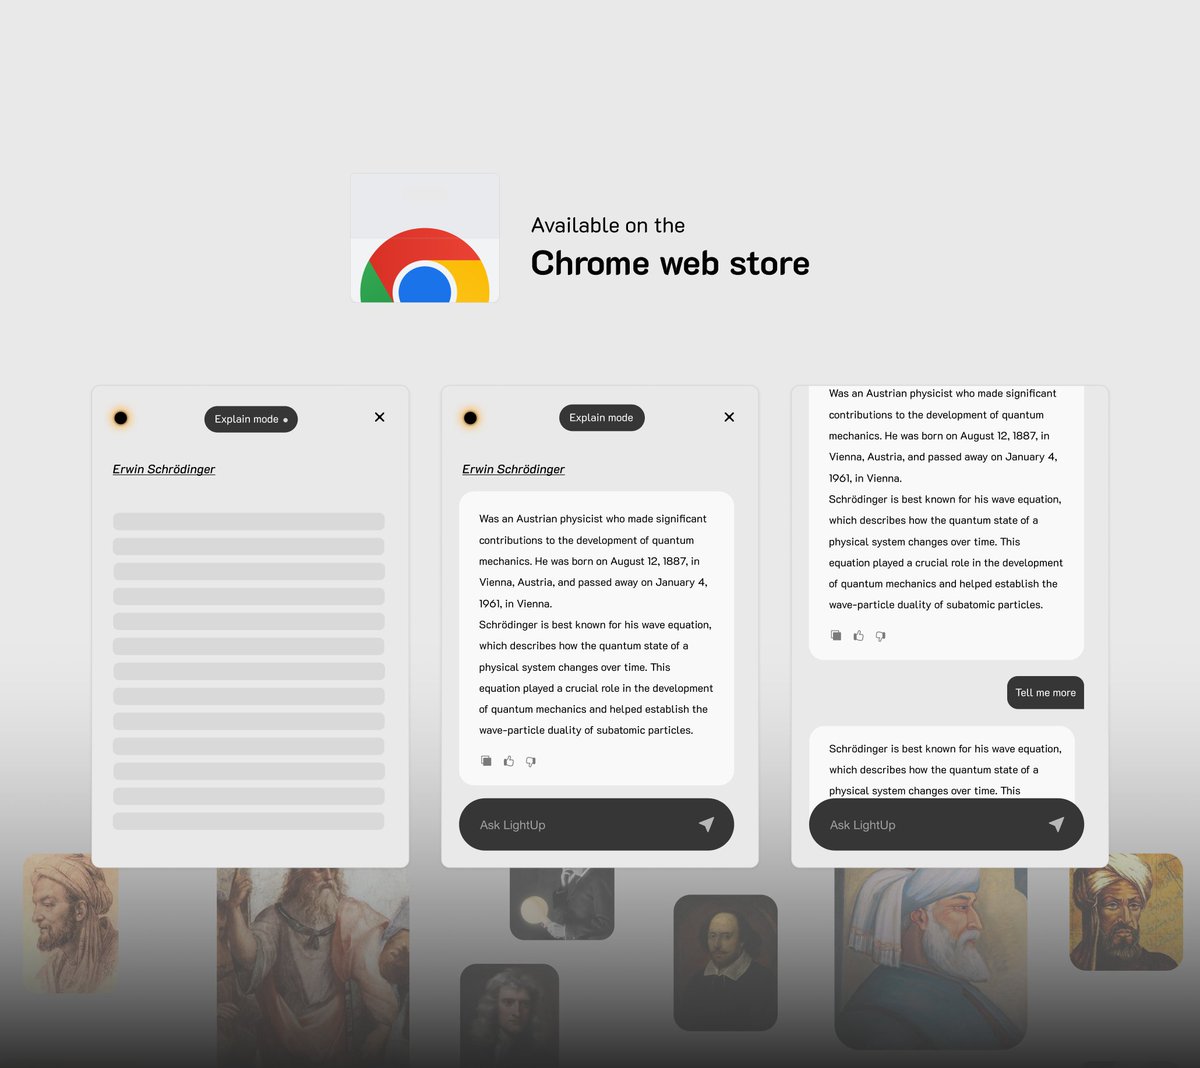
- Get it from [Chrome Web Store](https://chromewebstore.google.com/detail/lightup-ai-powered-web-an/pncapgeoeedlfppkohlbelelkkihikel?authuser=5&hl=en-GB)
2. **Setup**
- Pin LightUp to your browser toolbar
- Right-click on the LightUp icon in your browser toolbar and then click on "Options"
- Choose your preferred AI model
- Start highlighting text to see the magic!
[📖 Detailed Installation Guide](#installation-for-users) or visit our [Getting Started page](https://www.boimaginations.com/lightup/getting-started)
## ✨ Features
- **Smart Text Analysis**: Get instant explanations for complex text passages
- **Multiple Modes**:
- 🔍 Explain - Detailed explanations of text
- 📝 Summarize - Quick summaries of longer content
- 📊 Analyze - Deep analysis of selected content
- 🌐 Translate - Translate text into different languages
- 💬 Ask Anything - Free-form questions and conversations with the AI
- In sidebar layout: Access by moving cursor to the right edge of screen
- In floating layout: Use with or without text selection
- In centered layout: Experience an immersive conversation with AI in a modal overlay with blurred background
- **Follow-up Questions**: Ask additional questions about the analyzed content to dive deeper
- **Flexible AI Backend**:
- Use OpenAI's GPT models
- Connect to your local LLM (supports llama.cpp, LM Studio, Text Generation WebUI)
- Grok-beta by xAI
- Google Gemini Models
- Gemini 1.0 Pro
- Gemini 1.5 Pro
- Gemini 1.5 Flash
- **Dark Mode**.

## 📥 Download
Download the latest version of LightUp from our [Releases page](https://github.com/lightup/releases). Choose the appropriate version for your browser and follow the installation instructions below.
## 🚀 Getting Started
## LightUp User Guide
### Installation for users
1. Download the Extension
- Go to the LightUp Releases
- Download the latest release ZIP file (lightup-vX.X.X.zip) and unzip it.
2. Install in Chrome/Brave
- Open Chrome/Brave and go to chrome://extensions/
- Enable "Developer mode" in the top right corner
- Drag and drop the downloaded unzipped file into the extensions page
OR click "Load unpacked" and select the unzipped folder.
### Configuration
1. Pin the Extension
- Click the puzzle piece icon in your browser toolbar
- Find LightUp and click the pin icon to keep it easily accessible
- Right-click the LightUp icon and choose "Options" to go directly to Settings
2. Choose your preferred AI backend:
- Local LLM (requires running local server)
- OpenAI API (requires API key)
- Google Gemini (requires Gemini API key and model selection)
- Grok-beta by xAI
3. Save your settings
## 🔧 Usage
1. Select any text on a webpage
2. A LightUp popup will appear
3. Get instant AI-powered insights
4. Ask follow-up questions for deeper understanding
## Keyboard Shortcuts
LightUp supports keyboard shortcuts for quick mode switching:
- `Ctrl+Shift+Z`: Switch to Explain mode
- `Ctrl+Shift+S`: Switch to Summarize mode
- `Ctrl+Shift+A`: Switch to Analyze mode
- `Ctrl+Shift+T`: Switch to Translate mode
- `Ctrl+Shift+F` / `Command+Shift+F`: Open popup in Free mode (floating, sidebar, or centered based on your settings)
- `Ctrl+Shift+X`: Toggle LightUp on/off
- `Ctrl+Shift+R`: Toggle Radically Focus mode
- `Ctrl+Shift+D`: Toggle Light/Dark theme
After setting the mode via shortcut, simply select any text and LightUp will appear with your chosen mode.
## Switching Modes
You can switch modes in two ways:
1. Using keyboard shortcuts (see above)
2. Clicking the LightUp icon in the toolbar to manually select a mode
This allows you to easily toggle between explaining, summarizing, analyzing, and translating text as per your needs.
## 🛠️ Developer Guide: Setting Up LightUp with Plasmo Framework
### Prerequisites
1. **Node.js**: Ensure you have Node.js 16.x or later installed.
2. **Package Manager**: It's recommended to use `pnpm`, but `npm` or `yarn` will also work.
### Steps to Download and Start Development
1. **Clone the Repository**
- Open your terminal and run:
```bash
git clone https://github.com/mohamedsadiq/LightUp.git
cd LightUp
```
2. **Install Dependencies**
- Run the following command to install all necessary packages:
```bash
pnpm install
```
- If you're using `npm` or `yarn`, replace `pnpm` with your package manager of choice.
3. **Set Up the Development Environment**
- Start the development server with live-reloading:
```bash
pnpm dev
```
- This will watch for file changes and automatically reload your extension in the browser.
4. **Load the Extension in Chrome**
- Open Chrome and navigate to `chrome://extensions/`.
- Enable "Developer mode" in the top right corner.
- Click "Load Unpacked" and select the `build/chrome-mv3-dev` directory.
5. **Start Developing**
- You can now start modifying the source code located in the `src` directory.
- Use the Plasmo Framework's features to enhance the extension as needed.
### Additional Resources
- **Plasmo Framework Documentation**: [Plasmo Docs](https://docs.plasmo.com/)
- **React + TypeScript**: Ensure familiarity with these technologies as they are used extensively in the project.
- **Framer Motion**: Used for animations within the extension.