https://github.com/mrmodise/deploy-loopback-4-app-in-heroku
Demo to illustrate how to deploy a LoopBack 4 application in Heroku
https://github.com/mrmodise/deploy-loopback-4-app-in-heroku
heroku-deployment herokuapp loopback4
Last synced: 2 months ago
JSON representation
Demo to illustrate how to deploy a LoopBack 4 application in Heroku
- Host: GitHub
- URL: https://github.com/mrmodise/deploy-loopback-4-app-in-heroku
- Owner: mrmodise
- License: other
- Created: 2021-04-05T09:53:16.000Z (about 5 years ago)
- Default Branch: main
- Last Pushed: 2021-04-05T11:18:23.000Z (about 5 years ago)
- Last Synced: 2025-01-18T14:44:15.223Z (over 1 year ago)
- Topics: heroku-deployment, herokuapp, loopback4
- Language: TypeScript
- Homepage: https://more-modise.medium.com/how-to-deploy-loopback-4-application-in-heroku-3d059b73cbd5
- Size: 80.1 KB
- Stars: 0
- Watchers: 2
- Forks: 2
- Open Issues: 0
-
Metadata Files:
- Readme: README.md
- Changelog: CHANGELOG.md
- License: LICENSE
Awesome Lists containing this project
README
# @loopback/example-todo-jwt
This is a modified LoopBack 4
[Todo application](https://github.com/strongloop/loopback-next/tree/master/examples/todo)
with JWT authentication, using the `@loopback/authentication-jwt` extension.
## Overview
This tutorial demonstrates how to add JWT authentication to the
[Todo application](https://github.com/strongloop/loopback-next/tree/master/examples/todo).
## Usage
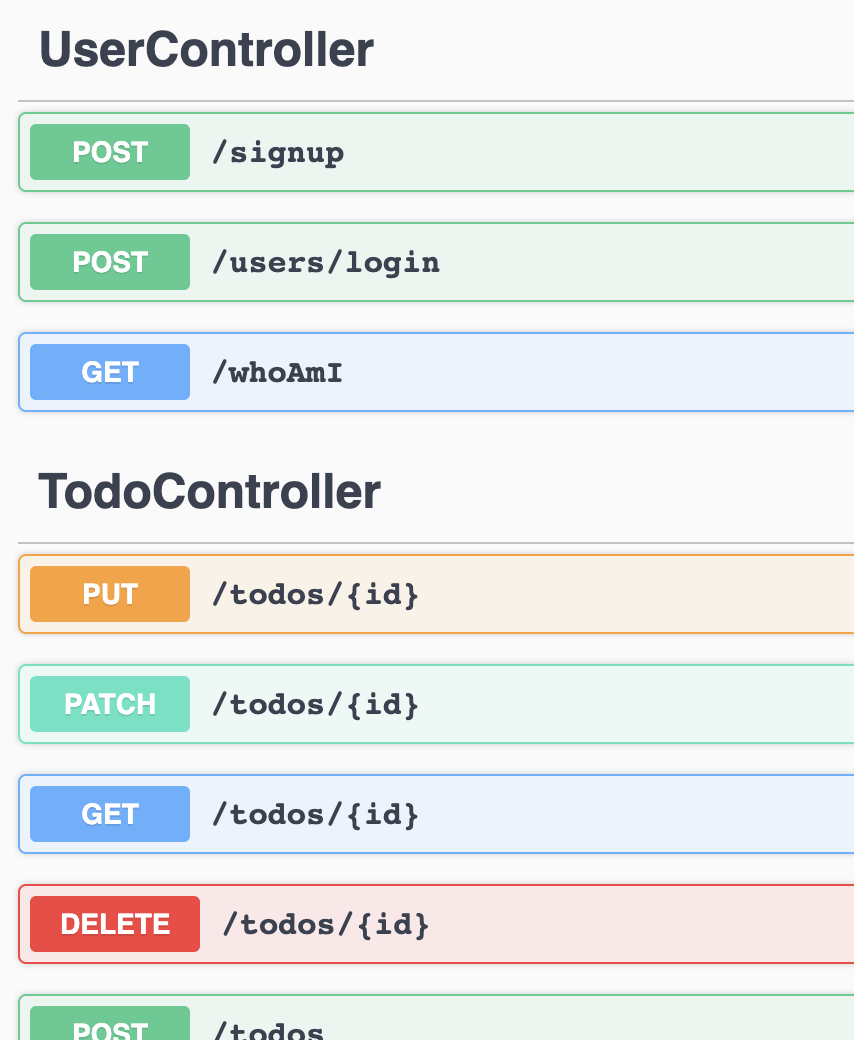
Start the application by running npm start and go to
http://localhost:3000/explorer. You’ll see the 3 new endpoints under
`UserController` together with the other endpoints under `TodoController`.
1. Sign up using the/signup API
Since we don’t have any users created, click on `POST /signup`. For the
requestBody, the minimum you need is `email` and `password`. i.e.
```json
{
"email": "testuser2@abc.com",
"password": "testuser2"
}
```
2. Log in using thePOST /users/login API
After calling /users/login , the response body will look something like:
```json
{
"token": "aaaaaaaaa.aaaaaaaaaaaaaaaaa"
}
```
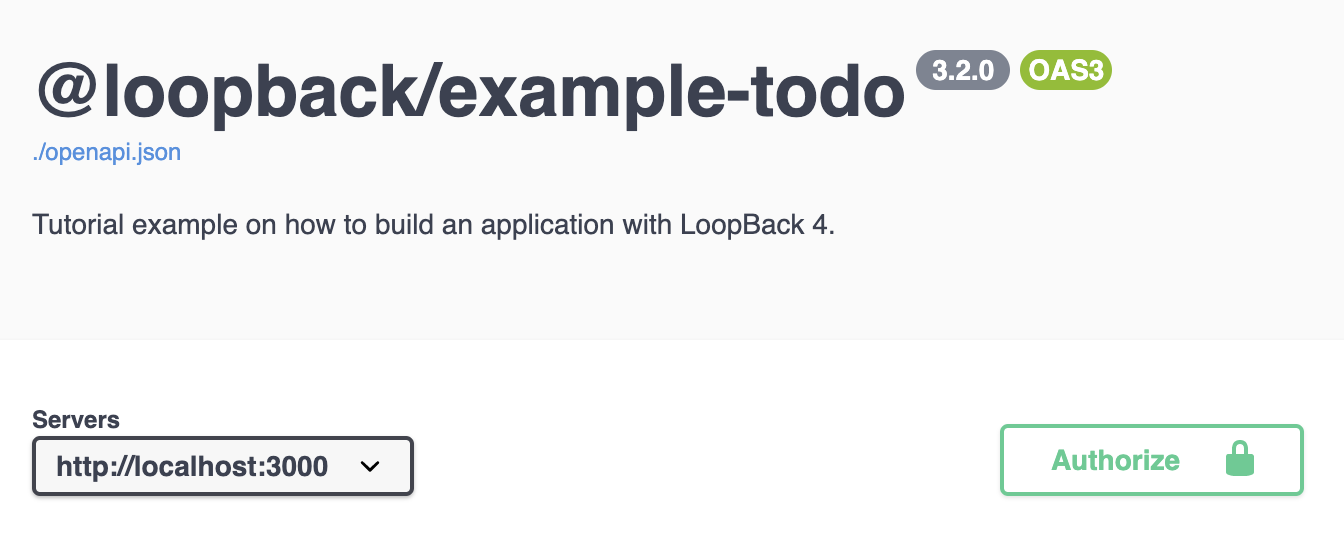
Copy the token. Go to the top of the API Explorer, click the “Authorize”
button.
Paste the token that you previously copied to the “Value” field and then
click Authorize.
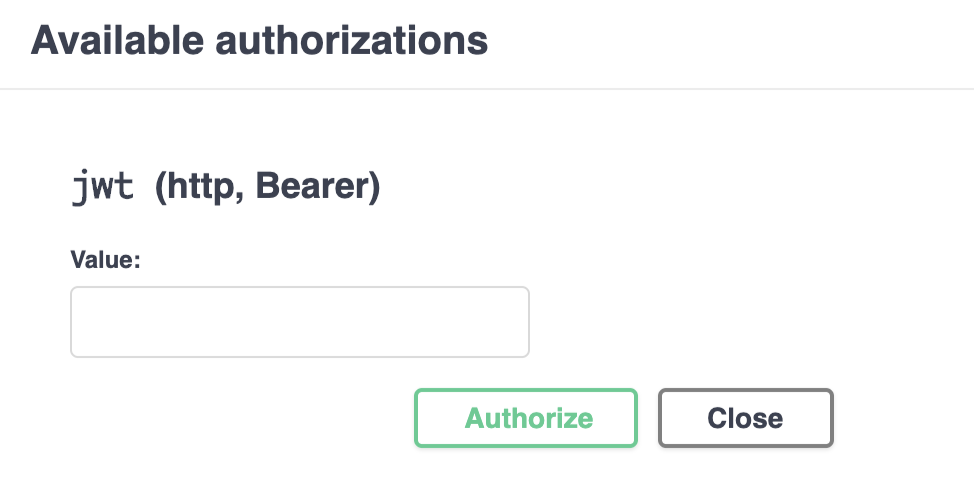
In the future API calls, this token will be added to the `Authorization`
header .
3. Get all todos using `GET /todos` API You should be able to call this API
successfully.
## Contributions
- [Guidelines](https://github.com/strongloop/loopback-next/blob/master/docs/CONTRIBUTING.md)
- [Join the team](https://github.com/strongloop/loopback-next/issues/110)
## Tests
Run `npm test` from the root folder.
## Contributors
See
[all contributors](https://github.com/strongloop/loopback-next/graphs/contributors).
## License
MIT
[![LoopBack]()](http://loopback.io/)