https://github.com/netlify-templates/content-ops-starter
Netlify starter that's made for customization with a flexible content model, component library, visual editing and Git Content Source.
https://github.com/netlify-templates/content-ops-starter
algolia-search next nextjs saas-boilerplate tailwindcss visual-editor
Last synced: about 1 year ago
JSON representation
Netlify starter that's made for customization with a flexible content model, component library, visual editing and Git Content Source.
- Host: GitHub
- URL: https://github.com/netlify-templates/content-ops-starter
- Owner: netlify-templates
- License: mit
- Created: 2024-05-23T08:57:05.000Z (about 2 years ago)
- Default Branch: main
- Last Pushed: 2025-05-12T11:57:34.000Z (about 1 year ago)
- Last Synced: 2025-05-12T12:44:50.983Z (about 1 year ago)
- Topics: algolia-search, next, nextjs, saas-boilerplate, tailwindcss, visual-editor
- Language: TypeScript
- Homepage: https://content-ops-starter.netlify.app/
- Size: 6.56 MB
- Stars: 52
- Watchers: 5
- Forks: 70
- Open Issues: 6
-
Metadata Files:
- Readme: README.md
- License: LICENSE
Awesome Lists containing this project
README
# Content Ops Starter
Netlify starter that's made for customization with a flexible content model, component library, [visual editing](https://docs.netlify.com/visual-editor/overview/) and [Git Content Source](https://docs.netlify.com/create/content-sources/git/).
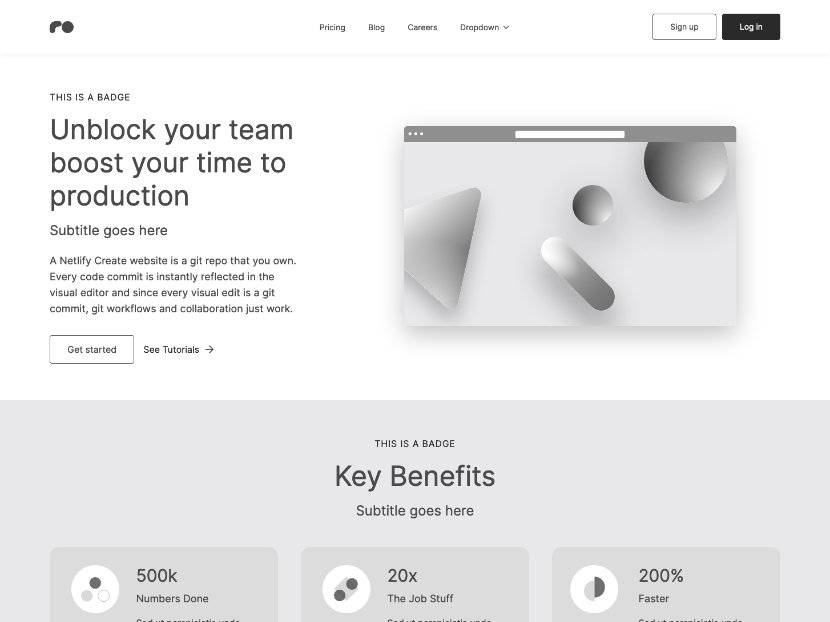
**⚡ View demo:** [https://content-ops-starter.netlify.app/](https://content-ops-starter.netlify.app/)
## Table of Contents
- [Deploying to Netlify](#deploying-to-netlify)
- [Develop with Netlify Visual Editor Locally](#develop-with-netlify-visual-editor-locally)
- [Building for production](#building-for-production)
- [Setting Up Algolia Search](#setting-up-algolia-search)
- [Next Steps](#next-steps)
- [Support](#support)
## Deploying to Netlify
If you click "Deploy to Netlify" button, it will create a new repo for you that looks exactly like this one, and sets that repo up immediately for deployment on Netlify.
[](https://app.netlify.com/start/deploy?repository=https://github.com/netlify-templates/content-ops-starter)
## Develop with Netlify Visual Editor Locally
The typical development process is to begin by working locally. Clone this repository, then run `npm install` in its root directory.
Run the Next.js development server:
```txt
cd content-ops-starter
npm run dev
```
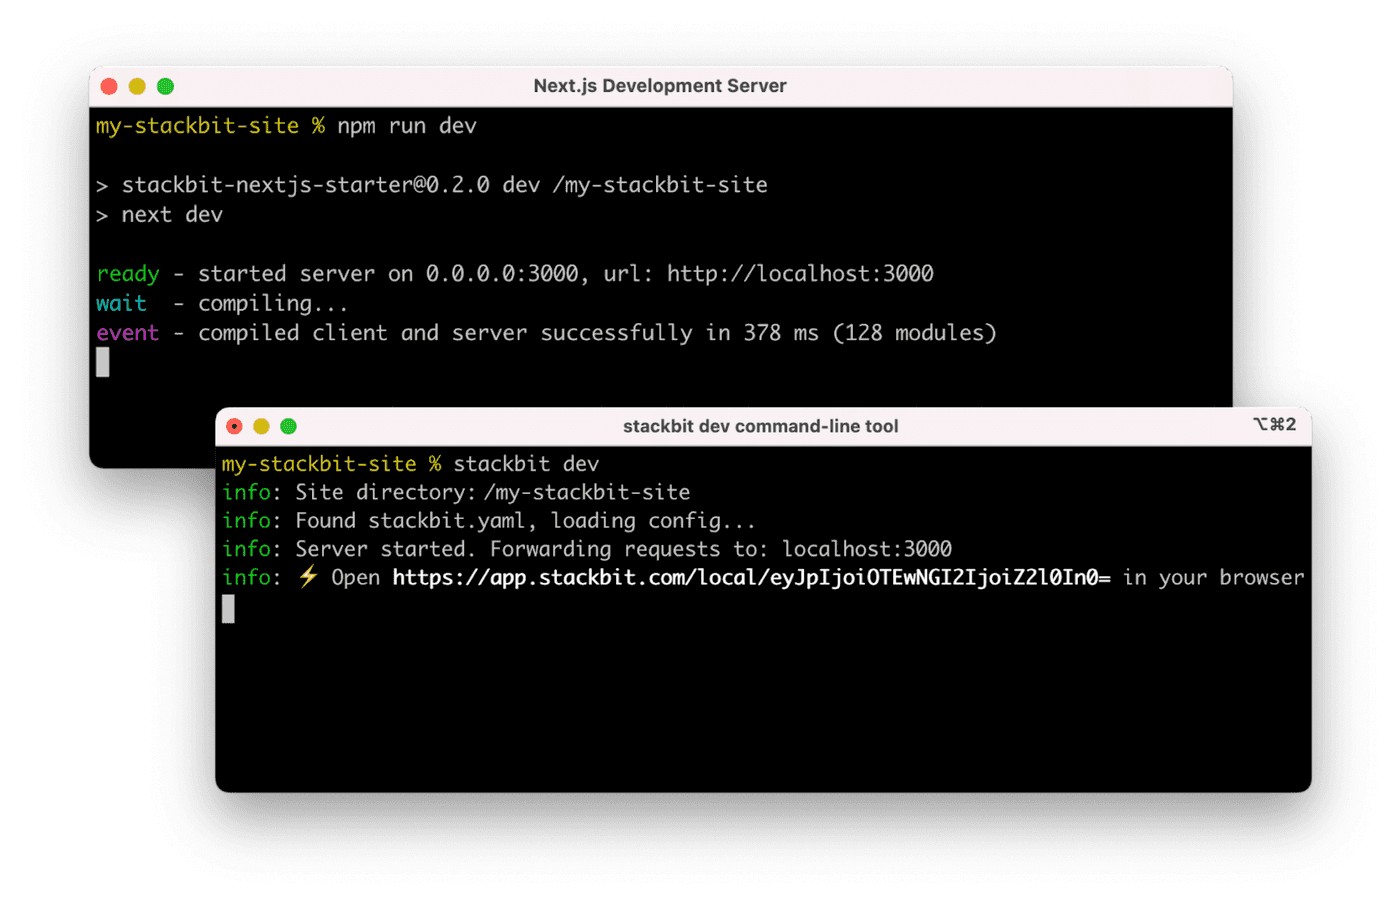
Install the [Netlify Visual Editor CLI](https://www.npmjs.com/package/@stackbit/cli). Then open a new terminal window in the same project directory and run the Netlify visual editor dev server:
```txt
npm install -g @stackbit/cli
stackbit dev
```
This outputs your own Netlify visual editor URL. Open this, register, or sign in, and you will be directed to Netlify's visual editor for your new project.
## Building for production
To build a static site for production, run the following command
```shell
npm run build
```
## Setting Up Algolia Search
This starter includes Algolia search integration. To set it up:
1. Create an [Algolia](https://www.algolia.com/) account
2. Create a new application and index
3. Set the following environment variables:
- `NEXT_PUBLIC_ALGOLIA_APP_ID` - Your Algolia application ID
- `NEXT_PUBLIC_ALGOLIA_SEARCH_API_KEY` - Your Algolia search-only API key
- `NEXT_PUBLIC_ALGOLIA_INDEX_NAME` - Your index name
## Next Steps
Here are a few suggestions on what to do next if you're new to Netlify visual editor:
- Learn [Netlify visual editor overview](https://docs.netlify.com/visual-editor/visual-editing/)
- Check [Netlify visual editor reference documentation](https://visual-editor-reference.netlify.com/)
## Support
If you get stuck along the way, get help in our [support forums](https://answers.netlify.com/).