https://github.com/nette-examples/quickstart
🎓 Tutorial Quick Start: official intro to Nette Framework by creating blog.
https://github.com/nette-examples/quickstart
nette tutorial
Last synced: over 1 year ago
JSON representation
🎓 Tutorial Quick Start: official intro to Nette Framework by creating blog.
- Host: GitHub
- URL: https://github.com/nette-examples/quickstart
- Owner: nette-examples
- Created: 2013-04-29T12:14:06.000Z (about 13 years ago)
- Default Branch: v4.0
- Last Pushed: 2025-01-26T16:45:39.000Z (over 1 year ago)
- Last Synced: 2025-03-29T22:08:03.395Z (over 1 year ago)
- Topics: nette, tutorial
- Language: PHP
- Homepage: https://doc.nette.org/quickstart
- Size: 379 KB
- Stars: 77
- Watchers: 21
- Forks: 49
- Open Issues: 2
-
Metadata Files:
- Readme: readme.md
Awesome Lists containing this project
README
Create Your First Application!
==============================
Get to know [Nette Framework](https://nette.org) while creating a simple blog with comments. Let's begin!
After the first two chapters, you will have your own working blog and you'll be ready to publish your awesome posts, although the features will be pretty much limited after completing these two chapters. To make things nicer for your users, you should also read the following chapters and keep improving your application.
You can find the [complete tutorial on Nette website](https://doc.nette.org/en/quickstart/getting-started).
Please install [full-featured IDE and all necessary plugins](https://doc.nette.org/en/best-practices/editors-and-tools), it will make you extremely efficient.
This QuickStart was written for Nette Framework 3.2 and PHP 8.1 or newer.
You can download the Nette Framework manually, but the recommended way of starting a new project is using [Composer](https://doc.nette.org/en/best-practices/composer). If you don't know the Composer, you should definitely start with that. It's a really simple and useful tool, check out [their documentation](https://getcomposer.org/doc/).
With Composer, you can download and install the application skeleton known as Web Project including Nette Framework very easily. To do so, find your webroot directory (e.g. `/var/www` or `C:\InetPub`) in your command line and execute the following command:
```shell
composer create-project nette/web-project nette-blog
```
Web Project will be downloaded into `nette-blog` directory.
If you couldn't use Composer, [download](https://github.com/nette/web-project/archive/preloaded.zip) and extract the archive and copy it to the root directory of the webserver and rename to `nette-blog`. The entire framework is located in the `vendor` folder.
If you're developing on macOS or Linux (or any other Unix based system), you need to [configure write privileges](https://doc.nette.org/en/troubleshooting#toc-setting-directory-permissions) to the webserver.
The Welcome Page
----------------
At this moment, the welcome page of the Web Project should be running. Try it by opening your browser and going to the following URL:
```
http://localhost/nette-blog/www/
```
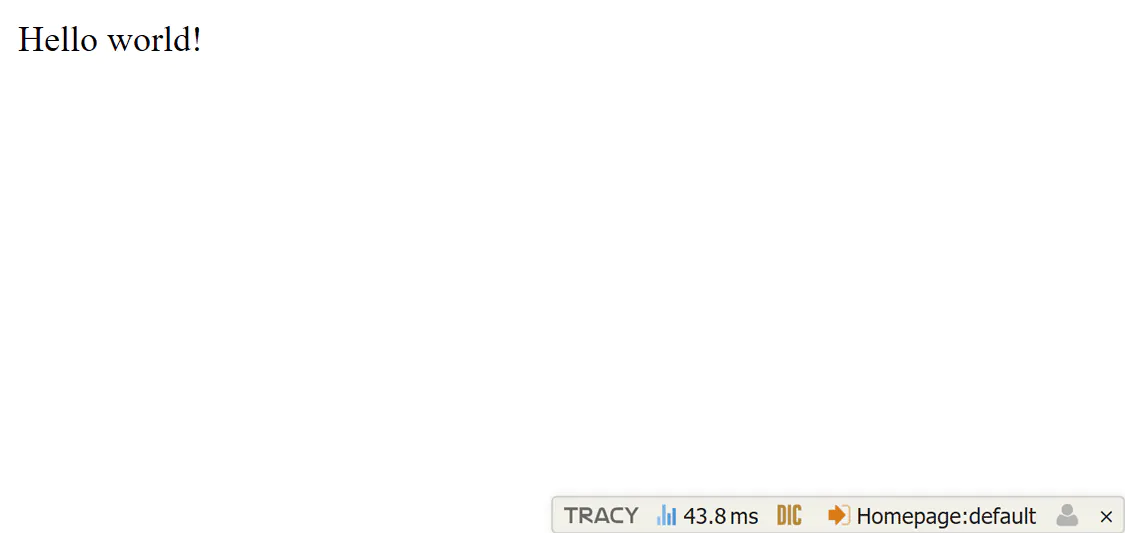
and you should see the Nette Framework welcome page:

The application works and you can now start making changes to it.
Web Project’s Content
---------------------
Web Project has the following structure:
```pre
nette-blog/
├── app/ ← application directory
│ ├── Core/ ← core classes, like router etc.
│ ├── Presentation/ ← presenter classes & templates
│ └── Bootstrap.php ← booting class Bootstrap
├── bin/ ← scripts for the command line
├── config/ ← configuration files
├── log/ ← error logs
├── temp/ ← temporary files, cache, …
├── vendor/ ← libraries installed by Composer
│ └── autoload.php ← autoloading of libraries installed by Composer
└── www/ ← public folder - the only place accessible from browser
└── index.php ← initial file that launches the application
```
Directory `www` is supposed to store images, JavaScript, CSS, and other publicly available files. This is the only directory directly accessible from the browser, so you can point the root directory of your web server here (you can configure it in Apache, but let’s do it later as it’s not important right now).
The most important directory for you is `app/`. You can find `Bootstrap.php` file there, inside which is a class that loads the framework and configures the application. It activates [autoloading](https://doc.nette.org/en/robot-loader) and sets up the [debugger](https://tracy.nette.org/) and [routes](https://doc.nette.org/en/application/routing).
Cleanup
-------
The Web Project contains a welcome page, which we can remove - feel free to delete the `app/Presentation/Home/default.latte` file and replace it with the text "Hello world!".
Tracy (Debugger)
----------------
An extremely important tool for development is [a debugger called Tracy](https://tracy.nette.org/). Try to make some errors in your `app/Presentation/Home/HomePresenter.php` file (e.g. remove a curly bracket from the definition of class HomePresenter) and see what happens. A red-screen page will pop up with an understandable error description.
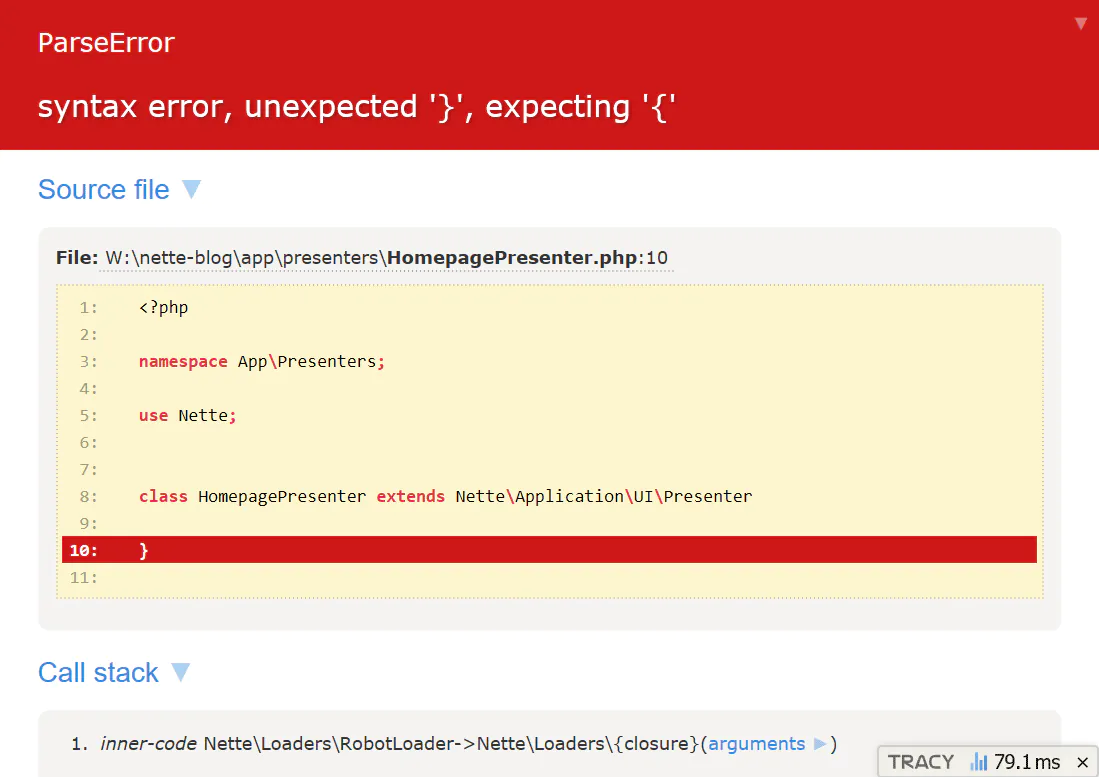
Tracy will significantly help you while hunting down errors. Also note the floating Tracy Bar in the bottom right corner, which informs you about important runtime data.

In the production mode, Tracy is, of course, disabled and does not reveal any sensitive information. All errors are saved into `log/` directory instead. Just try it out. In `app/Bootstrap.php`, find the following piece of code, uncomment the line and change the method call parameter to `false`, so it looks like this:
```php .{file:app/Bootstrap.php}
...
$configurator->setDebugMode(false);
$configurator->enableTracy(__DIR__ . '/../log');
...
```
After refreshing the web page, the red-screen page will be replaced with the user-friendly message:
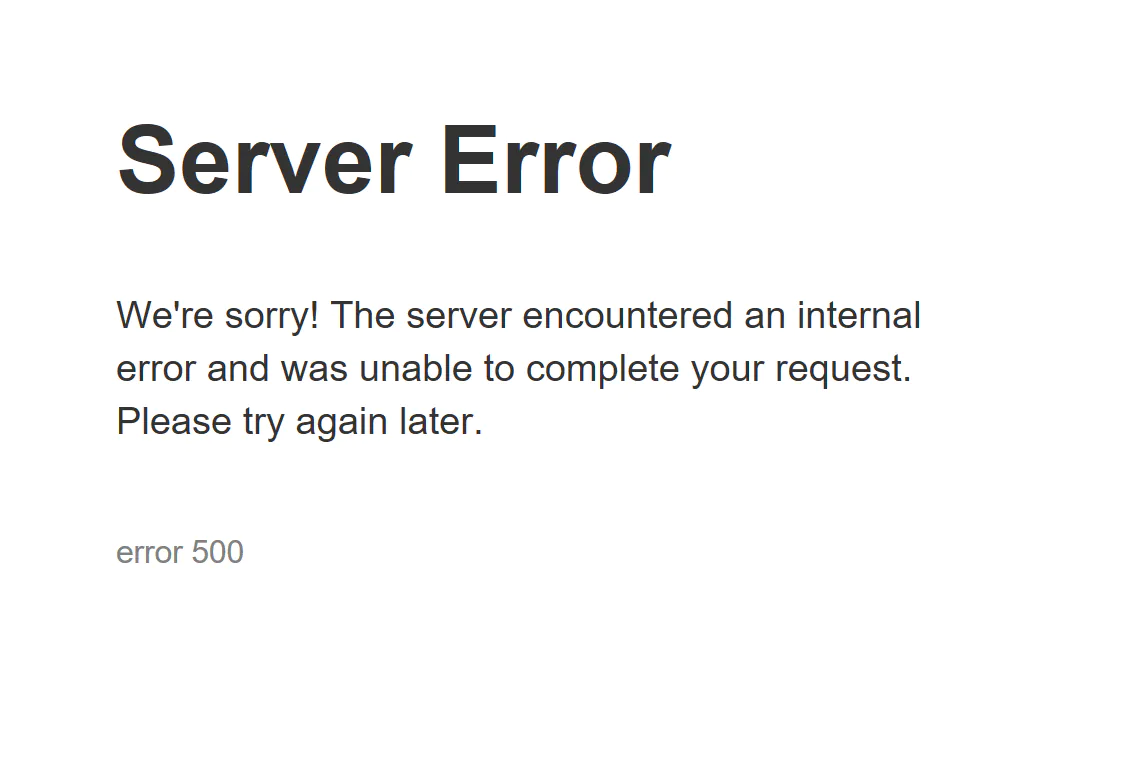
Now, look into the `log/` directory. You can find the error log there (in exception.log file) and also the page with the error message (saved in an HTML file with a name starting with `exception`).
Comment line `// $configurator->setDebugMode(false);` again. Tracy automatically enables development mode on `localhost` environment and disables it elsewhere.
Now, we can fix the bug and continue designing our application.
Read more
---------
[The tutorial continue on the Nette website](https://doc.nette.org/en/quickstart/home-page).