https://github.com/nicknisi/dotfiles
vim, zsh, git, homebrew, neovim - my whole world
https://github.com/nicknisi/dotfiles
dotfiles git homebrew neovim neovim-setup osx shell tmux tmux-configuration vim zsh zsh-setup
Last synced: about 1 year ago
JSON representation
vim, zsh, git, homebrew, neovim - my whole world
- Host: GitHub
- URL: https://github.com/nicknisi/dotfiles
- Owner: nicknisi
- License: mit
- Created: 2012-04-12T04:21:16.000Z (about 14 years ago)
- Default Branch: main
- Last Pushed: 2025-04-06T22:29:20.000Z (over 1 year ago)
- Last Synced: 2025-04-07T05:02:26.274Z (over 1 year ago)
- Topics: dotfiles, git, homebrew, neovim, neovim-setup, osx, shell, tmux, tmux-configuration, vim, zsh, zsh-setup
- Language: Lua
- Homepage:
- Size: 41.7 MB
- Stars: 2,817
- Watchers: 82
- Forks: 365
- Open Issues: 1
-
Metadata Files:
- Readme: README.md
- License: LICENSE
Awesome Lists containing this project
- awesome-starred-test - nicknisi/dotfiles - vim, zsh, git, homebrew, neovim - my whole world (Lua)
- my-awesome-github-stars - nicknisi/dotfiles - vim, zsh, git, homebrew, neovim - my whole world (Shell)
README
# Dotfiles
Welcome to my world! Here you'll find a collection of configuration files for various tools and programs that I use on a daily basis. These dotfiles have been carefully curated and customized to streamline **my** workflow and improve **my** productivity. Your results may vary, but feel free to give it a try! Whether you're a fellow developer looking to optimize your setup or just curious about how I organize my digital life, I hope you find something useful in these dotfiles. So take a look around and feel free to borrow, modify, or fork to your heart's content. Happy coding!
> [!Note]
>
> Did you arrive here through my YouTube talk, [vim + tmux](https://www.youtube.com/watch?v=5r6yzFEXajQ)? My dotfiles have changed tremendously since then, but feel free to peruse the state of this repo [at the time the video was recorded](https://github.com/nicknisi/dotfiles/tree/aa72bed5c4ecec540a31192581294818b69b93e2).
## Initial Setup
The first thing you need to do is to clone this repo into a location of your choosing. For example, if you have a `~/Developer` directory where you clone all of your git repos, that's a good choice for this one, too. This repo is setup to not rely on the location of the dotfiles, so you can place it anywhere.
> [!Note]
>
> If you're on macOS, you'll also need to install the XCode CLI tools before continuing.
```bash
xcode-select --install
```
```bash
git clone git@github.com:nicknisi/dotfiles.git
```
> [!Note]
>
> This dotfiles configuration is set up in such a way that it _shouldn't_ matter where the repo exists on your system.
## The `dot` Command
This repository includes a powerful `dot` command for managing your dotfiles. It replaces the previous `install.sh` script with a more flexible and maintainable solution.
### Configuration
The tool respects these environment variables:
- `DOTFILES`: Path to your dotfiles directory
- `PATH`: For discovering external commands
By default, the following directories are ignored when linking:
- bin
- applescripts
- resources
### Basic Usage
```bash
dot help # Show help message and available commands
dot backup # Backup existing dotfiles
dot link [package] # Link all or specific package
dot unlink [package] # Unlink all or specific package
```
>[!important]
>
>This command won't be in the path until ZSH is properly configured.
> Until that's the case, you can run the command from the dotfiles root.
> ```bash
> bin/dot
>```
```
### Backup Options
The backup command creates a backup of your existing dotfiles before installing new ones:
```bash
dot backup -d # Specify backup directory (default: ~/dotfiles-backup)
dot backup -v # Verbose output
```
This will back up important files and directories including:
- Existing dotfiles in your home directory
- Neovim configuration (`~/.config/nvim/`)
- Vim configuration (`~/.vim/` and `~/.vimrc`)
### Link/Unlink Options
```bash
dot link -v # Verbose output
dot link -t # Specify target directory
dot link # Link specific package
dot link all # Link all packages
```
### Built-in Commands
#### Git Configuration (`dot git`)
```bash
dot git setup # Configure git user settings interactively
```
Sets up personalized Git configuration including name, email, and Github username. The configuration is saved to `~/.gitconfig-local`.
#### macOS Settings (`dot macos`)
```bash
dot macos defaults # Configure recommended macOS system defaults
```
Configures various macOS system settings including:
- Finder: show all filename extensions
- Show hidden files by default
- Only use UTF-8 in Terminal.app
- Expand save dialog by default
- Enable full keyboard access for all controls
- Enable subpixel font rendering on non-Apple LCDs
- Use current directory as default search scope in Finder
- Show Path bar and Status bar in Finder
- Optimize keyboard settings for development
#### Shell Configuration (`dot shell`)
```bash
dot shell change # Change default shell to zsh
dot shell terminfo # Install terminal information files
```
These commands may not always be reqired. For example, macOS now sets the default shell to ZSH. And, the terminfo is only requried if you're interested in having italic support in Neovim.
#### Homebrew Management (`dot homebrew`)
```bash
dot homebrew install # Install Homebrew package manager
dot homebrew bundle # Install packages from Brewfile
```
Using this command is only needed if your machine does not currently have Homebrew installed. You can also install if the main way by following the [instructions on their website](https://brew.sh).
#### Legacy Cleanup (`dot legacy`)
```bash
dot legacy clean # Clean up broken legacy symlinks
```
This legacy command specifically cleans up the old symlinks that might exist from rpevious iterations of this repository.
### Extending with Custom Commands
The `dot` command is extensible. You can add custom commands by:
1. Creating executable scripts named `dot-` in your `$PATH`
2. Adding a "Description:" comment for help text
3. The command will then be available as `dot `
## ZSH Configuration
The prompt for ZSH is configured in the `cnofig/zsh/zshrc` file and performs the
following operations.
- Sets `EDITOR` to `nvim`
- Loads any `~/.terminfo` setup
- Sets `CODE_DIR` to `~/Developer`. This can be changed to the location you use
to put your git checkouts, and enables fast `cd`-ing into it via the `c`
command
- Recursively searches the `$DOTFILES/zsh` directory for any `.zsh` files and
sources them
- Sources a `~/.localrc`, if available for configuration that is
machine-specific and/or should not ever be checked into git
- Adds `~/bin` and `$DOTFILES/bin` to the `PATH`
### ZSH plugins
There are a number of plugins in use for ZSH, and they are installed and
maintained separately via the `zfetch` command. `zfetch` is a custom plugin
manager available [here](./zsh/functions/zfetch). The plugins that are used are
listed in the `.zshrc` and include
- [zsh-async](https://github.com/mafredri/zsh-async)
- [zsh-syntax-highlighting](https://github.com/zsh-users/zsh-syntax-highlighting)
- [zsh-autosuggestions](https://github.com/zsh-users/zsh-autosuggestions)
- [zsh-npm-scripts-autocomplete](https://github.com/grigorii-zander/zsh-npm-scripts-autocomplete)
- [fzf-tab](https://github.com/Aloxaf/fzf-tab)
Additional plugins can be added to the `~/.zshrc`, or to `~/.localrc` if you
want them to stay out of git.
```bash
# Add a line like this and the plugin will automatically be downloaded and sourced
zfetch nicknisi/work-scripts
```
### Prompt
Aloxaf/fzf-tab The prompt is meant to be simple while still providing a lot of
information to the user, particularly about the status of the git project, if
the PWD is a git project. This prompt sets `precmd`, `PROMPT` and `RPROMPT`. The
`precmd` shows the current working directory in it and the `RPROMPT` shows the
git and suspended jobs info. The main symbol used on the actual prompt line is
`❯`.
The prompt attempts to speed up certain information lookups by allowing for the
prompt itself to be asynchronously rewritten as data comes in. This prevents the
prompt from feeling sluggish when, for example, the user is in a large git repo
and the git prompt commands take a considerable amount of time.
It does this by writing the actual text that will be displayed int he prompt to
a temp file, which is then used to update the prompt information when a signal
is trapped.
#### Git Prompt
The git info shown on the `RPROMPT` displays the current branch name, along with
the following symbols.
- `+` - New files were added
- `!` - Existing files were modified
- `?` - Untracked files exist that are not ignored
- `»` - Current changes include file renaming
- `✘` - An existing tracked file has been deleted
- `$` - There are currently stashed files
- `=` - There are unmerged files
- `⇡` - Branch is ahead of the remote (indicating a push is needed)
- `⇣` - Branch is behind the remote (indicating a pull is needed)
- `⇕` - The branches have diverged (indicating history has changed and maybe a
force-push is needed)
- `✔` - The current working directory is clean
#### Jobs Prompt
The prompt will also display a `✱` character in the `RPROMPT` indicating that
there is a suspended job that exists in the background. This is helpful in
keeping track of putting vim in the background by pressing CTRL-Z.
#### Node Prompt
If a `package.json` file or a `node_modules` directory exists in the current
working directory, display the node symbol, along with the current version of
Node. This is useful information when switching between projects that depend on
different versions of Node.
## Neovim setup
> [!Note]
>
> This is no longer a vim setup. The configuration has been moved to be
> Neovim-specific and (mostly) written in [Lua](https://www.lua.org/). `vim` is
> also set up as an alias to `nvim` to help with muscle memory.
The simplest way to install Neovim is to install it from homebrew.
```bash
brew install neovim
```
However, it was likely installed already if you ran the `dot homebrew bundle`
command provided in the dotfiles.
All of the configuration for Neovim starts at `nvim/.config/nvim/init.lua`, which is
symlinked into the `~/.config/nvim` directory.
> [!Warning]
>
> The first time you run `nvim` with this configuration, it will likely have a
> lot of errors. This is because it is dependent on a number of plugins being
> installed.
### Installing plugins
On the first run, all required plugins should automaticaly by installed by
[lazy.nvim](https://github.com/folke/lazy.nvim), a plugin manager for neovim.
All plugins are listed in [plugins.lua](./config/nvim/lua/plugins.lua). When a
plugin is added, it will automatically be installed by lazy.nvim. To interface
with lazy.nvim, simply run `:Lazy` from within vim.
> [!Note]
>
> Plugins can be synced in a headless way from the command line using the `vimu`
> alias.
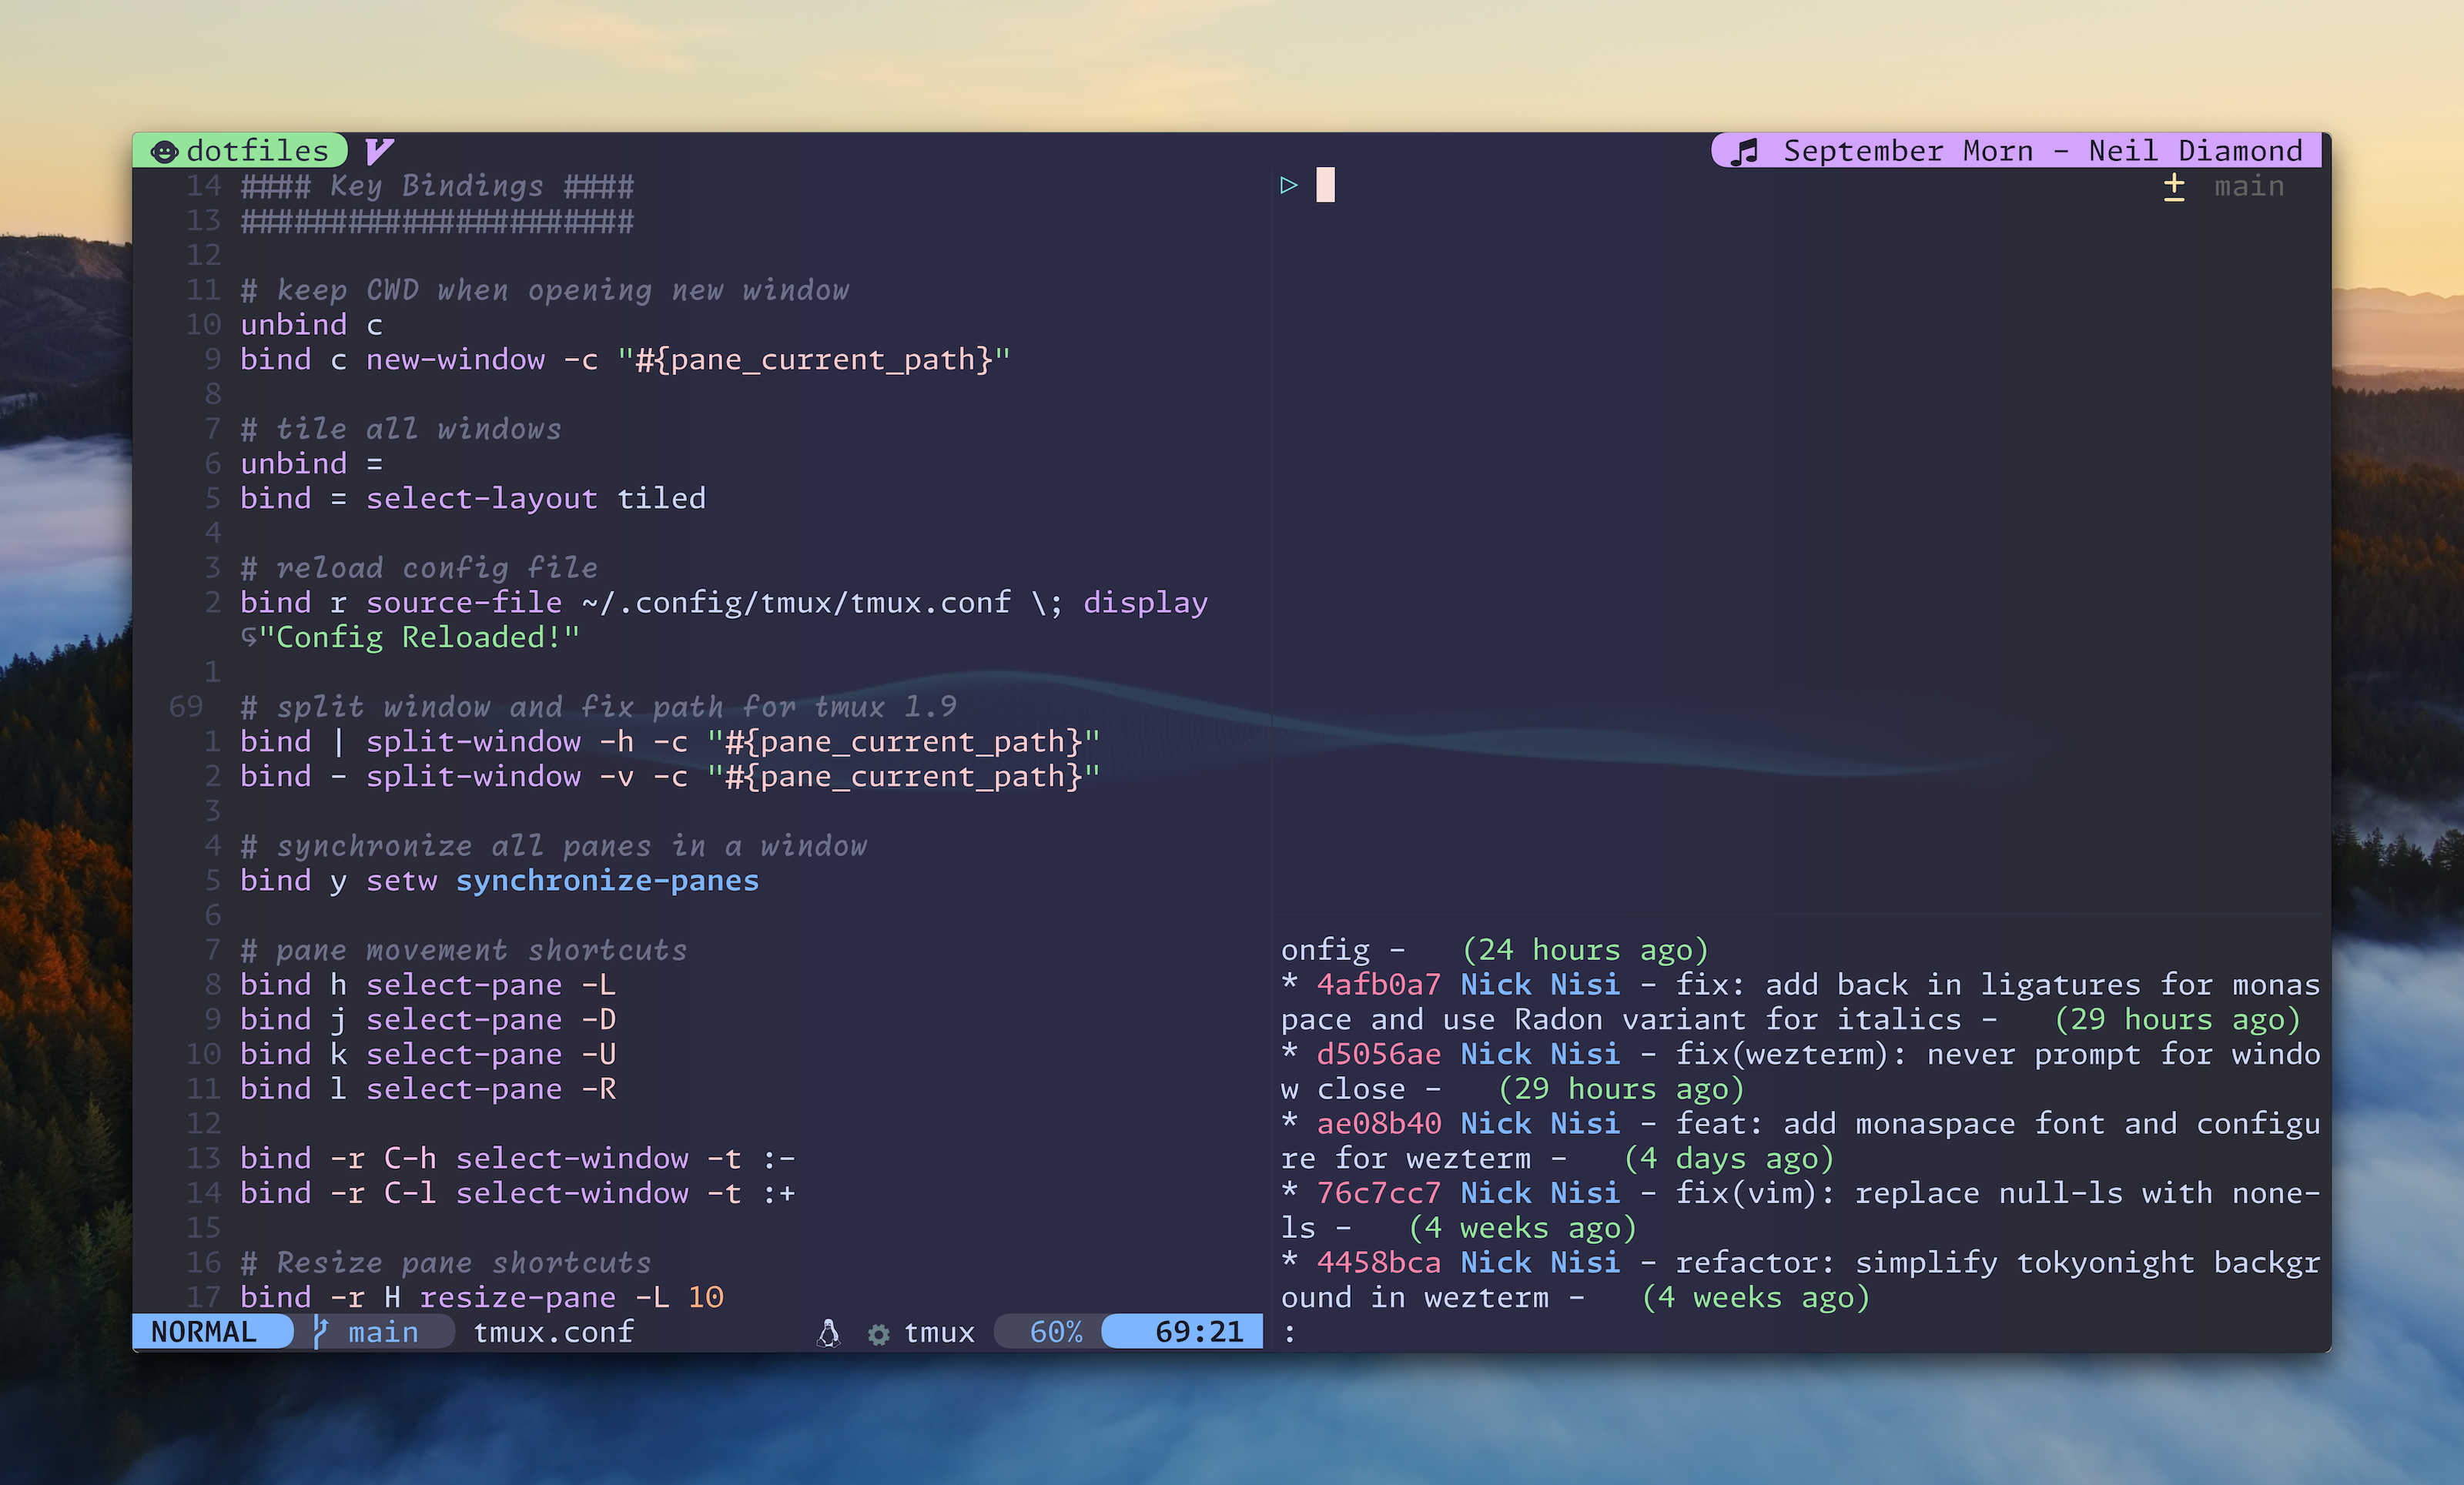
## tmux configuration
I prefer to run everything inside of [tmux](https://github.com/tmux/tmux). I
typically use a large pane on the top for neovim and then multiple panes along
the bottom or right side for various commands I may need to run. There are no
pre-configured layouts in this repository, as I tend to create them on-the-fly
and as needed.
This repo ships with a `tm` command which provides a list of active session, or
provides prompts to create a new one.
```bash
> tm
Available sessions
------------------
1) New Session
Please choose your session: 1
Enter new session name: open-source
```
This configuration provides a bit of style to the tmux bar, along with some
additional data such as the currently playing song (from Apple Music or
Spotify), the system name, the session name, and the current time.
> [!Note]
>
> It also changes the prefix from `⌃-b` to `⌃-a` (⌃ is the _control_ key). This
> is because I tend to remap the Caps Lock button to Control, and then having
> the prefix makes more sense.
### tmux key commands
Pressing the Prefix followed by the following will have the following actions in
tmux.
| Command | Description |
| ----------- | ------------------------------ |
| `h` | Select the pane to the left |
| `j` | Select the pane to the bottom |
| `k` | Select the pane to the top |
| `l` | Select the pane to the right |
| `⇧-H` | Enlarge the pane to the left |
| `⇧-J` | Enlarge the pane to the bottom |
| `⇧-K` | Enlarge the pane to the top |
| `⇧-L` | Enlarge the pane to the right |
| `-` (dash) | Create a vertical split |
| `\|` (pipe) | Create a horizontal split |
### Minimal tmux UI
Setting a `$TMUX_MINIMAL` environment variable will do some extra work to hide
the tmux status bar when there is only a single tmux window open. This is not
the default in this repo because it can be confusing, but it is my preferred way
to work. To set this, you can use the `~/.localrc` file to set it in the
following way.
```shell
export TMUX_MINIMAL=1
```
## Docker Setup
A Dockerfile exists in the repository as a testing ground for linux support. To
set up the image, make sure you have Docker installed and then run the following
command.
```bash
docker build -t dotfiles --force-rm --build-arg PRIVATE_KEY="$(cat ~/.ssh/id_rsa)" --build-arg PUBLIC_KEY="$(cat ~/.ssh/id_rsa.pub)" .
```
This should create a `dotfiles` image which will set up the base environment
with the dotfiles repo cloned. To run, execute the following command.
```bash
docker run -it --rm dotfiles
```
This will open a bash shell in the container which can then be used to manually
test the dotfiles installation process with linux.
## Preferred software
I almost exclusively work on macOS, so this list will be specific to that
operating system, but several of these reccomendations are also available,
cross-platform. For a full and up-to-date list of the software and gear that I use today, check out my
[/uses](https://nicknisi.com/uses) page.
- [WezTerm](https://wezfurlong.org/wezterm/index.html) - A GPU-based terminal emulator
- [Aerospace](https://github.com/nikitabobko/AeroSpace) - An i3-like tiling window manager for macOS.
- [Raycast](https://raycast.com)
## Questions
If you have questions, notice issues, or would like to see improvements, please
open a new [discussion](https://github.com/nicknisi/dotfiles/discussions/new)
and I'm happy to help you out!