https://github.com/nod-ai/shark-studio
SHARK Studio -- Web UI for SHARK+IREE High Performance Machine Learning Distribution
https://github.com/nod-ai/shark-studio
amd apple-silicon deep-learning machine-learning mlir nvidia pytorch
Last synced: 5 months ago
JSON representation
SHARK Studio -- Web UI for SHARK+IREE High Performance Machine Learning Distribution
- Host: GitHub
- URL: https://github.com/nod-ai/shark-studio
- Owner: nod-ai
- License: apache-2.0
- Created: 2022-03-05T00:37:21.000Z (over 3 years ago)
- Default Branch: main
- Last Pushed: 2024-10-18T15:16:28.000Z (12 months ago)
- Last Synced: 2024-10-29T15:41:25.994Z (11 months ago)
- Topics: amd, apple-silicon, deep-learning, machine-learning, mlir, nvidia, pytorch
- Language: Python
- Homepage:
- Size: 43.7 MB
- Stars: 1,418
- Watchers: 41
- Forks: 171
- Open Issues: 420
-
Metadata Files:
- Readme: README.md
- License: LICENSE
Awesome Lists containing this project
README
# SHARK
High Performance Machine Learning Distribution
NOTE: This project is not currently maintained.
*The latest versions of this project are developments towards a refactor on top of IREE-Turbine. Until further notice, make sure you use an .exe release or a checkout of the `SHARK-1.0` branch, for a working SHARK-Studio*
[](https://github.com/nod-ai/SHARK-Studio/actions/workflows/nightly.yml)
Prerequisites - Drivers
#### Install your Windows hardware drivers
* [AMD RDNA Users] Download the latest driver (23.2.1 is the oldest supported) [here](https://www.amd.com/en/support).
* [macOS Users] Download and install the 1.3.216 Vulkan SDK from [here](https://sdk.lunarg.com/sdk/download/1.3.216.0/mac/vulkansdk-macos-1.3.216.0.dmg). Newer versions of the SDK will not work.
* [Nvidia Users] Download and install the latest CUDA / Vulkan drivers from [here](https://developer.nvidia.com/cuda-downloads)
#### Linux Drivers
* MESA / RADV drivers wont work with FP16. Please use the latest AMGPU-PRO drivers (non-pro OSS drivers also wont work) or the latest NVidia Linux Drivers.
Other users please ensure you have your latest vendor drivers and Vulkan SDK from [here](https://vulkan.lunarg.com/sdk/home) and if you are using vulkan check `vulkaninfo` works in a terminal window
### Quick Start for SHARK Stable Diffusion for Windows 10/11 Users
Install the Driver from [Prerequisites](https://github.com/nod-ai/SHARK-Studio#install-your-hardware-drivers) above
Download the [stable release](https://github.com/nod-ai/SHARK-Studio/releases/latest) or the most recent [SHARK 1.0 pre-release](https://github.com/nod-ai/SHARK-Studio/releases).
Double click the .exe, or [run from the command line](#running) (recommended), and you should have the [UI](http://localhost:8080/) in the browser.
If you have custom models put them in a `models/` directory where the .exe is.
Enjoy.
More installation notes
* We recommend that you download EXE in a new folder, whenever you download a new EXE version. If you download it in the same folder as a previous install, you must delete the old `*.vmfb` files with `rm *.vmfb`. You can also use `--clear_all` flag once to clean all the old files.
* If you recently updated the driver or this binary (EXE file), we recommend you clear all the local artifacts with `--clear_all`
## Running
* Open a Command Prompt or Powershell terminal, change folder (`cd`) to the .exe folder. Then run the EXE from the command prompt. That way, if an error occurs, you'll be able to cut-and-paste it to ask for help. (if it always works for you without error, you may simply double-click the EXE)
* The first run may take few minutes when the models are downloaded and compiled. Your patience is appreciated. The download could be about 5GB.
* You will likely see a Windows Defender message asking you to give permission to open a web server port. Accept it.
* Open a browser to access the Stable Diffusion web server. By default, the port is 8080, so you can go to http://localhost:8080/.
* If you prefer to always run in the browser, use the `--ui=web` command argument when running the EXE.
## Stopping
* Select the command prompt that's running the EXE. Press CTRL-C and wait a moment or close the terminal.
Advanced Installation (Only for developers)
## Advanced Installation (Windows, Linux and macOS) for developers
### Windows 10/11 Users
* Install Git for Windows from [here](https://git-scm.com/download/win) if you don't already have it.
## Check out the code
```shell
git clone https://github.com/nod-ai/SHARK.git
cd SHARK
```
## Switch to the Correct Branch (IMPORTANT!)
Currently SHARK is being rebuilt for [Turbine](https://github.com/iree-org/iree-turbine) on the `main` branch. For now you are strongly discouraged from using `main` unless you are working on the rebuild effort, and should not expect the code there to produce a working application for Image Generation, So for now you'll need switch over to the `SHARK-1.0` branch and use the stable code.
```shell
git checkout SHARK-1.0
```
The following setup instructions assume you are on this branch.
## Setup your Python VirtualEnvironment and Dependencies
### Windows 10/11 Users
* Install the latest Python 3.11.x version from [here](https://www.python.org/downloads/windows/)
#### Allow the install script to run in Powershell
```powershell
set-executionpolicy remotesigned
```
#### Setup venv and install necessary packages (torch-mlir, nodLabs/Shark, ...)
```powershell
./setup_venv.ps1 #You can re-run this script to get the latest version
```
### Linux / macOS Users
```shell
./setup_venv.sh
source shark1.venv/bin/activate
```
### Run Stable Diffusion on your device - WebUI
#### Windows 10/11 Users
```powershell
(shark1.venv) PS C:\g\shark> cd .\apps\stable_diffusion\web\
(shark1.venv) PS C:\g\shark\apps\stable_diffusion\web> python .\index.py
```
#### Linux / macOS Users
```shell
(shark1.venv) > cd apps/stable_diffusion/web
(shark1.venv) > python index.py
```
#### Access Stable Diffusion on http://localhost:8080/?__theme=dark
### Run Stable Diffusion on your device - Commandline
#### Windows 10/11 Users
```powershell
(shark1.venv) PS C:\g\shark> python .\apps\stable_diffusion\scripts\main.py --app="txt2img" --precision="fp16" --prompt="tajmahal, snow, sunflowers, oil on canvas" --device="vulkan"
```
#### Linux / macOS Users
```shell
python3.11 apps/stable_diffusion/scripts/main.py --app=txt2img --precision=fp16 --device=vulkan --prompt="tajmahal, oil on canvas, sunflowers, 4k, uhd"
```
You can replace `vulkan` with `cpu` to run on your CPU or with `cuda` to run on CUDA devices. If you have multiple vulkan devices you can address them with `--device=vulkan://1` etc
The output on a AMD 7900XTX would look something like:
```shell
Average step time: 47.19188690185547ms/it
Clip Inference time (ms) = 109.531
VAE Inference time (ms): 78.590
Total image generation time: 2.5788655281066895sec
```
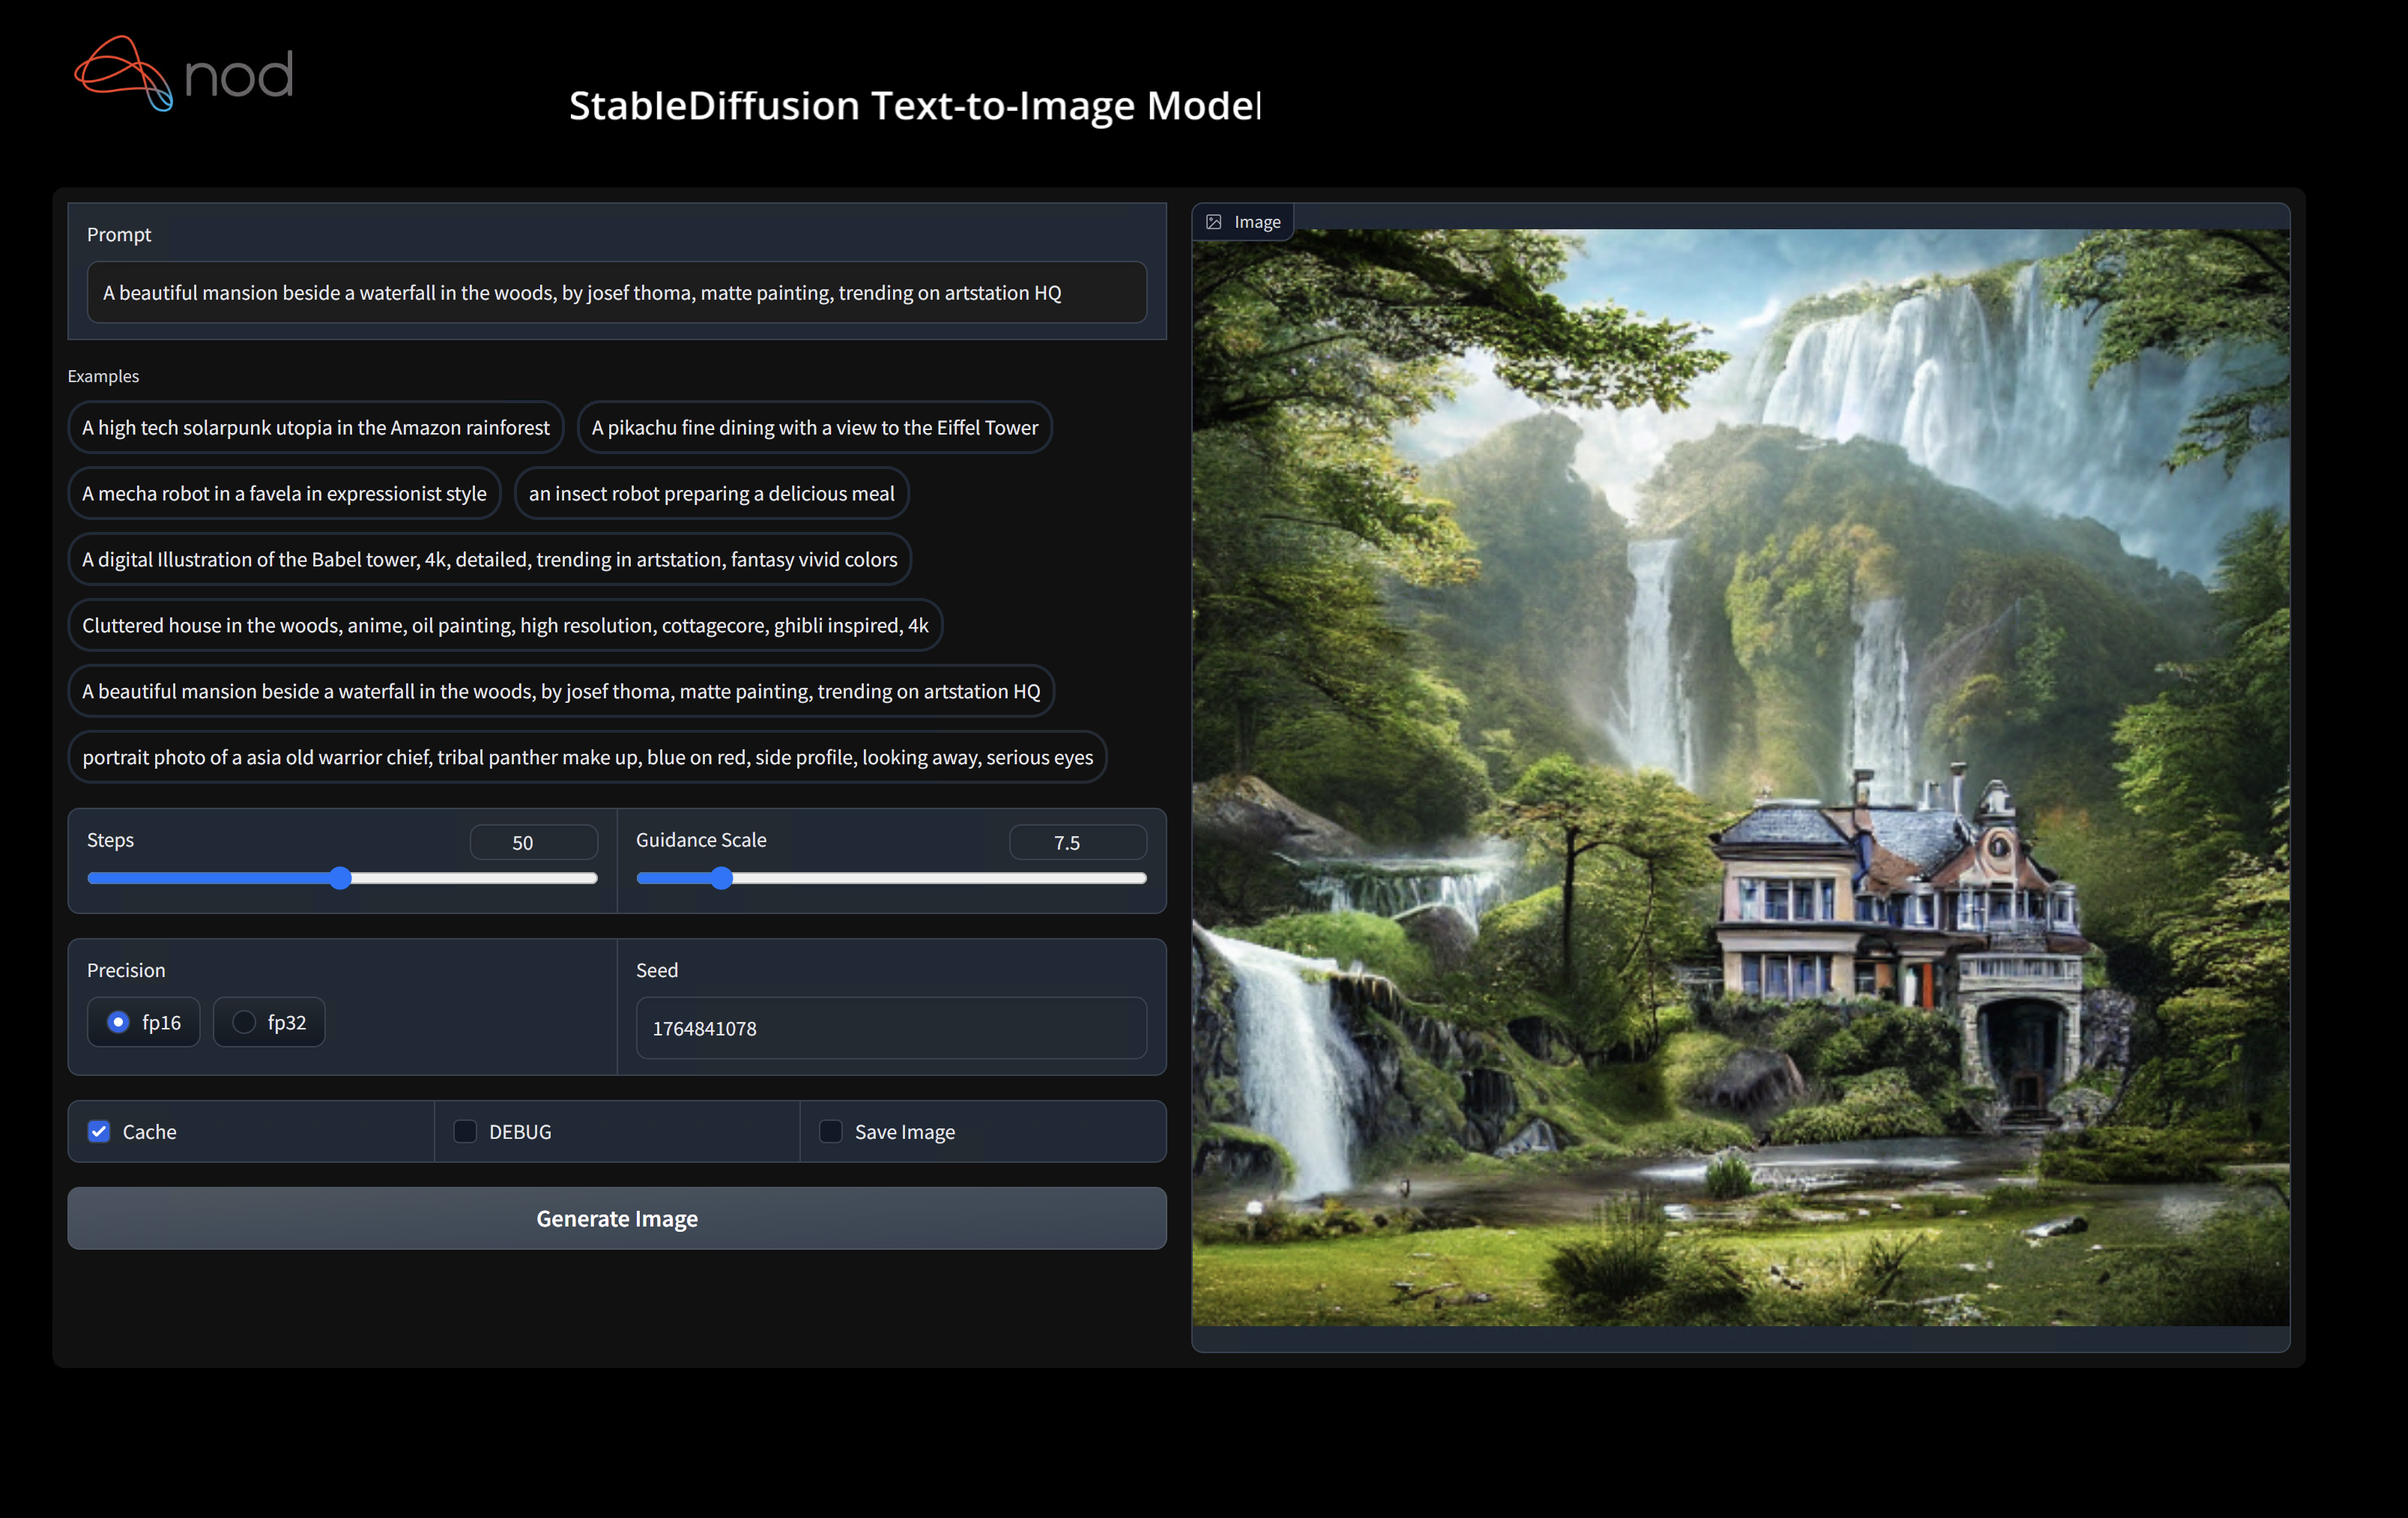
Here are some samples generated:


Find us on [SHARK Discord server](https://discord.gg/RUqY2h2s9u) if you have any trouble with running it on your hardware.
Binary Installation
### Setup a new pip Virtual Environment
This step sets up a new VirtualEnv for Python
```shell
python --version #Check you have 3.11 on Linux, macOS or Windows Powershell
python -m venv shark_venv
source shark_venv/bin/activate # Use shark_venv/Scripts/activate on Windows
# If you are using conda create and activate a new conda env
# Some older pip installs may not be able to handle the recent PyTorch deps
python -m pip install --upgrade pip
```
*macOS Metal* users please install https://sdk.lunarg.com/sdk/download/latest/mac/vulkan-sdk.dmg and enable "System wide install"
### Install SHARK
This step pip installs SHARK and related packages on Linux Python 3.8, 3.10 and 3.11 and macOS / Windows Python 3.11
```shell
pip install nodai-shark -f https://nod-ai.github.io/SHARK/package-index/ -f https://llvm.github.io/torch-mlir/package-index/ -f https://nod-ai.github.io/SRT/pip-release-links.html --extra-index-url https://download.pytorch.org/whl/nightly/cpu
```
### Run shark tank model tests.
```shell
pytest tank/test_models.py
```
See tank/README.md for a more detailed walkthrough of our pytest suite and CLI.
### Download and run Resnet50 sample
```shell
curl -O https://raw.githubusercontent.com/nod-ai/SHARK/main/shark/examples/shark_inference/resnet50_script.py
#Install deps for test script
pip install --pre torch torchvision torchaudio tqdm pillow gsutil --extra-index-url https://download.pytorch.org/whl/nightly/cpu
python ./resnet50_script.py --device="cpu" #use cuda or vulkan or metal
```
### Download and run BERT (MiniLM) sample
```shell
curl -O https://raw.githubusercontent.com/nod-ai/SHARK/main/shark/examples/shark_inference/minilm_jit.py
#Install deps for test script
pip install transformers torch --extra-index-url https://download.pytorch.org/whl/nightly/cpu
python ./minilm_jit.py --device="cpu" #use cuda or vulkan or metal
```
Development, Testing and Benchmarks
If you want to use Python3.11 and with TF Import tools you can use the environment variables like:
Set `USE_IREE=1` to use upstream IREE
```
# PYTHON=python3.11 VENV_DIR=0617_venv IMPORTER=1 ./setup_venv.sh
```
### Run any of the hundreds of SHARK tank models via the test framework
```shell
python -m shark.examples.shark_inference.resnet50_script --device="cpu" # Use gpu | vulkan
# Or a pytest
pytest tank/test_models.py -k "MiniLM"
```
### How to use your locally built IREE / Torch-MLIR with SHARK
If you are a *Torch-mlir developer or an IREE developer* and want to test local changes you can uninstall
the provided packages with `pip uninstall torch-mlir` and / or `pip uninstall iree-compiler iree-runtime` and build locally
with Python bindings and set your PYTHONPATH as mentioned [here](https://github.com/iree-org/iree/tree/main/docs/api_docs/python#install-iree-binaries)
for IREE and [here](https://github.com/llvm/torch-mlir/blob/main/development.md#setup-python-environment-to-export-the-built-python-packages)
for Torch-MLIR.
How to use your locally built Torch-MLIR with SHARK:
```shell
1.) Run `./setup_venv.sh in SHARK` and activate `shark.venv` virtual env.
2.) Run `pip uninstall torch-mlir`.
3.) Go to your local Torch-MLIR directory.
4.) Activate mlir_venv virtual envirnoment.
5.) Run `pip uninstall -r requirements.txt`.
6.) Run `pip install -r requirements.txt`.
7.) Build Torch-MLIR.
8.) Activate shark.venv virtual environment from the Torch-MLIR directory.
8.) Run `export PYTHONPATH=`pwd`/build/tools/torch-mlir/python_packages/torch_mlir:`pwd`/examples` in the Torch-MLIR directory.
9.) Go to the SHARK directory.
```
Now the SHARK will use your locally build Torch-MLIR repo.
## Benchmarking Dispatches
To produce benchmarks of individual dispatches, you can add `--dispatch_benchmarks=All --dispatch_benchmarks_dir=` to your pytest command line argument.
If you only want to compile specific dispatches, you can specify them with a space seperated string instead of `"All"`. E.G. `--dispatch_benchmarks="0 1 2 10"`
For example, to generate and run dispatch benchmarks for MiniLM on CUDA:
```
pytest -k "MiniLM and torch and static and cuda" --benchmark_dispatches=All -s --dispatch_benchmarks_dir=./my_dispatch_benchmarks
```
The given command will populate `//` with an `ordered_dispatches.txt` that lists and orders the dispatches and their latencies, as well as folders for each dispatch that contain .mlir, .vmfb, and results of the benchmark for that dispatch.
if you want to instead incorporate this into a python script, you can pass the `dispatch_benchmarks` and `dispatch_benchmarks_dir` commands when initializing `SharkInference`, and the benchmarks will be generated when compiled. E.G:
```
shark_module = SharkInference(
mlir_model,
device=args.device,
mlir_dialect="tm_tensor",
dispatch_benchmarks="all",
dispatch_benchmarks_dir="results"
)
```
Output will include:
- An ordered list ordered-dispatches.txt of all the dispatches with their runtime
- Inside the specified directory, there will be a directory for each dispatch (there will be mlir files for all dispatches, but only compiled binaries and benchmark data for the specified dispatches)
- An .mlir file containing the dispatch benchmark
- A compiled .vmfb file containing the dispatch benchmark
- An .mlir file containing just the hal executable
- A compiled .vmfb file of the hal executable
- A .txt file containing benchmark output
See tank/README.md for further instructions on how to run model tests and benchmarks from the SHARK tank.
API Reference
### Shark Inference API
```
from shark.shark_importer import SharkImporter
# SharkImporter imports mlir file from the torch, tensorflow or tf-lite module.
mlir_importer = SharkImporter(
torch_module,
(input),
frontend="torch", #tf, #tf-lite
)
torch_mlir, func_name = mlir_importer.import_mlir(tracing_required=True)
# SharkInference accepts mlir in linalg, mhlo, and tosa dialect.
from shark.shark_inference import SharkInference
shark_module = SharkInference(torch_mlir, device="cpu", mlir_dialect="linalg")
shark_module.compile()
result = shark_module.forward((input))
```
### Example demonstrating running MHLO IR.
```
from shark.shark_inference import SharkInference
import numpy as np
mhlo_ir = r"""builtin.module {
func.func @forward(%arg0: tensor<1x4xf32>, %arg1: tensor<4x1xf32>) -> tensor<4x4xf32> {
%0 = chlo.broadcast_add %arg0, %arg1 : (tensor<1x4xf32>, tensor<4x1xf32>) -> tensor<4x4xf32>
%1 = "mhlo.abs"(%0) : (tensor<4x4xf32>) -> tensor<4x4xf32>
return %1 : tensor<4x4xf32>
}
}"""
arg0 = np.ones((1, 4)).astype(np.float32)
arg1 = np.ones((4, 1)).astype(np.float32)
shark_module = SharkInference(mhlo_ir, device="cpu", mlir_dialect="mhlo")
shark_module.compile()
result = shark_module.forward((arg0, arg1))
```
## Examples Using the REST API
* [Setting up SHARK for use with Blender](./docs/shark_sd_blender.md)
* [Setting up SHARK for use with Koboldcpp](./docs/shark_sd_koboldcpp.md)
## Supported and Validated Models
SHARK is maintained to support the latest innovations in ML Models:
| TF HuggingFace Models | SHARK-CPU | SHARK-CUDA | SHARK-METAL |
|---------------------|----------|----------|-------------|
| BERT | :green_heart: | :green_heart: | :green_heart: |
| DistilBERT | :green_heart: | :green_heart: | :green_heart: |
| GPT2 | :green_heart: | :green_heart: | :green_heart: |
| BLOOM | :green_heart: | :green_heart: | :green_heart: |
| Stable Diffusion | :green_heart: | :green_heart: | :green_heart: |
| Vision Transformer | :green_heart: | :green_heart: | :green_heart: |
| ResNet50 | :green_heart: | :green_heart: | :green_heart: |
For a complete list of the models supported in SHARK, please refer to [tank/README.md](https://github.com/nod-ai/SHARK-Studio/blob/main/tank/README.md).
## Communication Channels
* [SHARK Discord server](https://discord.gg/RUqY2h2s9u): Real time discussions with the SHARK team and other users
* [GitHub issues](https://github.com/nod-ai/SHARK-Studio/issues): Feature requests, bugs etc
## Related Projects
IREE Project Channels
* [Upstream IREE issues](https://github.com/google/iree/issues): Feature requests,
bugs, and other work tracking
* [Upstream IREE Discord server](https://discord.gg/wEWh6Z9nMU): Daily development
discussions with the core team and collaborators
* [iree-discuss email list](https://groups.google.com/forum/#!forum/iree-discuss):
Announcements, general and low-priority discussion
MLIR and Torch-MLIR Project Channels
* `#torch-mlir` channel on the LLVM [Discord](https://discord.gg/xS7Z362) - this is the most active communication channel
* Torch-MLIR Github issues [here](https://github.com/llvm/torch-mlir/issues)
* [`torch-mlir` section](https://llvm.discourse.group/c/projects-that-want-to-become-official-llvm-projects/torch-mlir/41) of LLVM Discourse
* Weekly meetings on Mondays 9AM PST. See [here](https://discourse.llvm.org/t/community-meeting-developer-hour-refactoring-recurring-meetings/62575) for more information.
* [MLIR topic within LLVM Discourse](https://llvm.discourse.group/c/llvm-project/mlir/31) SHARK and IREE is enabled by and heavily relies on [MLIR](https://mlir.llvm.org).
## License
nod.ai SHARK is licensed under the terms of the Apache 2.0 License with LLVM Exceptions.
See [LICENSE](LICENSE) for more information.