https://github.com/nopnop2002/esp-idf-smb-camera
Take a picture and Publish it via SMB
https://github.com/nopnop2002/esp-idf-smb-camera
esp-idf esp32 esp32-cam esp32-camera samba smb smbclient
Last synced: 12 months ago
JSON representation
Take a picture and Publish it via SMB
- Host: GitHub
- URL: https://github.com/nopnop2002/esp-idf-smb-camera
- Owner: nopnop2002
- License: mit
- Created: 2021-05-26T07:09:35.000Z (about 5 years ago)
- Default Branch: main
- Last Pushed: 2025-03-03T10:26:10.000Z (over 1 year ago)
- Last Synced: 2025-03-17T09:06:45.524Z (over 1 year ago)
- Topics: esp-idf, esp32, esp32-cam, esp32-camera, samba, smb, smbclient
- Language: C
- Homepage:
- Size: 146 KB
- Stars: 6
- Watchers: 1
- Forks: 5
- Open Issues: 0
-
Metadata Files:
- Readme: README.md
- License: LICENSE
Awesome Lists containing this project
README
# esp-idf-smb-camera
Take a picture and Publish it via SMB.
You can access a picture using Windows shared folder.
This project use [this](https://components.espressif.com/components/espressif/esp32-camera) Camera Driver.
This project use [this](https://github.com/sahlberg/libsmb2) SMB2/3 userspace client.


# Hardware requirements
ESP32 development board with OV2640 camera.
If you use other camera, edit sdkconfig.default.
From the left:
- Aithinker ESP32-CAM
- Freenove ESP32-WROVER CAM
- UICPAL ESPS3 CAM
- Freenove ESP32S3-WROVER CAM (Clone)

# Software requirements
ESP-IDF V5.0 or later.
ESP-IDF V4.4 release branch reached EOL in July 2024.
# Installation
For AiThinker ESP32-CAM, you need to use a USB-TTL converter and connect GPIO0 to GND.
|ESP-32|USB-TTL|
|:-:|:-:|
|U0TXD|RXD|
|U0RXD|TXD|
|GPIO0|GND|
|5V|5V|
|GND|GND|
# Installation
```
git clone https://github.com/nopnop2002/esp-idf-smb-camera
cd esp-idf-smb-camera
git clone https://github.com/sahlberg/libsmb2 -b libsmb2-6.2 components/libsmb2
cp esp-idf/CMakeLists.txt components/libsmb2/
idf.py set-target {esp32/esp32s3}
idf.py menuconfig
idf.py flash monitor
```
# Start firmware
For AiThinker ESP32-CAM, Change GPIO0 to open and press the RESET button.
# Configuration
Set the following items using menuconfig.


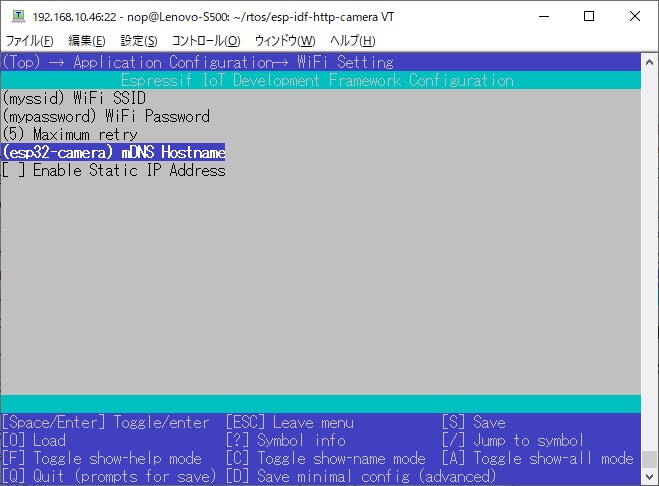
## Wifi Setting
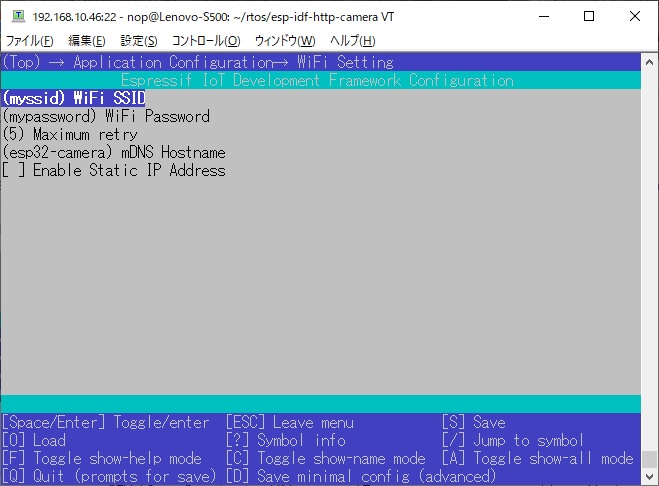
You can connect using the mDNS hostname instead of the IP address.
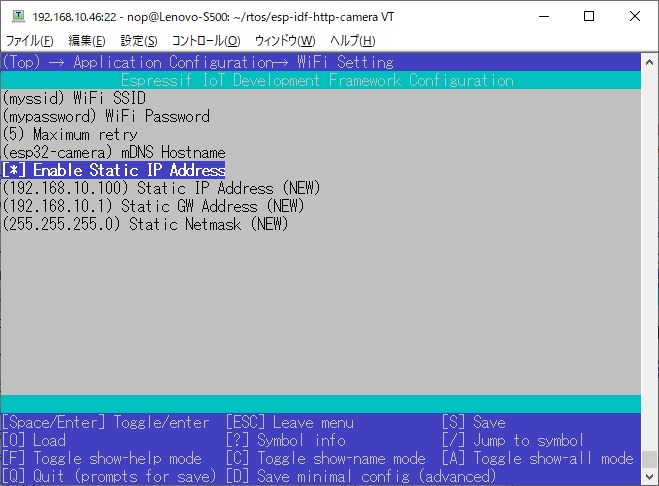
You can use static IP.
## SMB Server Setting
- CONFIG_ESP_SMB_USER
Username with shared folder permissions.
- CONFIG_ESP_NEED_PASSWORD
Shared access requires password.
- CONFIG_ESP_SMB_PASSWORD
Password with shared folder permissions.
- CONFIG_ESP_SMB_HOST
IP address or mDNS host name of shared host.
- CONFIG_ESP_SMB_PATH
Shared path name.

When a password is required to access the shared folder.

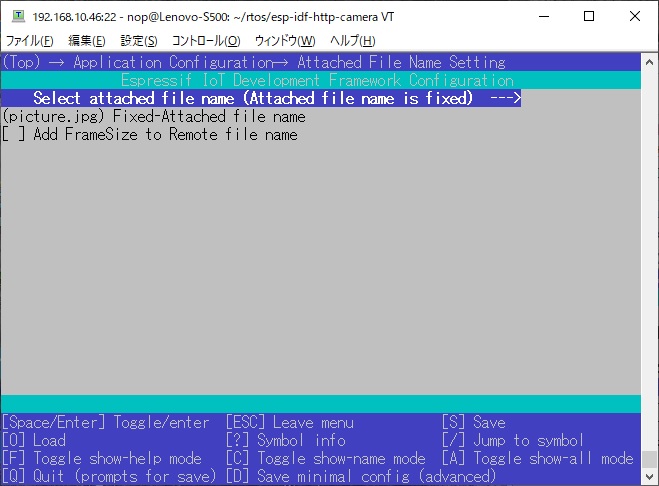
## File Name Setting
You can select the file name to write to the shared folder from the following.
- Always the same file name
- File name based on date and time
When you choose date and time file name, you will need an NTP server.
The file name will be YYYYMMDD-hhmmss.jpg.
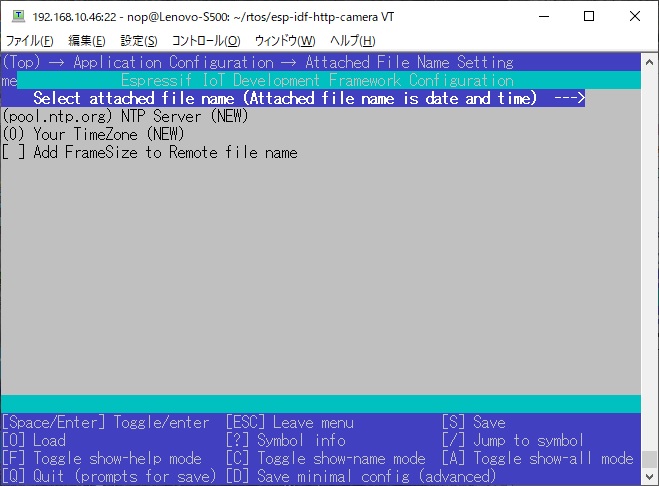
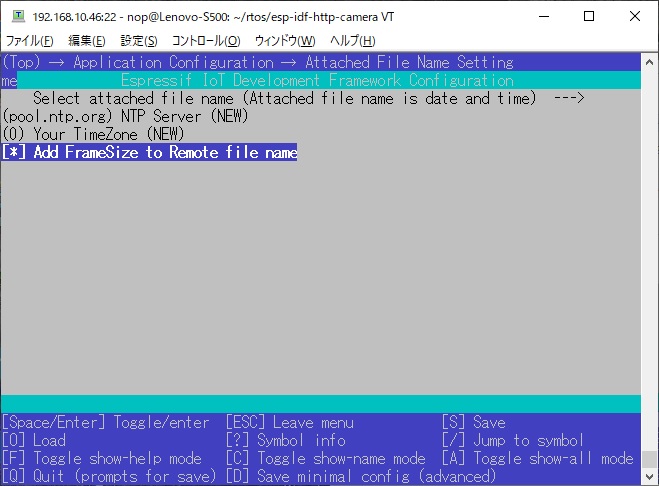
- Add FrameSize to Remote file Name
When this is enabled, FrameSize is added to remote file name like this.
`20210520-165740_800x600.jpg`
## Select Board

## Select Frame Size
Large frame sizes take longer to take a picture.


## Select Shutter
You can choose one of the following shutter methods
- Shutter is the Enter key on the keyboard
For operation check.
When using the USB port provided by the USB Serial/JTAG Controller Console, you need to enable the following line in sdkconfig.
```
CONFIG_ESP_CONSOLE_USB_SERIAL_JTAG=y
```

- Shutter is a GPIO toggle
- Initial Sate is PULLDOWN
The shutter is prepared when it is turned from OFF to ON, and a picture is taken when it is turned from ON to OFF.
- Initial Sate is PULLUP
The shutter is prepared when it is turned from ON to OFF, and a picture is taken when it is turned from OFF to ON.
I confirmed that the following GPIO can be used.
|GPIO|PullDown|PullUp|
|:-:|:-:|:-:|
|GPIO12|OK|NG|
|GPIO13|OK|OK|
|GPIO14|OK|OK|
|GPIO15|OK|OK|
|GPIO16|NG|NG|

- Shutter is TCP Socket
ESP32 acts as a TCP server and listens for requests from TCP clients.
You can use tcp_send.py as shutter.
`python3 ./tcp_send.py`

- Shutter is UDP Socket
ESP32 acts as a UDP listener and listens for requests from UDP clients.
You can use this command as shutter.
`echo -n "take" | socat - UDP-DATAGRAM:255.255.255.255:49876,broadcast`
You can use udp_send.py as shutter.
Requires netifaces.
`python3 ./udp_send.py`

You can use these devices as shutters.

Click [here](https://github.com/nopnop2002/esp-idf-selfie-trigger) for details.
- Shutter is HTTP Request
ESP32 acts as an HTTP server and listens for HTTP GET requests.
You can use this command as shutter.
`curl "http://esp32-camera.local:8080/take/picture"`

## Flash Light
ESP32-CAM by AI-Thinker have flash light on GPIO4.

## PSRAM
When using ESP32S3, you need to set the PSRAM type according to the hardware.
ESP32S3-WROVER CAM has Octal Mode PSRAM.
UICPAL ESPS3 CAM has Quad Mode PSRAM.

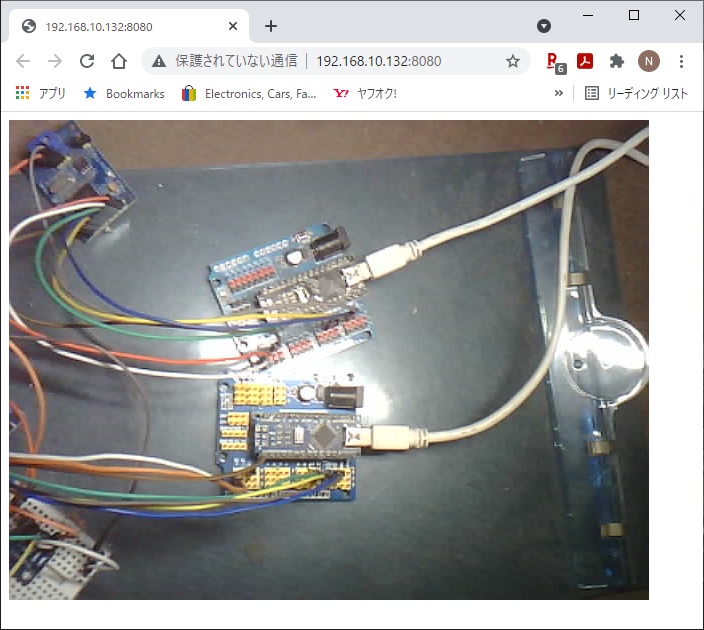
# Built-in WEB Server
ESP32 works as a web server.
You can check the pictures taken using the built-in WEB server.
Enter the ESP32's IP address and port number in the address bar of your browser.
You can connect using mDNS hostname instead of IP address.
# Reference
https://github.com/nopnop2002/esp-idf-smb-client