https://github.com/odigos-io/landing-page
https://github.com/odigos-io/landing-page
Last synced: 2 months ago
JSON representation
- Host: GitHub
- URL: https://github.com/odigos-io/landing-page
- Owner: odigos-io
- Created: 2023-09-20T13:07:47.000Z (over 1 year ago)
- Default Branch: main
- Last Pushed: 2025-03-19T10:44:36.000Z (3 months ago)
- Last Synced: 2025-03-24T16:46:41.334Z (3 months ago)
- Language: MDX
- Size: 59.1 MB
- Stars: 1
- Watchers: 1
- Forks: 5
- Open Issues: 2
-
Metadata Files:
- Readme: README.md
Awesome Lists containing this project
README
## Installation and Configuration
You must follow the documentation setp by step in this order to do a successful installation and configuration.
## [Complete Video Tutorial 🔗](https://www.youtube.com/embed/CsQOyXM6nWY)
A Complete Step-by-Step Video Tutorial for Installing Template, Configuring Your Blog with Sanity and MDX for Docs, Setting up Auth with NextAuth, Managing Databases, Enabling Stripe Payments for Subscription, and Everything you need to make up and running.
---
## Steps
Installing starter templates steps are different than ordinary templates, you have to follow the steps strictly without skipping any of them.
1. [Installation](#installation)
2. [Authentication and DB Setup](https://nextjstemplates.com/docs/authentication)
3. [Database Setup - PostgreSQL on Vercel](https://nextjstemplates.com/docs/database#postgresql-on-vercel)
4. [Sanity Integration](https://nextjstemplates.com/docs/sanity)
5. [Markdown Integration](https://nextjstemplates.com/docs/markdown)
6. [Stripe Integration](https://nextjstemplates.com/docs/stripe)
## Installation
Here are the steps you need to follow to install the dependencies.
1.Download and extract the template from **Next.js Templates.**
2.**cd** into the template directory then run this command to install all the dependencies
```bash
npm install
```
or
```bash
yarn install
```
or
```bash
yarn install
```
## Follow Next Steps
You must add all integrations and update environment variables (.env) before starting server or running build command.
The Home page has a Blog section and a Pricing section. For these to work you have to integrate Strip and Sanity. Follow the documentation and steps to complete these integrations.
**[2. Authentication and DB Setup (PostgreSQL on Vercel)](https://nextjstemplates.com/docs/authentication)**
**[4. Sanity Integration.](https://nextjstemplates.com/docs/sanity)**
**[3. Markdown Integration](https://nextjstemplates.com/docs/markdown)**
**[5. Stripe Integration](https://nextjstemplates.com/docs/stripe)**
---
When all these are done, Then you can start the project on the local server
```bash
npm run dev
```
It’ll start the template on [localhost:3000](http://localhost:3000).
The documentation includes all the guides you need for the integrations.
### Deploying on PaaS
If you are using a GitHub repo then you can go with free-of-cost and easy-to-use options like [Vercel](https://vercel.com/), or [Netlify](https://netlify.com/) they offer decent-free tiers for Next.js hosting.
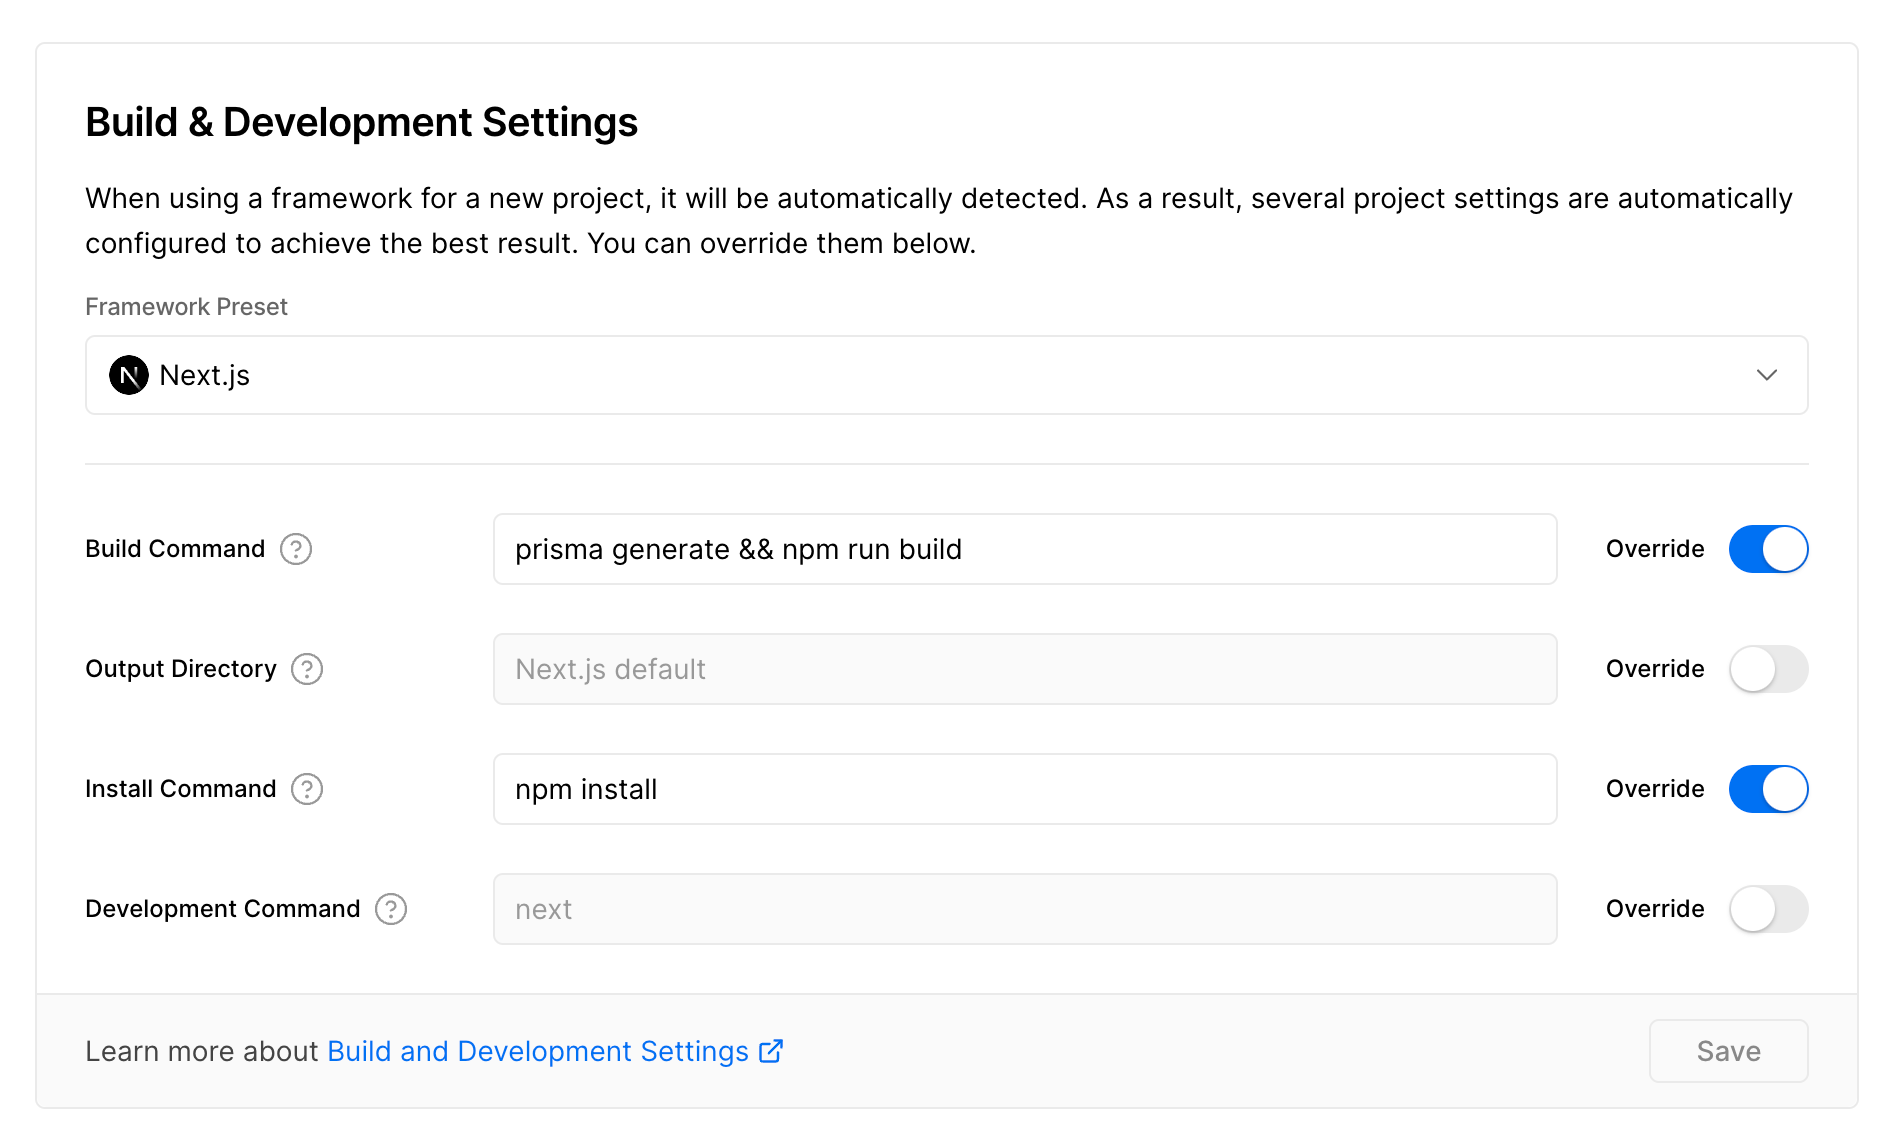
#### If you are using Prisma ORM (Comes with All Starter Templates)
Make sure to edit build command like this while you use Prisma as ORM while deploying to Vercel.