Ecosyste.ms: Awesome
An open API service indexing awesome lists of open source software.
https://github.com/outspace/ledtuya
RGB strip color depends on PC monitor color with Tuya Smart Home
https://github.com/outspace/ledtuya
led led-strips rgb tuya
Last synced: about 1 month ago
JSON representation
RGB strip color depends on PC monitor color with Tuya Smart Home
- Host: GitHub
- URL: https://github.com/outspace/ledtuya
- Owner: outspace
- Created: 2023-02-28T07:38:18.000Z (almost 2 years ago)
- Default Branch: main
- Last Pushed: 2023-02-28T11:10:49.000Z (almost 2 years ago)
- Last Synced: 2024-11-13T16:22:14.377Z (2 months ago)
- Topics: led, led-strips, rgb, tuya
- Language: Go
- Homepage:
- Size: 15.6 KB
- Stars: 1
- Watchers: 1
- Forks: 0
- Open Issues: 0
-
Metadata Files:
- Readme: README.md
Awesome Lists containing this project
README
## [](#project-description) Project descritption:
This project is find the most domain color on the screen and set it into smart RGB dimmer using Tuya IOT cloud.
It's not so fast because of network delays (about 300 ms), but it can be helpful and it looks cool.
## [](#build-setup) Build and Setup
0) Install golang
1) Clone this repo
2) Enter dir with project
3) Setup varibles Host, ClientID, Secret, DeviceID.
More about auth creadials described below.
If you have several dimmers put all of them into array.
4) run "go build" and then run compiled binary
4) Enjoy!
## [](#configuration-of-the-tuya-iot-platform)Configuration of the Tuya IoT Platform
### [](#create-a-project)Create a project
1. Log in to the [Tuya IoT Platform](https://iot.tuya.com/).
2. In the left navigation bar, click `Cloud` > `Development`.
3. On the page that appears, click `Create Cloud Project`.
4. In the `Create Cloud Project` dialog box, configure `Project Name`, `Description`, `Industry`, and `Data Center`. For the `Development Method` field, select `Smart Home` from the dropdown list. For the `Data Center` field, select the zone you are located in. Refer to the country/data center mapping list [here](https://github.com/tuya/tuya-home-assistant/blob/main/docs/regions_dataCenters.md) to choose the right data center for the country you are in. 
5. Click `Create` to continue with the project configuration.
6. In Configuration Wizard, make sure you add `Device Status Notification` API. The list of API should look like this: 
7. Click `Authorize`.
### [](#link-devices-by-app-account)Link devices by app account
1. Navigate to the `Devices` tab.
2. Click `Link Tuya App Account` > `Add App Account`. 
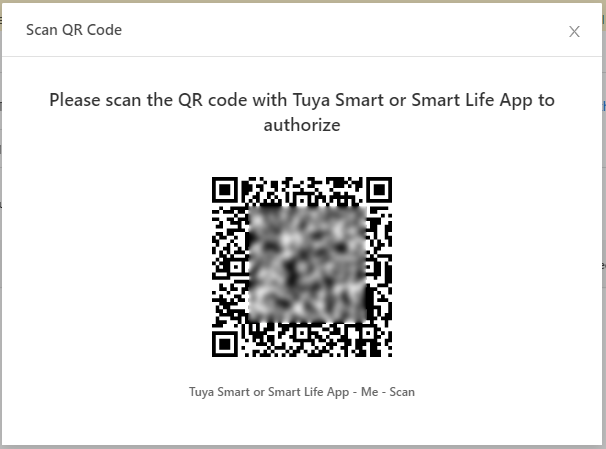
3. Scan the QR code that appears using the `Tuya Smart` app or `Smart Life` app. 
4. Click `Confirm` in the app.
5. To confirm that everything worked, navigate to the `All Devices` tab. Here you should be able to find the devices from the app.
6. If zero devices are imported, try changing the DataCenter and check the account used is the “Home Owner”. You can change DataCenter by clicking the Cloud icon on the left menu, then clicking the Edit link in the Operation column for your newly created project. You can change DataCenter in the popup window.

### [](#get-authorization-key)Get authorization key
Click the created project to enter the `Project Overview` page and get the `Authorization Key`. You will need these for setting up the integration. in the next step.
