https://github.com/pablofuente/full-teaching
A web application to make teaching online easy. WARNING: the updated version of this repo is now in the link below
https://github.com/pablofuente/full-teaching
chat classroom openvidu students teachers teaching video webrtc websocket
Last synced: about 1 year ago
JSON representation
A web application to make teaching online easy. WARNING: the updated version of this repo is now in the link below
- Host: GitHub
- URL: https://github.com/pablofuente/full-teaching
- Owner: pabloFuente
- License: apache-2.0
- Created: 2016-08-02T17:41:55.000Z (almost 10 years ago)
- Default Branch: master
- Last Pushed: 2018-05-11T11:54:30.000Z (about 8 years ago)
- Last Synced: 2025-04-14T11:45:02.350Z (about 1 year ago)
- Topics: chat, classroom, openvidu, students, teachers, teaching, video, webrtc, websocket
- Language: Java
- Homepage: https://github.com/OpenVidu/full-teaching
- Size: 4.58 MB
- Stars: 34
- Watchers: 5
- Forks: 23
- Open Issues: 3
-
Metadata Files:
- Readme: README.md
- License: LICENSE
Awesome Lists containing this project
README
# FullTeaching
[](https://travis-ci.org/pabloFuente/full-teaching)
---
> WARNING: the updated version of this repo is now here [OpenVidu/full-teaching](https://github.com/OpenVidu/full-teaching)
---

## What is FullTeaching?
FullTeaching is an educational web application to make online classes easy for teachers as well as students. Its current main features are the following:
- Teachers can create all the **courses** they want and easily invite their students. Every user will see their courses and sessions well ordered on their dashboards.
- Teachers can stablish an unlimited number of **classes** for each course, indicating the content and date for each one of them.
- A **calendar** view is provided in order to check all your classes at a glance.
- Every course has a **forum** where the users can open entries, write comments and reply others so they can share doubts and knowledge.
- Teachers have an advanced system for attaching **files** to a course. They can customize groups of files, name them as they want and reorder them at any moment. The uploading process has been greatly simplified.
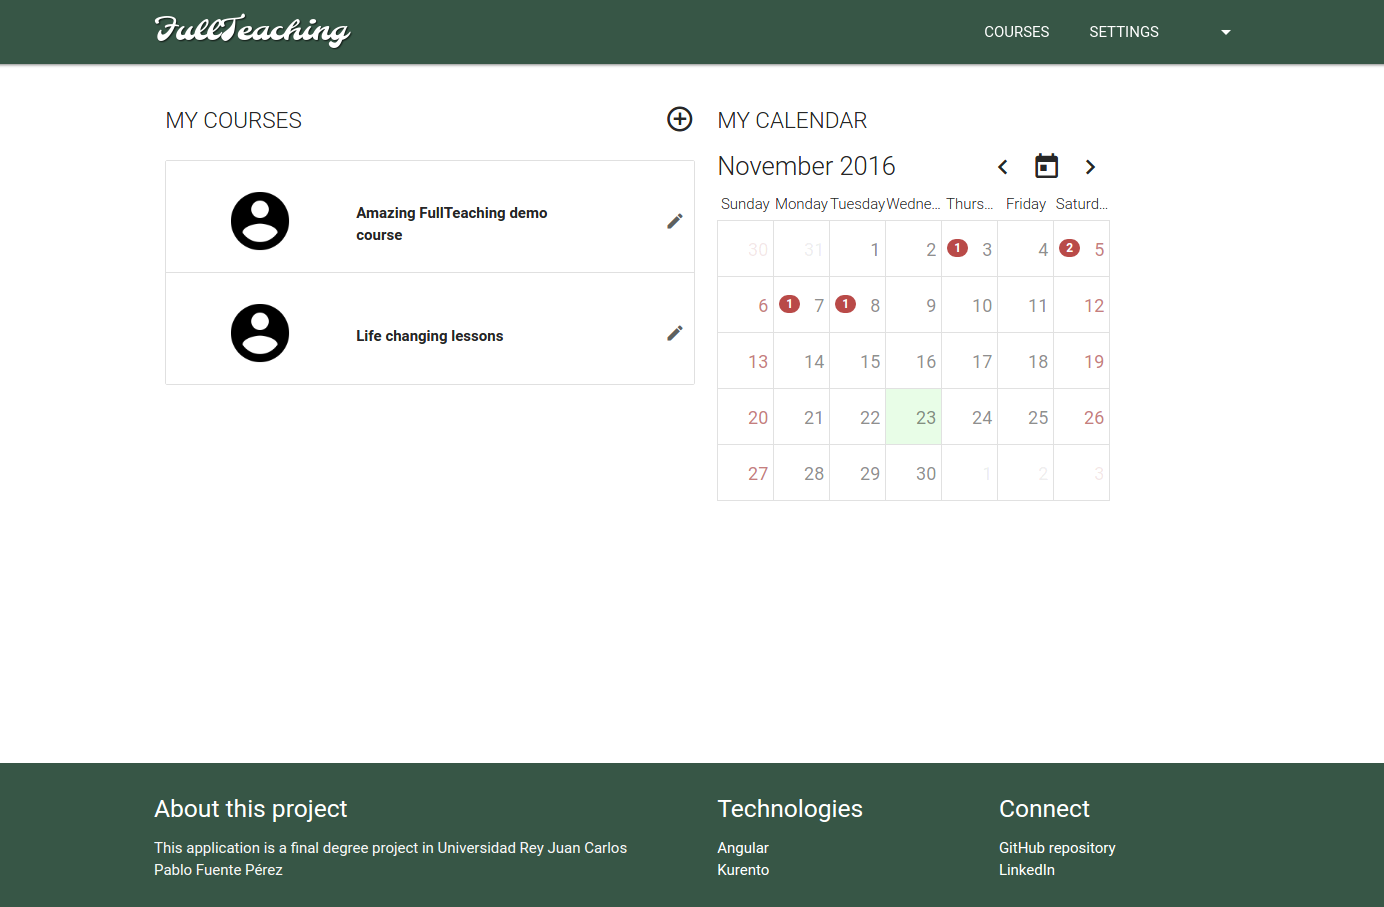
*Dashboard: all your courses and your calendar*
*Calendar: here you have all your sessions, with direct access to their specific course*

*Classes: ordered by date, teachers can easily add new ones and modify existing ones*

*Forum: unlimited entries for posting all your questions*

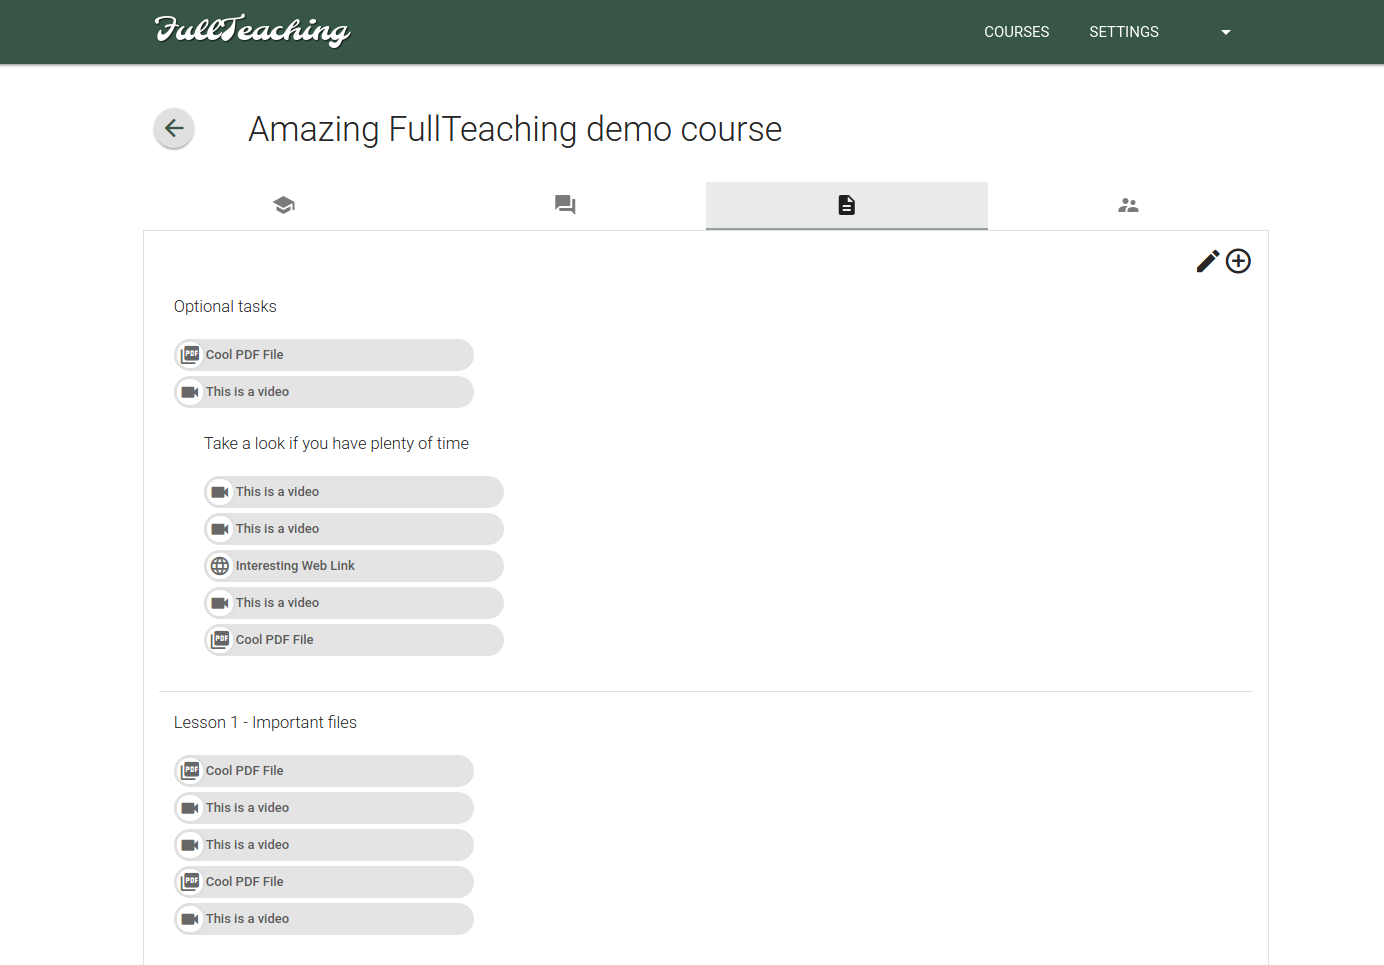
*Files: advanced tree structure to keep all the course's files clear and tidy*
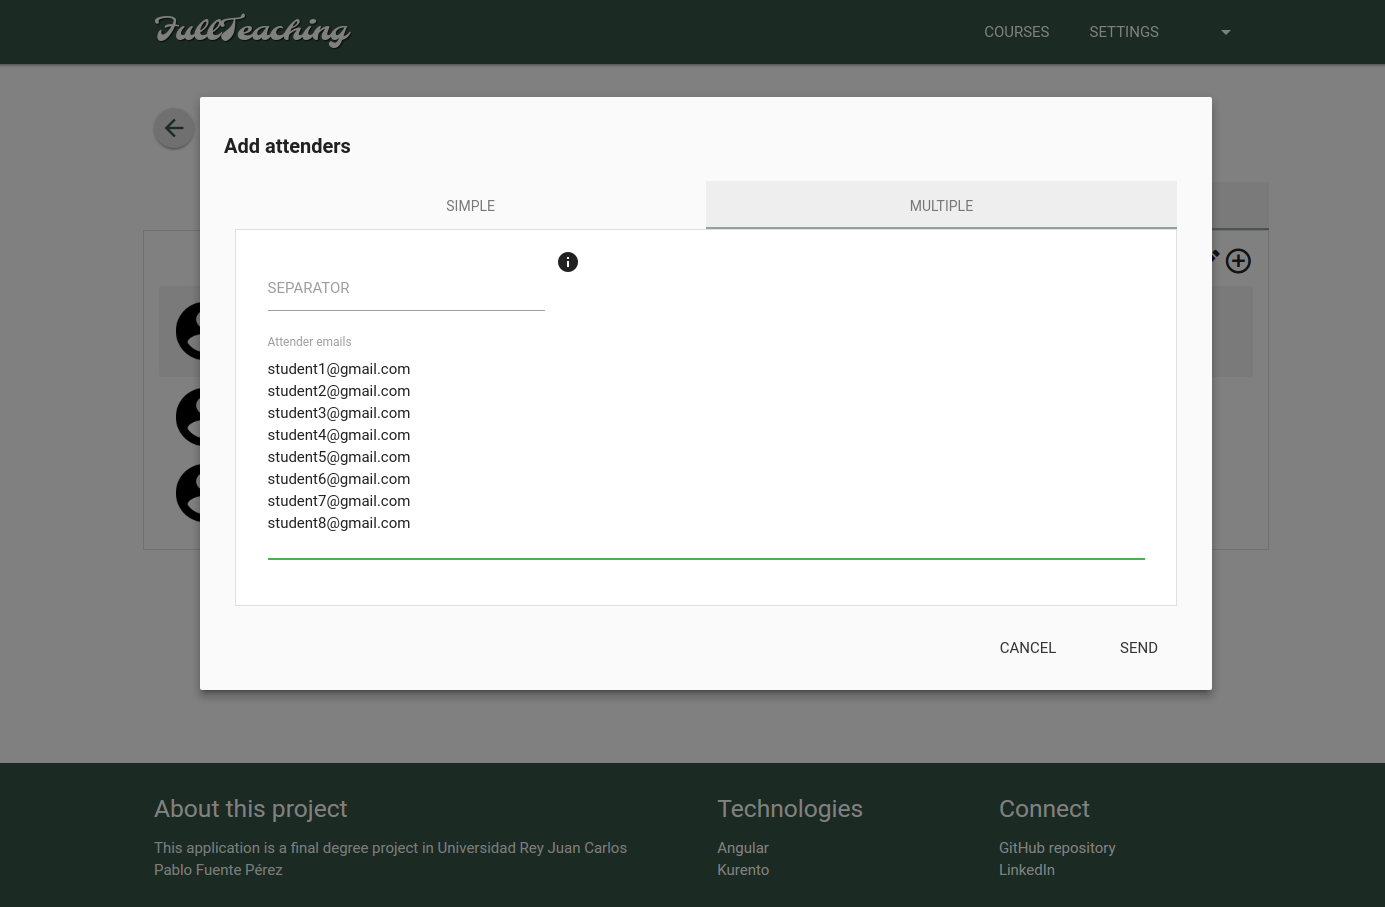
*Adding students to the course is as simple as pasting their emails. FullTeaching will automatically do the rest*
# Quick start guide
## How to execute a demo FullTeaching service (Docker)
To get FullTeaching working in the easiest way, you just have to download the file above `docker-compose.yml` and run `docker-compose up` in its directory. This will pull all the necessary images from DockerHub and will execute everything (it will take one minute after the pull ends). Go to `http://localhost:5000/` and there you have it!
You will need some user data to test the features. These are the default users for the demo:
- Email: `teacher@gmail.com` Pass: `pass` (Teacher account)
- Email: `student1@gmail.com` Pass: `pass` (Student account)
- Email: `student2@gmail.com` Pass: `pass` (Student account)
## How to develop FullTeaching
To get a full development version of the app just execute the following commands:
### Prerequisites
- **Java 8**
*Check version*:
$ java -version
*Install*:
$ sudo add-apt-repository ppa:webupd8team/java
$ sudo apt-get update
$ sudo apt-get install oracle-java8-installer
- **Angular-cli** ( which requires Node.js > 4.x.x and npm > 3.x.x )
*Check versions*:
$ node -v
$ npm -v
$ ng --version
*Install*:
$ sudo apt-get install nodejs
$ sudo apt-get install npm
$ npm install -g angular-cli
- **Maven**
*Check version*:
$ mvn -v
*Install*:
$ sudo apt-get install maven
- **MySQL**
*Check version*:
$ mysql --version
*Install*:
$ sudo apt-get update
$ sudo apt-get install mysql-server
$ sudo mysql_secure_installation
### Installation and execution
First of all, it is necessary to create a schema for MySQL:
$ mysql -u root -p
$ CREATE DATABASE full_teaching;
$ exit
Then we can build and run the project:
$ git clone https://github.com/pabloFuente/full-teaching.git
$ cd ./full-teaching/angular-cli-project/
$ npm install
$ cd ../
$ ./BuildFrontJarAndRun.sh
This clones the project in your working directory, installs dependencies with `npm install` and executes the `BuildFrontJarAndRun.sh` script.
The script `BuildFrontJarAndRun.sh` builds the FrontEnd with angular-cli, copies all generated files to the Backend `static` folder, builds and generates the jar with maven and runs the jar file.
Go to `http://localhost:5000/` and there you have it! Every time you modify the Front or Back, you can just execute `BuildFrontJarAndRun.sh` and all the changes will be applied.
### :heavy_exclamation_mark: **IMPORTANT**:
- Before executing the script to build and run the app, it is necessary to change the following properties of `application.properties` file to match your credentials for MySQL:
spring.datasource.username=YOUR_USERNAME
spring.datasource.password=YOUR_PASS
- You may have to change permissions in order to execute the scripts.
*These instructions have been tested for Ubuntu 14.04*