https://github.com/picketapi/picket-example-gated-gallery
https://github.com/picketapi/picket-example-gated-gallery
Last synced: 2 months ago
JSON representation
- Host: GitHub
- URL: https://github.com/picketapi/picket-example-gated-gallery
- Owner: picketapi
- Created: 2022-04-03T20:28:10.000Z (about 4 years ago)
- Default Branch: main
- Last Pushed: 2022-10-18T18:14:04.000Z (over 3 years ago)
- Last Synced: 2023-08-04T05:11:39.438Z (almost 3 years ago)
- Language: TypeScript
- Size: 1.4 MB
- Stars: 0
- Watchers: 2
- Forks: 0
- Open Issues: 0
-
Metadata Files:
- Readme: README.md
Awesome Lists containing this project
README
# Picket Gated Gallery Example
For this example we’ll be using [Next.js](https://nextjs.org/). While few of the [Next.js](https://nextjs.org/) features are needed in this example tutorial, it will create a convenient launching off point for you to build on from this base. It also makes deployment easy through [Vercel](https://vercel.com/).
## 1. Create your Next.js app
In your terminal `cd` into the directory where you’d like your project folder to reside and enter the following into the terminal:
`npx create-next-app@latest —typescript`
Confirm your app is running on localhost by running
`npm run dev`
Now, when you navigate to http://localhost:3000 in your browser you should see the following:
## 2. Install the Picket React SDK
```shell
npm install "@picketapi/picket-react"
```
## 3. Setup the Picket Provider
Replace the contents of `pages/_app.tsx` with the following:
```tsx
import "../styles/globals.css";
import type { AppProps } from "next/app";
import { PicketProvider } from "@picketapi/picket-react";
const apiKey = "YOUR_PUBLISHABLE_KEY_GOES_HERE";
function MyApp({ Component, pageProps }: AppProps) {
return (
);
}
export default MyApp;
```
The `PicketProvider` makes Picket and the user's authentication state available throughout your app via the `usePicket` hook.
## 4. Add Your API Key
You'll need to add your publishable API key to make this functional. Navigate to your [Picket account dashboard](https://picketapi.com/dashboard) and copy your publishable key from a project. Now paste it into the `pages/_app.tsx`
```tsx
// in pages/_app.tsx
// Replace with your copied publishable key
const apiKey = "YOUR_PUBLISHABLE_KEY_GOES_HERE";
```
## 5. Build your home page
Copy and paste the contents of [pages/index.tsx](https://github.com/picketapi/picket-example-gated-gallery/blob/main/pages/index.tsx) into your local `pages/index.tsx`.
The magic method here to initiate logging in a user is `picket.login()`, which is triggered when a user click the `Sign-In with Your Wallet` button.
Next up, replace the contents of your local `styles/Home.module.css` with the [styles/Home.module.css](https://github.com/picketapi/picket-example-gated-gallery/blob/main/styles/Home.module.css).
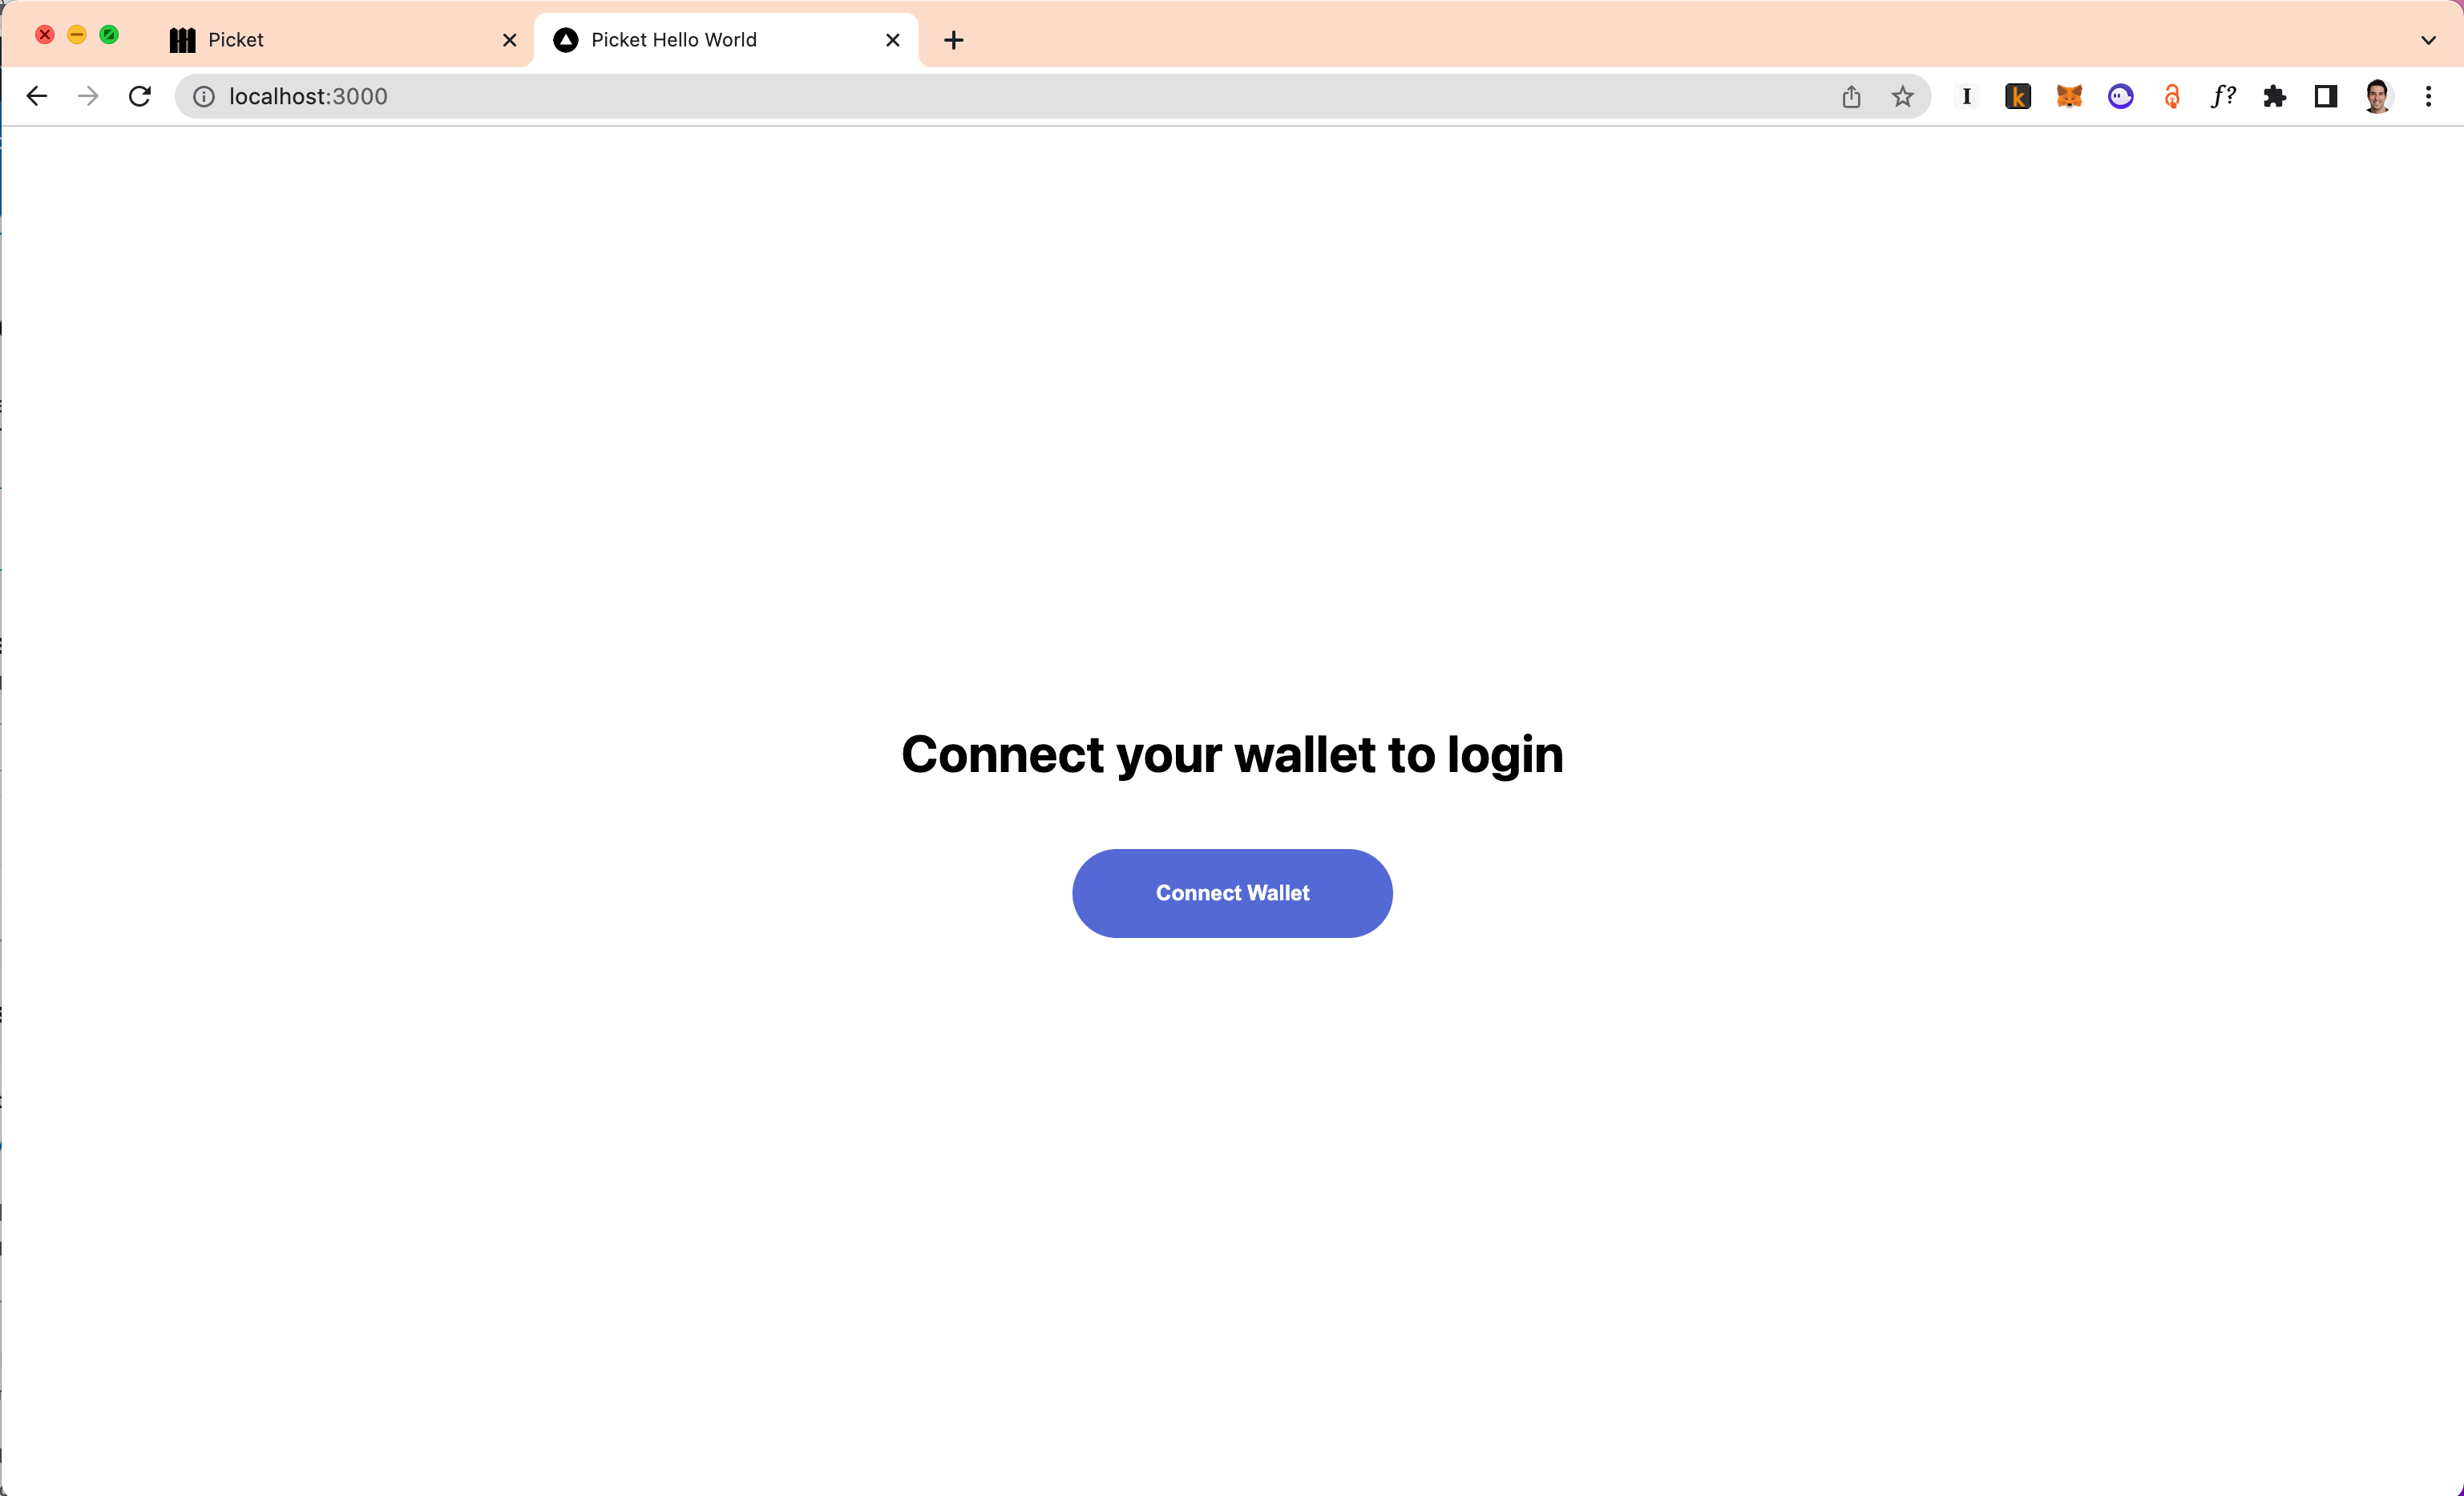
When you navigate to http://localhost:3000 in your browser you should see the following:
## 6. Build the Token-Gated Gallery Page
Now, let's create the page that will only be accessible to those who verify token ownership of the required ERC20, ERC721, or ERC1155 token(s). For the purposes of this demo we are token-gate a photo gallery; however this page could be anything you want. It could be a live video stream, exclusive merchandise, or whatever else you dream up!
Create a new file `pages/gallery.tsx`. This page will render 5 photos we picked from across the internet to authorized users.
Copy and paste the contents of [pages/gallery.tsx](https://github.com/picketapi/picket-example-gated-gallery/blob/main/pages/gallery.tsx) into your local `pages/gallery.tsx`.
Let's style this page. Create a new file `styles/Gallery.module.css`. Now, copy and paste the contents of [styles/Gallery.module.css](https://github.com/picketapi/picket-example-gated-gallery/blob/main/styles/Gallery.module.css) into your local file.
This page will be available at http://localhost:3000/gallery, but to access it, we need to sign-in with [Picket](https://picketapi.com/).

## 7. Add Token Ownership Requirements
To token-gate access, we need to enforce [token ownership on login](https://docs.picketapi.com/picket-docs/reference/libraries-and-sdks/javascript-library-picket-js#login). For this tutorial, we will use [CryptoKitties](https://opensea.io/collection/cryptokitties)) to token-gate our gallery. Users will need to own at least one CryptoKitty NFT token to access the gallery page. Picket works with any ERC-20, ERC-721 or ERC-1155 token on the `ethereum-mainnet` . You'll want to pick a token contract that your wallet owns to test out the token-gating functionality yourself.
The contract address for CryptoKitties is: `0x06012c8cf97BEaD5deAe237070F9587f8E7A266d`
If you’re not sure what the contract address is for your token is, [Etherscan](https://etherscan.io/) is a great resource. It'll give you information about any ERC-20, ERC-721, ERC-1155 token.
Now, let's update the login (aka token ownership) requirements in `pages/index.tsx`
```ts
// at the top of pages/index.tsx
// TODO: Replace with your requirements of choice!
const loginRequirements = {
// Replace this example address with whichever contract you are verifying ownership for
contractAddress: "0x06012c8cf97BEaD5deAe237070F9587f8E7A266d",
// Replace with minimum balance you want to verify users' currently hold,
// or omit if any number of tokens is sufficient
minTokenBalance: 1,
};
```
## 8. Try it out!
Now, when you run `npm run dev` from the command line and navigate to http://localhost:3000 in your browser you should have a working app that lets you tap on the “Connect Wallet” button to initiate a signing request and verify your wallet and token ownership.
If all goes well, and you meet the token ownership requirements, you'll see the following page:

Congratulations! You’ve created a fully functional token gated gallery that is only accessible to users who have the necessary token. You can token gate any page or APIs using these same methods.