https://github.com/pimoroni/automation-hat
Python library and examples for the Pimoroni Automation HAT, pHAT and HAT Mini
https://github.com/pimoroni/automation-hat
phat pypi-package python raspberry-pi raspberry-pi-iot raspberry-pi-library
Last synced: about 1 year ago
JSON representation
Python library and examples for the Pimoroni Automation HAT, pHAT and HAT Mini
- Host: GitHub
- URL: https://github.com/pimoroni/automation-hat
- Owner: pimoroni
- License: mit
- Created: 2016-06-13T09:09:07.000Z (about 10 years ago)
- Default Branch: main
- Last Pushed: 2024-04-29T11:33:29.000Z (about 2 years ago)
- Last Synced: 2025-06-13T17:07:08.791Z (about 1 year ago)
- Topics: phat, pypi-package, python, raspberry-pi, raspberry-pi-iot, raspberry-pi-library
- Language: Python
- Homepage: https://shop.pimoroni.com/products/automation-hat
- Size: 230 KB
- Stars: 125
- Watchers: 25
- Forks: 45
- Open Issues: 3
-
Metadata Files:
- Readme: README.md
- Changelog: CHANGELOG.md
- License: LICENSE
Awesome Lists containing this project
README

[](https://github.com/pimoroni/automation-hat/actions/workflows/test.yml)
[](https://coveralls.io/github/pimoroni/automation-hat?branch=main)
[](https://pypi.python.org/pypi/automationhat)
[](https://pypi.python.org/pypi/automationhat)
Automation HAT is a home monitoring and automation controller featuring relays, analog channels, powered outputs, and buffered inputs (all 24V tolerant). This library will also work with Automation HAT's smaller siblings - Automation pHAT and Automation HAT Mini.
### Where to buy
* Pimoroni Automation HAT:
* Pimoroni Automation HAT Mini:
* [DISCONTINUED] Pimoroni Automation pHAT:
## Installing
### Full install (recommended):
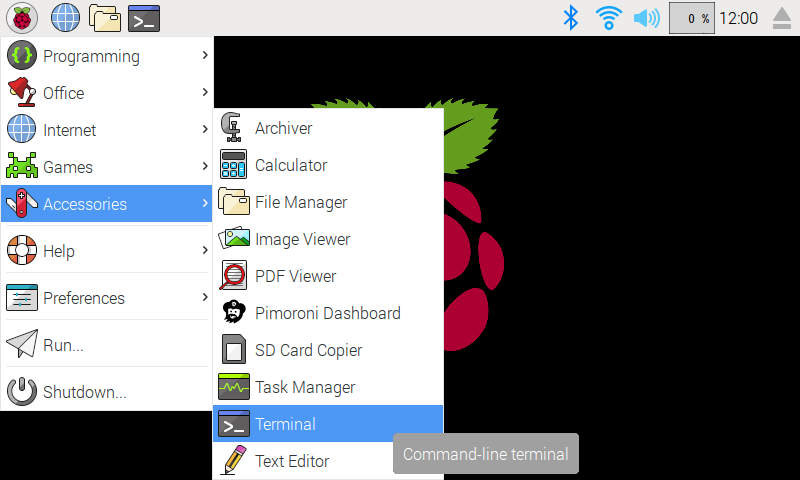
We've created an easy installation script that will install all pre-requisites and get your Automation HAT
up and running with minimal efforts. To run it, fire up Terminal which you'll find in Menu -> Accessories -> Terminal
on your Raspberry Pi desktop, as illustrated below:
In the new terminal window type the command exactly as it appears below (check for typos) and follow the on-screen instructions:
```bash
git clone https://github.com/pimoroni/automation-hat
cd automation-hat
./install.sh
```
**Note** Libraries will be installed in the "pimoroni" virtual environment, you will need to activate it to run examples:
```
source ~/.virtualenvs/pimoroni/bin/activate
```
### Development:
If you want to contribute, or like living on the edge of your seat by having the latest code, you can install the development version like so:
```bash
git clone https://github.com/pimoroni/automation-hat
cd automation-hat
./install.sh --unstable
```
In all cases you will have to enable the I2C bus (and SPI for Automation HAT Mini):
```
sudo raspi-config nonint do_i2c 0
sudo raspi-config nonint do_spi 0
```
## Documentation & Support
* Guides and tutorials:
* Automation HAT:
* Automation pHAT:
* Automation HAT Mini:
* Function reference
* GPIO Pinout:
* Automation HAT:
* Automation pHAT:
* Automation HAT Mini:
* Get help
### FAQ
#### What is the accuracy and resolution of the Automation HAT
The ADS1015 is a 12-bit ADC, but since the 12th bit is the sign-bit there are only 11-bits of resolution available for positive voltage readings. The input voltage for 24v channels is scaled from 0-25.85v (25.85 rather than 24 due to how the resistor divider is set up) to 0-3.3v.
Since the full-scale range of the ADC is set to 4.096v, this means that 0-3.3v gives only ~1649 possible usable values making the input measurement granularity somewhere around 0.015v (25.85 / 1649) for the 24v inputs and 0.002v for the 3.3v input.
More information on this topic can be found here: