https://github.com/raspiduino/upythoncomputer
A MiniComputer based on Arduino, ESP8266 and MicroPython!
https://github.com/raspiduino/upythoncomputer
arduino avr esp8266 micropython micropython-esp8266 portable python
Last synced: 3 months ago
JSON representation
A MiniComputer based on Arduino, ESP8266 and MicroPython!
- Host: GitHub
- URL: https://github.com/raspiduino/upythoncomputer
- Owner: raspiduino
- License: mit
- Created: 2020-07-30T05:23:02.000Z (almost 6 years ago)
- Default Branch: master
- Last Pushed: 2020-07-31T04:34:38.000Z (almost 6 years ago)
- Last Synced: 2025-09-15T06:48:24.543Z (10 months ago)
- Topics: arduino, avr, esp8266, micropython, micropython-esp8266, portable, python
- Language: C++
- Homepage:
- Size: 5.67 MB
- Stars: 3
- Watchers: 3
- Forks: 0
- Open Issues: 0
-
Metadata Files:
- Readme: README.md
- Changelog: change_baud.py
- License: LICENSE
Awesome Lists containing this project
README
# MicroPython Computer
A MiniComputer based on Arduino, ESP8266 and MicroPython!
Update 30/7/2020: It worked perfectly! Try it!
## Description
MicroPython provide a small shell to run Python codes and commands. Usually you have to connect to it through Serial Monitor or webRPEL. This project make that shell portable by bring it to Arduino with a Nokia 5110 LCD and 3 button as keyboard. With it, now you can make your MicroPython portable and bring it everywhere you want without bring any computer to connect.
## Setup
First, flash the esp8266 by connect like the picture:
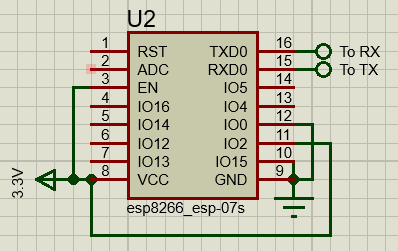
Remember to connect GPIO0 to GND and NOT VCC! Then follow these steps:
- Connect esp8266's RX pin to the USB to Serial device (search google for this if you don't have one) TX pin, and connect esp8266's TX pin to USB to Serial's RX pin, and plug the device to your computer
- Go to https://micropython.org/resources/firmware/esp8266-20191220-v1.12.bin and download the MicroPython .bin file (Please use this since it's stable). You also need esptool at https://github.com/espressif/esptool to flash it
- Open the Command prompt or Terminal and type in:
> esptool.py --port [your_COM_port] erase_flash
>
esptool.py --port [your_COM_port] --baud 460800 write_flash --flash_size=detect 0 the_bin_file_name_and_path.bin
Replace it with yours.
- Send the boot.py and change_baud.py in the git to esp8266 using ampy. See this: https://github.com/scientifichackers/ampy
- Unplug the USB to serial module and plug your Arduino in. Clone this git and build the code with Arduino IDE or you can also download the precompiled .hex file and flash it into your Arduino.
- Connect the pins like below:
## Pins
Please connect like the picture below:

This is the connect for the 5V nokia 5110 LCD. If you want to use with 3V ones, please connect 4.7 k resistor to the lcd like this:
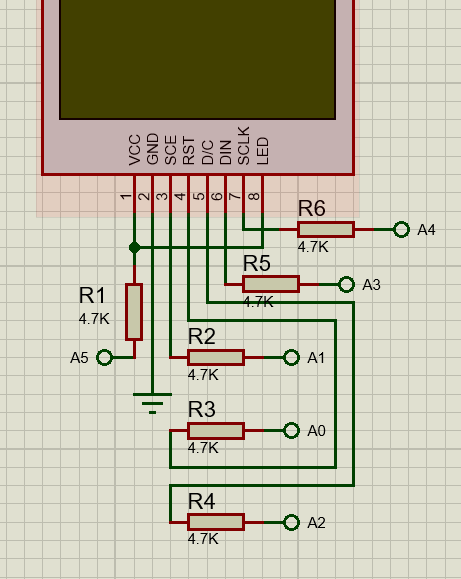
(A0 -> A5 is analog pin on your Arduino)
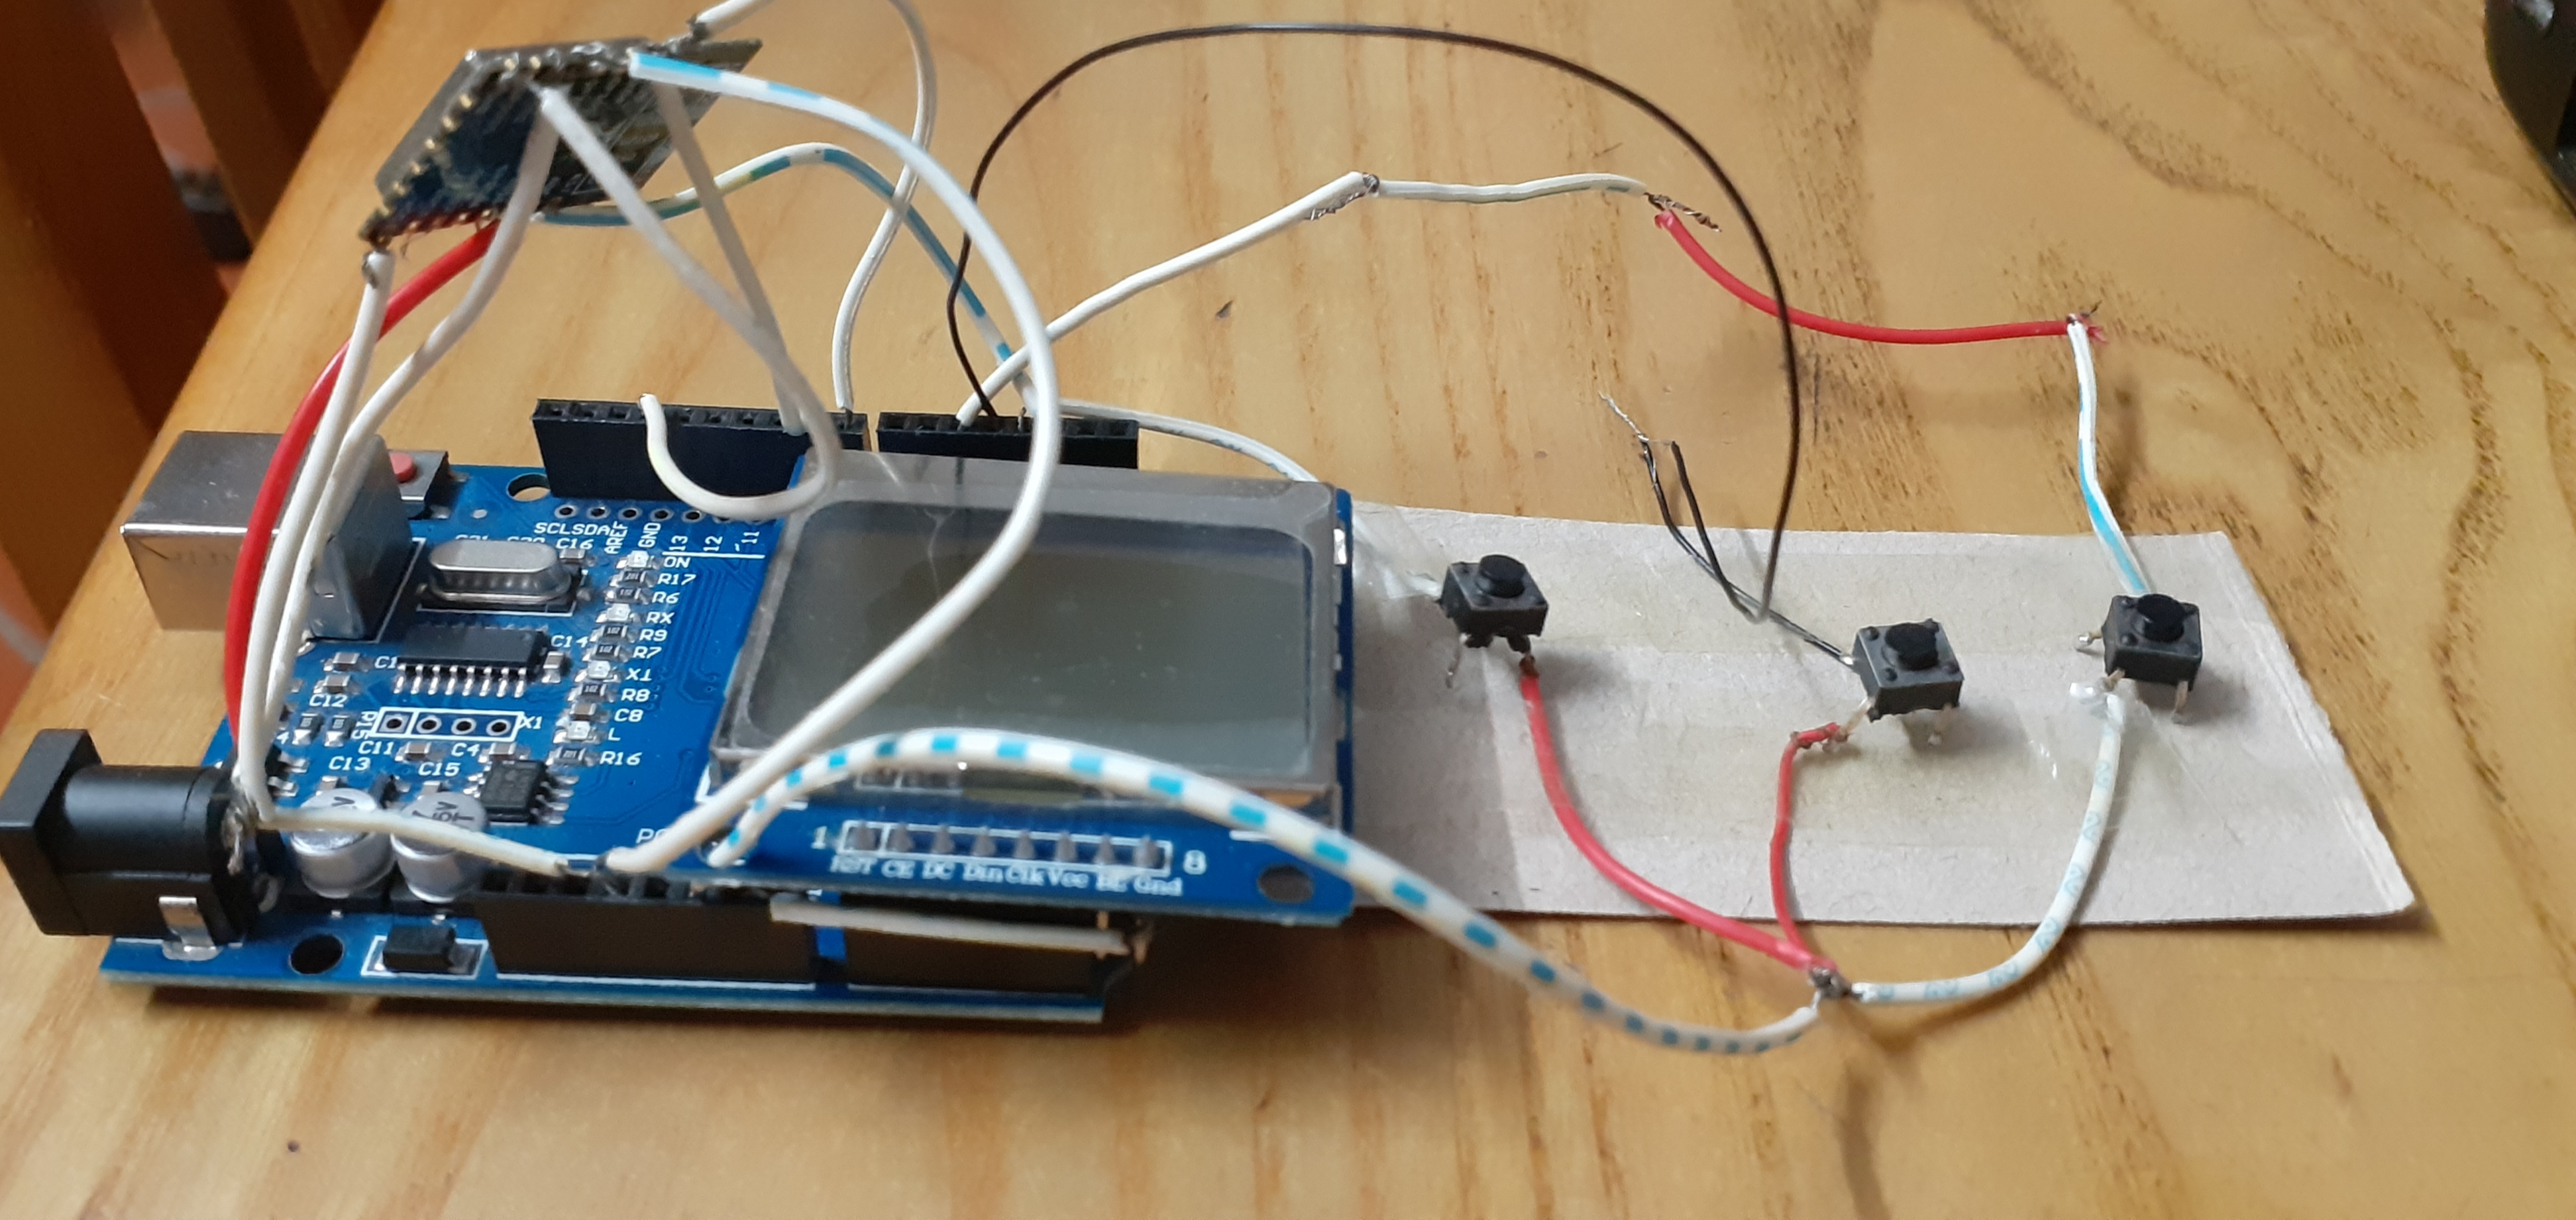
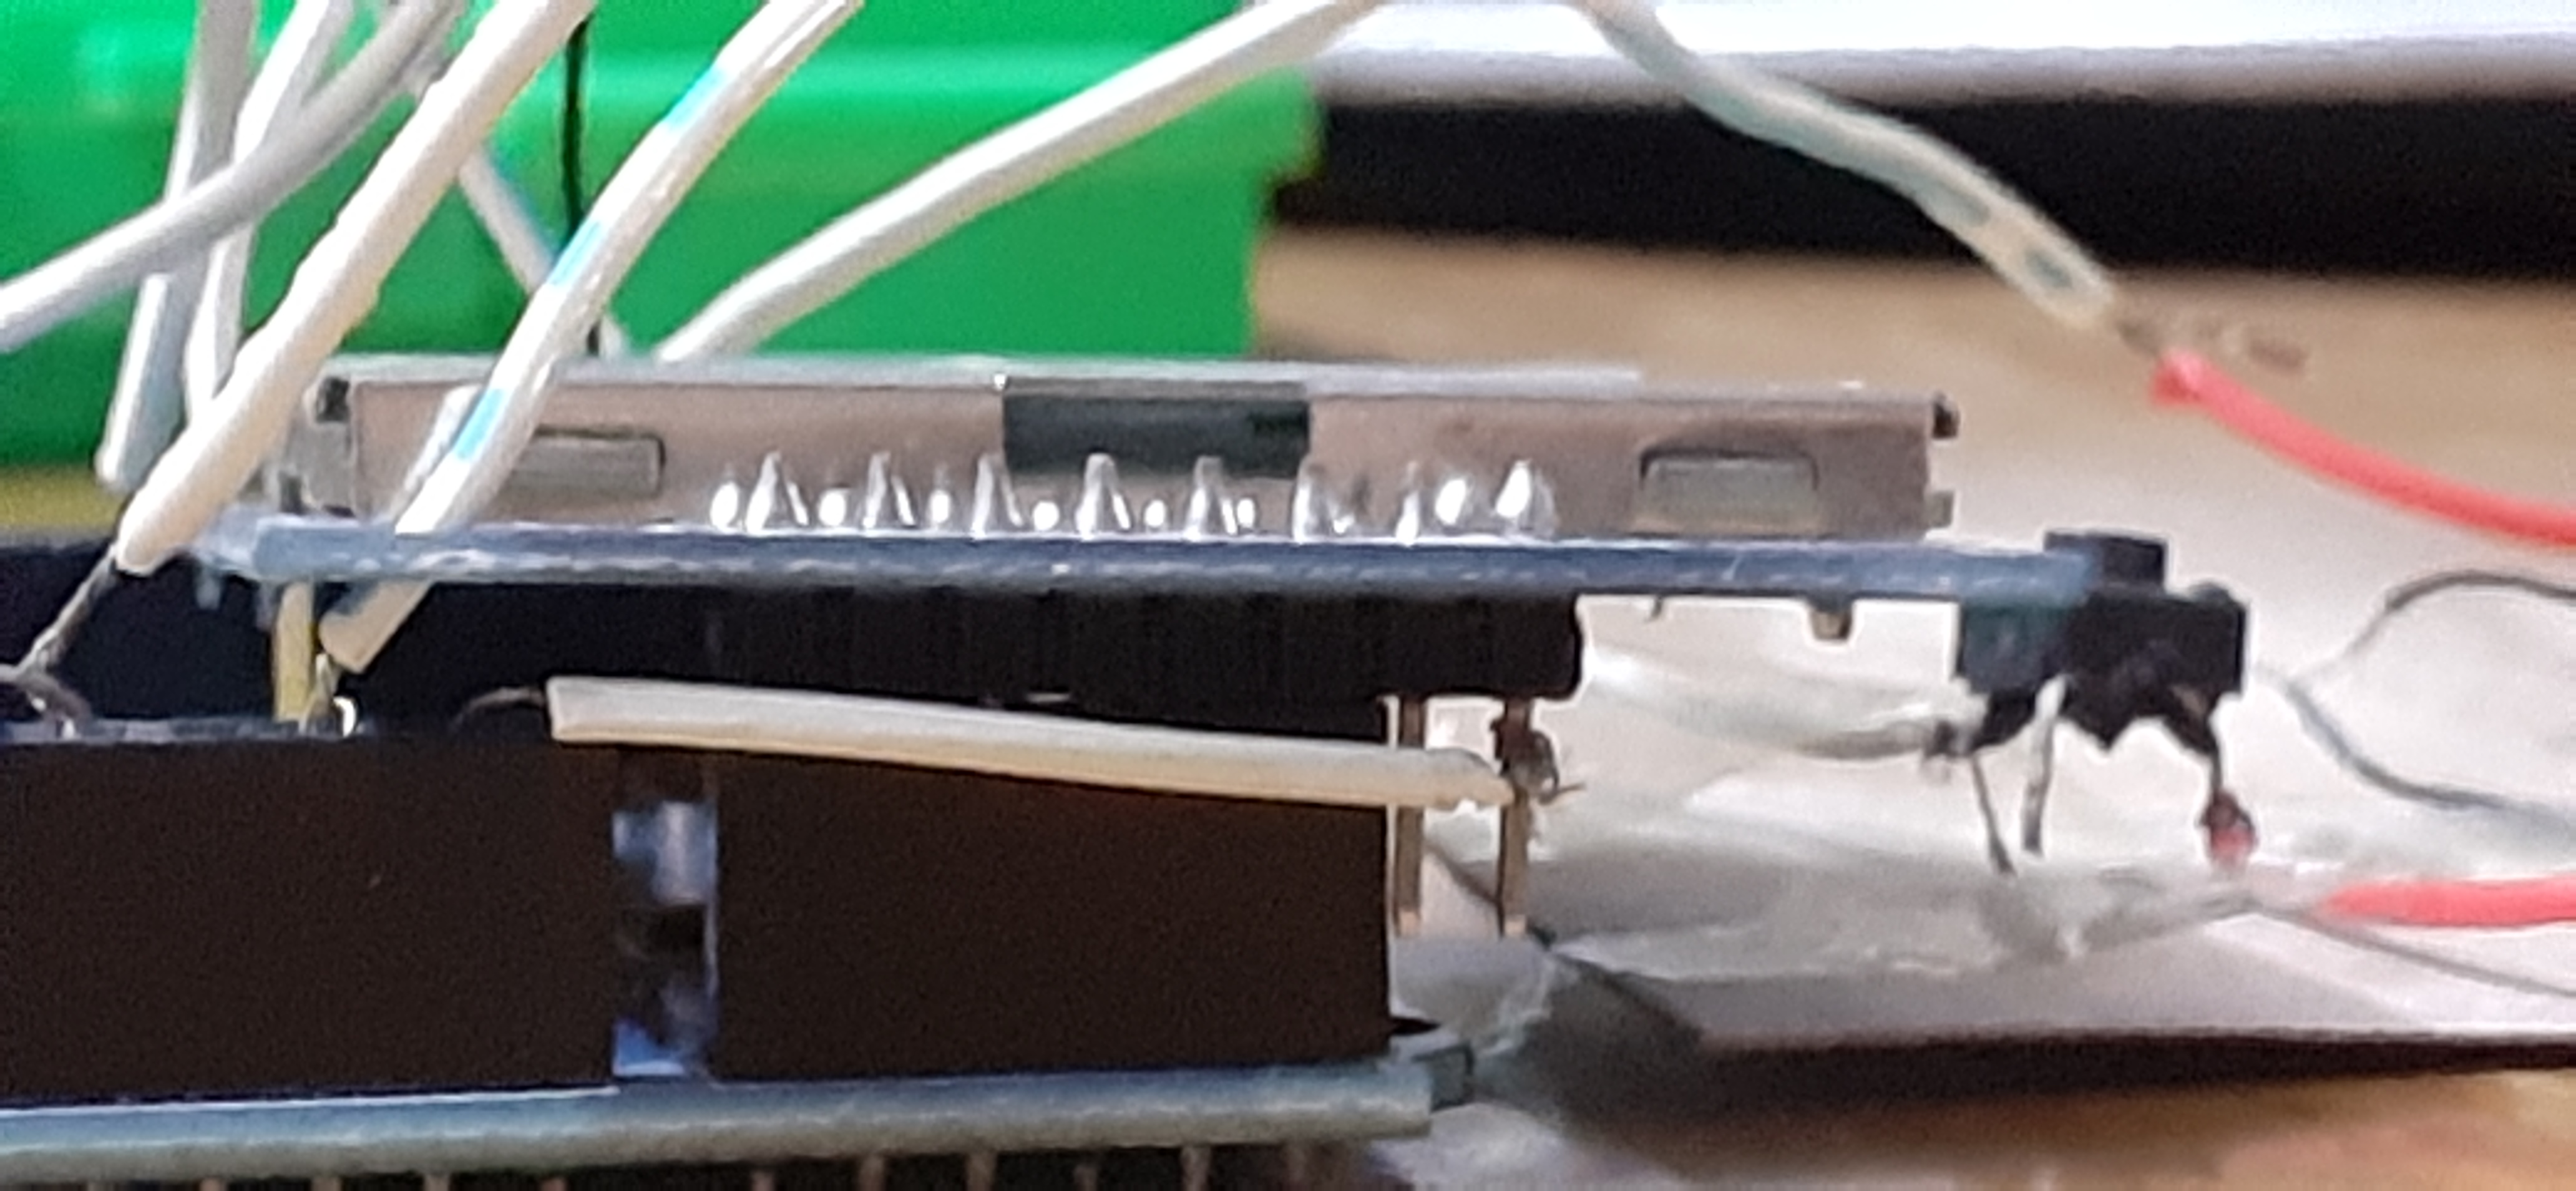
To be smallest, please plug the LCD into Analog header like this:
## Usuage
You can plug the Arduino in the computer and send the command into the esp8266 by open the serial monitor. If you want to use it portable, connect batteries into Arduino's VIN port. You can type to the Arduino by using three buttons: Left, Select and Right(in Typing section)
### Typing
You can type to the Arduino by pressing three buttons: Left, Select and Right
First, use the left and right button to select the keys in the ascii table. Then when you finish, you press select and it will automaticly jump to the next character for you to type. If you finish, press two times to the select button to sent the enter key. When you press another command, it don't clear the last command (a bug, sorry for that), but it will replace that.
### Display
When you power the Arduino, it will display two lines like this:
>>>
__________________________
>
The ">>>" is the MicroPython prompt and the ">" is the input text box for you to type in. When you done, press Select two times and it will sent text to MicroPython
#### This project is on working and maybe unstable sometimes. Sorry for that!